This post may contain affiliate links. Read our disclosure policy.
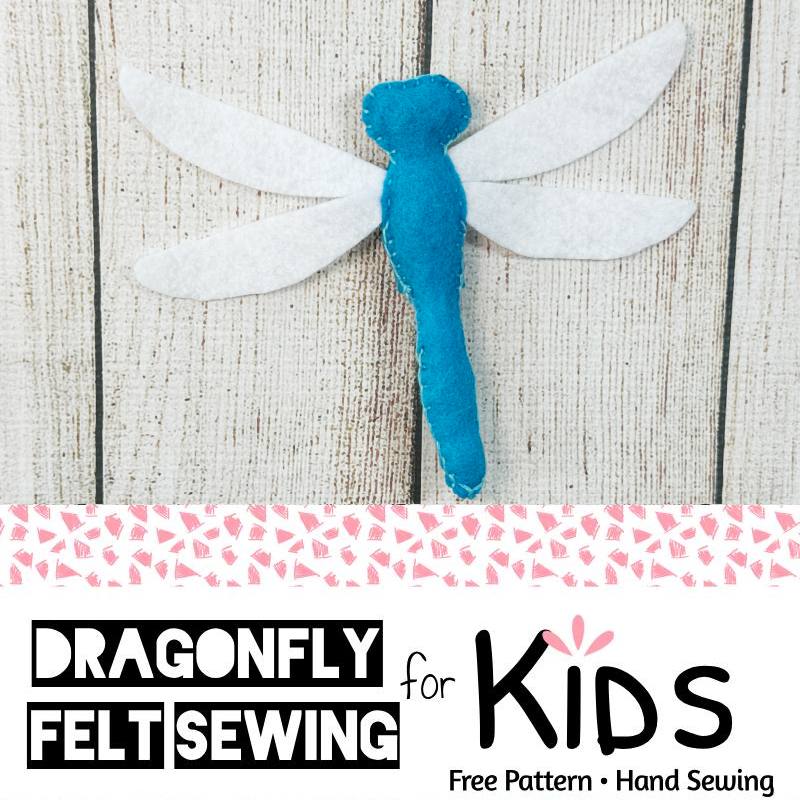
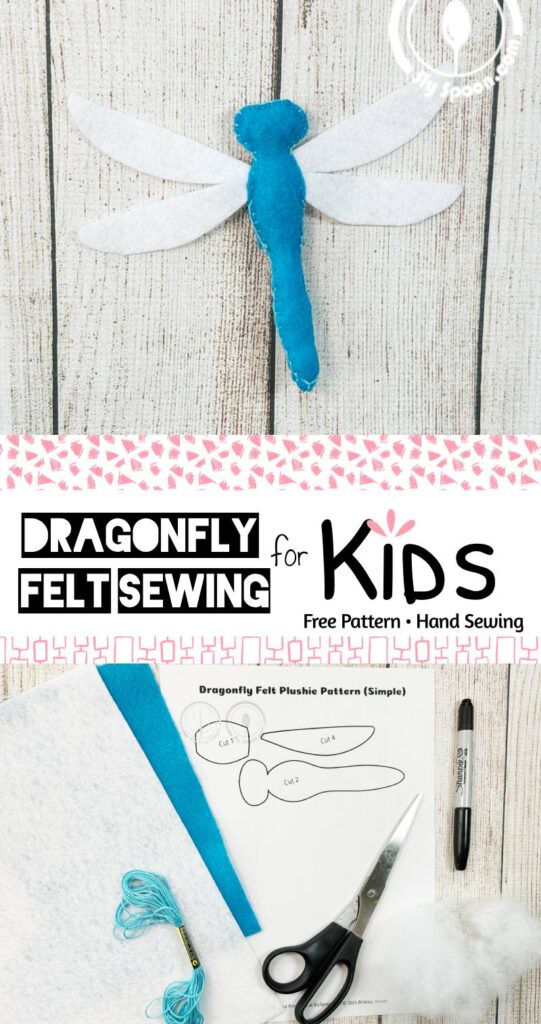
This fun felt dragonfly is a great first sewing projects for kids ages 6 and up (with a little help from an adult!). And, it’s a wonderful way to introduce basic hand sewing skills without being overly complicated for beginners, and with a few additional steps the dragonfly can become a finger puppet!
What You’ll Need:
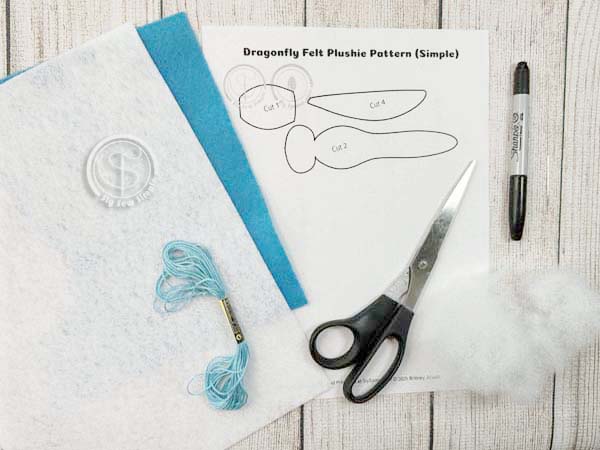
- Felt
- Free Dragonfly pattern (link below)
- Markers (or similar) for tracing
- Embroidery floss (try to match the colors to your felt)
- Needle with the big eye / Embroidery Needle
- Scissors
- Stuffing (polyester filler, scrap felt, or even ripped-up plastic grocery bags)
Before we begin, be sure to grab the free pattern, print it out, and let’s get tracing! This pattern includes the dragonfly’s body and wings and an optional felt finger puppet piece.
 Click Image to download and print
Step 1: Trace and Cut
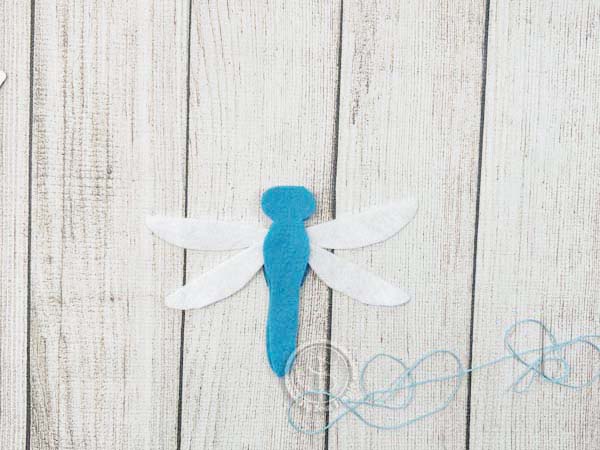
Start by laying the pattern pieces on your felt and tracing around them with your marker. A sharpie works great on felt! Remember to flip the pattern for any pieces that need to be traced twice, like the body, to ensure they line up. Once you’ve traced everything, carefully cut out your felt pieces, trimming away any visible marker lines. Save your scraps—they’re perfect for stuffing!
Step 2: Start Sewing the Body
Grab the top and bottom pieces of the dragonfly’s body (and finger puppet piece if you’re using it). Align them all together and begin sewing just above the tail where the body bulges a little bit. Using a blanket stitch, carefully sew together the two felt pieces, (or three if you’re making a finger puppet. If you are making the finger puppet just align the one side of the felt with the side of the dragonfly body and don’t worry about the where the side you’re not sewing is laying.)
How to Blanket Stitch:
- Insert the needle through both pieces of fabric, then pause before pulling it all the way through.
- Wrap the end of the thread around the top of needle, then pull the needle fully through while keeping the thread taut.
- Move your needle down a little further along the edge, and from the same side you poked the needle for your first stitch, repeat the process, ensuring your stitches are evenly spaced.
- Continue sewing around the body until you reach where you want to add your wings.
Step 3: Attach the wings
Once you reach the middle of the back of your dragonfly, pause to add your wings. I layered mine in the middle so one is on top of the other. Sew all the piece of the body, wings (and finger puppet piece if you’re using it) together using a running stitch.
How to Do a Running Stitch: Start by bringing your needle up through the fabric from the back to the front and pull it all the way through. Move the needle a little forward and push it back down through the fabric, leaving a small gap. Pull the thread tight. Then, bring the needle back up through the same spot where it just came down, creating a small stitch. Continue this back-and-forth motion, moving slightly forward each time until you reach the desired end point of your stitching.
Step 4: Blanket Stitch around the head and Add Stuffing
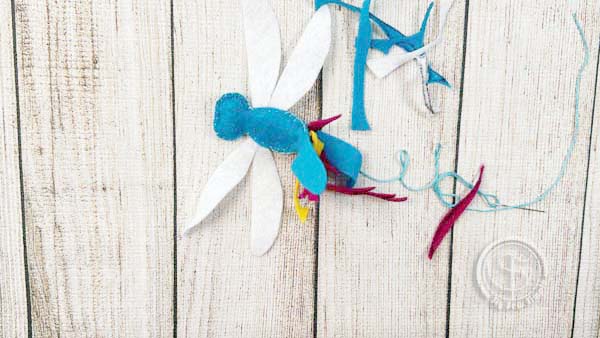
Blanket stitch around the head, and before you sew on the second set of wings stuff the head of your dragonfly. Use small pieces of stuffing, felt scraps for poly fill for a plush look and stuff the head. If you need help getting it into tricky areas, use the back of a pencil or a similar tool to push it in. When you’re satisfied with how fluffy it is, continue sewing in your wings using the same steps as we did in Step 3.
If you are doing the finger puppet, pause and push around the finger puppet piece so the unsewn edge is aligned with the unsewn body of the dragonfly. The middle of the finger puppet piece should be pushed up a little when you do this.
Step 5: Stuff the Body
One you have the wing attached continue with the blanket stitch around the end of the body of your dragonfly, then pause to stuff the body with felt scraps or poly fill.
Step 6: Sew the tail
Sew around the tail with the blanket stitch, pausing to fill it with stuffing as you go, and finish off your plushie when you reach the stitch you started with by tying a knot stitched.
And There You Go!
You’ve created your very own cuddly felt dragonfly! This fun and simple project helps kids learn basic sewing skills while allowing for creativity and imagination. Enjoy showing off your little flying friend—happy sewing! 🐉❤️

