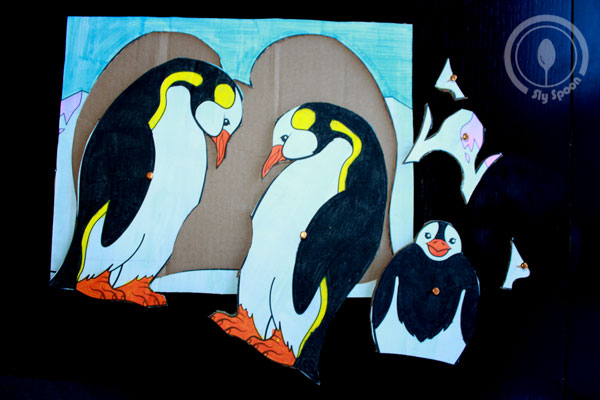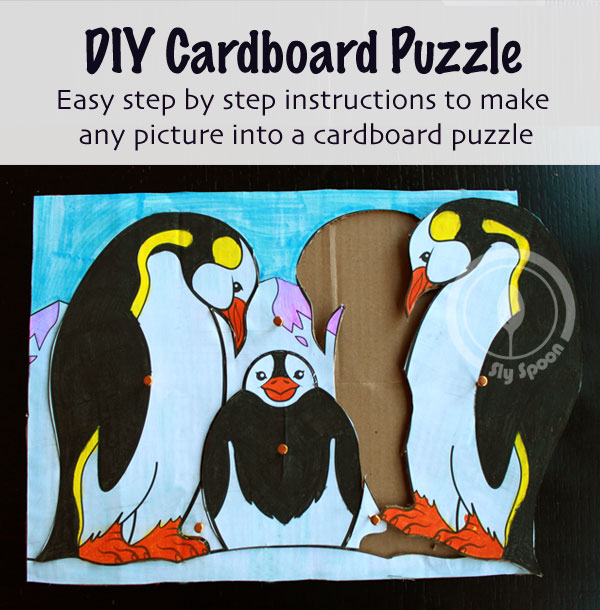
There are a lot of really cute board and wooden puzzles to be found but unfortunately they also tend to be fairly pricey. We’ve got a handful of coloring books and I thought it would be fun to attempt make my own board puzzle out of cardboard.
The nice thing about making my own puzzle is I have full control over what is on the puzzle as well as the difficulty of the puzzle. For my penguin puzzle I decided to keep the pieces fairly big and simple, but as my son gets better and better at puzzles it would be super easy to cut out more pieces and up the complexity. So far our six piece puzzle is perfect!
Supplies Needed:
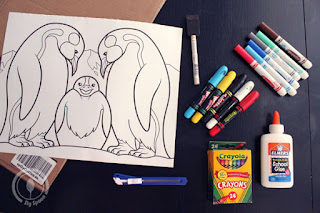
- Two pieces of cardboard (from shipping boxes, not cereal boxes)
- A picture (colored or printed)
- Exacto Knife
- Glue
- Foam Paint Brush
- Brads
Steps:
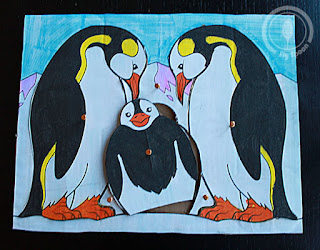
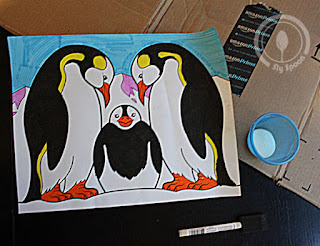
- I started by coloring my image. If you have an older child it might also be fun for them to have a puzzle made from an image they colored.
- Take your glue and mix it with water. I usually do two parts glue to one part water.
- Cover one piece of cardboard with the glue mixture then press your picture onto it.
- Cover the top of your picture (now glued to the cardboard) with another layer of the glue mixture. Make sure to get the edges really good and press out any wrinkles as you go.
- Let your picture dry.
- Cut off the excess cardboard around your image.
- Cut out the pieces you want for your puzzle using your Exacto knife. I would suggest leaving at least an inch wide boarder around the inside of your puzzle so that it has a little more structure when piecing it back together.
- Glue the outer boarder of your image to the second piece of cardboard, creating the back of your puzzle. Let it dry, then cut off the excess cardboard from the back piece.
- Press a brad into each piece of your puzzle so that your child will have something to grip when taking the pieces in and out. Then put a thick dot of glue on the back of the brad so it stays in place. Let it dry.
- Piece your puzzle back together and you’re ready to go.
Have you tried to make a cardboard puzzle? I would love to see the puzzles you’ve created or hear about any of your experiences or thoughts to make it better in the comments section.
