This post may contain affiliate links. Read our disclosure policy.

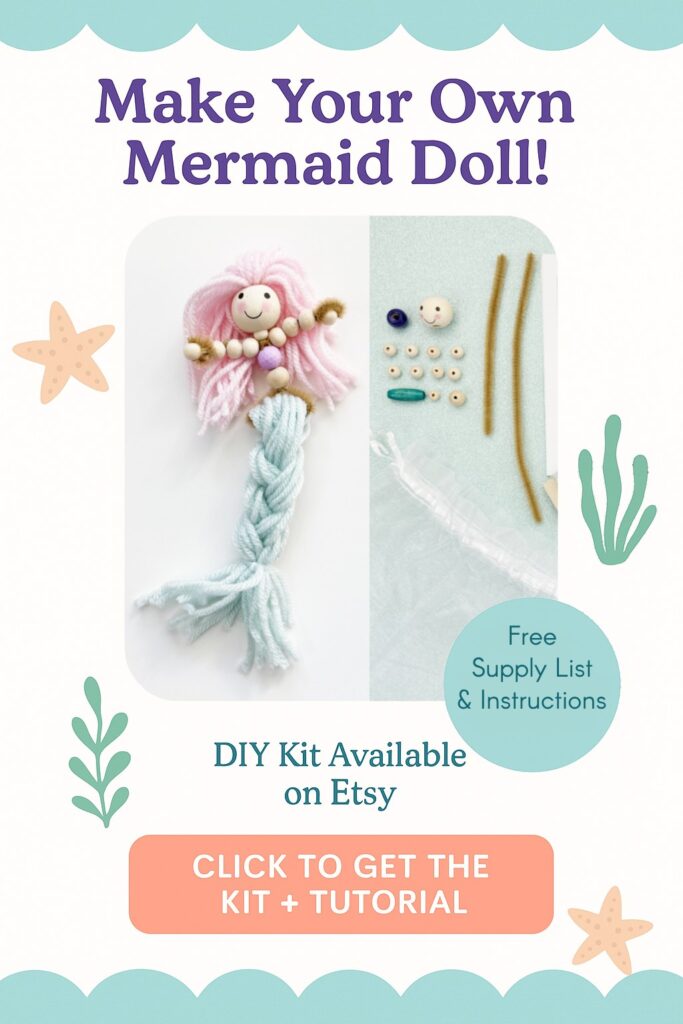
I first made these little mermaid dolls back in 2024, and they’ve become one of those crafts that I’ve kept tinkering with ever since, doing my best to make them better.
I’m a mom of four kids, and what I really wanted was an easy mermaid craft that could work for a bunch of different ages at the same time.
Too many kids’ crafts seem to work for one very specific age. If it’s easy enough for a 4-year-old, the older siblings are bored. If it’s interesting enough for a 12-year-old, suddenly I’m sitting there doing 80% of the “kids’ craft” for my younger kids.
I wanted something that would work for Grandma’s house, sleepovers, birthday parties, cousins and get-togethers where you might have a whole table full of kids with very different abilities.
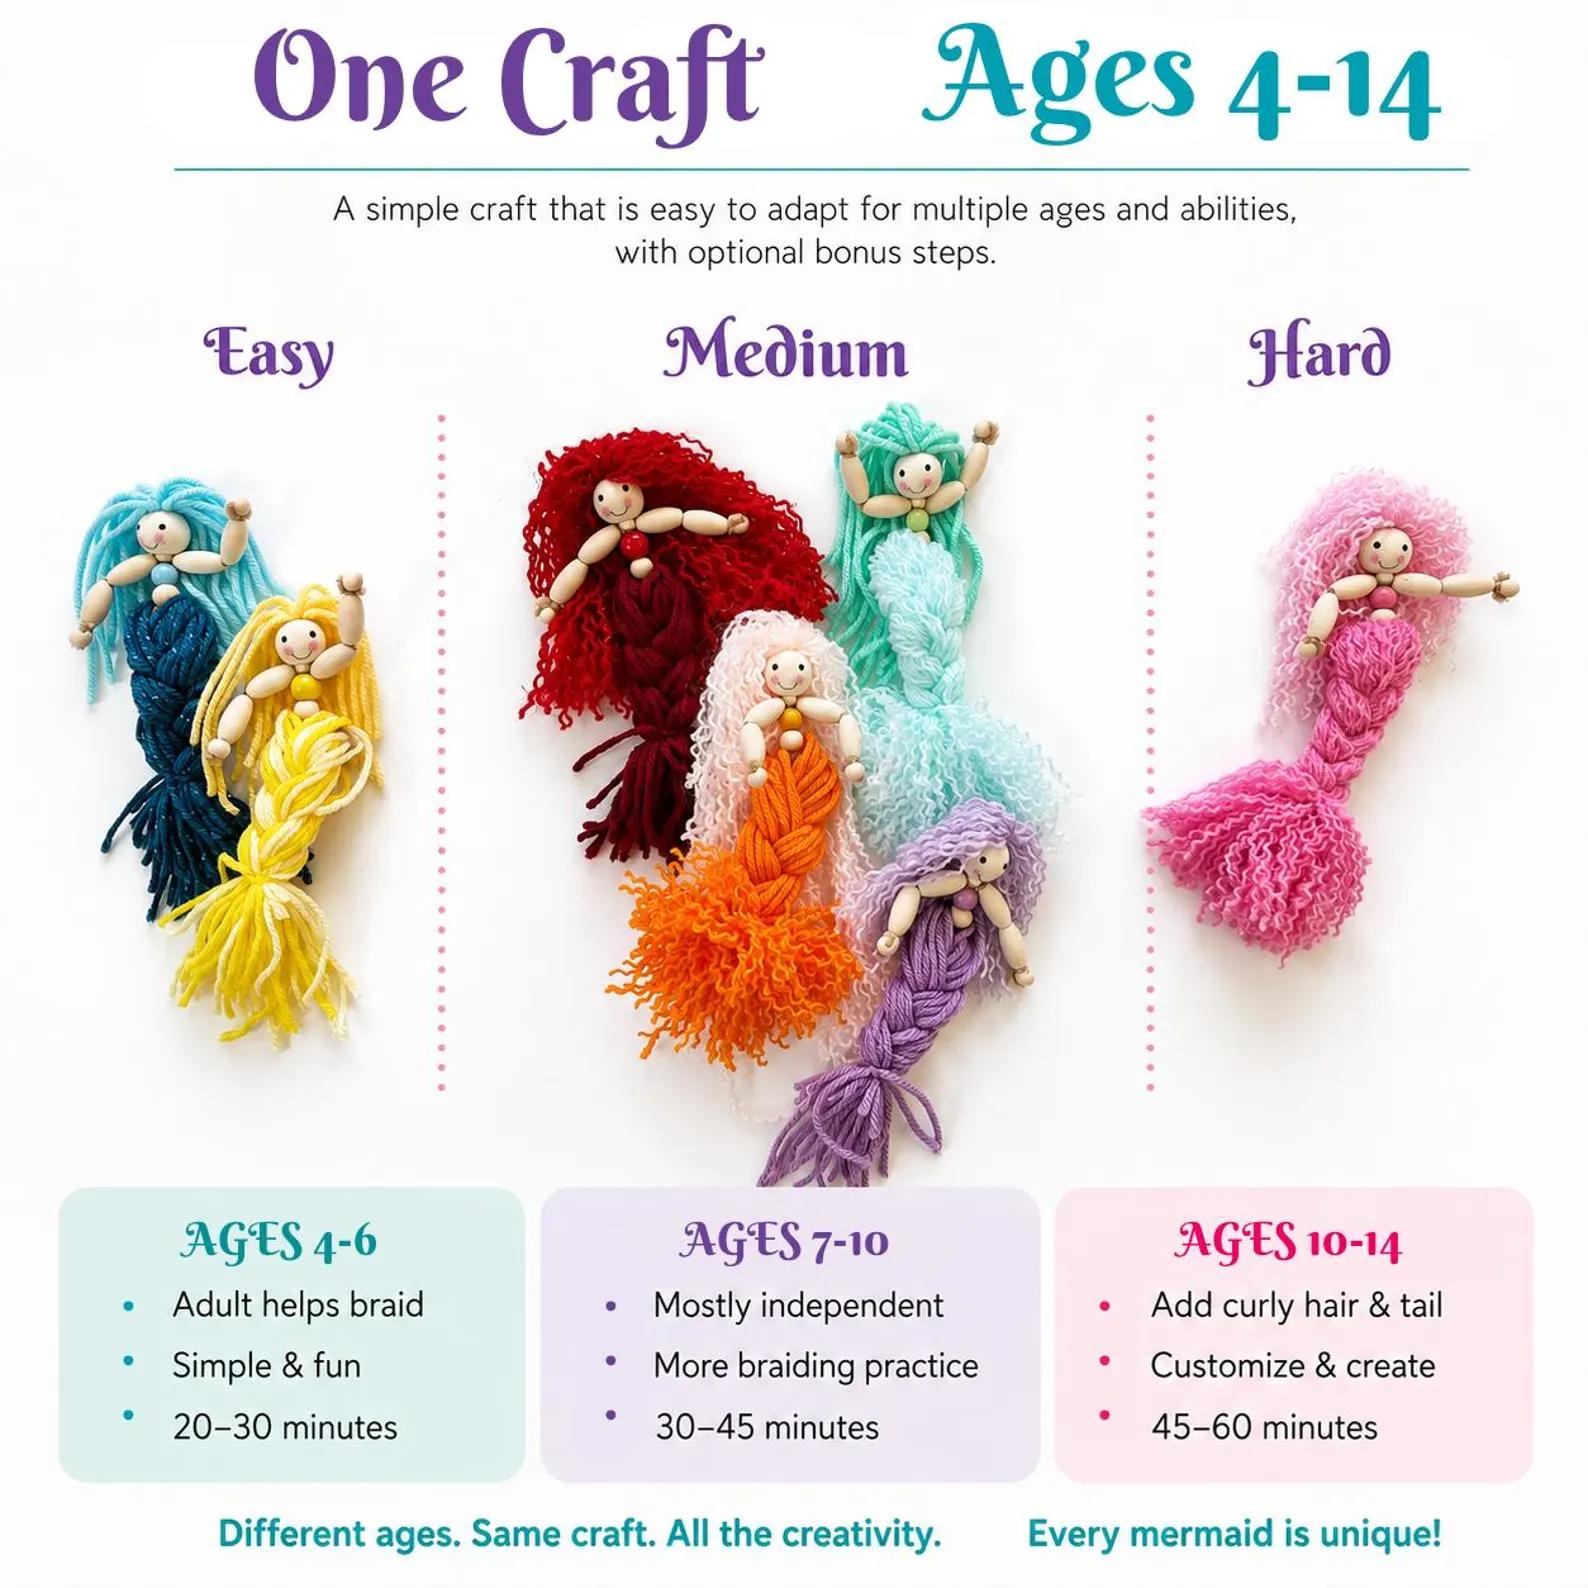
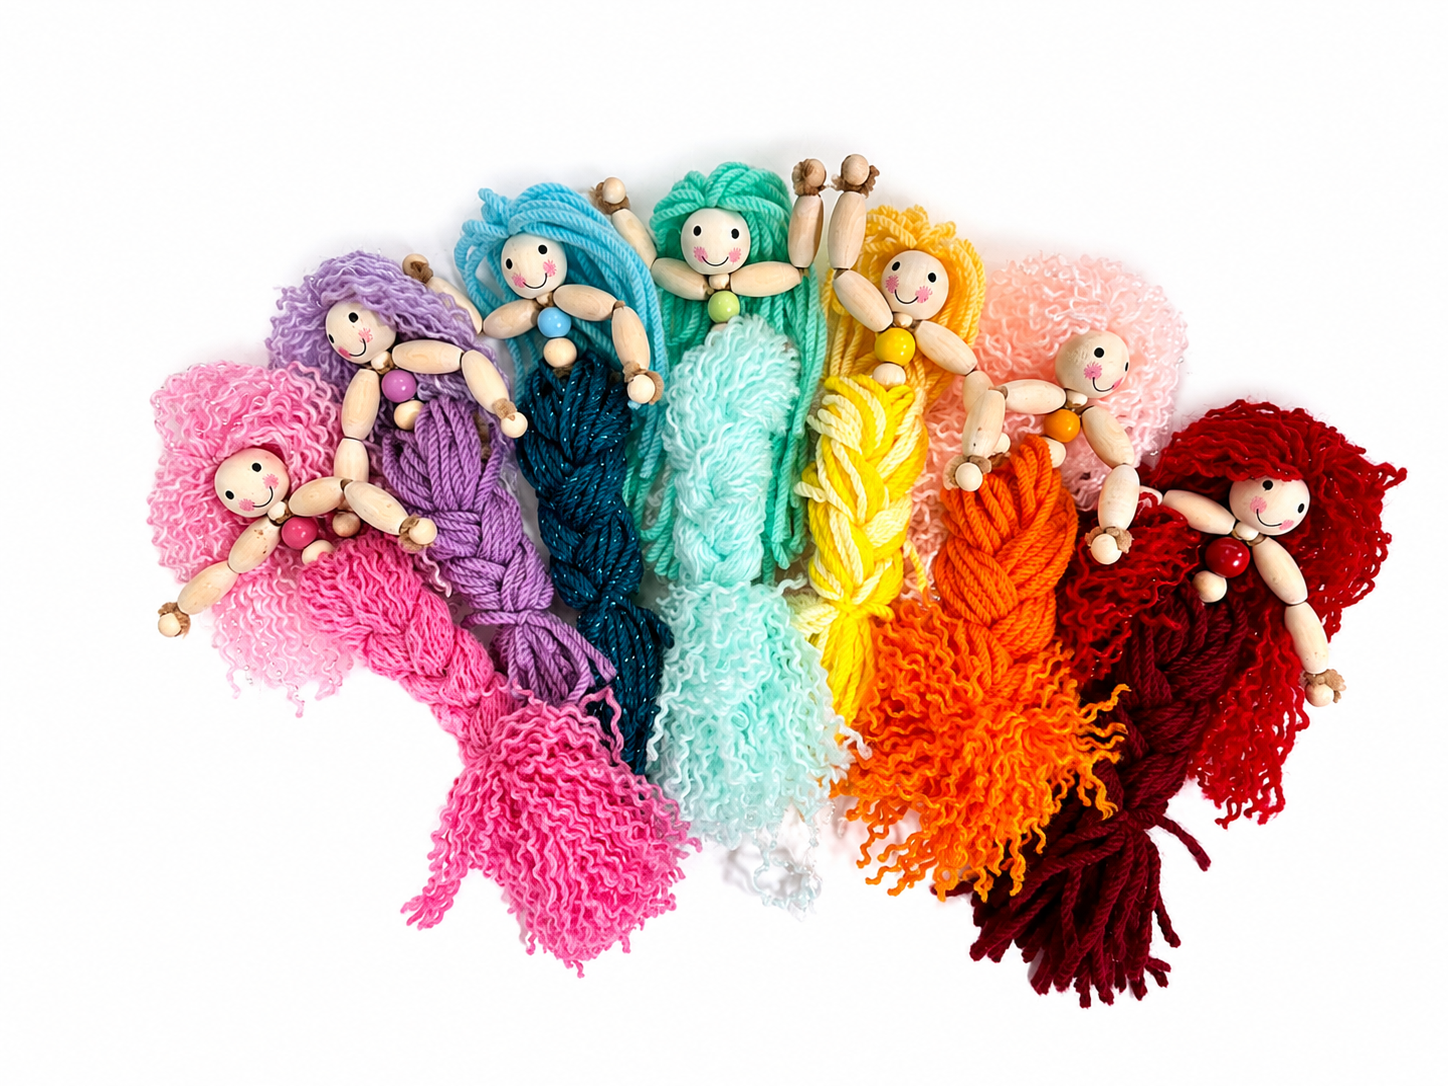
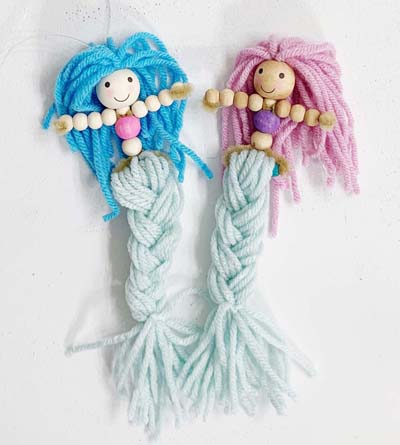
These DIY pipe cleaner mermaid dolls can be as simple or detailed as you want them to be. Younger kids can thread the wooden beads, choose their colors and make a simple yarn mermaid. Older kids can unravel the yarn, experiment with hairstyles and create a fluffy, more detailed mermaid tail.
Below I’ll show you exactly how to make a mermaid doll with yarn, beads and pipe cleaners, including the easy version and the extra techniques I’ve added since I first shared this tutorial.
An Easy Mermaid Craft for Kids Ages 4–14
One of my favorite things about this project is that kids can sit next to each other making the same craft without having to make it at the same difficulty level.
I think of the mermaids in three loose skill levels:
Beginner Mermaid | Approximately Ages 4–6
Keep the yarn as is and focus on the really satisfying parts: choosing colors, threading wooden beads and watching the mermaid come together.
Younger kids will probably need a grown-up to help with cutting yarn, twisting or trimming pipe cleaners and a few of the assembly steps. My goal at this age isn’t necessarily for them to independently complete every single step, it’s for them to look at the finished mermaid and feel like they made it.
Medium Mermaid | Approximately Ages 7–10
Kids can make the same basic mermaid but start adding more customization. Mix yarn colors, experiment with hair length and unravel some of the individual yarn strands to make the hair softer and fluffier.
They can also play around with the tail, changing the colors, fullness and tightness of the braid makes every mermaid look a little different.
Advanced Mermaid | Approximately Ages 11–14
For older kids who want more of a challenge, unravel the yarn before styling the hair and braiding the tail. It takes more patience and fine-motor work, but it gives the finished doll a much softer, fluffier fiber-art look.
Older kids can experiment with mixing yarn colors, different hairstyles, tail textures and how much of the yarn they want to unravel.
The ages are only a guideline. Some younger kids will happily sit and unravel yarn forever, while some older kids will take one look at that process and decide they are absolutely not doing it. Let them choose the version that actually sounds fun.
🧜♀️ Want to Make One Without Gathering All the Supplies?
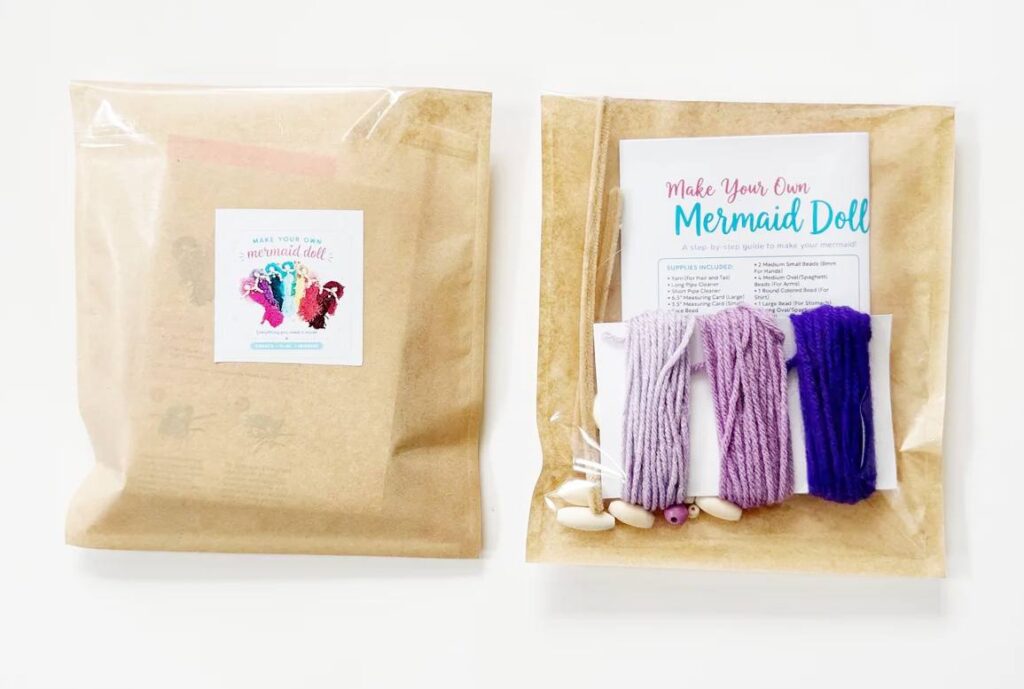 I put together ready-to-make Mermaid Craft Kits with the yarn, wooden beads, pipe cleaners, measuring cards and instructions already prepared for you.
They’re designed to work for a wide range of ages, so younger kids can make the simple version while older kids can add the fluffier yarn techniques and extra details.
DIY Mermaid Doll Supplies
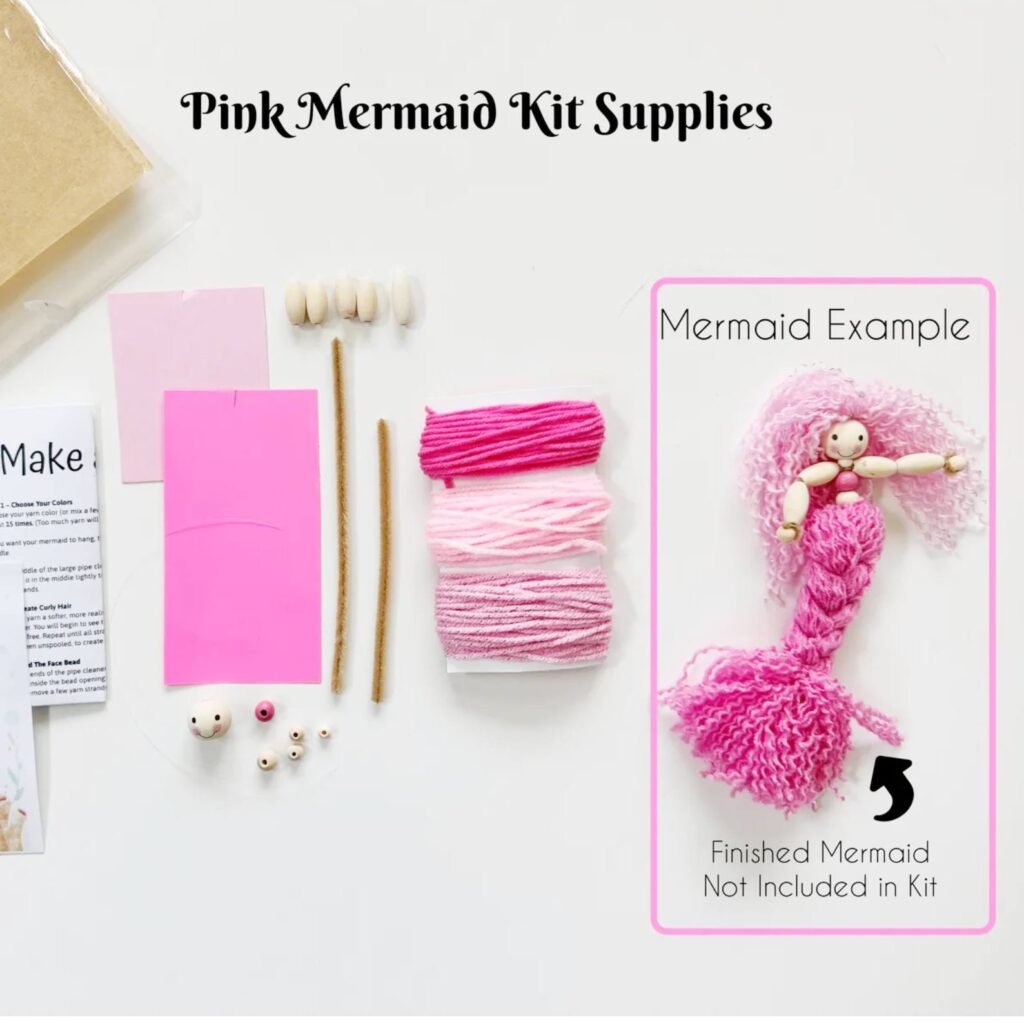
Updated Mermaid Supplies
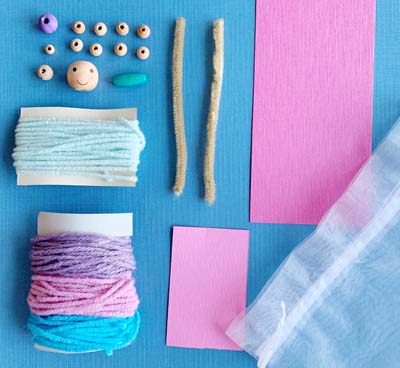
Older Mermaid Supplies
To make your own mermaid doll, you’ll need the supplies below. I’ve linked the individual materials where I can, or if you’d rather skip buying several different sizes of beads and measuring everything yourself, I also put together Mermaid Doll Craft Kits in my Etsy shop.
- Yarn for the hair and tail
- 2 pipe cleaners — skin colored is ideal, cut to approximately 6.5″ and 5″
- Face/head bead — approximately 0.787″ (2 cm) diameter
- 6 mm wooden bead — 1 needed
- 8 mm wooden beads — 2 needed
- 10 mm wooden bead — 1 needed
- 12 mm bead — 1 needed for the mermaid top
- 20 x 10 mm long oval wooden beads — 4 needed
- 25 x 10 mm long oval wooden bead — 1 needed
- Scissors
- Cardboard or cardstock measuring cards — approximately 3″ for the hair and 6–7″ for the tail
- String or fishing line if you’d like to make the finished mermaid into a hanging decoration or ornament
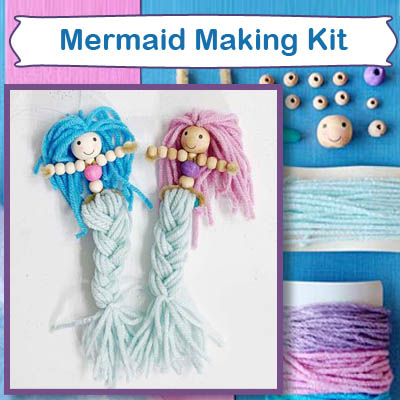
How to Make a Mermaid Doll With Yarn, Beads & Pipe Cleaners
The basic construction is pretty simple once you see how the pieces fit together. Follow the steps below to make your own yarn and bead mermaid doll.
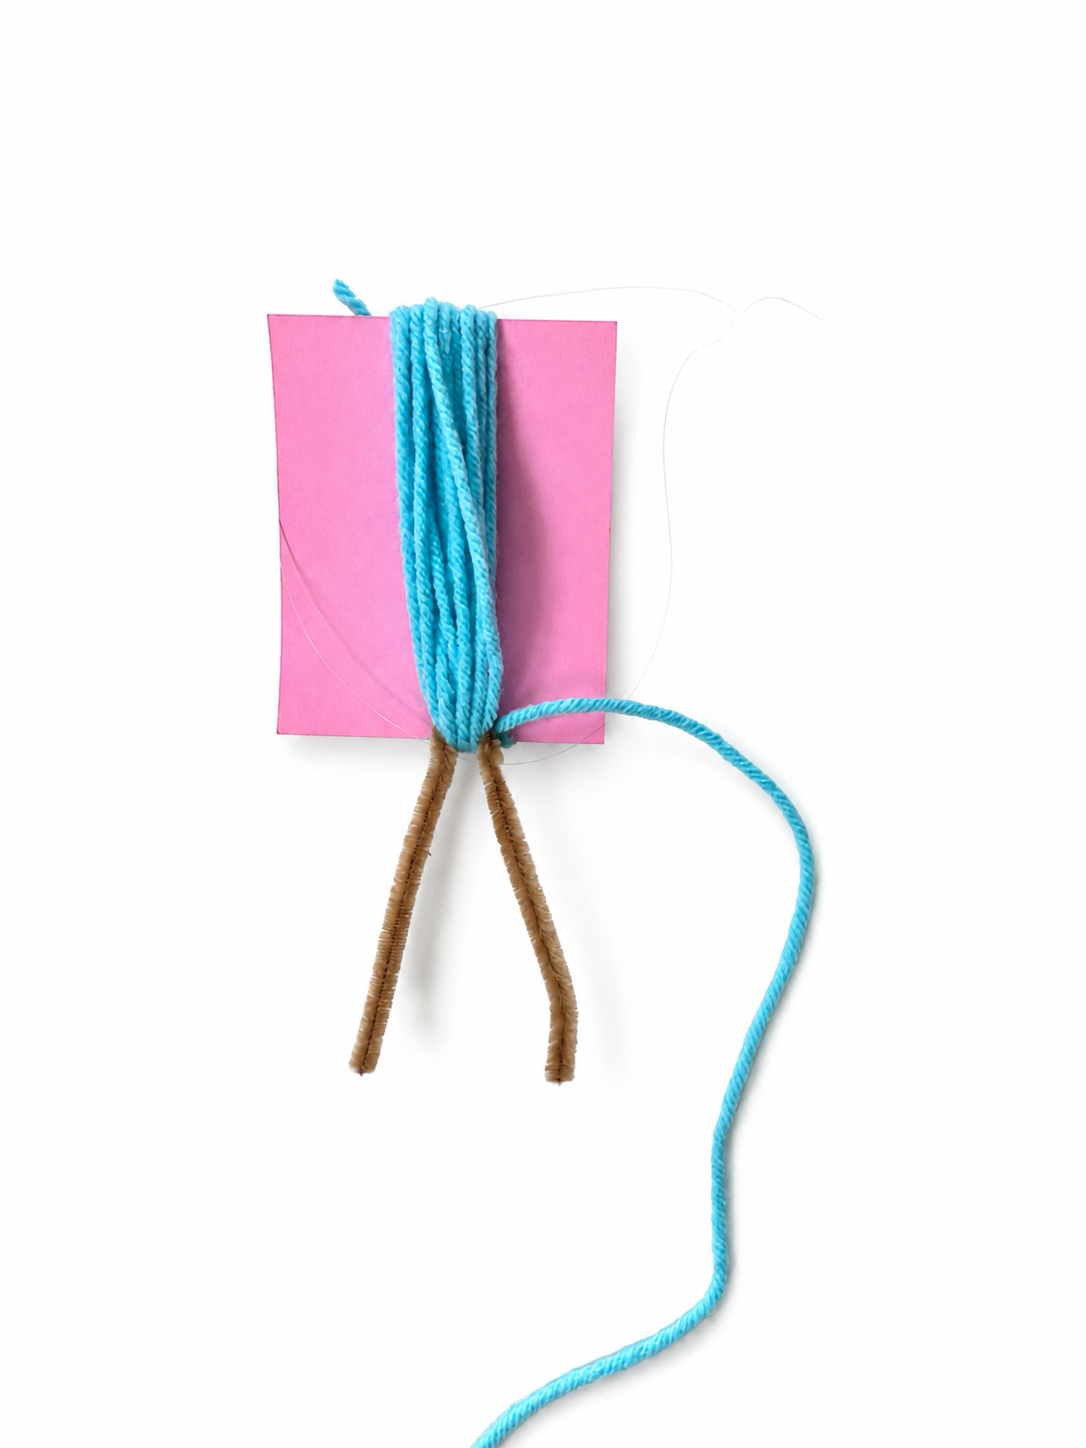
Step 1: Make the Mermaid Hair
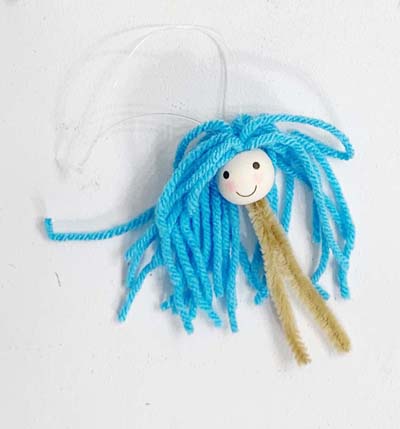
Pick your yarn hair color, or mix a few colors together. Wrap the yarn around a 3″ measuring card approximately 13 times. Try not to make the bundle too thick or it may be difficult to fit the yarn and pipe cleaner inside the head bead.
If you want your mermaid to hang as an ornament or decoration, add your hanging string to the yarn bundle now.
Fold the 6.5″ pipe cleaner in half to find the middle. Wrap it securely around one end of the yarn bundle, keeping the center of the pipe cleaner as even as possible. Twist the pipe cleaner around the yarn to hold everything in place, then cut through the yarn loops on the opposite side.
For an older or more advanced crafter: You can unravel some of the yarn strands now or wait until the mermaid is completely assembled and style the hair at the end.
Step 2: Add the Mermaid Head
Take the pipe cleaner attached to the yarn and thread both ends through the top of the wooden head bead. Pull the pipe cleaners firmly through the bottom until the yarn sits snugly inside the top of the bead.
If you can still see a lot of pipe cleaner above the head bead, remove a few strands of yarn and try again. You want the pipe cleaner connection tucked neatly inside the bead.

Step 3: Add the Neck
Thread both ends of the pipe cleaner through the small 6 mm wooden bead and push it up underneath the mermaid’s head. This small bead creates the neck.
Step 4: Add the Second Pipe Cleaner
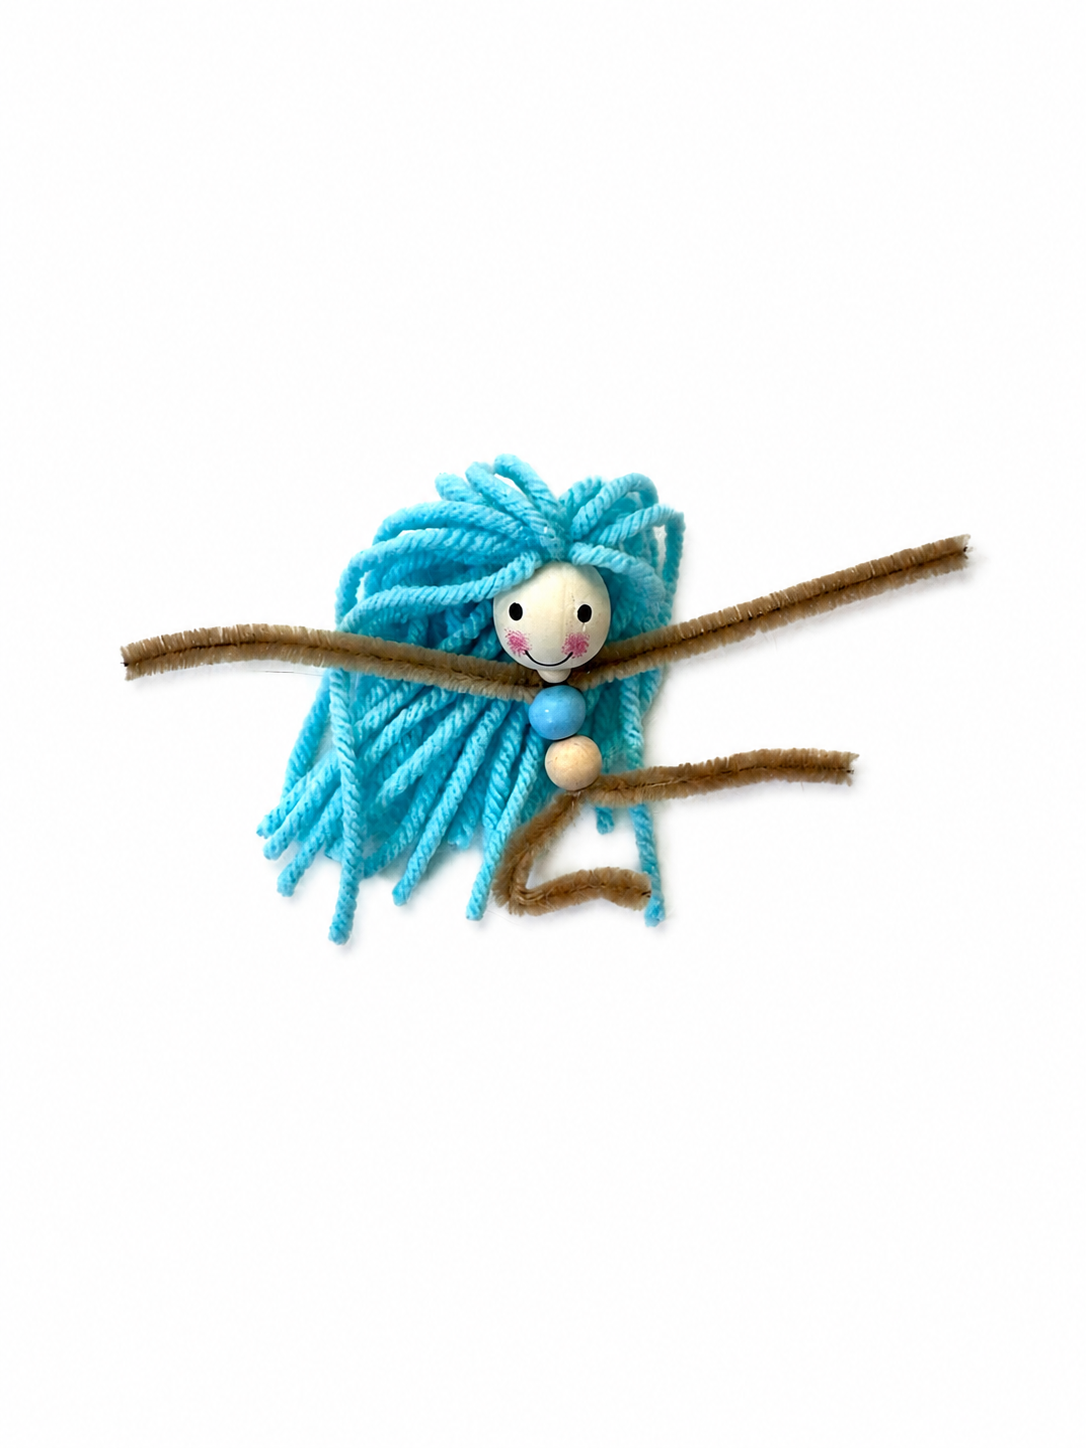
Fold your second pipe cleaner in half. Separate the two pipe cleaner ends underneath the neck bead and position the center of the new pipe cleaner between them.
Step 5: Add the Body Beads
Add the body beads and slide them snugly underneath the neck. Start with the colored 10mm bead, followed by the 12mm bead to make the stomach.
Step 6: Make the Mermaid Arms
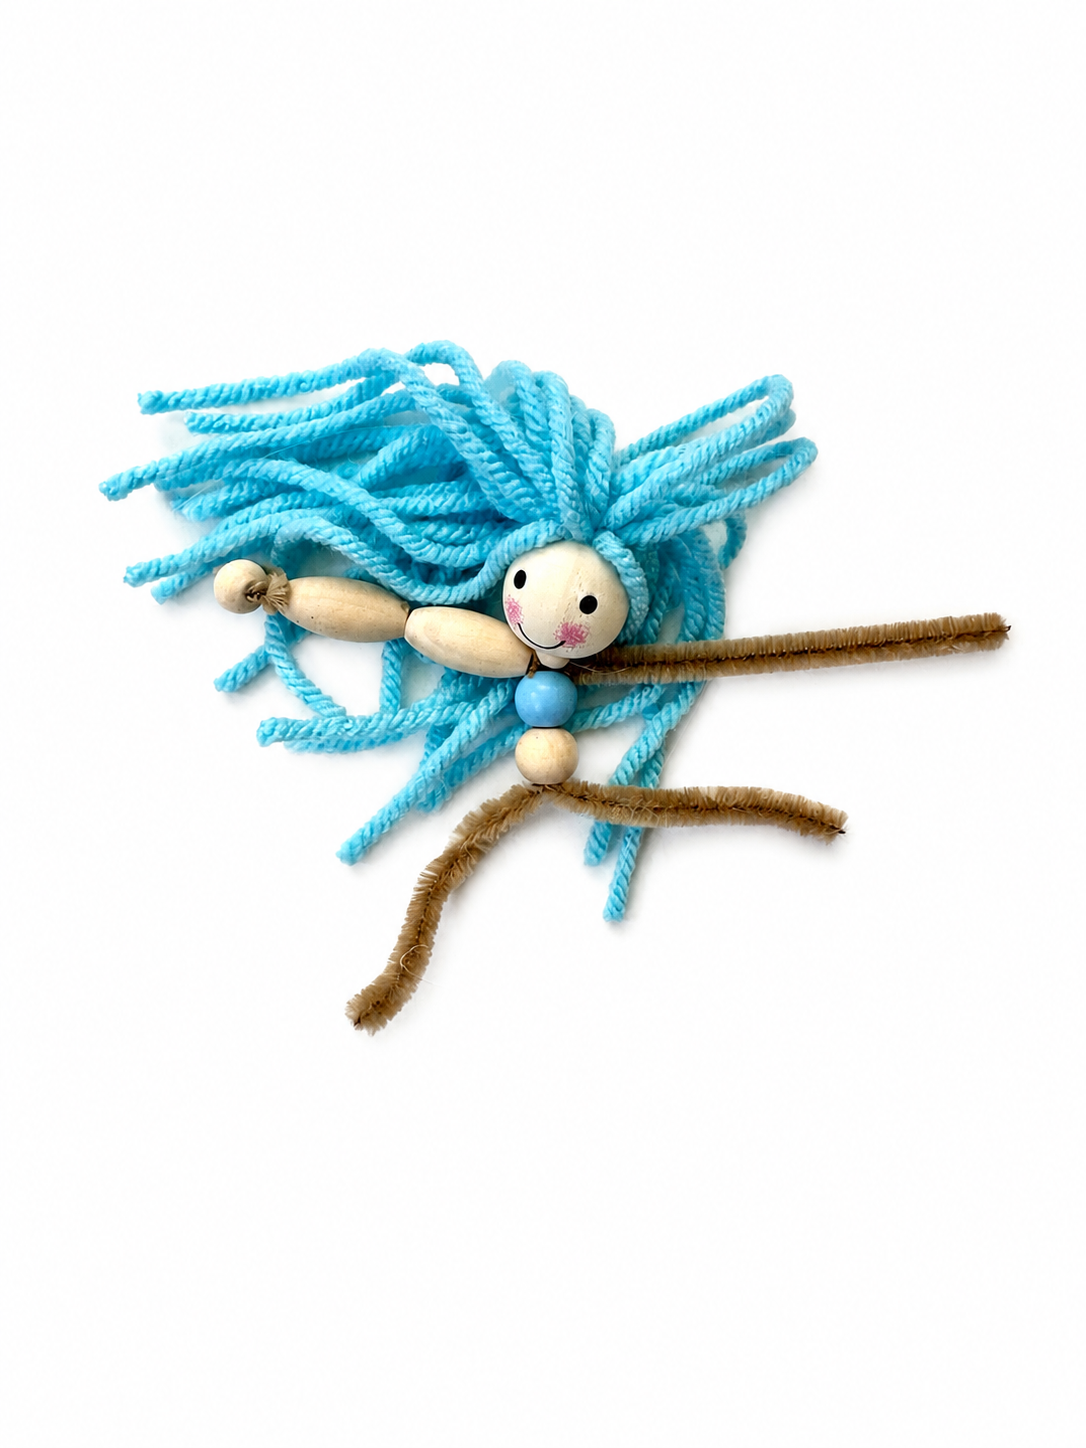
Add two 20x10mm long wooden beads to the arm, then a small 8mm round bead and bend the pipe cleaner around the last bead and try to tuck it back into the oval bead so no one gets poked by the wire. Repeat with the other arm.
Step 7: Add the Long Body Bead
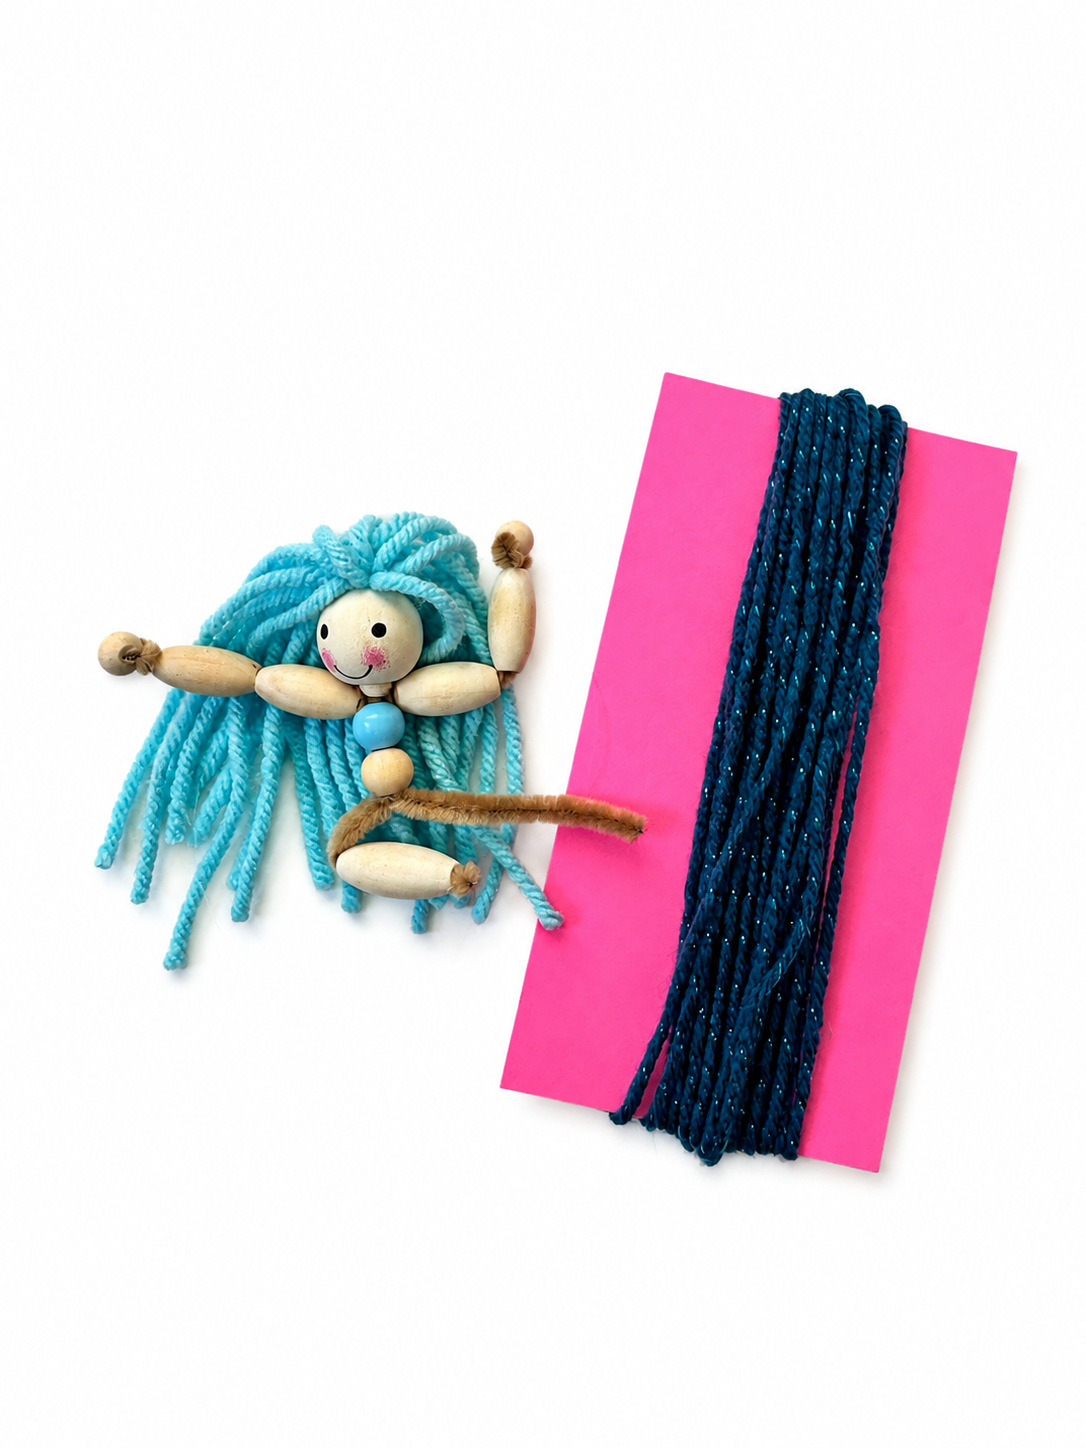
Bend the lower pipe cleaners slightly outward so the long wooden bead can sit underneath the mermaid’s body. Slide the long bead onto one side of the pipe cleaner for now. We’ll secure the other side after adding the yarn tail.
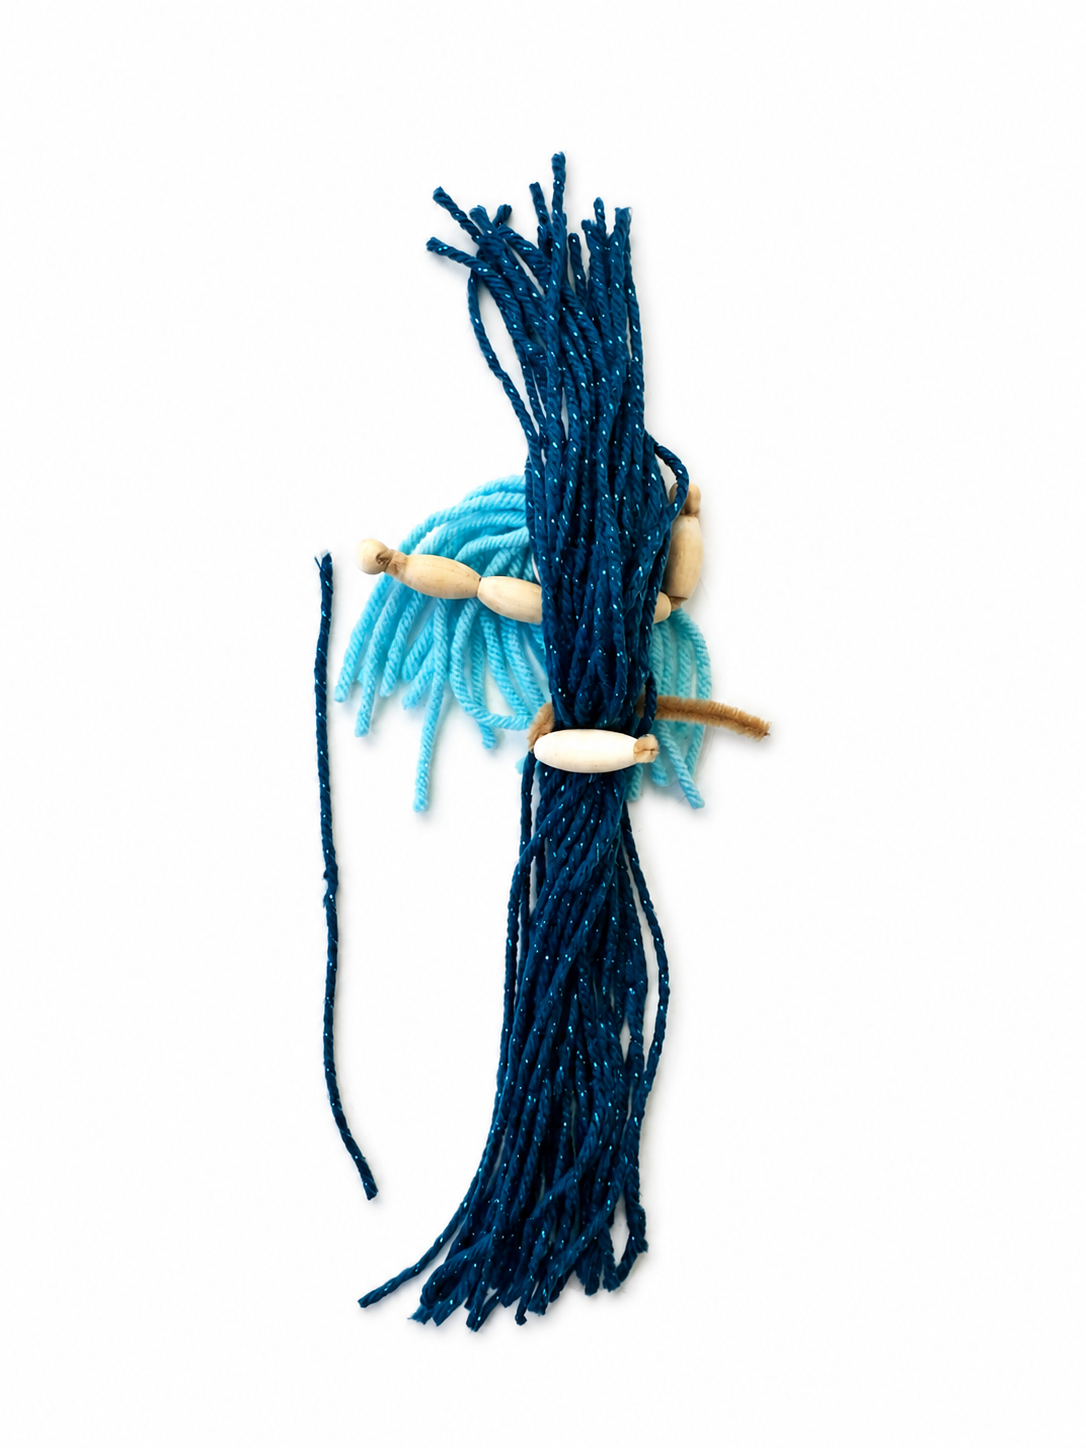
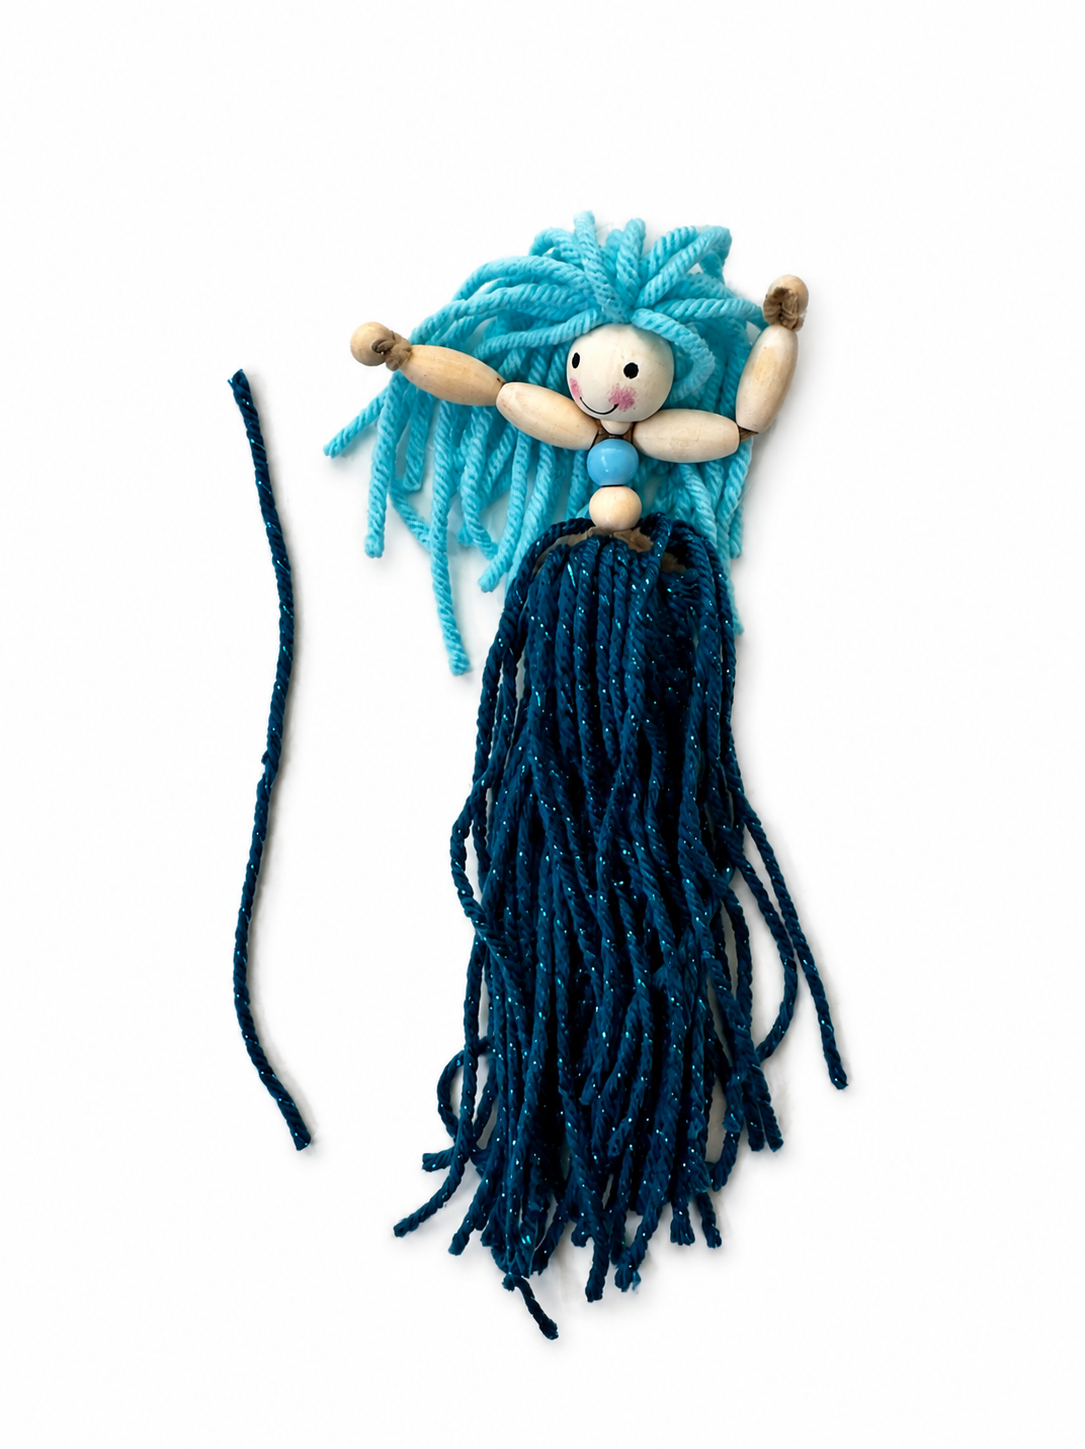
Step 8: Measure and Cut the Mermaid Tail Yarn
Choose your tail yarn color, or mix a few colors together. Wrap the yarn around a 6–7″ measuring card so the finished strands will be approximately 12–14″ long when cut.
Wrap the yarn as many times as you’d like (at least 20+ times). More yarn creates a fuller mermaid tail.
Cut through the yarn loops on one side so you have long individual strands. Set one strand aside, you’ll use it to tie the bottom of the braid later.
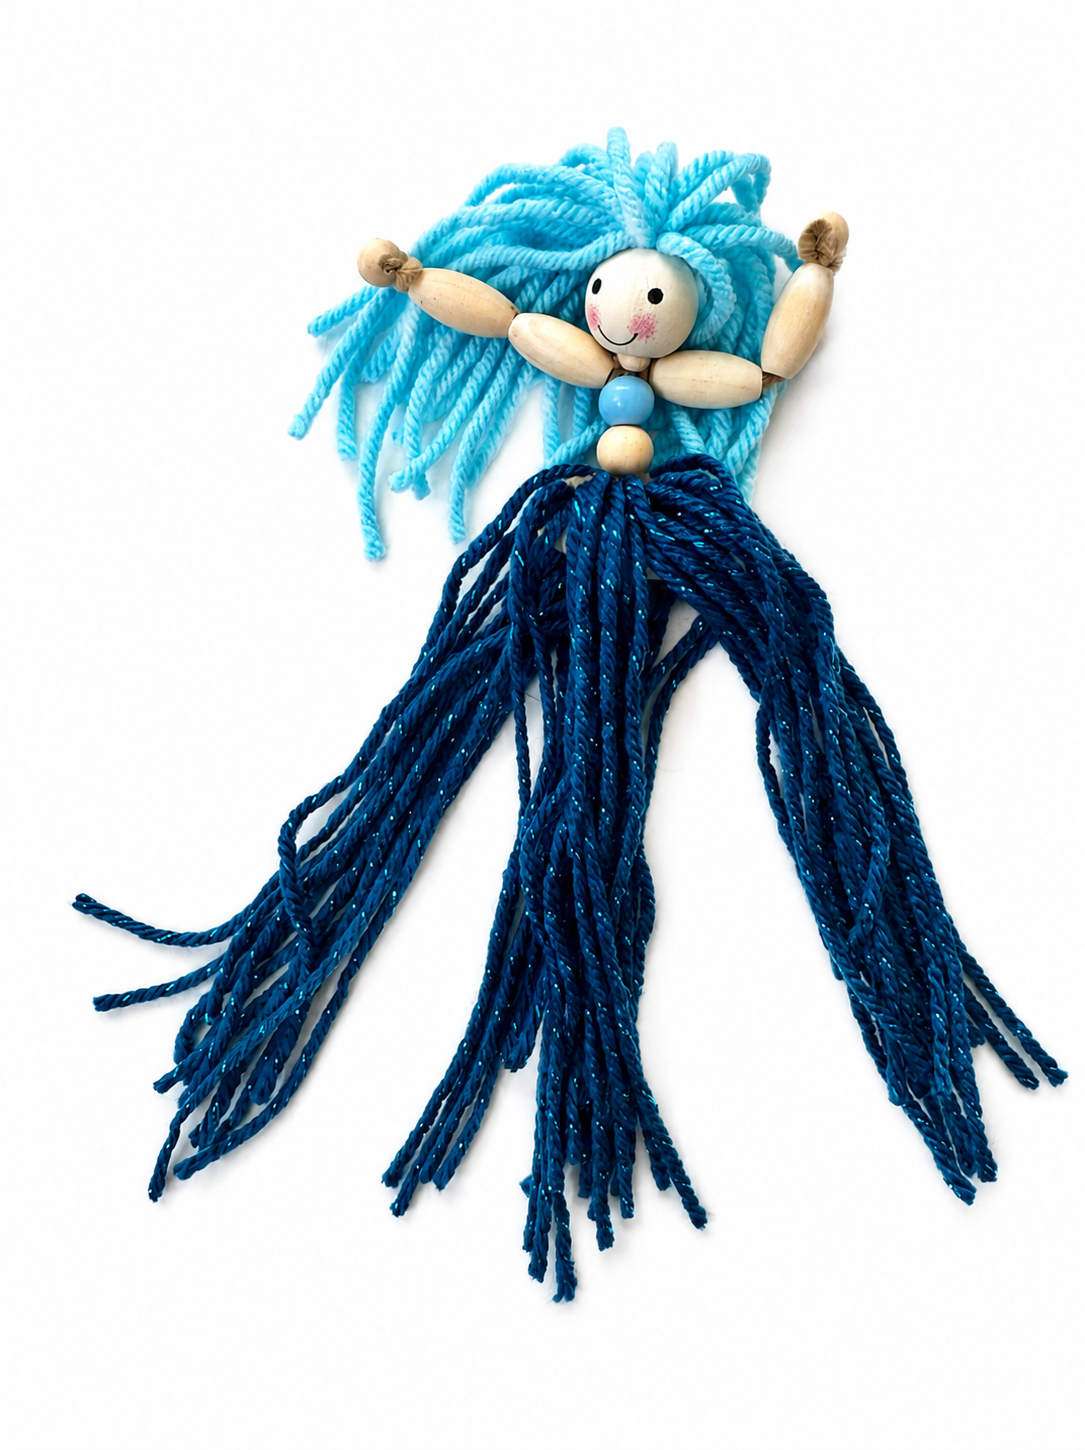
Step 9: Attach the Yarn Tail
Lay the center of the yarn strands across the lower part of your mermaid near the long body bead.
Bend the remaining pipe cleaner around the yarn and thread it through the opposite side of the long wooden bead so the yarn is secured underneath the mermaid’s body. If the pipe cleaner sticks out through the bead, carefully trim away the excess.
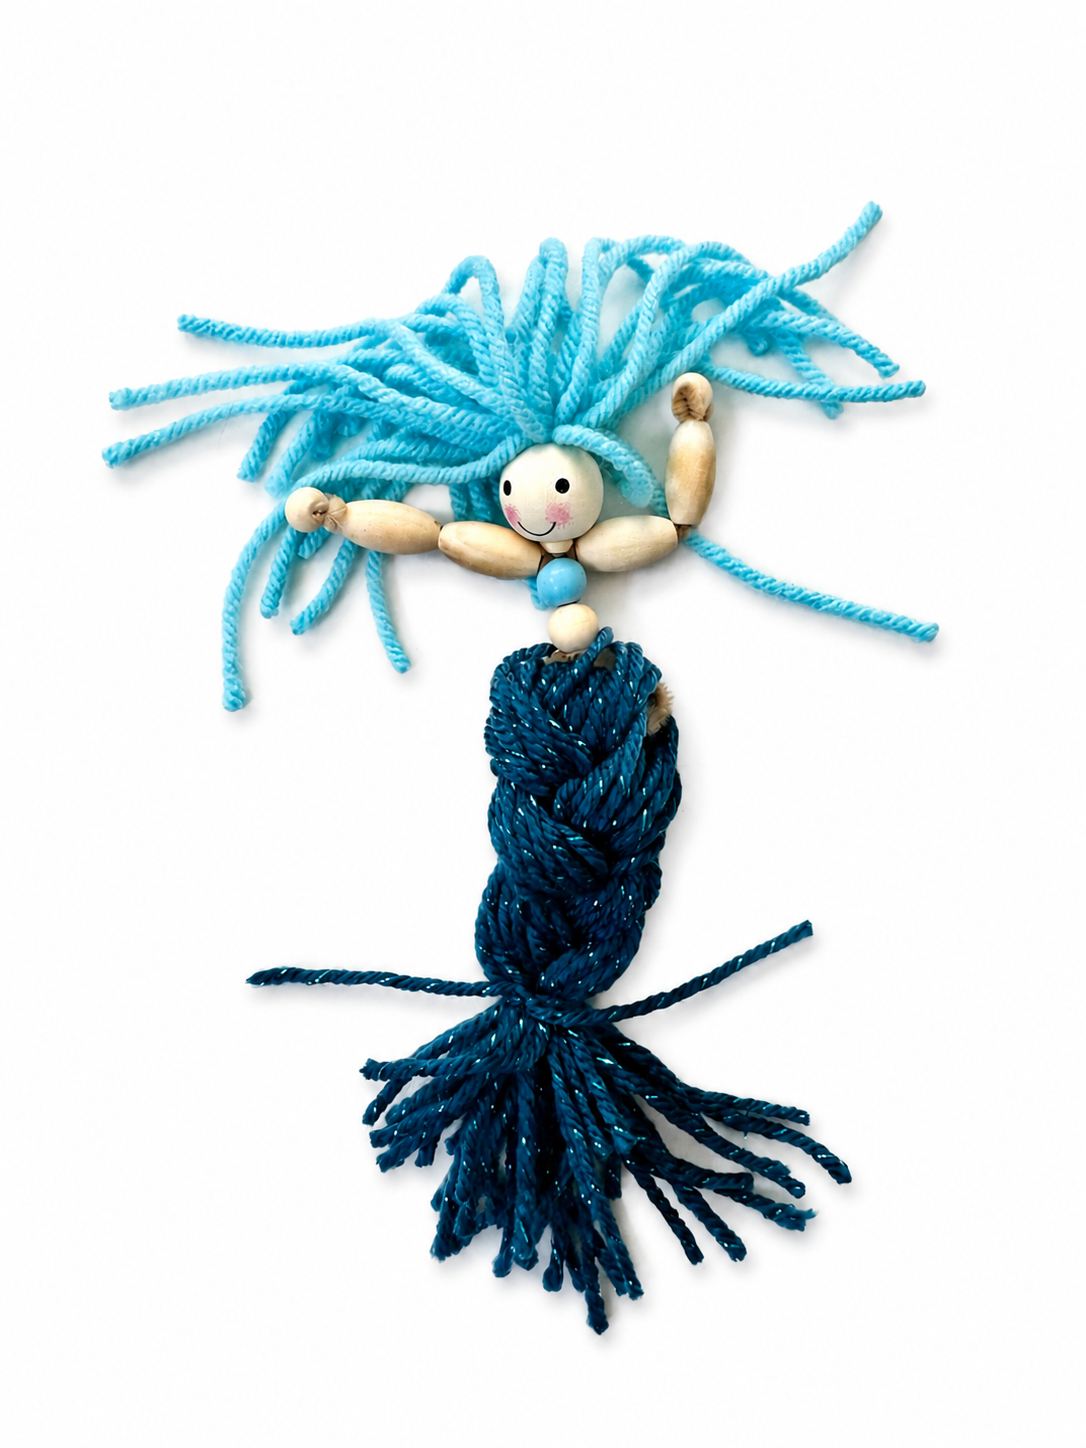
Step 10: Braid the Mermaid Tail
Fold the yarn strands downward and divide them into three sections.
Braid the tail, keeping the braid a little looser near the top and gradually pulling it tighter as you work toward the bottom.
Stop when you have about an inch of loose yarn remaining. Use the strand you set aside earlier to tie a secure knot around the bottom of the braid.
Step 11: Trim and Style Your Mermaid
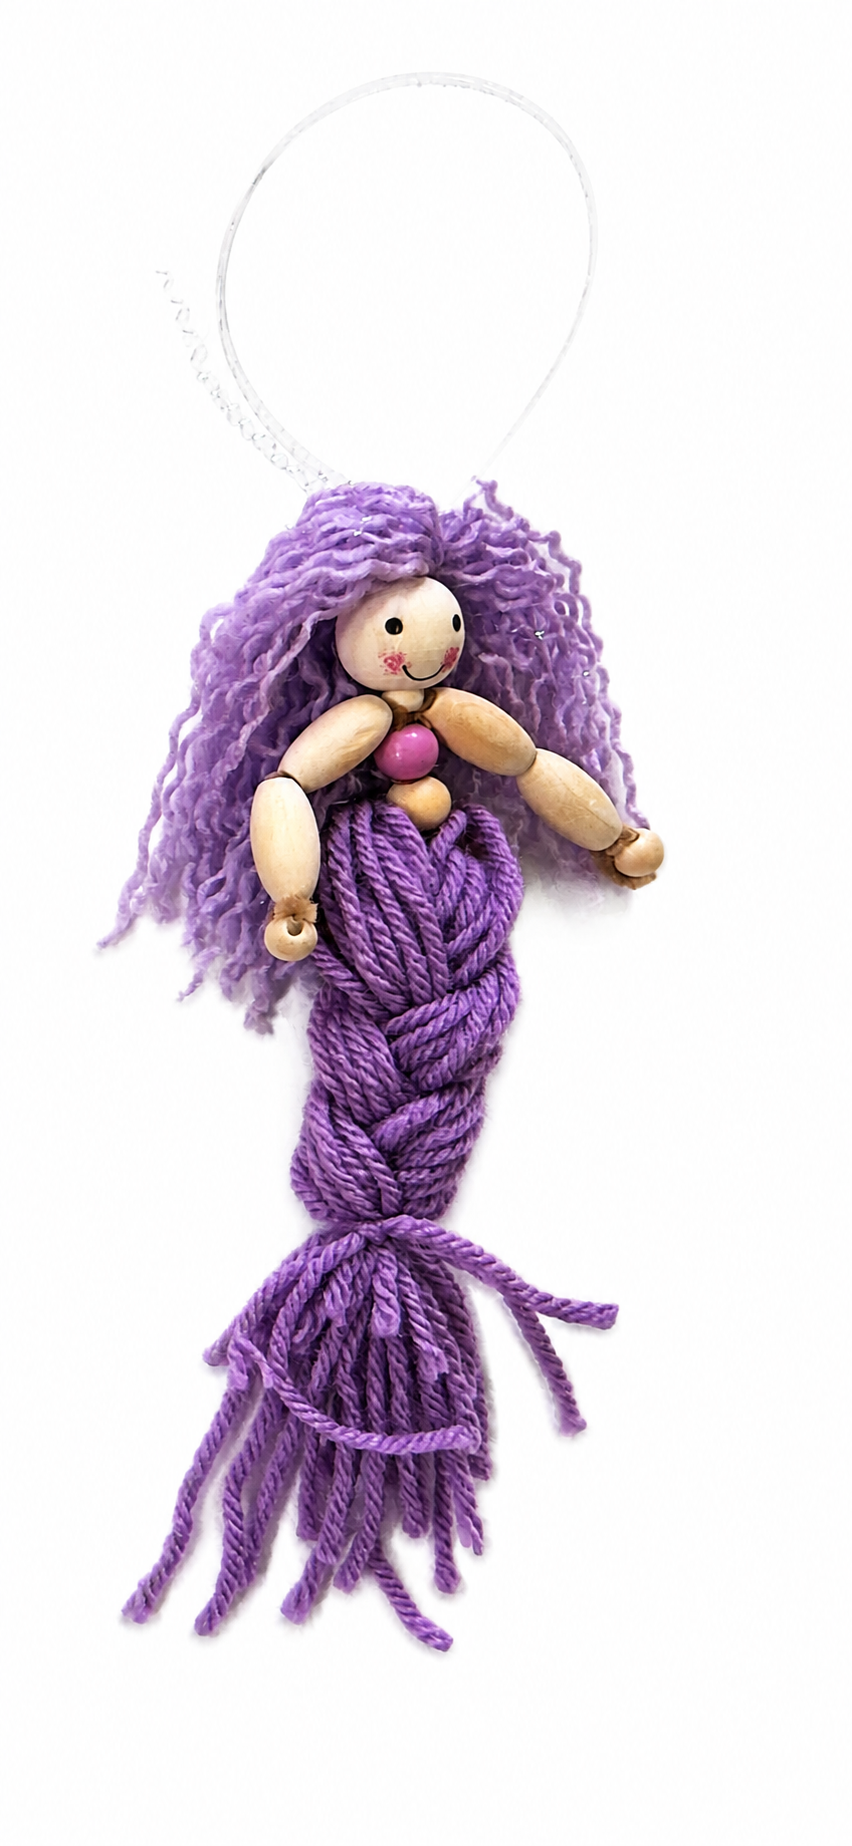
Trim any excess yarn from the knot at the bottom of the tail and even out any strands that look especially long.
You can also give your mermaid a haircut, mix different yarn colors or start unraveling individual strands for a softer look.
How to Unravel Yarn for a Fluffier Mermaid
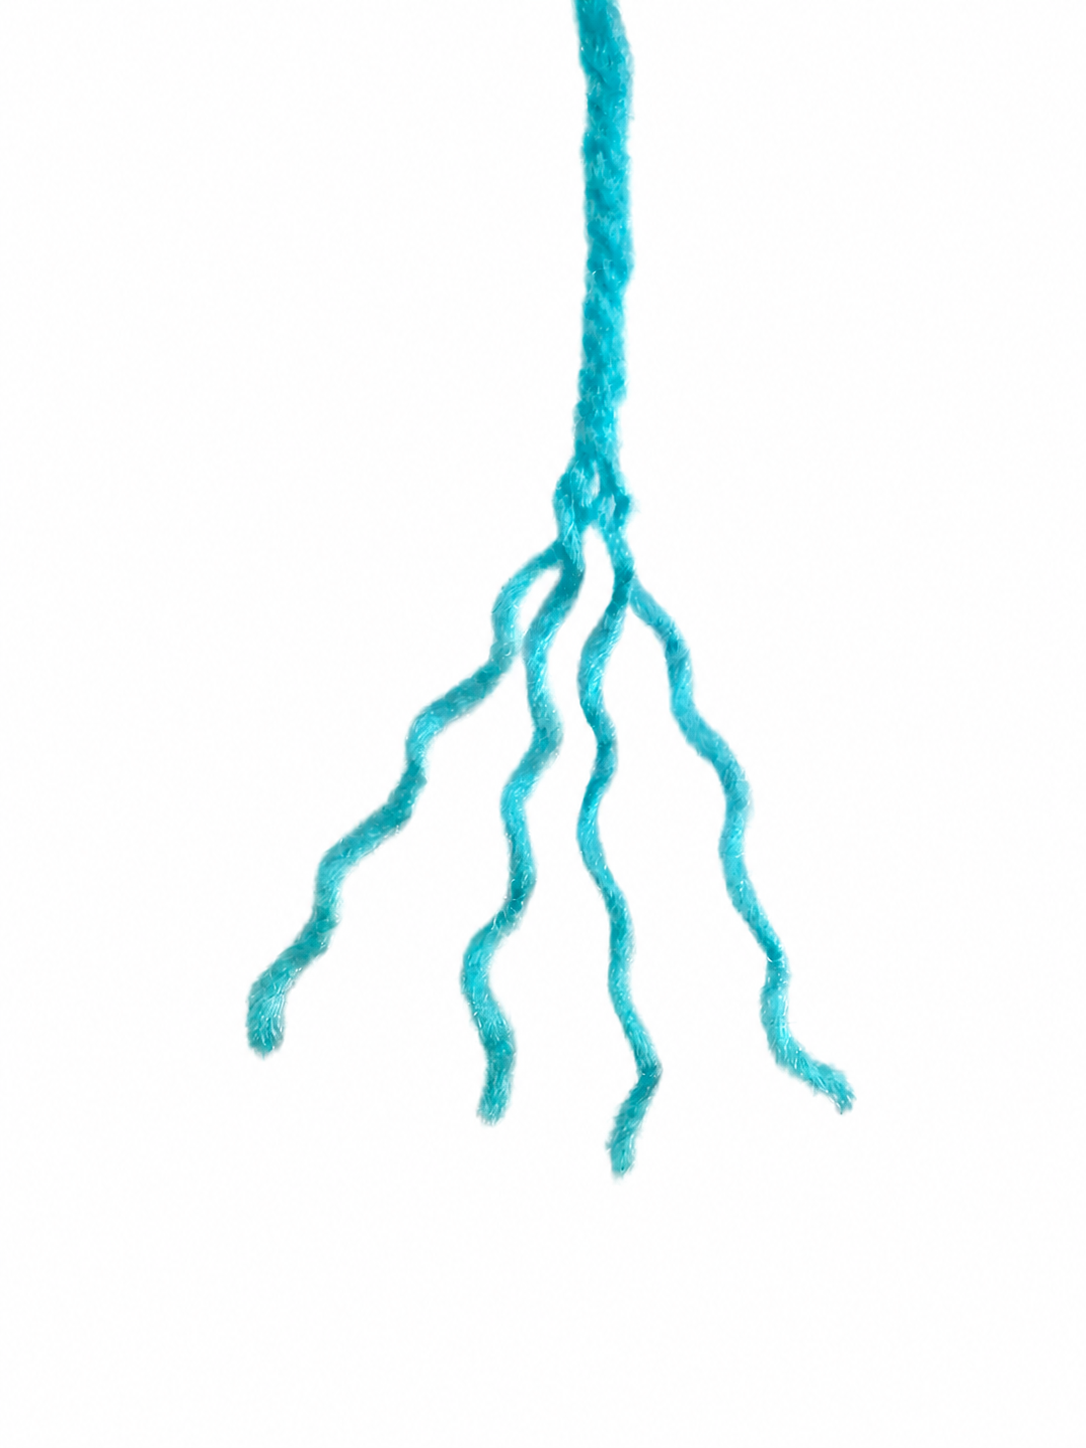 This is one of my favorite updates to the original craft because it gives older kids a way to turn the exact same basic project into something that feels much more detailed.
Most yarn is made from several smaller strands twisted together. If you gently separate those strands and untwist them, the yarn becomes softer, finer and much fluffier.
You can unravel:
- just the mermaid’s hair,
- just the tail,
- both the hair and tail, or
- only a few strands for a mix of smooth and fluffy texture.
There really isn’t a wrong way to do this. The more yarn you unravel, the softer and more fiber-art-like your finished mermaid will look.
Easy Ways to Customize Your Mermaid Doll
Once the basic construction is finished, this is where the project really becomes your own.
Try mixing hair colors, changing the hair length, combining several shades in the tail, unraveling only some of the yarn or creating different hairstyles.
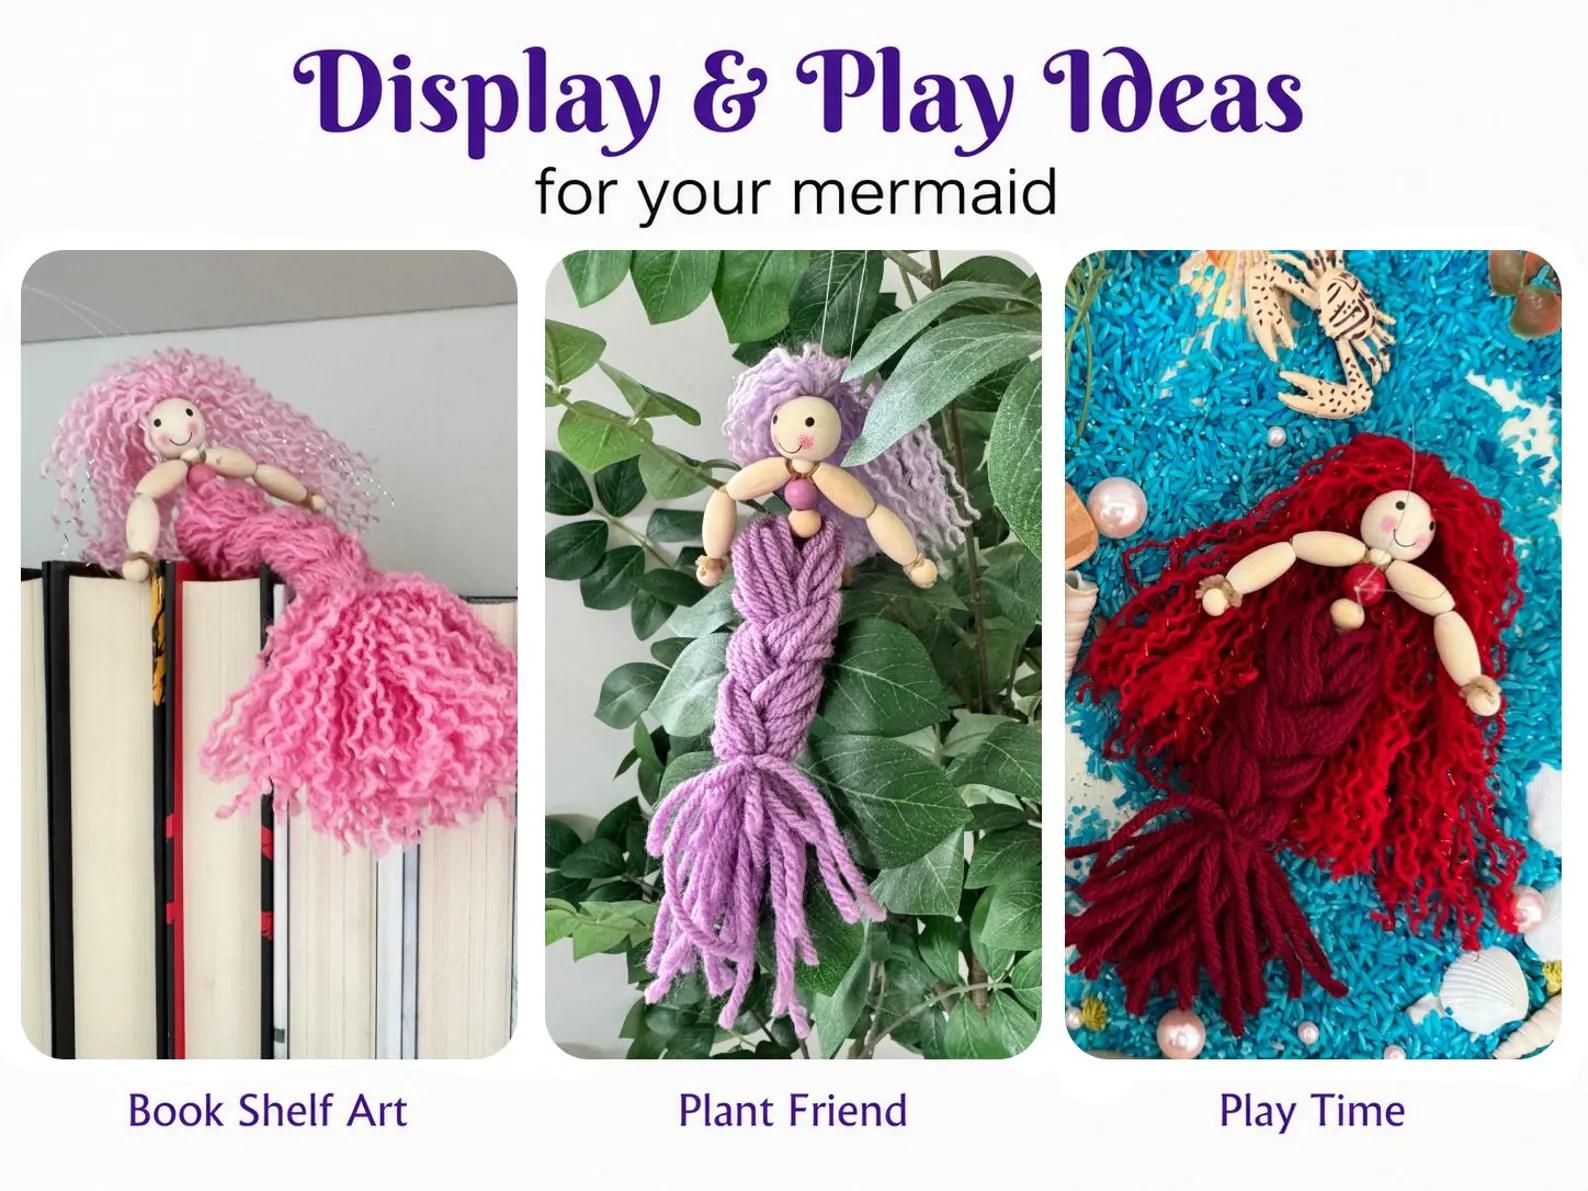
I especially love making these in different colors because a whole group of kids can start with the same supplies and still end up with completely different mermaids.
Want Everything Ready to Make?
You can absolutely use this tutorial to gather the supplies and make your mermaid from scratch – that’s why I’ve kept the complete instructions here.
But as a mom, I also know there’s a very real difference between thinking, “That would be cute to do with the kids!” and actually ordering several sizes of wooden beads, finding the right pipe cleaners, coordinating yarn colors, cutting everything and getting it all onto the table.
So I did that part for you.
My DIY Mermaid Craft Kits for Kids include the coordinated supplies and instructions you need to sit down and start making.
They’re designed to work for approximately ages 4–14, so younger kids can make the simpler version while older kids can add the unraveling and more detailed yarn techniques.
Enjoy Your Mermaid!
Whether you use one of my kits or raid your own craft closet, I hope your mermaid ends up looking completely different from everybody else’s.
Make rainbow hair. Give her a wildly uneven haircut. Try bangs. Make a fluffy tail. Make a simple tail. Mix all the colors and have fun.
Sign up for monthly freebies!
Shop more fun craft kits here!
Looking for a Craft Kit for Teens or Adults?
I make craft kits for grown-ups and older kids too!
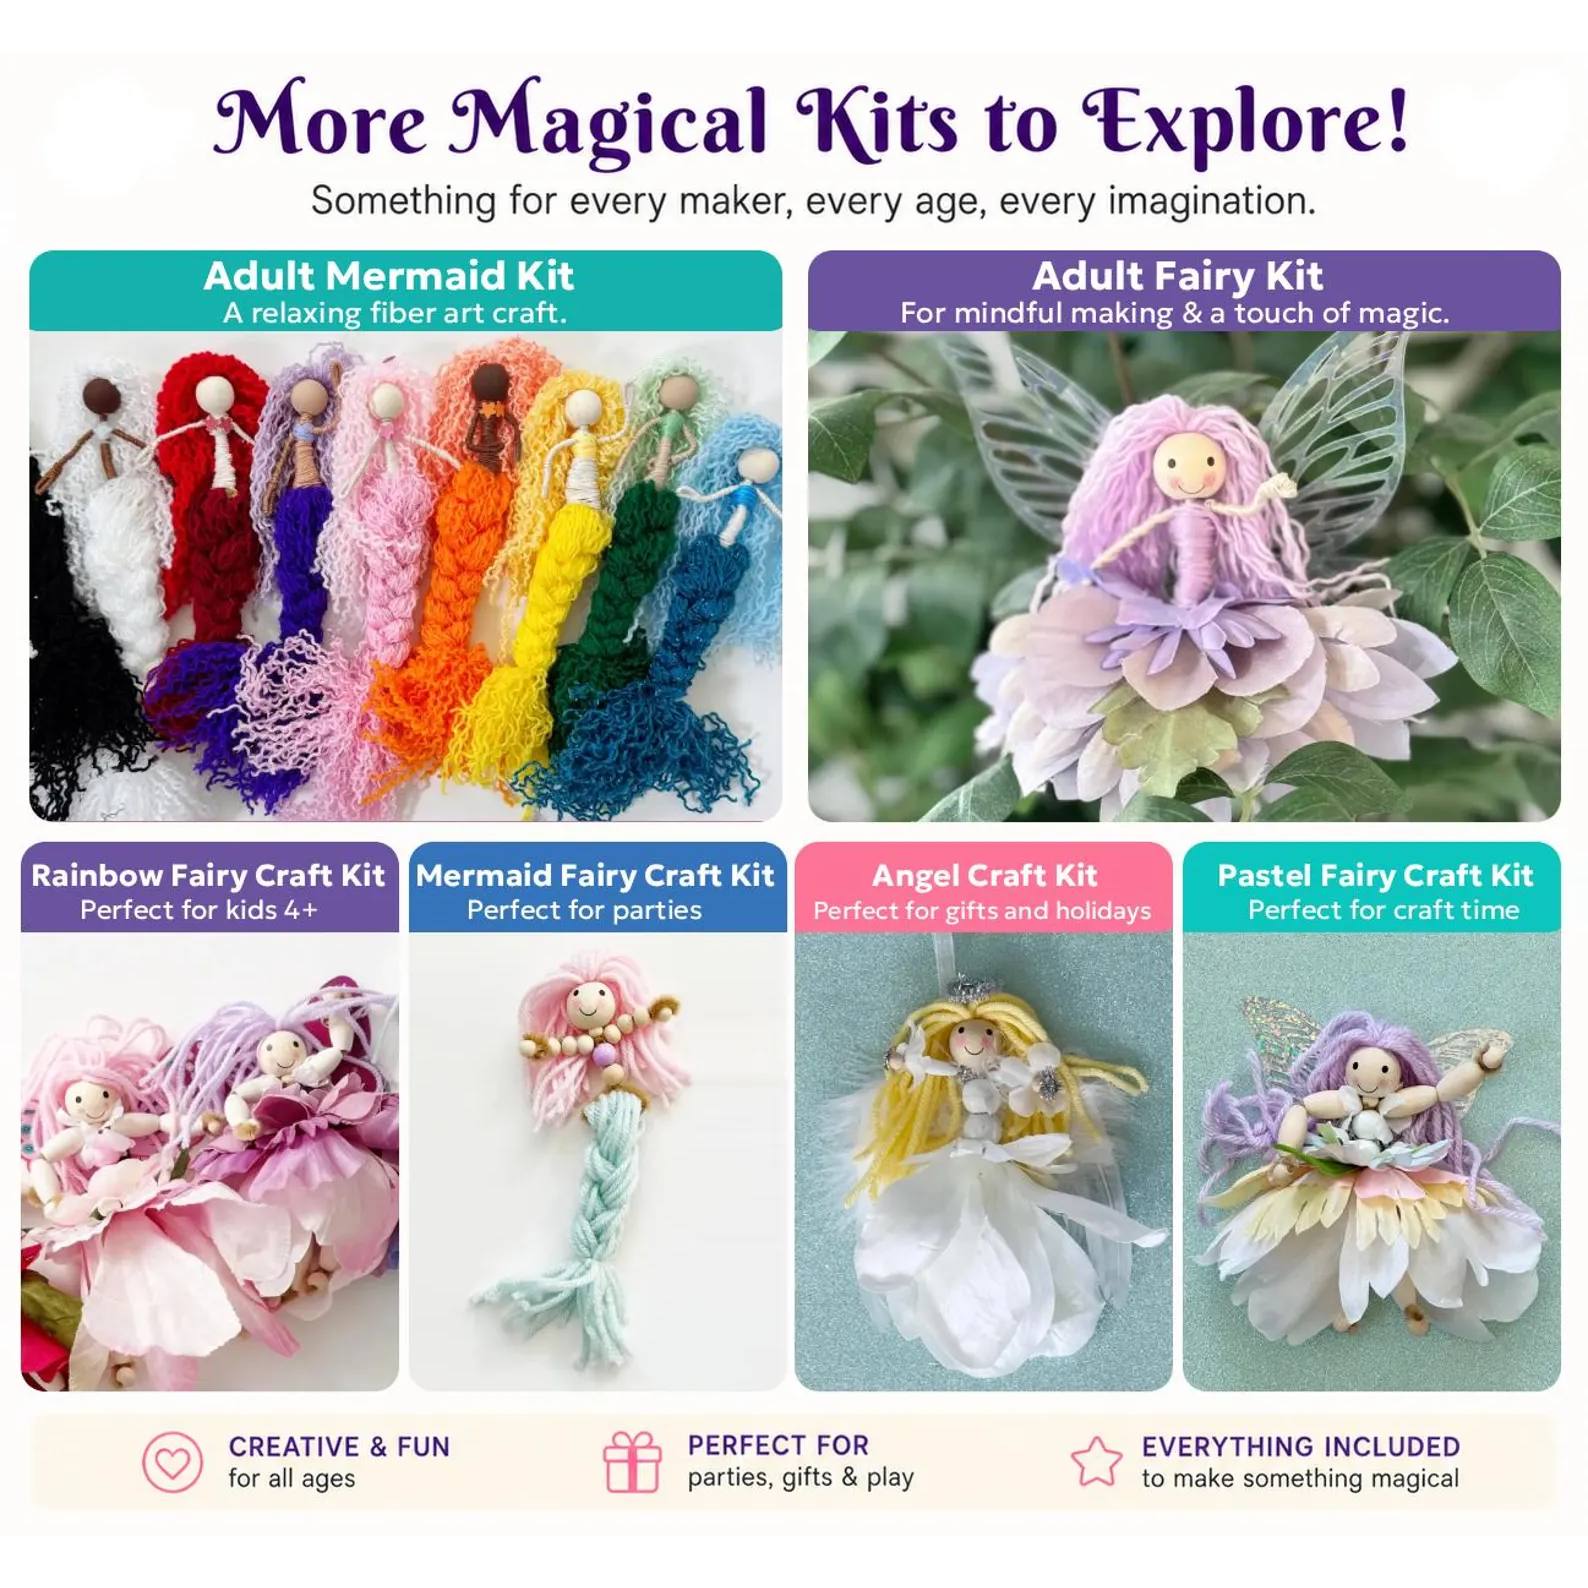 If you’re shopping for a teen, crafty adult, mother-daughter activity, girls’ night project or just something relaxing to make while listening to an audiobook, you can also browse my more detailed DIY craft kits.
These projects are designed to feel creative and satisfying without requiring you to already know what you’re doing. I especially love crafts where you can sit down with everything you need in one place, learn something new and end up with something you’re actually excited to keep.
Browse my teen & adult craft kits on Etsy →
Or visit my craft kit reviews and tutorials for more beginner-friendly projects, ideas and step-by-step instructions.
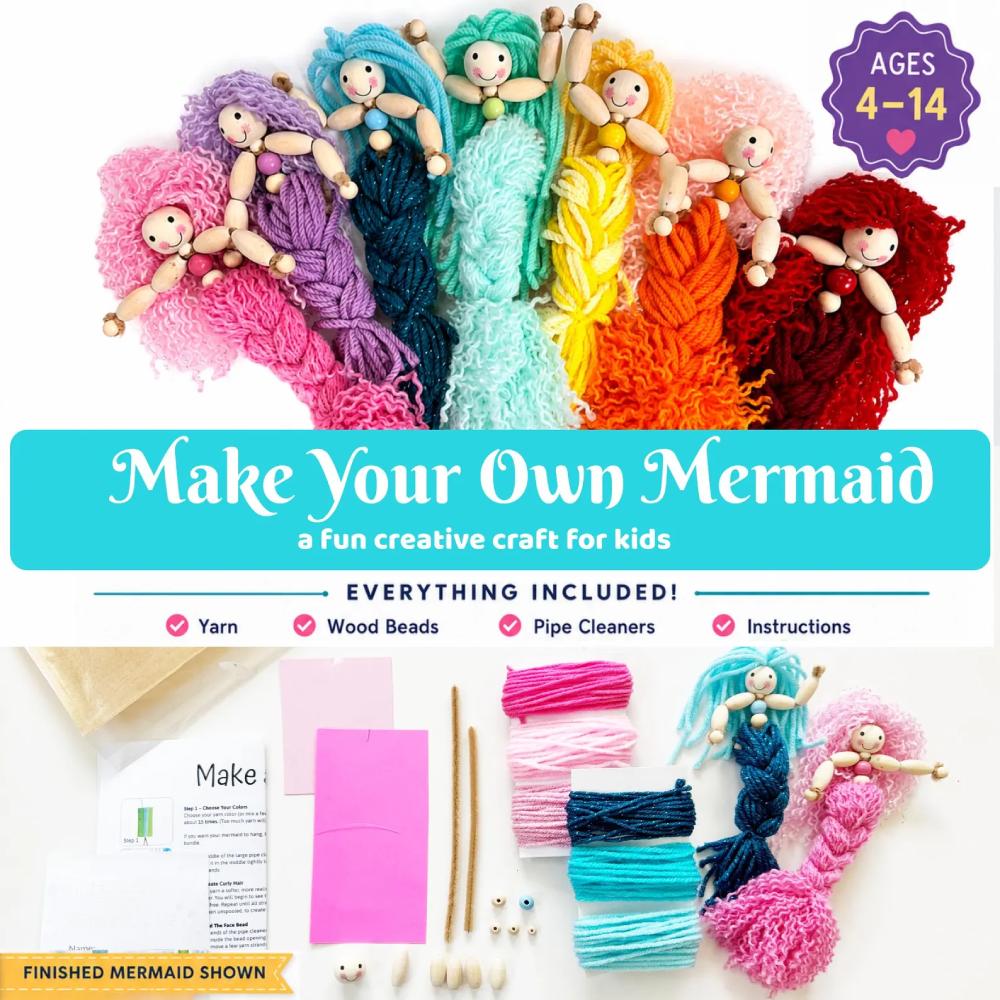
🧜♀️ Want to Make One Without Gathering All the Supplies?
I put together ready-to-make Mermaid Craft Kits with the yarn, wooden beads, pipe cleaners, measuring cards and instructions already prepared for you.
They’re designed to work for a wide range of ages, so younger kids can make the simple version while older kids can add the fluffier yarn techniques and extra details.

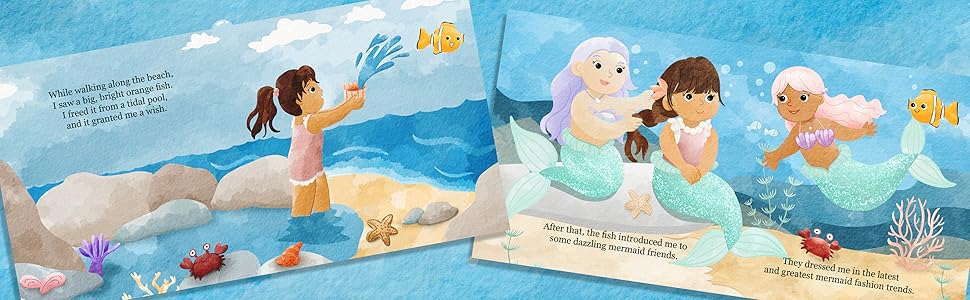
I hope these printable Mermaid Themed Worksheets and Crafts bring a spark of joy and creativity to your child's learning and coloring time. Want to add "Mermaid For A Day", from the "For a Day" picture book series, to your shelves?
Grab of Copy of "Mermaid For A Day" on Amazon.
Mermaid For A Day Preview
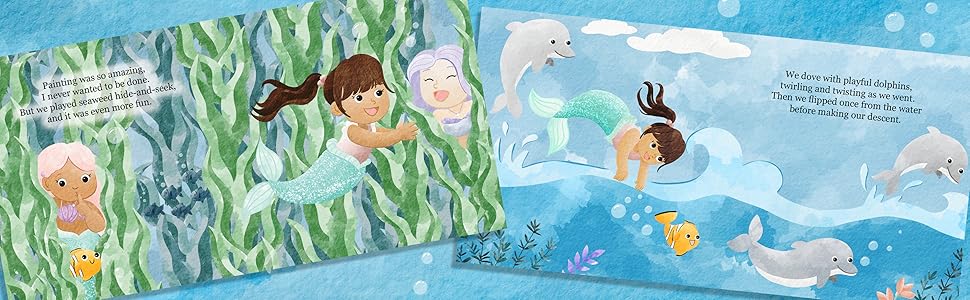
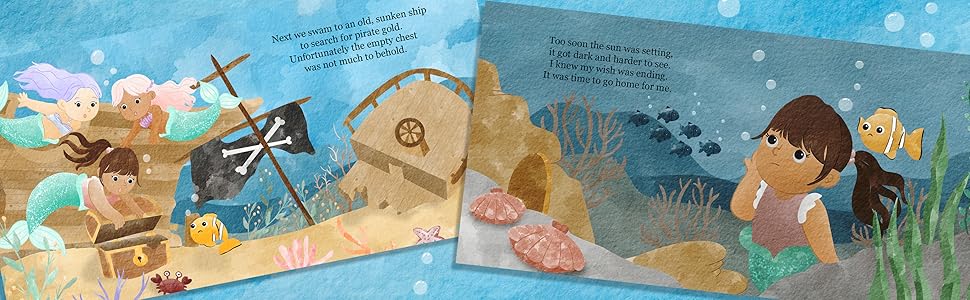
Looking for more fun? Find Mermaids and beyond:
- A-Z Mermaid Worksheets by Letter
- Color By Number Mermaid Pages
- Letter Tracing Worksheets (Free Printable) Mermaid Themed
- Letter "Do A Dot" Worksheets (Free Printable) Mermaid Themed
- ABC Everyting Worksheets and Beyond
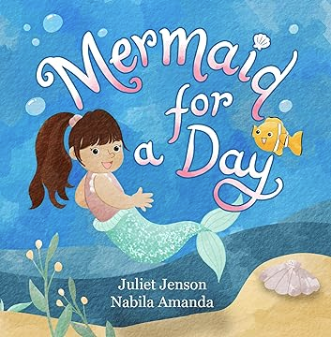
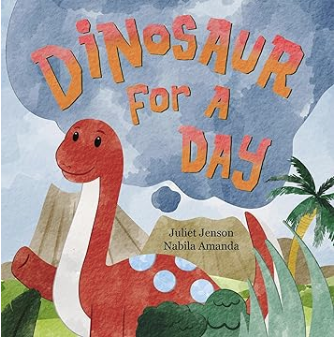
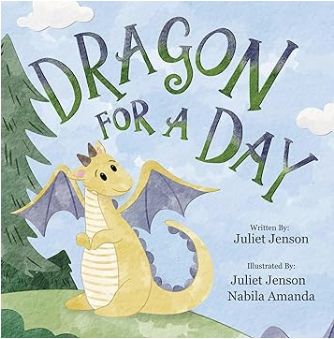
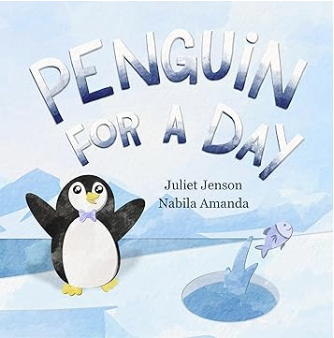
"For A Day" Picture Book Series Preview
 |
 |
 |
 |
|---|---|---|---|
| Unicorn For A Day | Dinosaur For A Day | Dragon For A Day | Penguin For A Day |
| A kind girl becomes and unicorn for a day and romps through the forest with other colorful unicorns playing games of tag, making flowers grow, and adventuring through the sky. | A kind boy gets his with to become a dinosaur for a day. He plays games with other friendly dinosaurs including coconut soccer, building a fort, and throwing stones into a volcano to make lava splash. | A kind boy gets his wish to become a dragon for a day. He spends the day playing with other friendly dragons. They fly together, squish clouds until it rains, make s'mores with their fire breath, and more. | An honest boy gets his wish to become a penguin for a day. He spends the day playing games with other friendly penguins including hockey, having a snow ball fight, fishing, and so much more. |
