The sight word “see” is an important early reading word that helps children talk about looking, noticing, and observing the world around them. These free printable “see” sight word worksheets give kids meaningful practice recognizing, reading, tracing, and using the word see through simple, hands-on learning activities.
Children see see often in everyday language and early readers, such as: “I see it,” “Do you see that?” “Can you see me?” and many beginner books. Because see appears so frequently in early questions and sentences, learning it early supports reading fluency and comprehension.
As a mom of four (with one child currently learning sight words), I know how exciting it is when kids start noticing and talking about what they see around them. I design these worksheets to be encouraging, approachable, and easy to use at home or in the classroom.
All of these “See” worksheets are completely free, easy to print, and flexible enough for classroom use, homeschooling, or quick literacy practice at home.
Each download is shared as a single click-and-print, with no sign-up required.
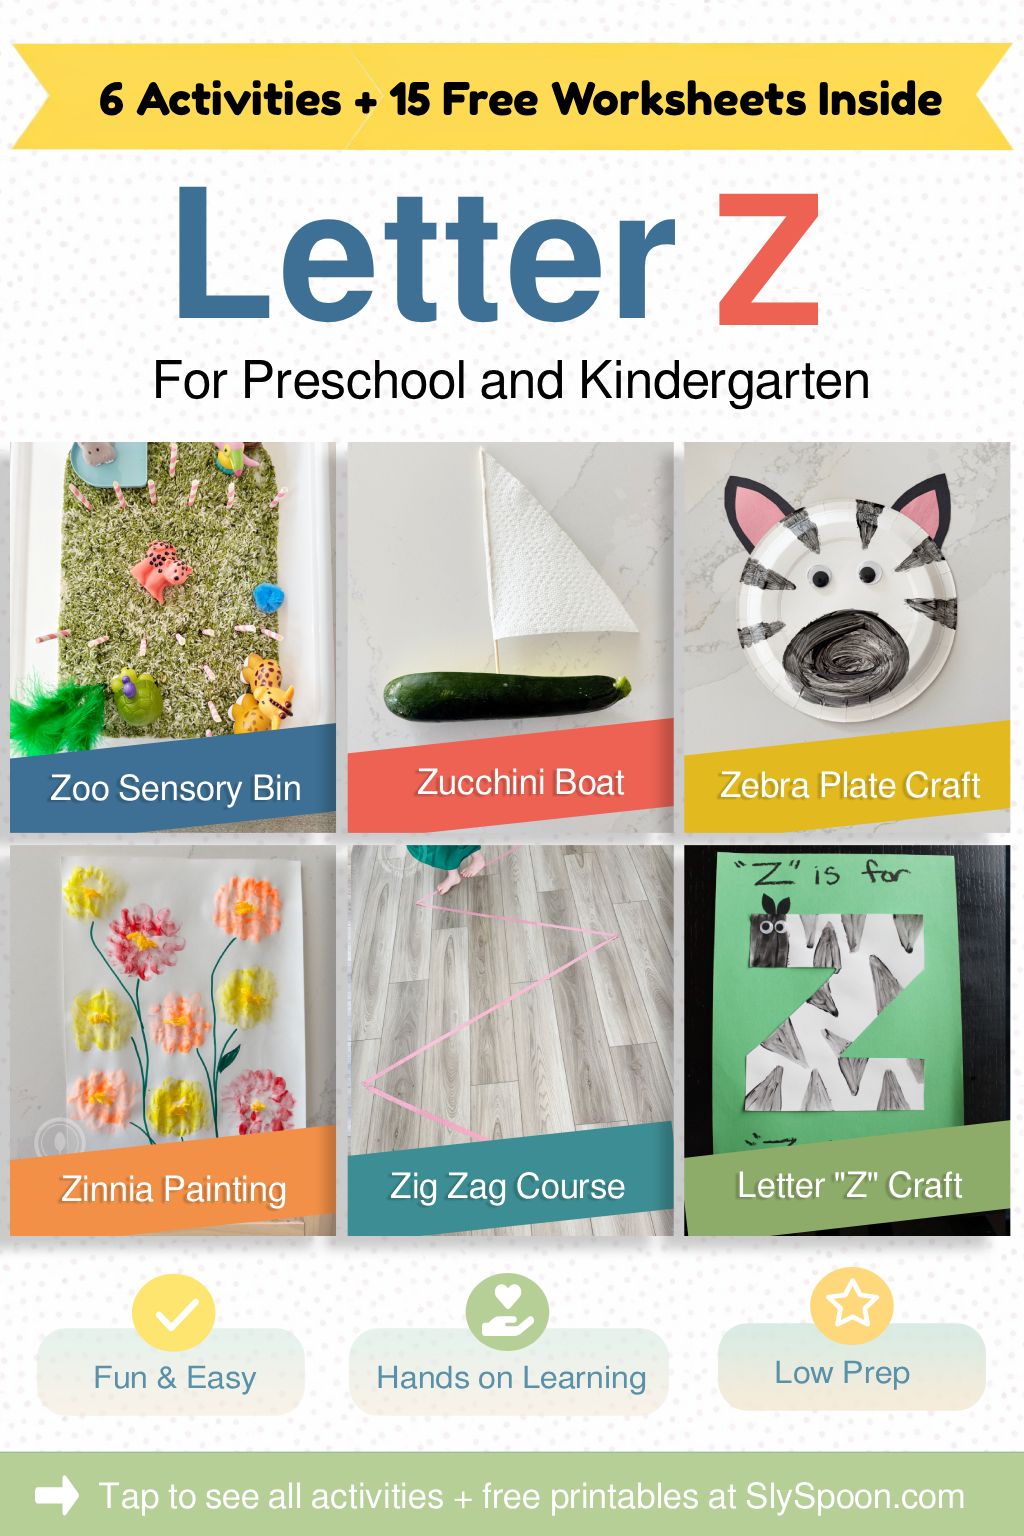
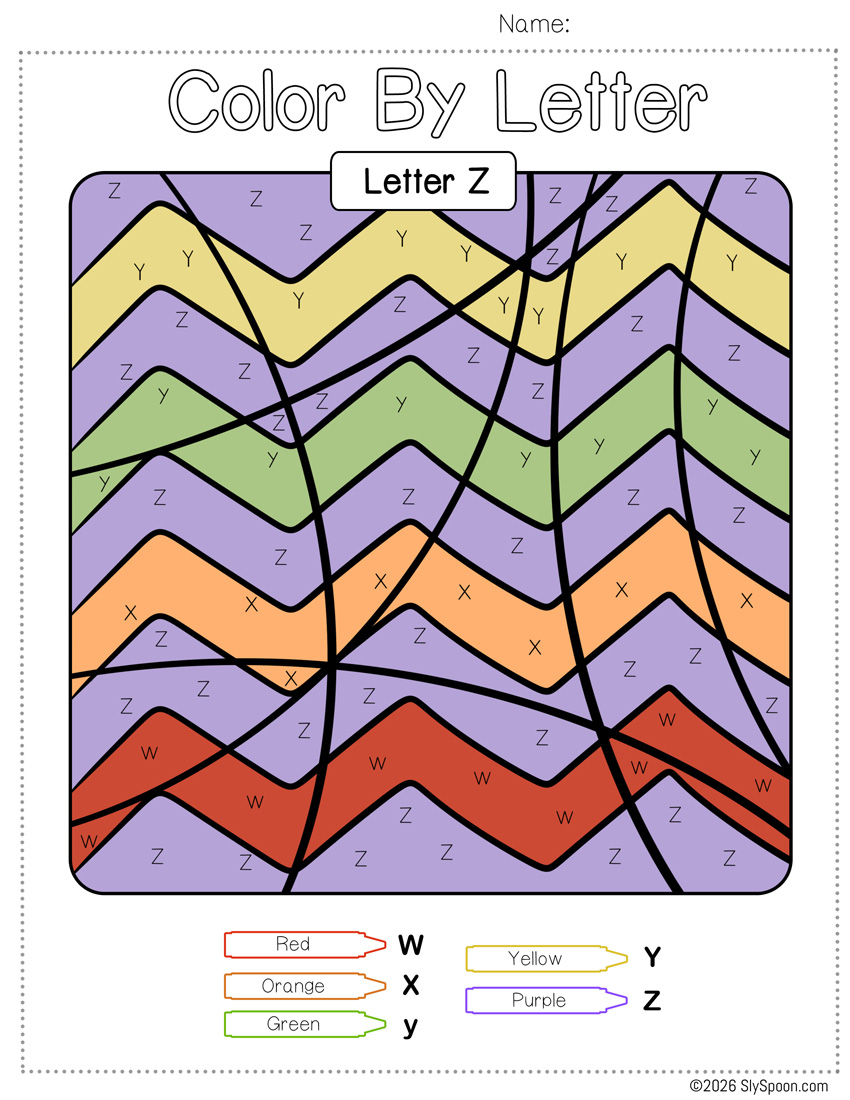
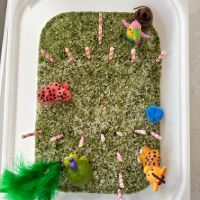
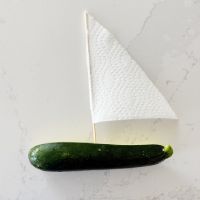
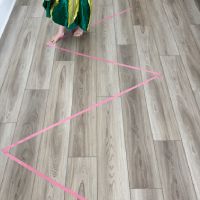
Looking for simple, hands-on ways to make your Letter Z week more fun? These Letter Z extension activities are easy to prep, flexible, and perfect for preschool and kindergarten learners. Whether you are teaching at home or in the classroom, these ideas help children explore the letter Z through sensory play, creativity, movement, and hands-on learning.
This roundup includes six low-prep Letter Z activities that can be adapted for different ages and settings. Use the jump links below to find the activity that works best for your day.
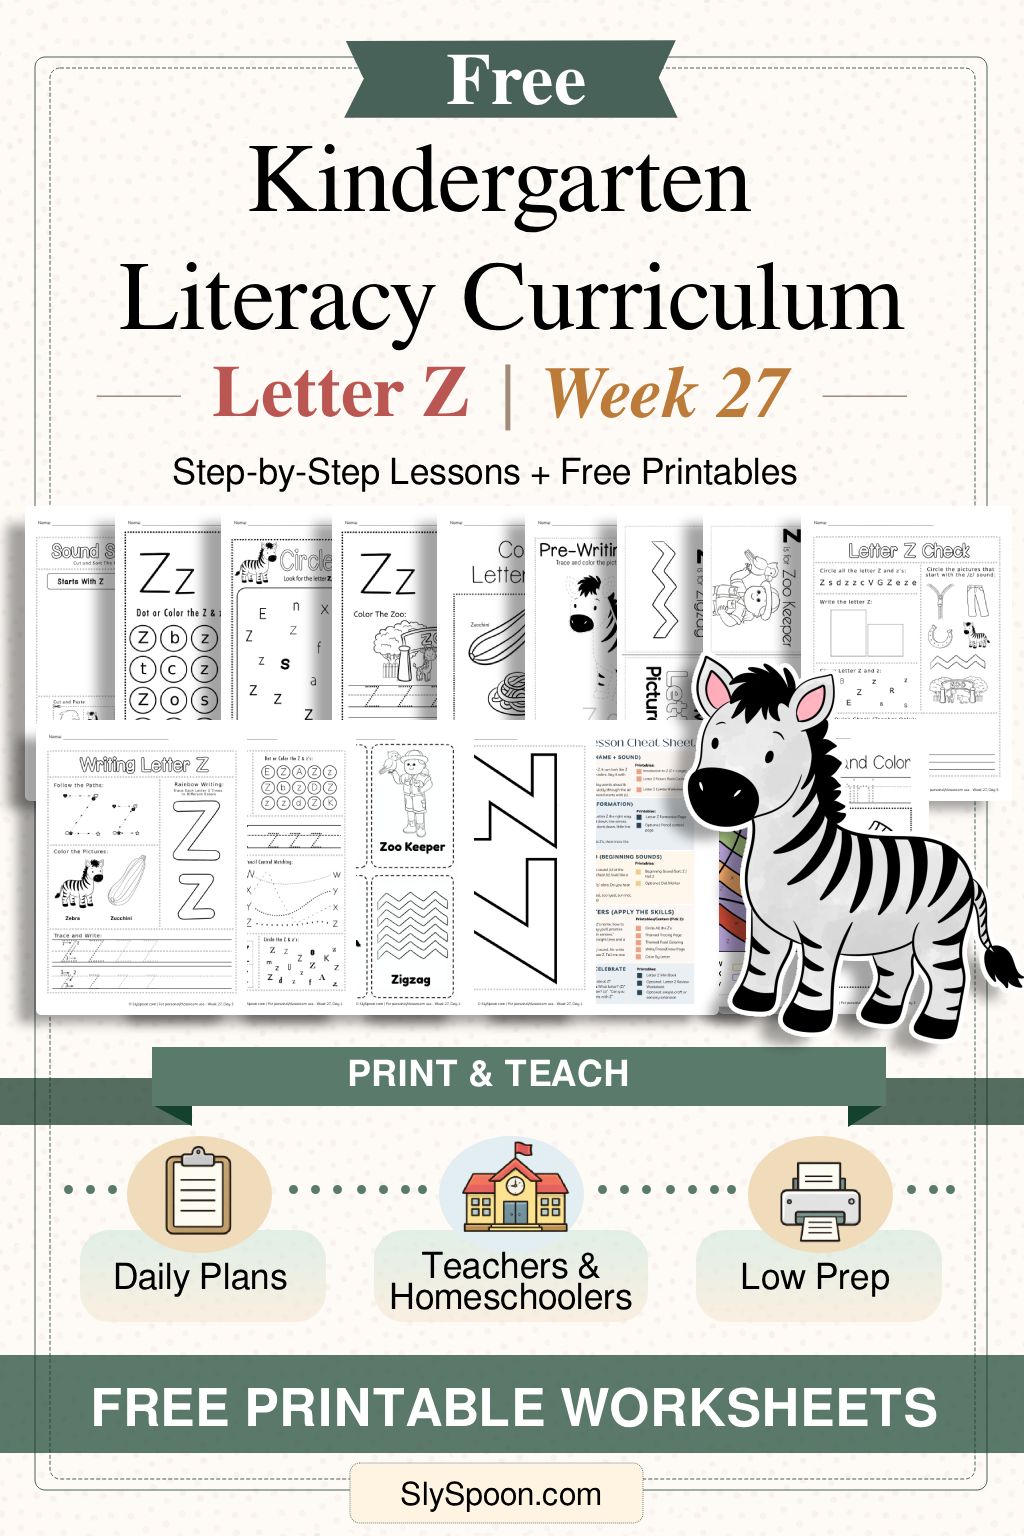
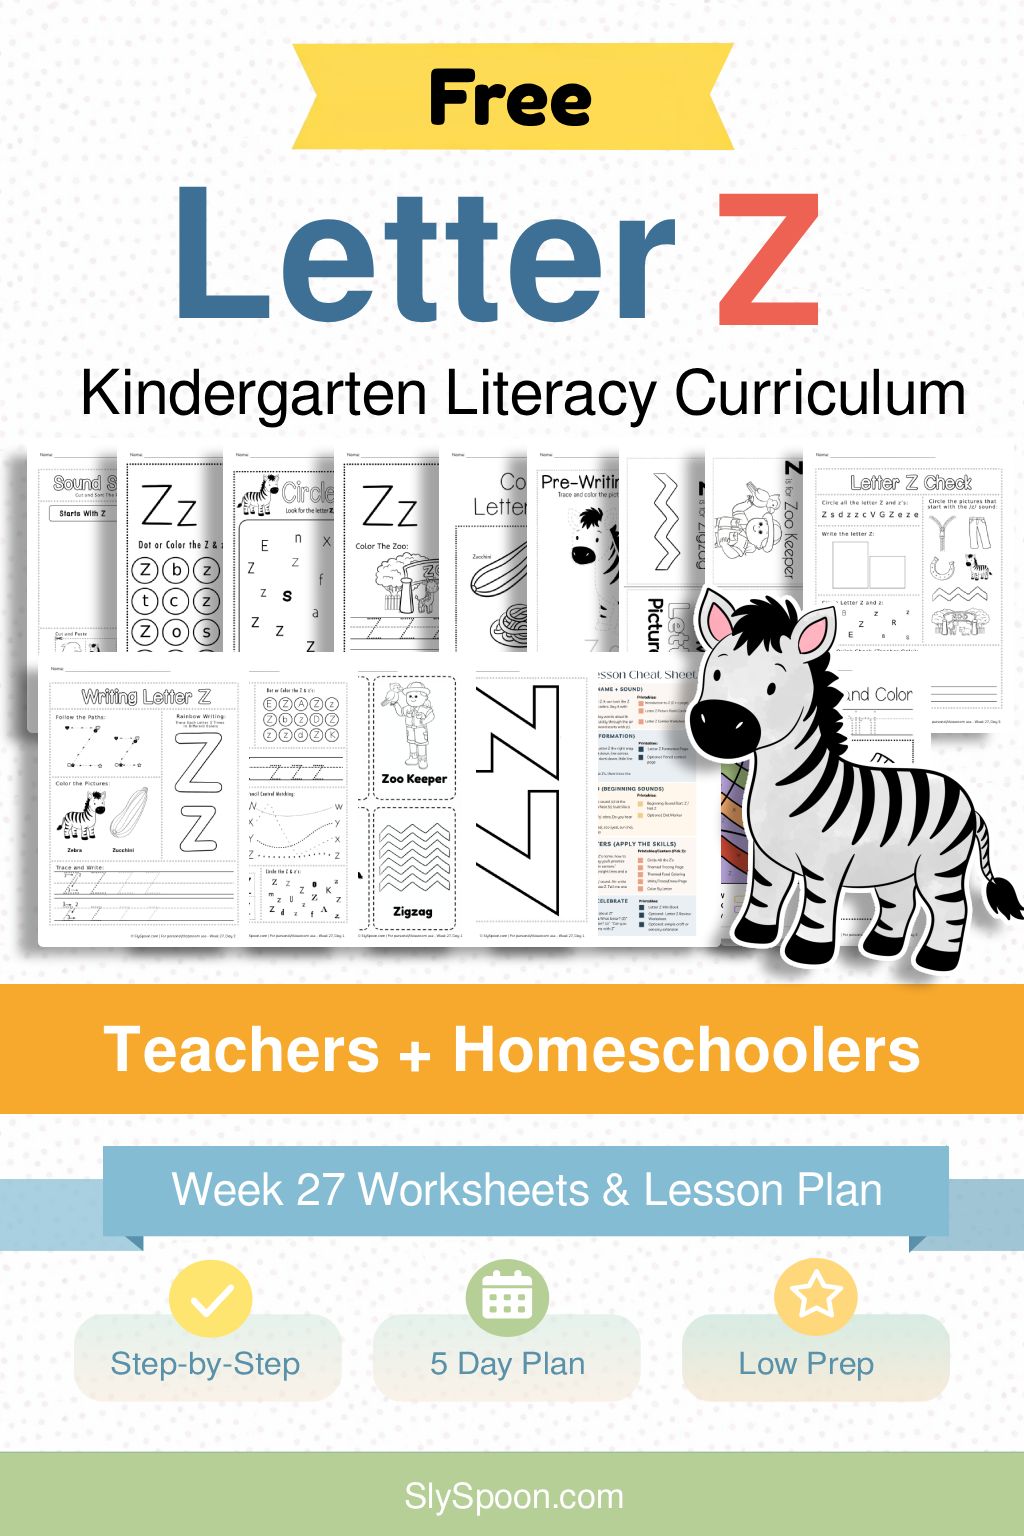
Welcome to Week 27. This is your low-prep, print-and-go Letter Z plan. Each day includes a quick 5-minute mini lesson, one simple activity, and free printables that support it.
Best for: kindergarten centers, homeschool, preschool review, and busy parents who want a simple plan without a lot of prep.
How to Use This Page (Choose Your Path)
Teachers: Use the Week at a Glance, print the weekly packet, then run the daily mini lessons.
Homeschoolers: Do 1 day per day, or combine Days 1–2 and Days 3–4 for a 3-day week.
Parents: Scroll to Parent Plan for the simplest version.
Want the full Kindergarten Literacy Curriculum (A–Z)?
This post is part of my Free Kindergarten Literacy Curriculum series. If you’d rather skip scrolling and grab everything in one organized download, you can shop the printable packets below.
Weekly unit PDFs include teacher scripts, printables, and extension activities or the Full curriculum bundle includes the full units (A–Z)
Tip: If you’re a teacher, the weekly PDF is perfect for sub plans, literacy centers, or sending home as practice.
Print This Weekly Packet (Low Prep)
If you only print a few pages, these are the best ones for Week 27:
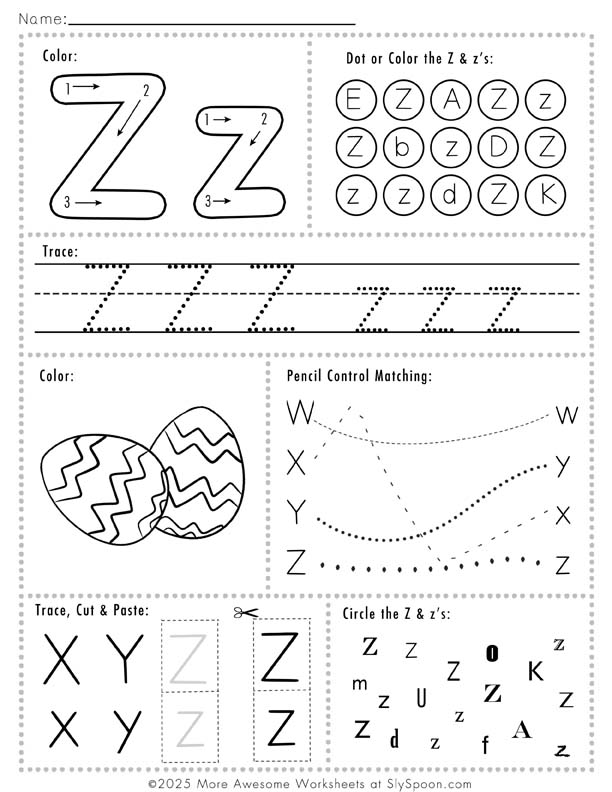
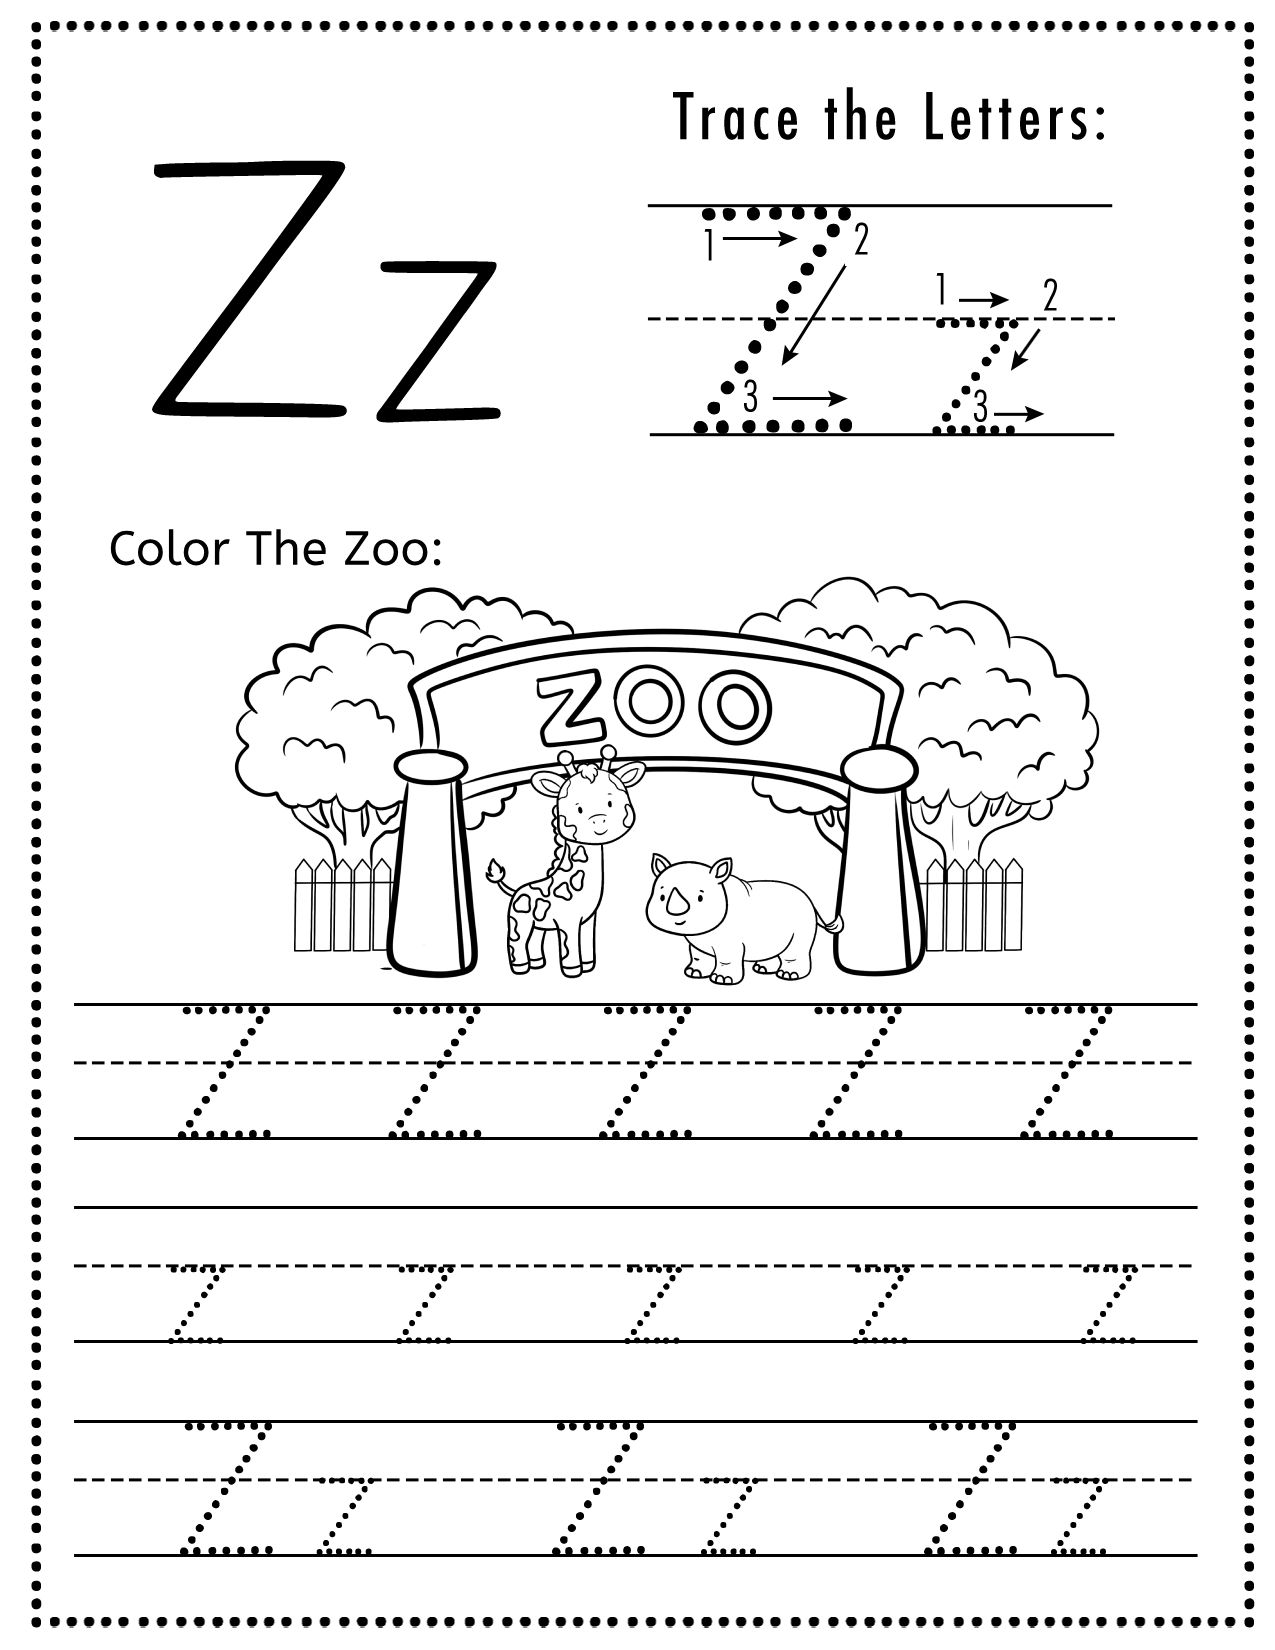
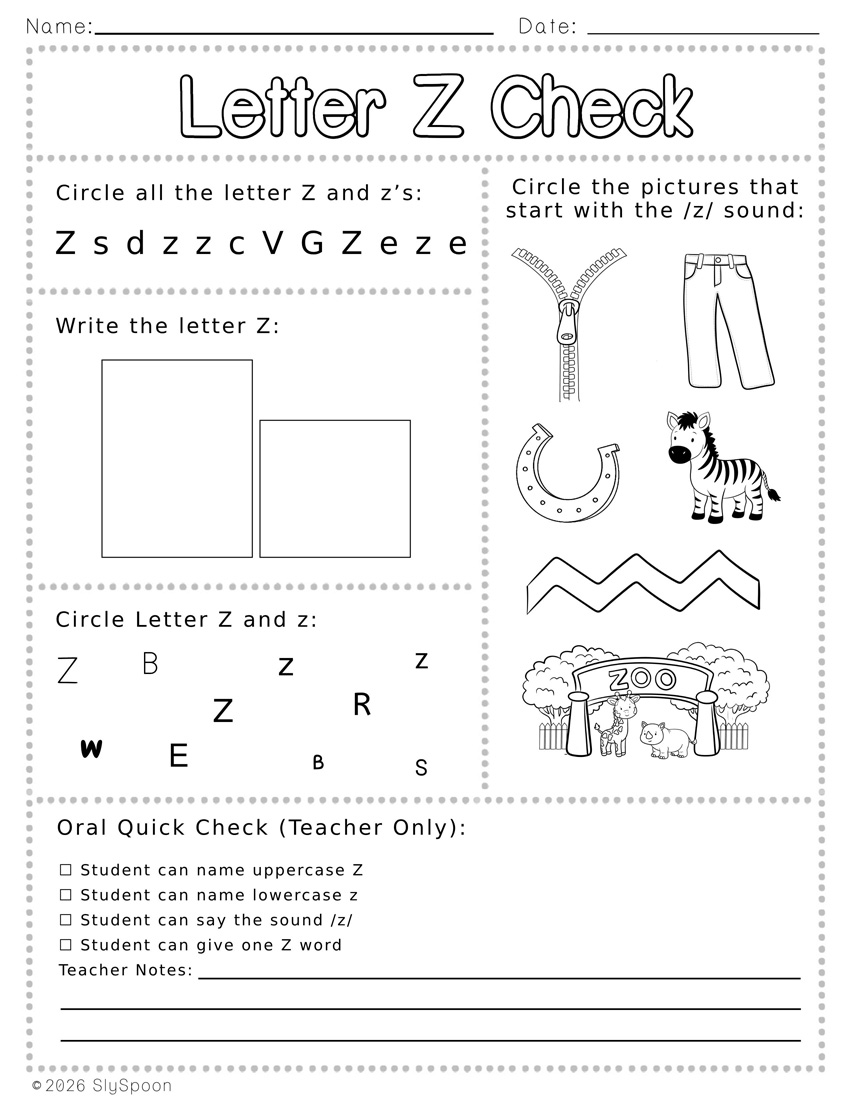
Letter Z Combo Worksheet (Day 1)
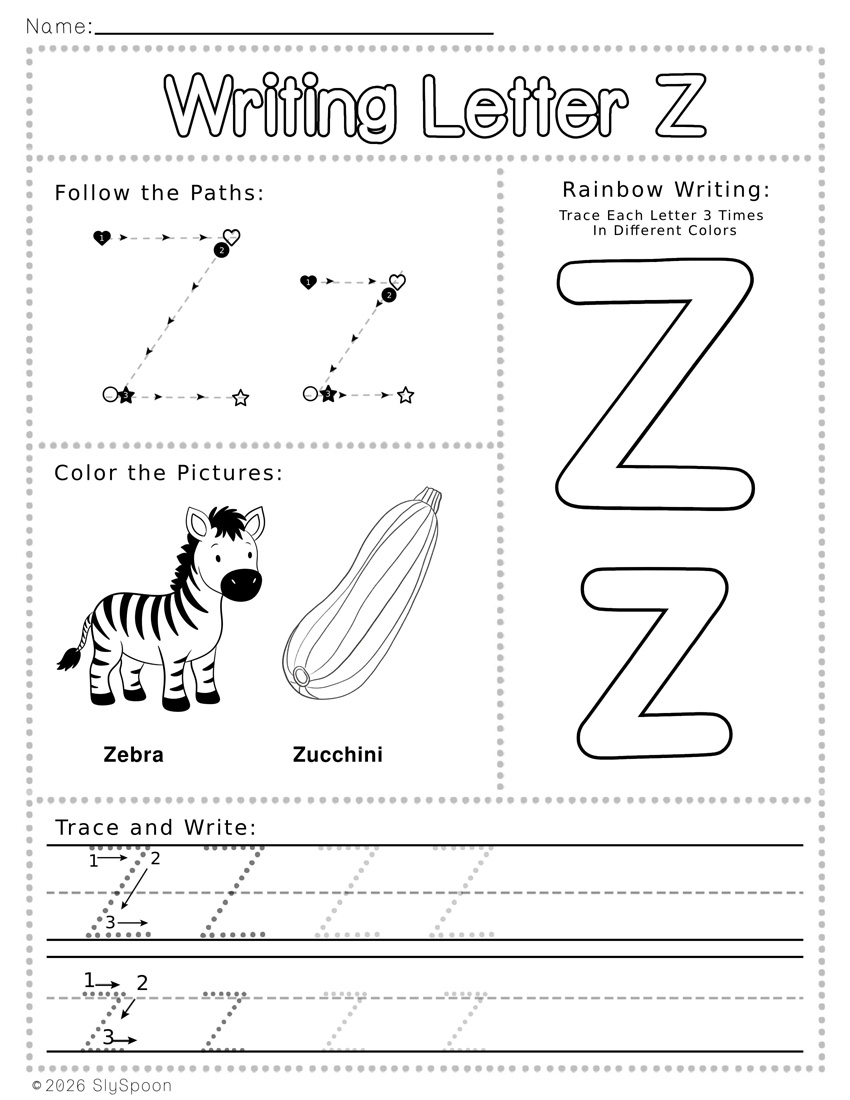
Letter Z Formation Writing Page (Day 2)
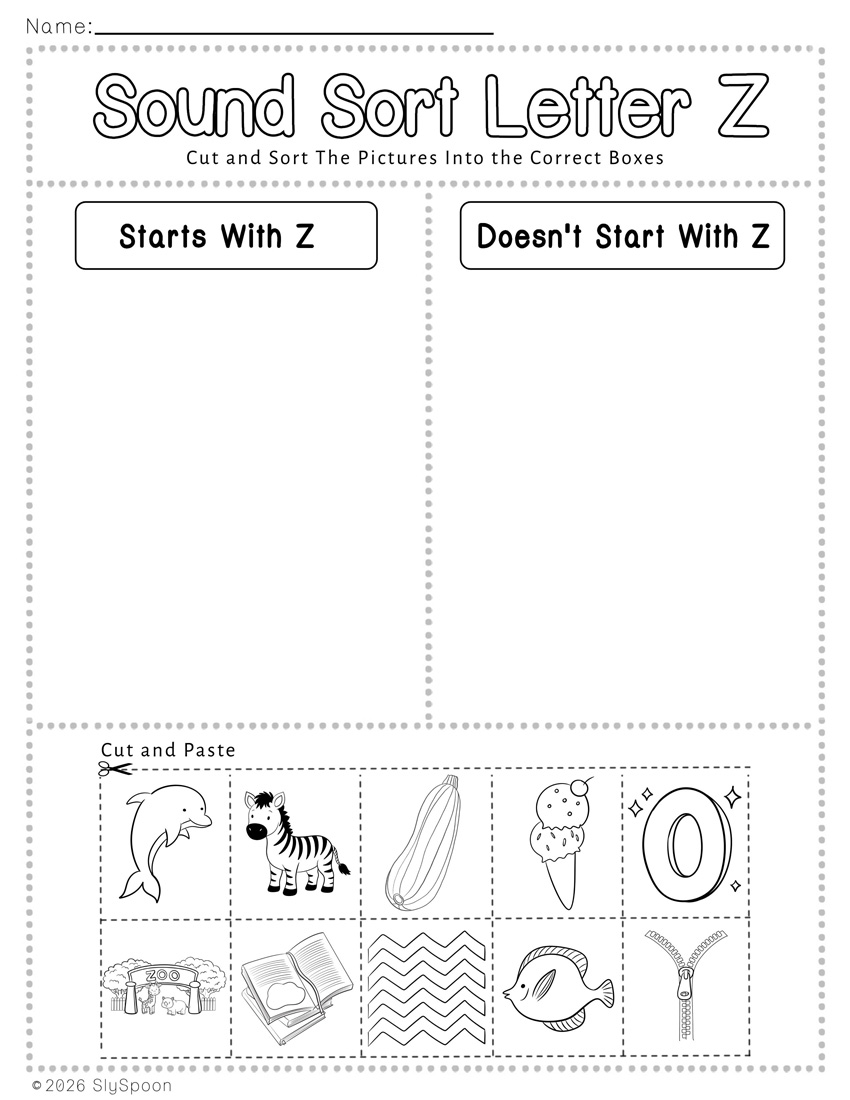
Beginning Sound Sort: Z / Not Z (Day 3)
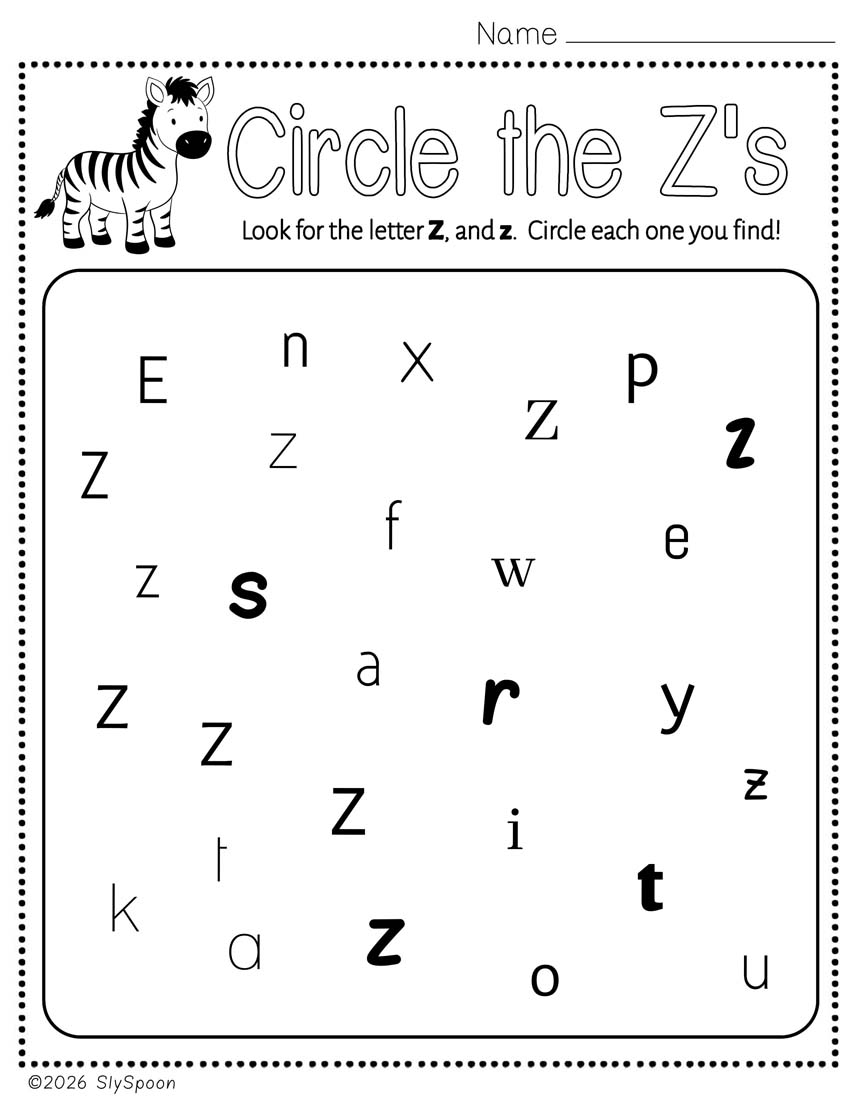
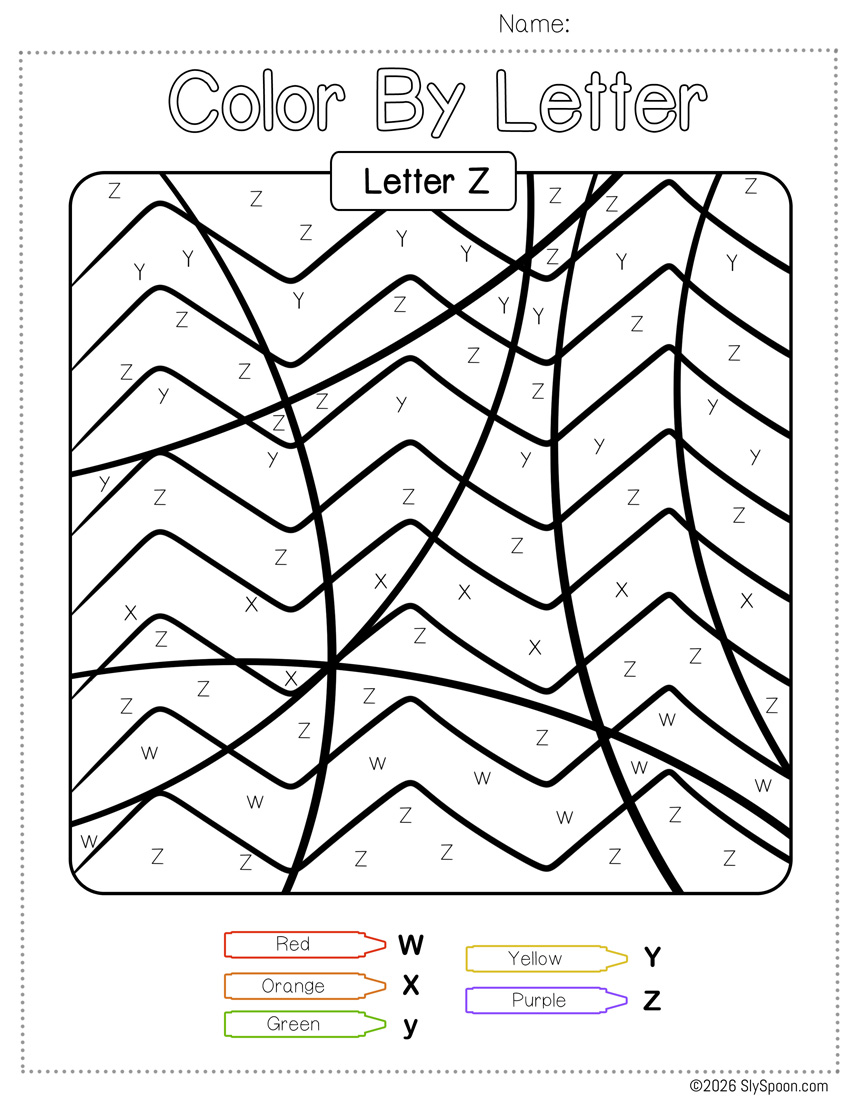
Circle All the Z’s (Day 4 warm-up or center)
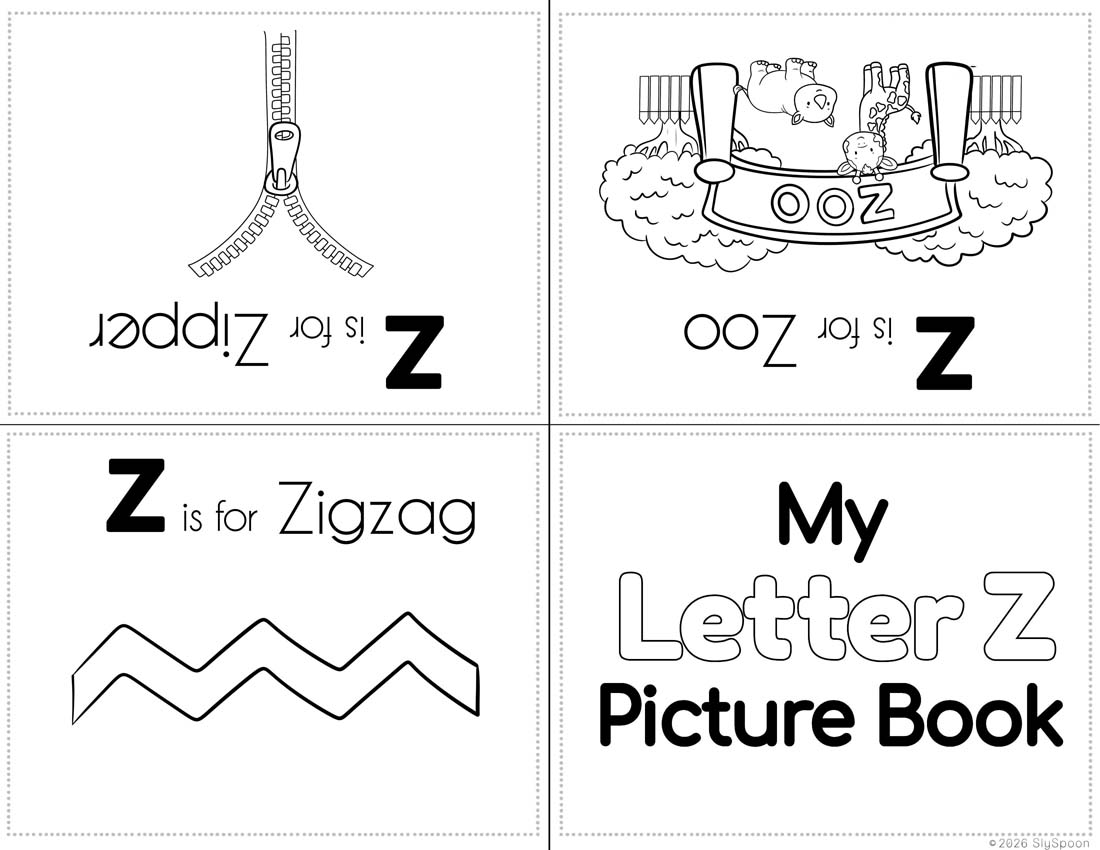
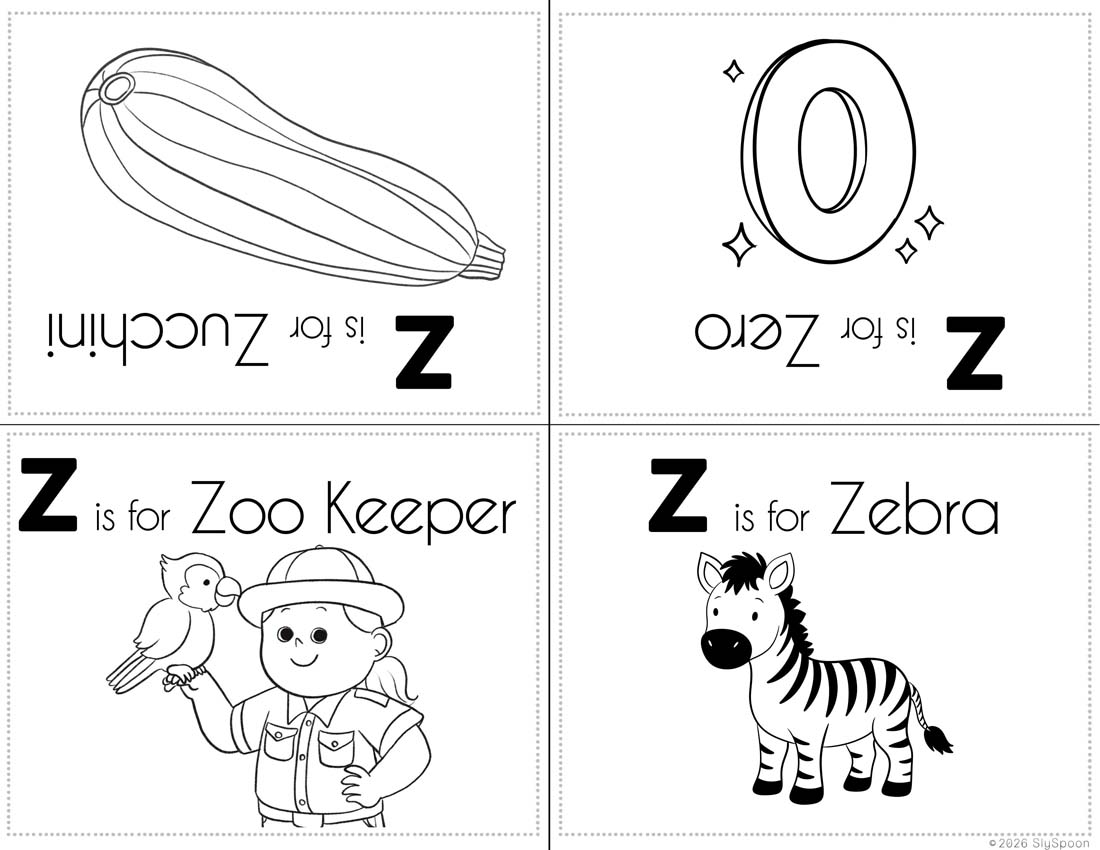
Letter Z Mini Book (Day 5)
Optional: pick one themed tracing page if you want more practice.
Want even more free printables?
Join my newsletter + get access to my Freebie Vault (print-and-go worksheets, themed tracing pages, dot markers, and seasonal packs). I only send emails when I have something genuinely helpful to share.
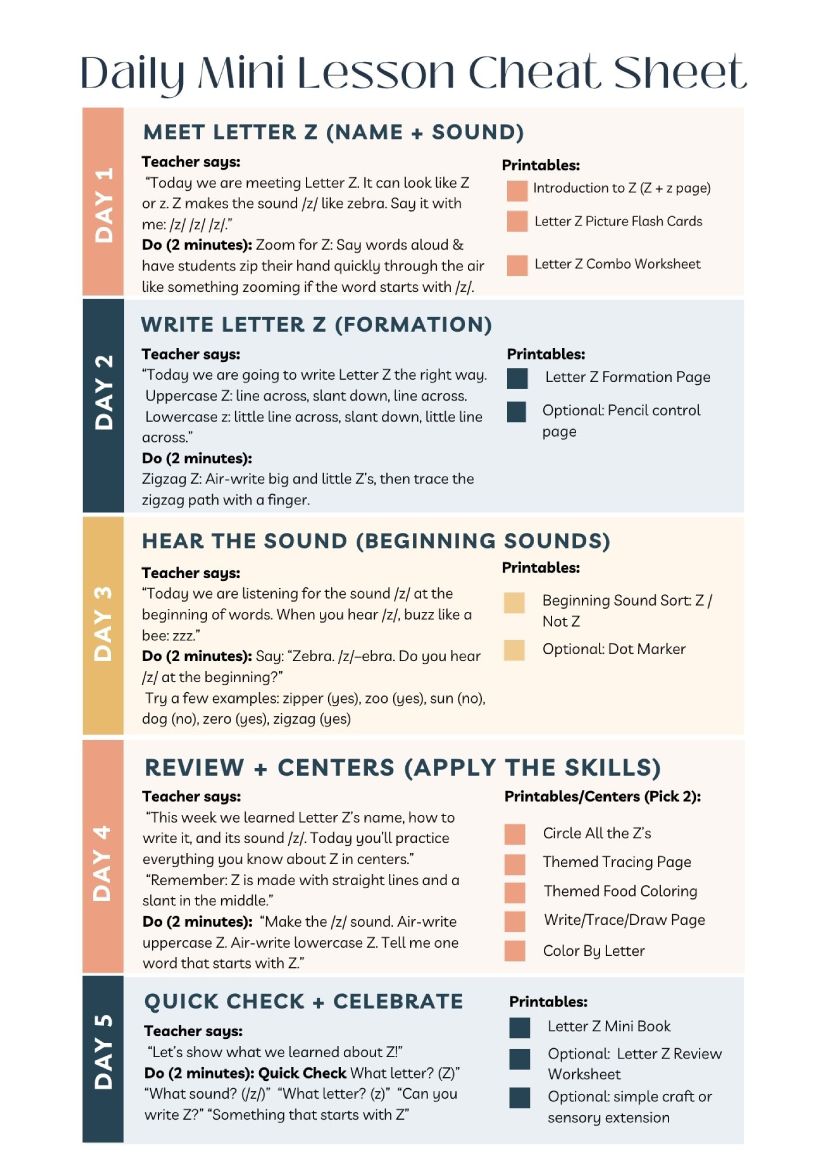
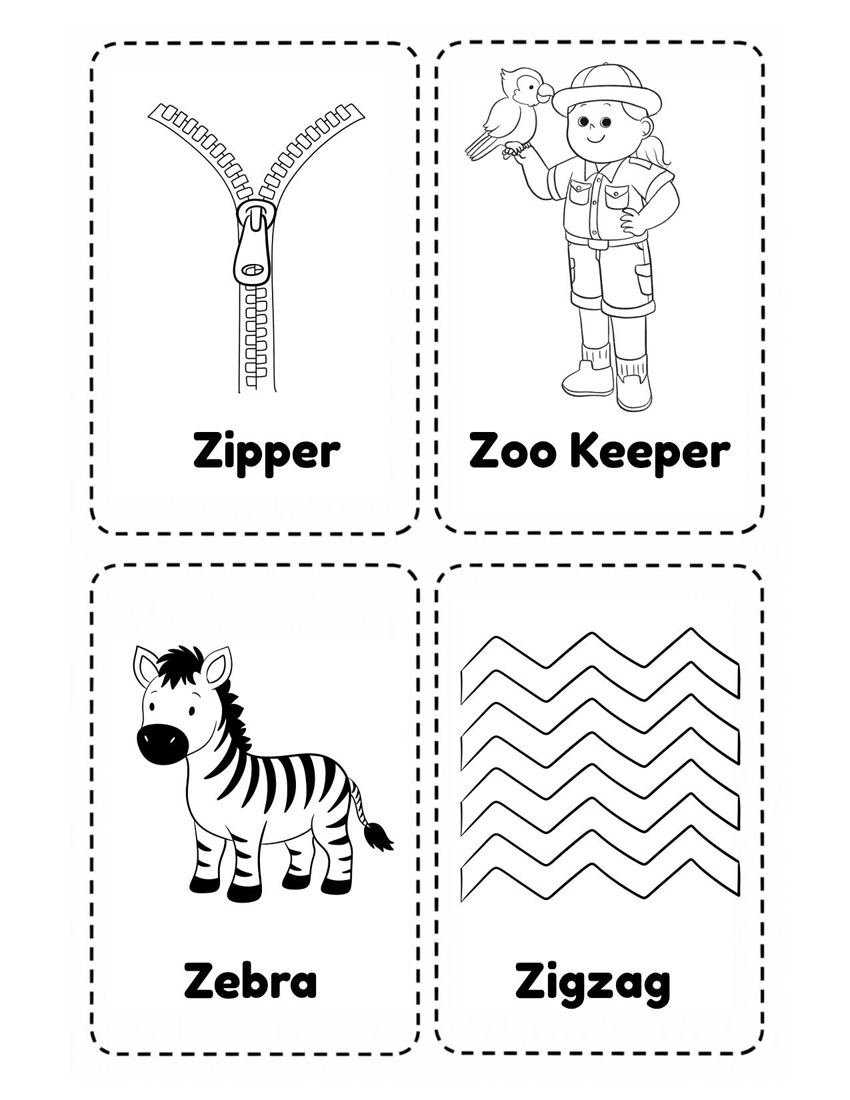
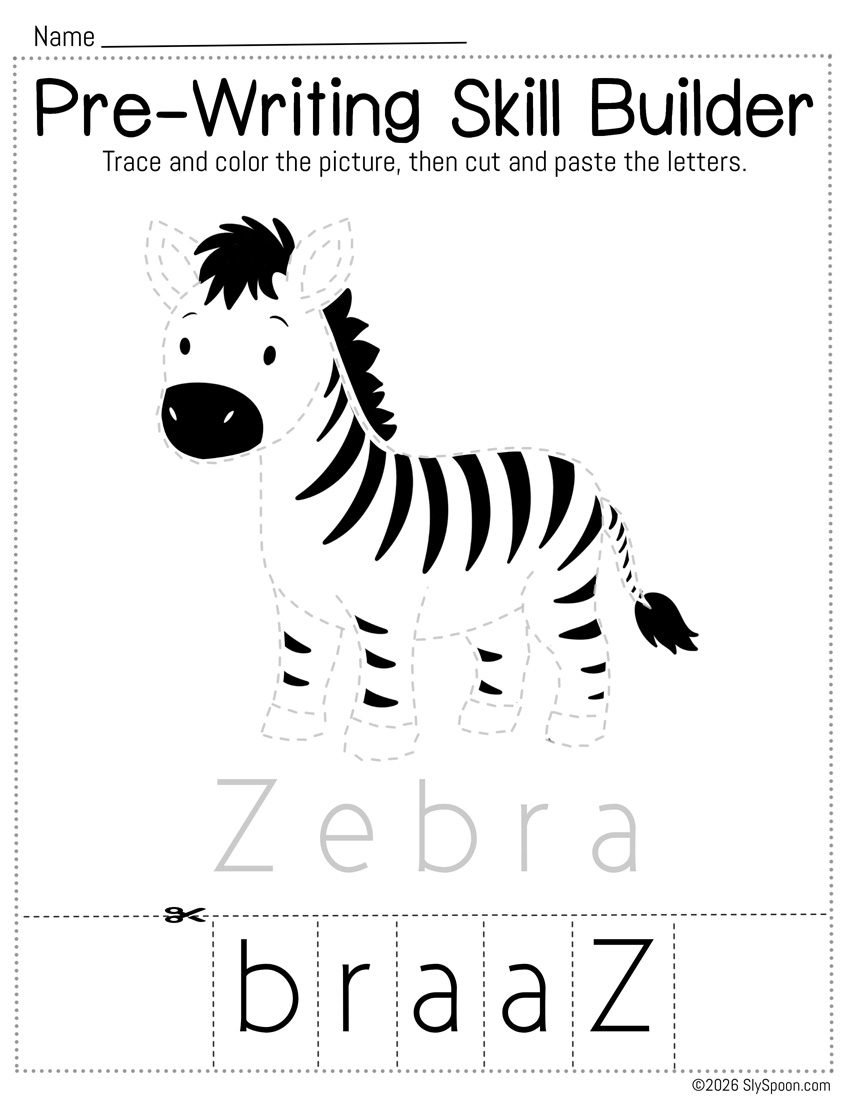
Show 3 picture examples: zebra, zipper, zoo, zero. Ask: “Do you hear /z/ at the start?”
Do This (2 minutes): Zoom for Z. Show picture cards or say simple words aloud and invite students to move their hand through the air like something zooming if the word starts with /z/. Try: zebra (zoom), zipper (zoom), sun (quiet), zoo (zoom), dog (quiet), zero (zoom).
Teacher Tip: Keep it short and playful.
Day 1 Letter Z Printables: Introduction to Letter Z, Letter Z Picture Flash Cards, & Letter Z Combo Worksheet
Say: “Today we are going to write letter Z the right way.”
Uppercase Z: “Line across, slant down, line across.”
Lowercase z: “Little line across, slant down, little line across.”
Do This (2 minutes): Zigzag Z. Students air-write a big uppercase Z, then trace Z on the table with their finger while saying: “Across, slant, across.” Then make the same smaller shape for lowercase z.
Printable: Letter Z Formation Writing Page
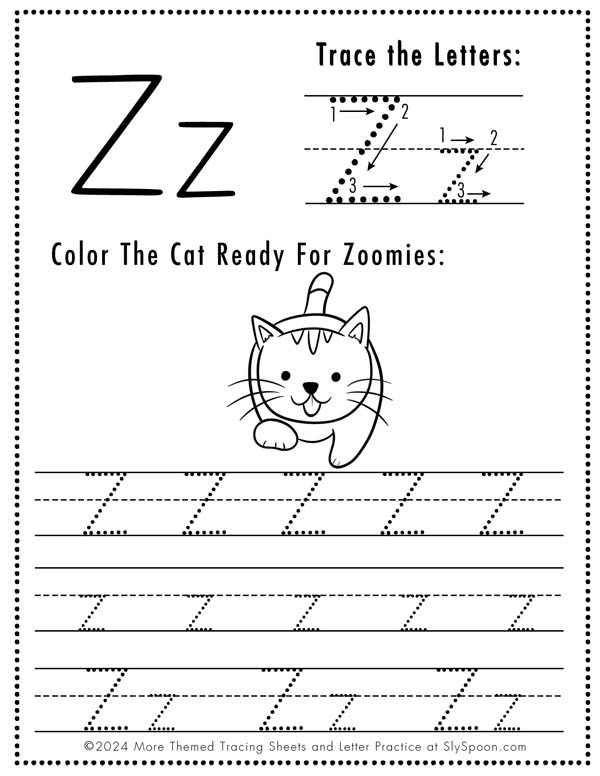
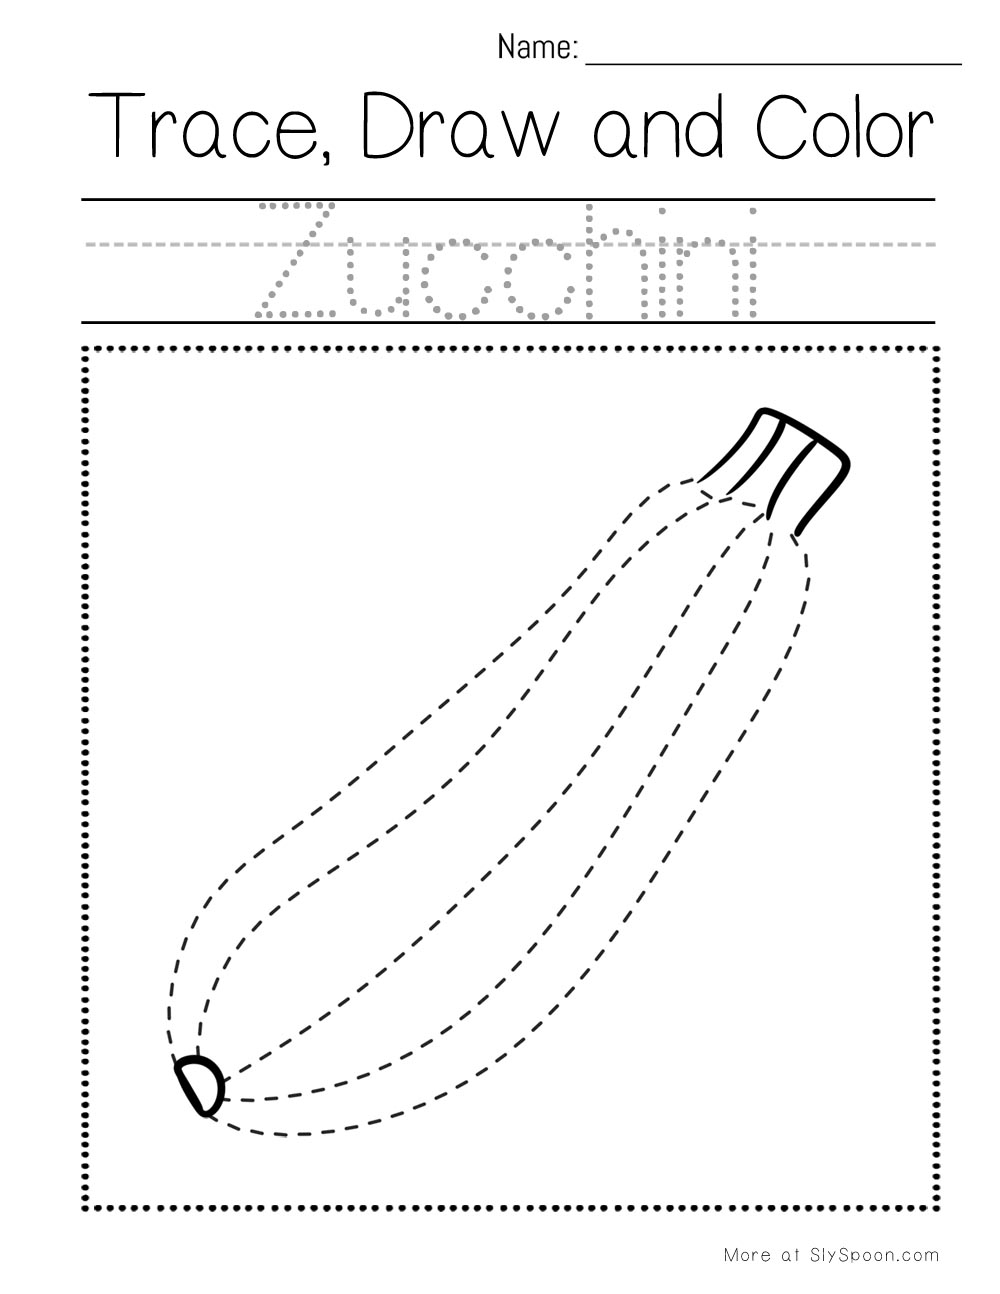
Optional: If kids need extra fine motor practice, add a simple trace-and-color Z page.
Say: “Today we are listening for the sound /z/ at the beginning of words.”
Say: “When you hear /z/, buzz like a bee: zzz.”
Try a few examples: zebra (yes), zipper (yes), zoo (yes), sun (no), dog (no), zero (yes).
Do This (2 minutes): Buzz for Z. Show picture cards and ask: “What is this? Say it slowly. Do you hear /z/ at the beginning?” Students buzz softly if the word starts with Z.
Printable: Beginning Sound Sort (Z / Not Z) Optional Printable: Dot marker Z page for a calm center
Today is about strengthening and applying those skills independently.
Mini Lesson (2–3 minutes)
Say:
“This week we learned about the letter Z.”
“Tell me the letter name. Tell me the sound.”
“Show me uppercase Z in the air. Show me lowercase z in the air.”
“Can you show me the top line?”
“Can you show me the slant in the middle?”
“Can you tell me one Z word?”
Pick 2 centers and rotate.
Center Menu (choose 2)
Center 1: Circle All the Z’s
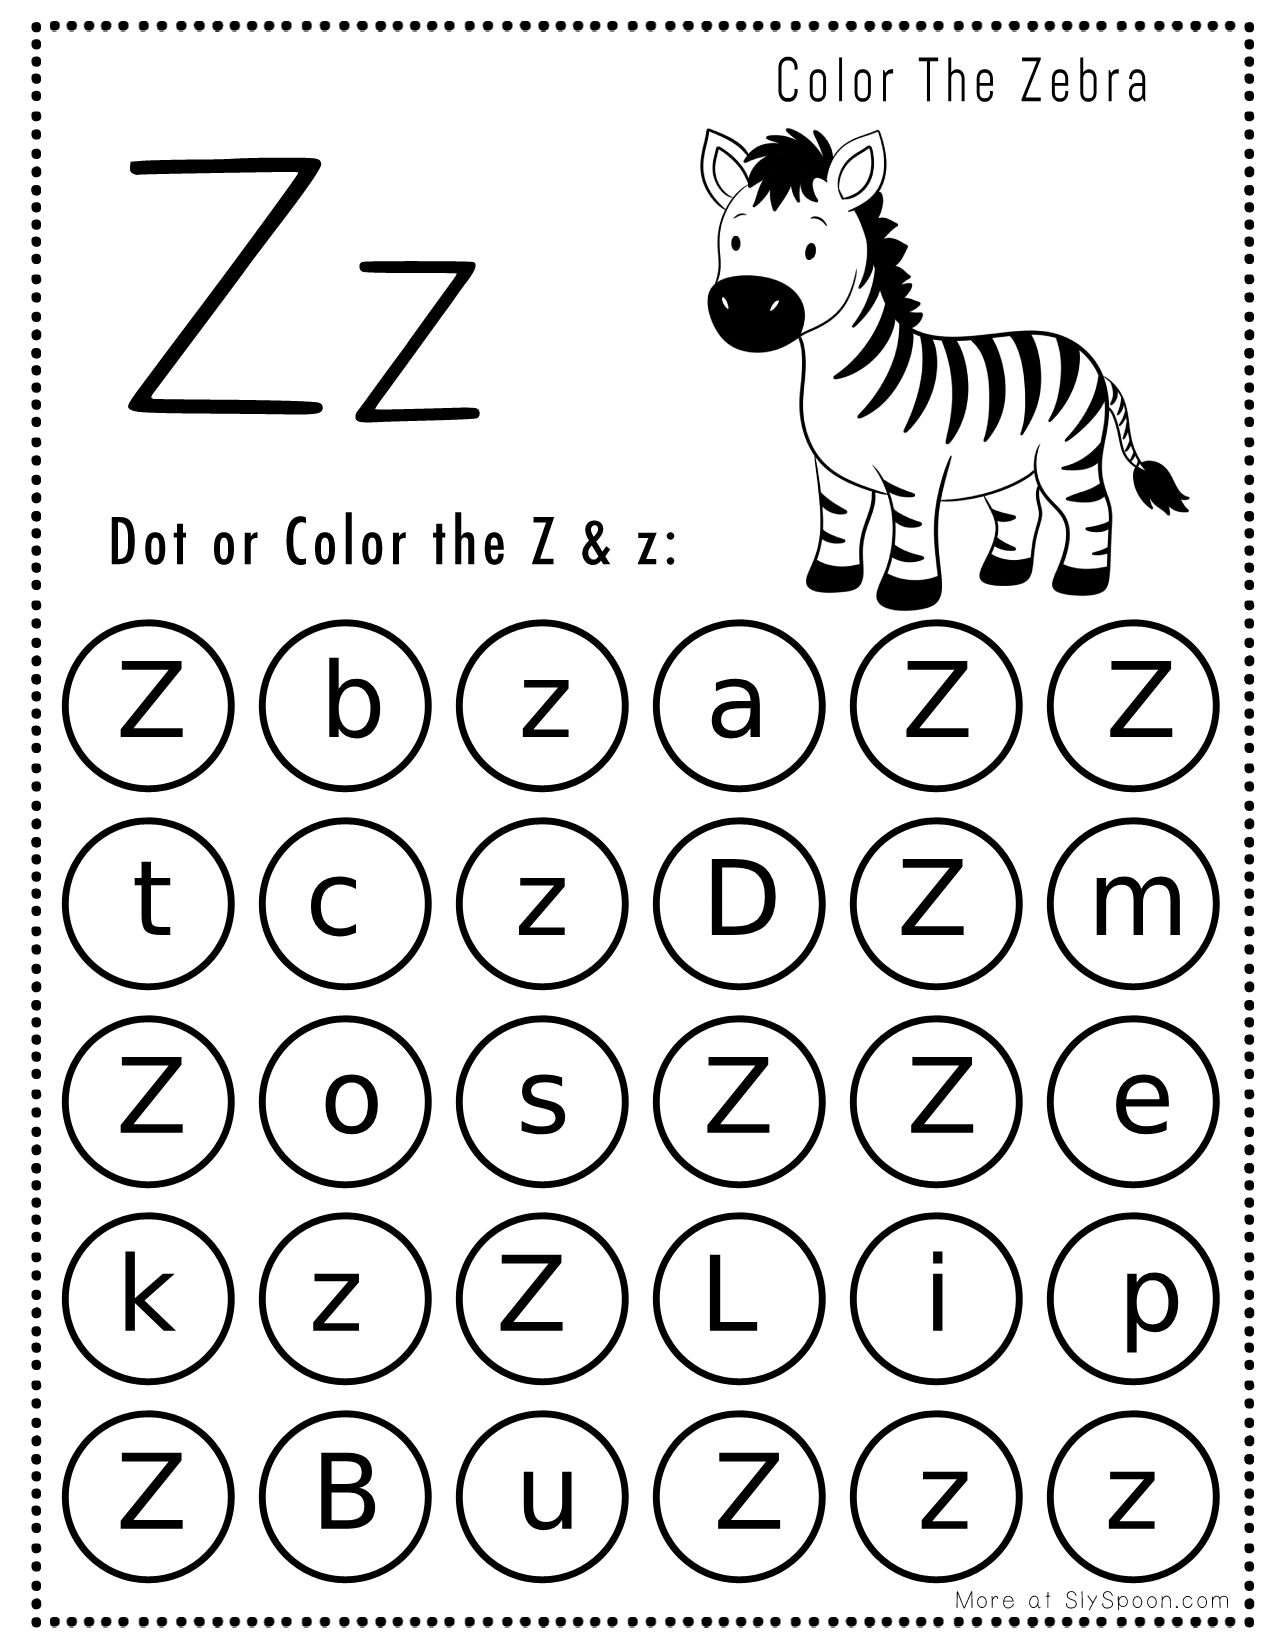
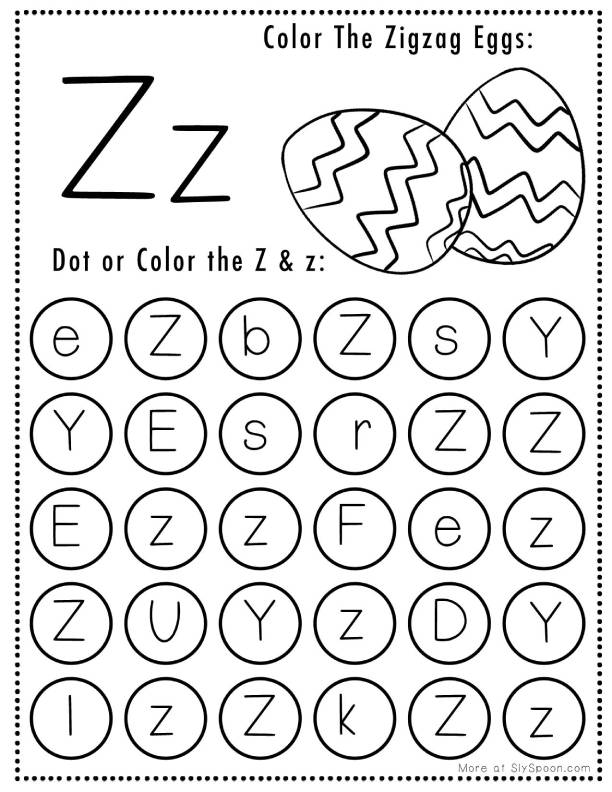
Center 2: Dot Marker Z
Center 3: Themed Tracing Page
Center 4: Write, Trace and Color
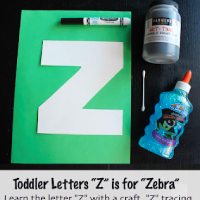
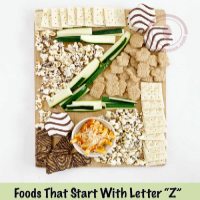
Center 5: Sensory or craft extension
Center 1 Printable: Circle All the Z’s Why this matters: Letter Z can look slightly different in different books and fonts. This activity helps build flexible letter recognition for future reading.
Celebrate: print and read the mini book, then do a simple craft or draw-and-tell.
Printable: Letter Z Mini Book & Letter Z Review Worksheets
A simple foldable mini book with pictures for Z words like zebra, zipper, zoo, and zero. Let kids color and fold it, then point out where they see the “Z” on each page.
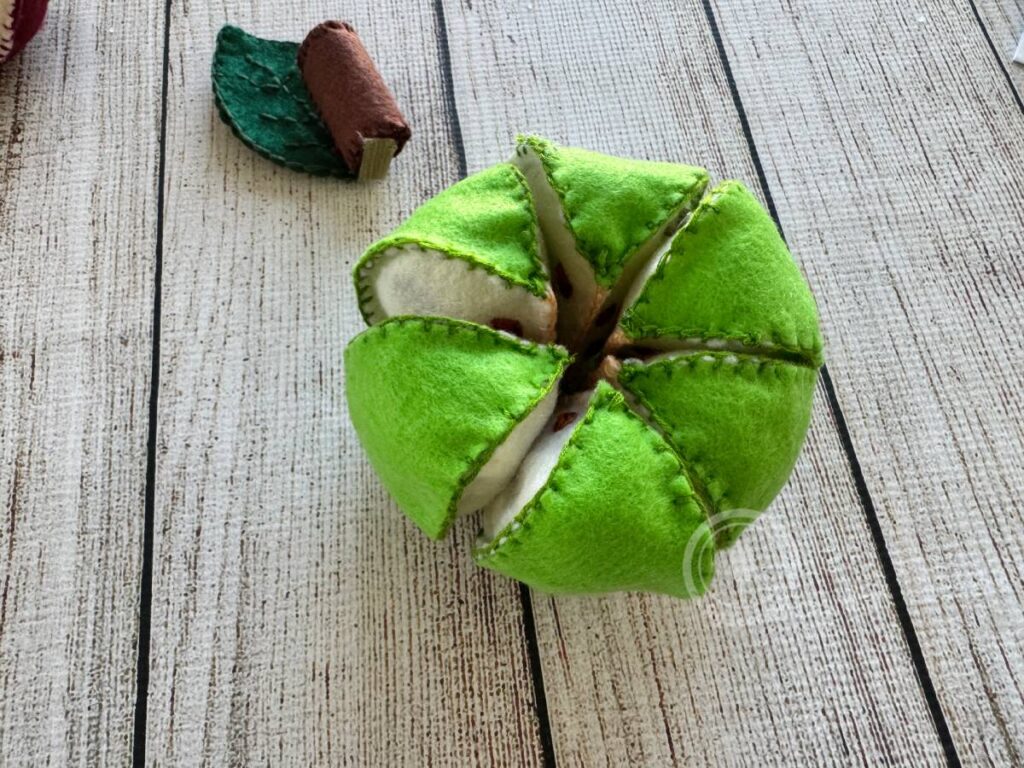
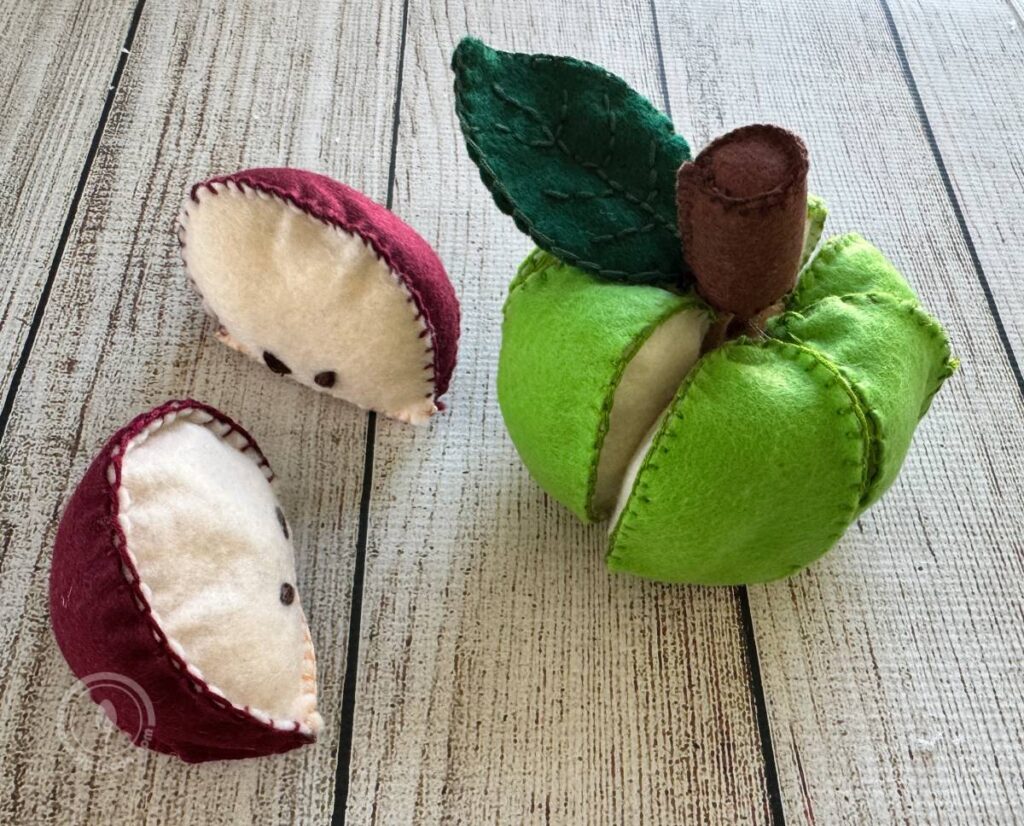
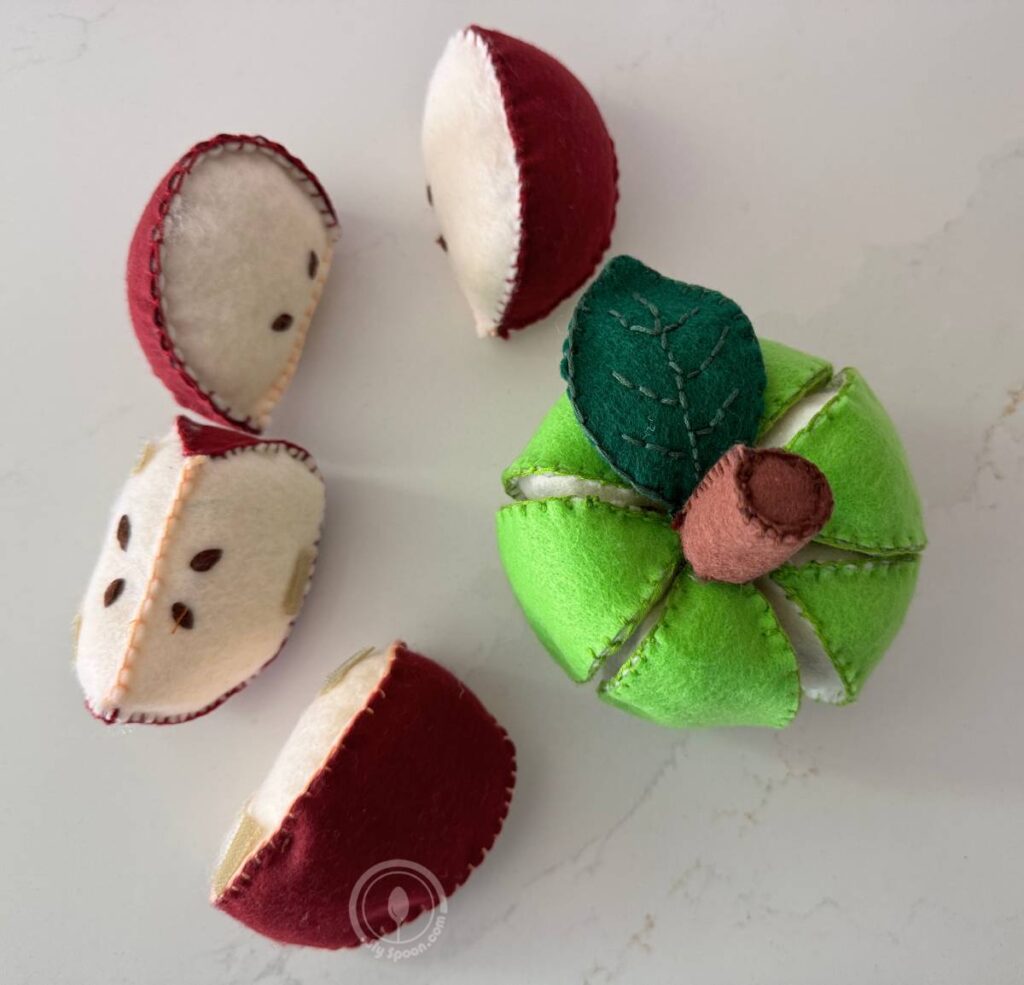
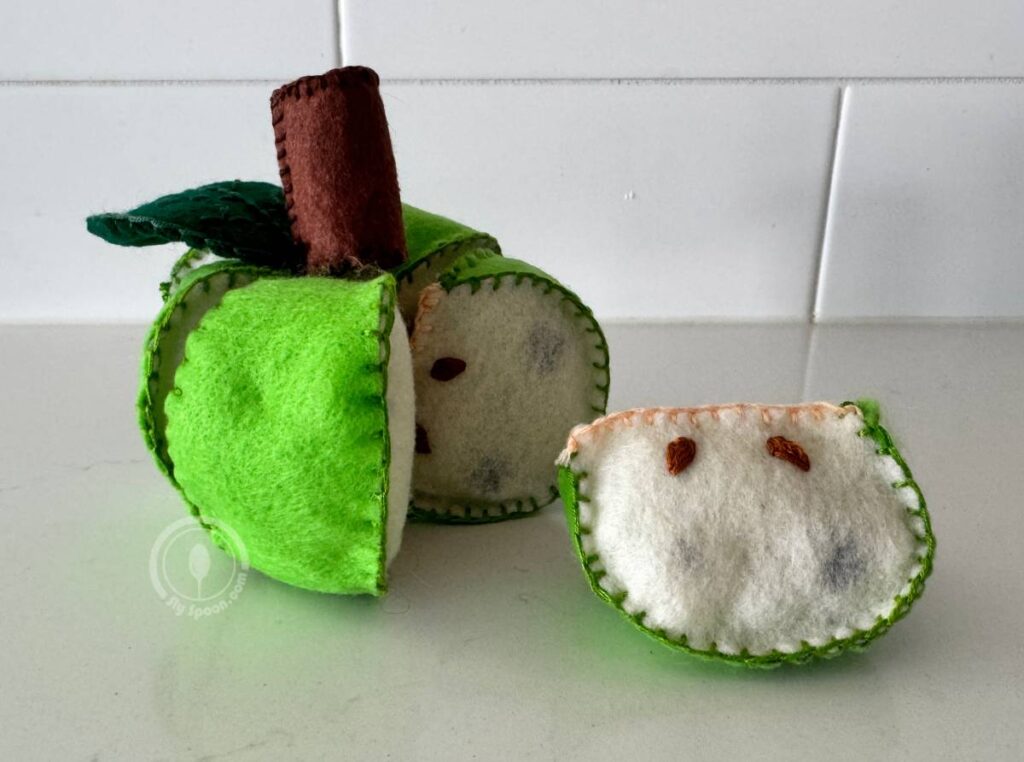
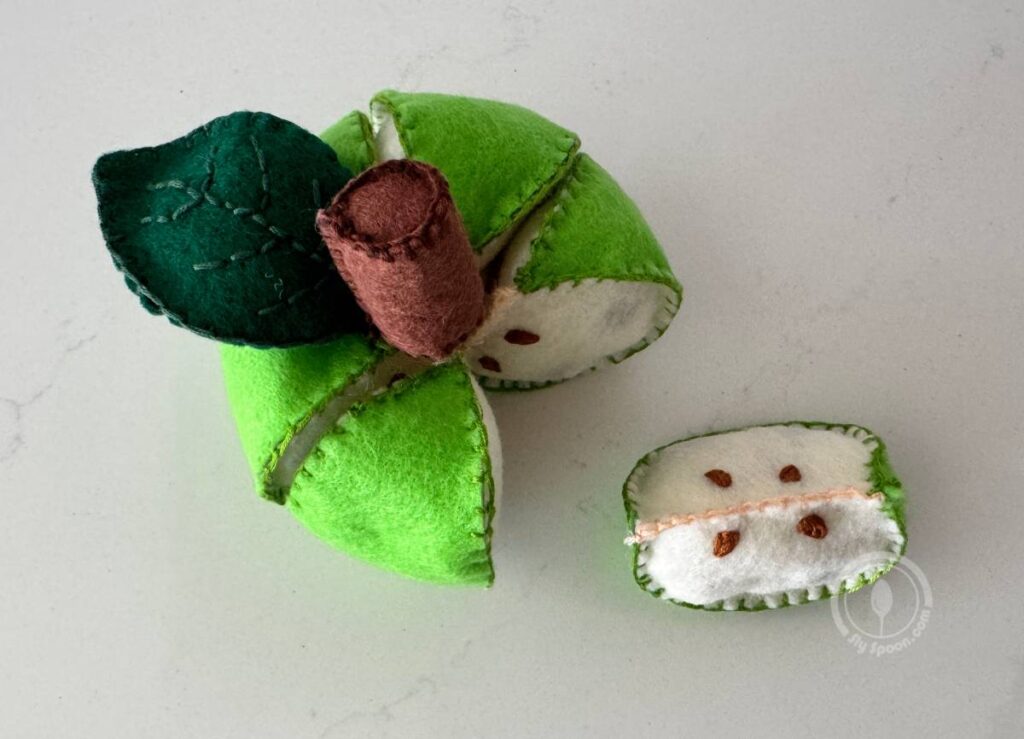
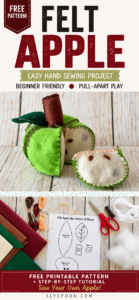
This felt apple comes apart into six individual slices and goes back together again. Each slice has an apple skin, a core, and little seeds, making it a fun hands-on project for anyone who wants to practice sewing with felt.
It’s also the A project in my ABC Easy Felt Sewing Projects series. I made both a red apple and a green one, and tried several hand-sewing stitches along the way. Below, I’ll show you how to make the slices, what I learned from each stitch, and a few ways to keep the finished apple together.
If you’d rather sew along with me, watch the full apple video on my YouTube channel, Sly Creative Mom (and follow me there for tons of other great tutorials.
New to Felt Sewing? 🧵
Get my FREE Beginner Felt Sewing Starter Pack!
It includes 5 super-simple felt projects
designed for kids and first-time sewists, plus printable
patterns and easy stitch instructions.
Simple shapes, minimal pieces, and easy stitches help
beginners finish a project without getting overwhelmed!
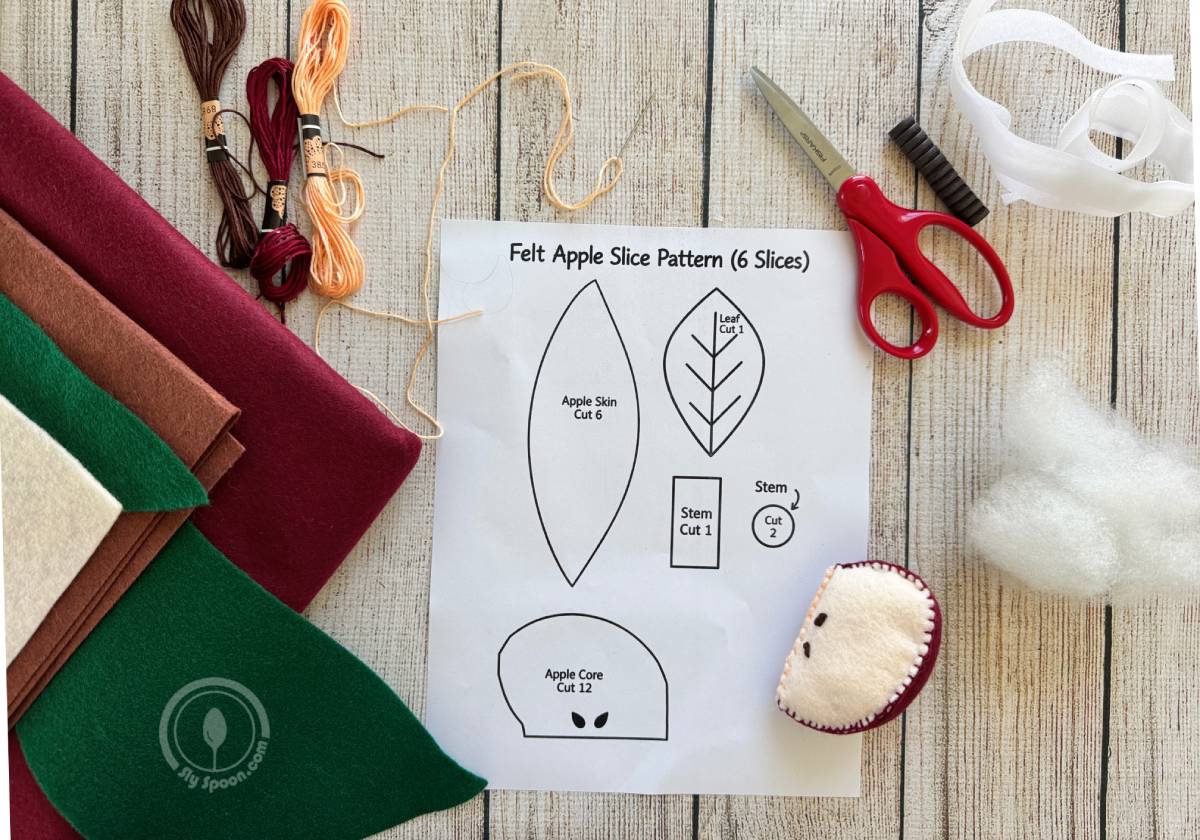
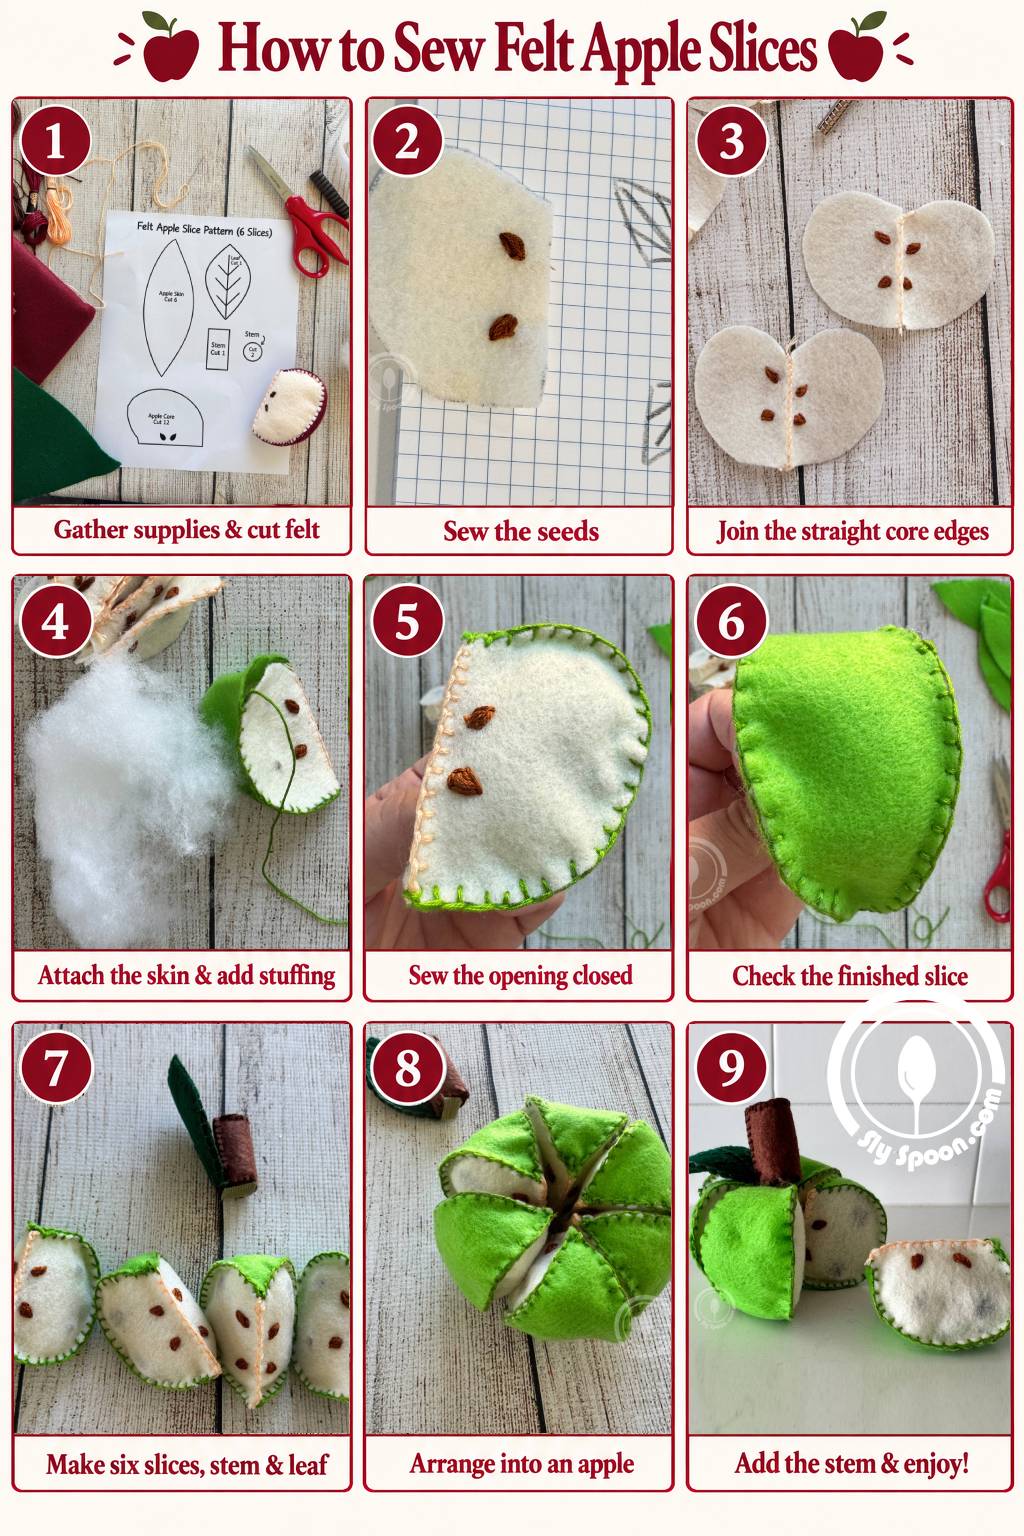
Print the pattern, cut out the templates, and trace them onto your felt. Cut all of your pieces before sewing, or cut enough for one slice first if you’d rather see how it comes together.
Arrange the skin and core pieces before you pick up your needle. This helps you check which surfaces you want showing and where the seeds and any fasteners will go. If you’re adding Velcro or snaps, plan its placement before you close and stuff the slices.
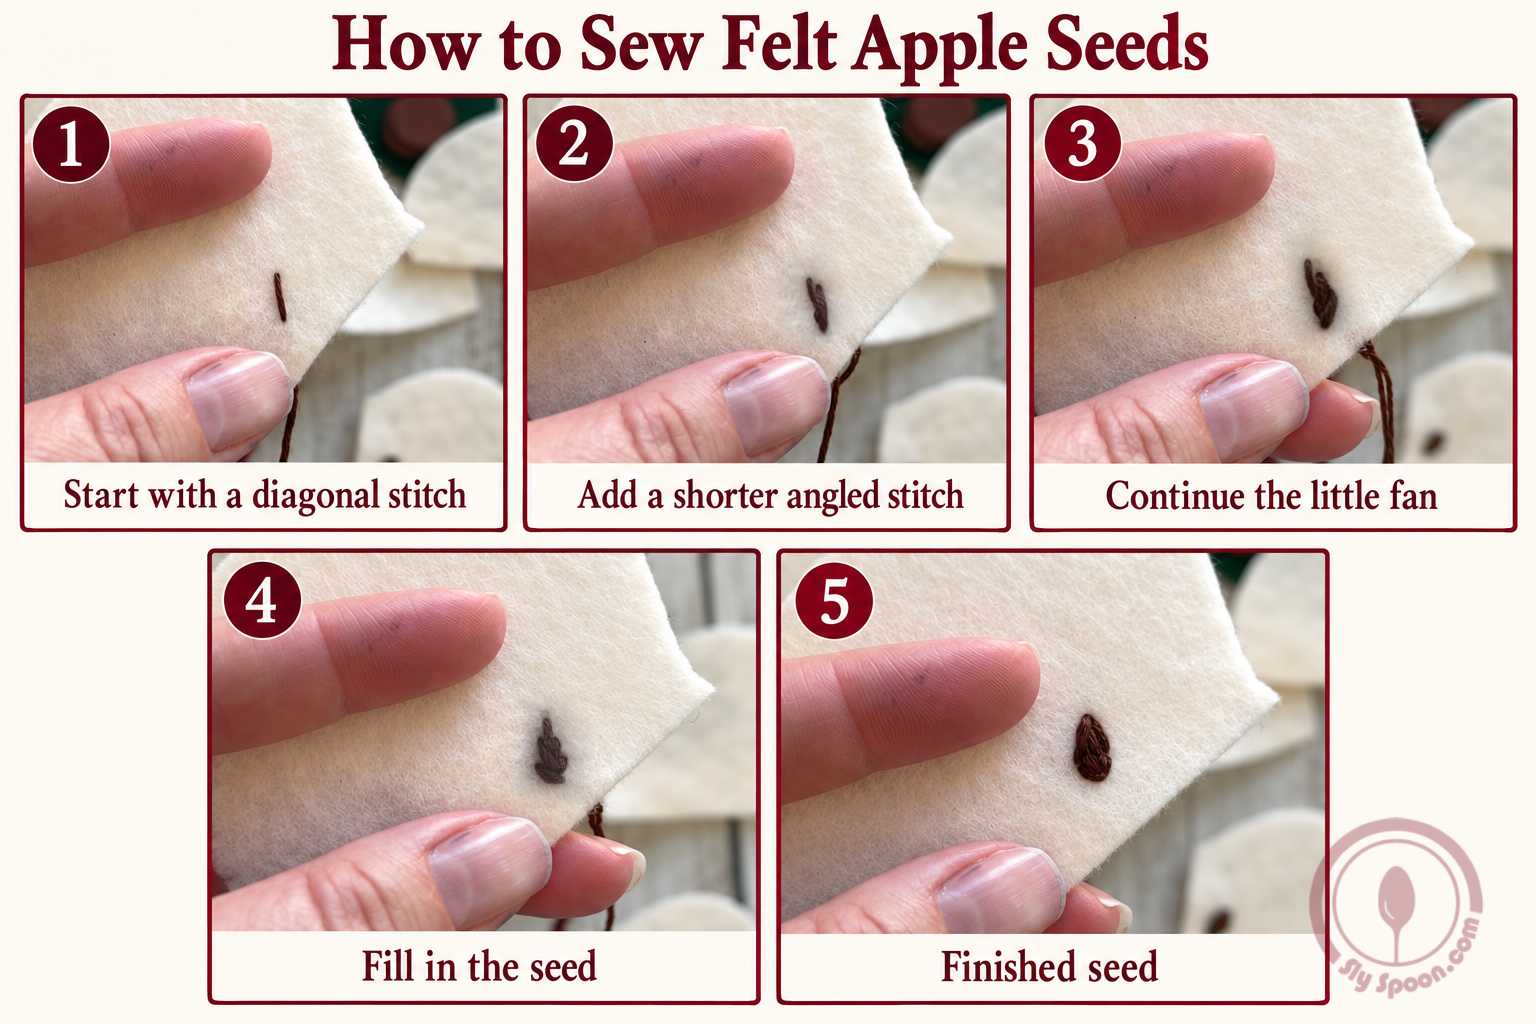
Sew the seeds
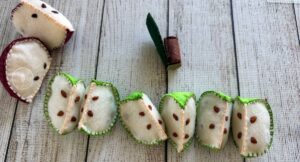
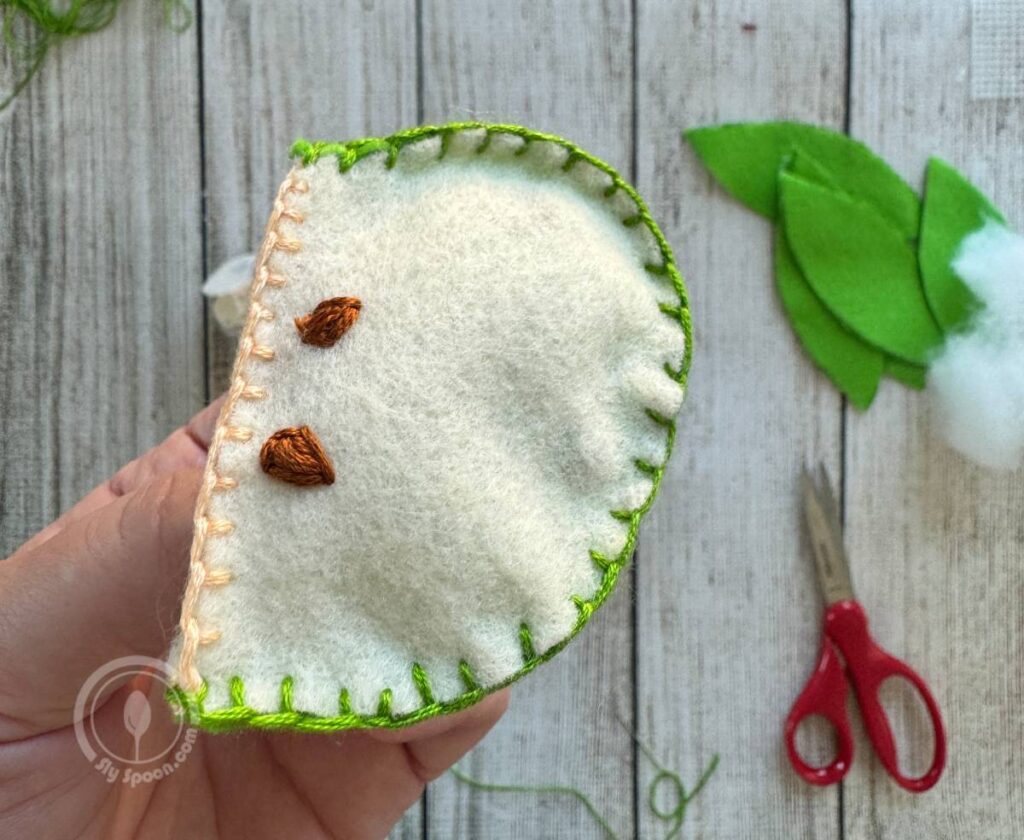
Before sewing each slice together, hand stitch the seeds onto the felt core pieces. You can add as many or as few as you like. I gave every core piece on my green apple two seeds; on the red apple, I varied the number so my daughter could use the slices for a counting game. To make each seed, I start with a diagonal stitch about ½ inch long. From its lower end, I add two more diagonal stitches, each shorter and set at a wider angle. Then I stitch from the top of the shortest line to the top of the longest line to outline one side of the seed, and repeat on the other side. The little fan of stitches fills in a pointed seed shape.
Sew the apple cores together
Sew to of the core slices together, so it looks like an apple cut in half. Repeat until you have 6 core sections. For this pick what kind of stitching you want to do for your apple slices (I have some options listed below).
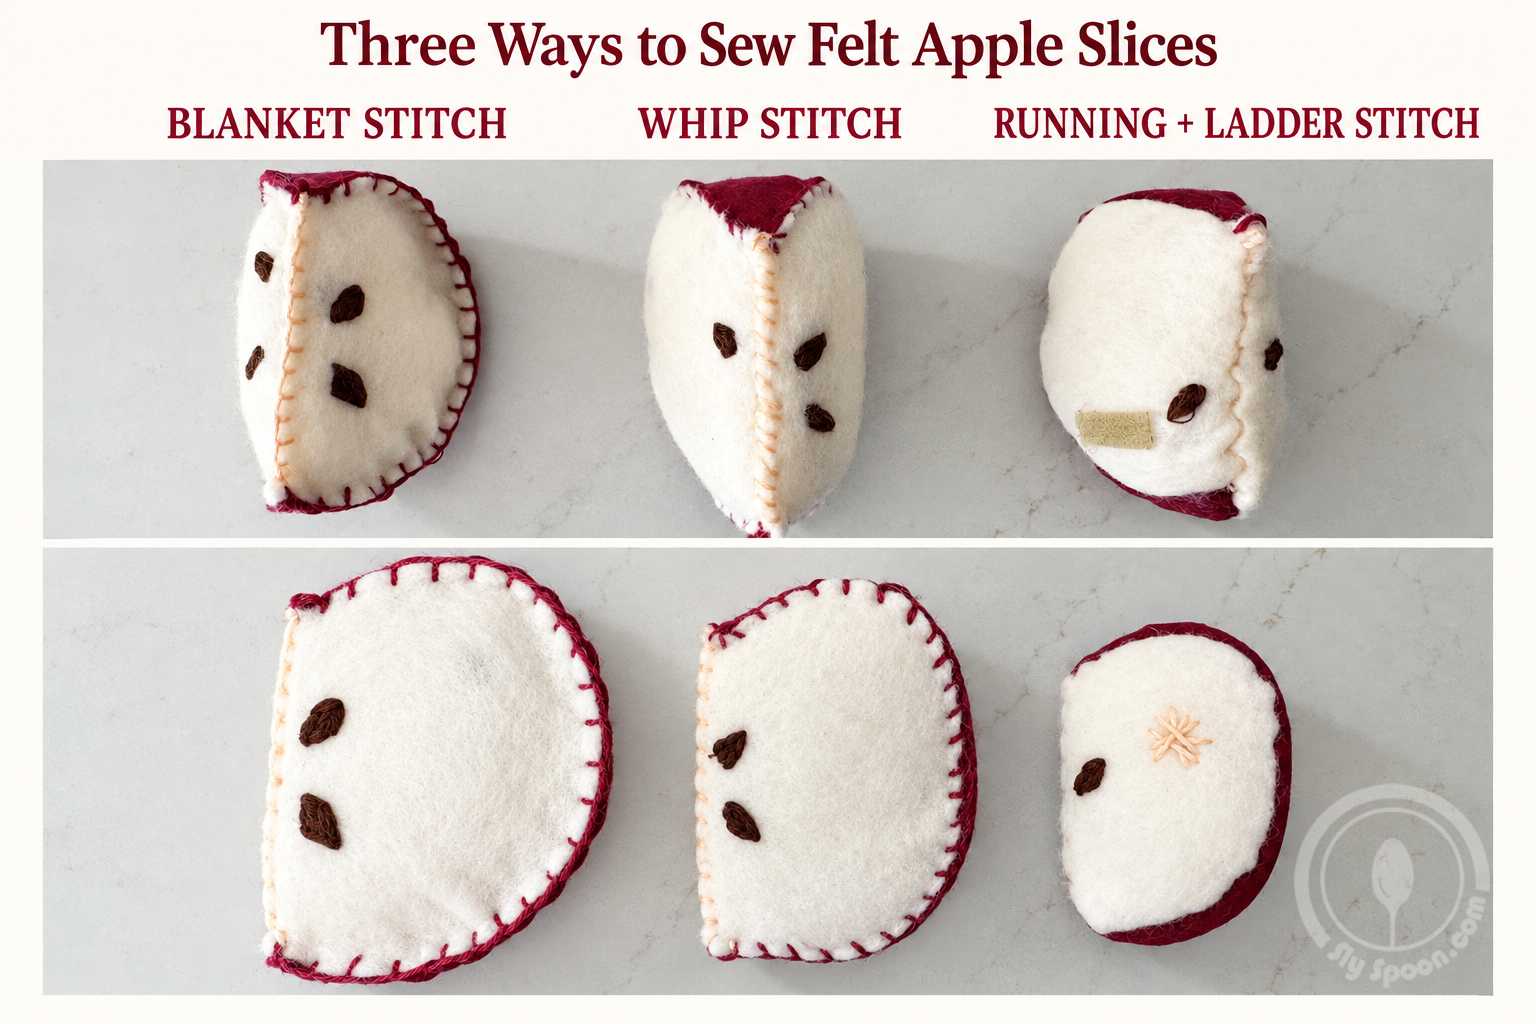
You can use the same stitch for every slice, but I tried different stitches to see how they changed the finished apple:
Blanket stitch: a visible handmade edge
Blanket stitch is what I usually use for felt projects. The thread creates a clear line around the edge, which looks intentional and makes it easy to see where each stitch goes. If you’re learning the stitch, work slowly around the points and curves and don’t worry about making every stitch identical.
Whip stitch: a simpler, quieter edge
A whip stitch also goes over the outside edge of the felt. With thread that matches your felt, it’s less noticeable than a contrasting blanket stitch. It’s a nice option if you want the apple’s shape and colors to stand out more than the sewing.
For this particular pattern, blanket stitch and outside whip stitch gave me the results I liked best. The pieces were designed to be joined with visible sewing around their edges.
Ladder and running stitches: what happened when I tried them
I experimented with ladder and running stitches on some slices, too. They worked, but they pulled the apple skin around the edge a little more. When I put the finished apple together, that left more of the core exposed between slices.
I preferred the coverage I got from blanket stitch or whip stitch. Trying all three approaches was a useful reminder that a stitch can change the finished shape, even when you start with the same pattern pieces.
Once you pick your sewing style, sew the apple core pieces together along the center seam.
Choose how the slices stay together?
You have a few choices, depending on how you want to use your apple. Do you want simple slices, a pull-apart toy, or a little fastening activity?
Leave them separate. The easiest option is to skip fasteners entirely. Kids can arrange the six slices into an apple, pull them apart, and use the different seed counts for counting games.
Sew on Velcro. This is the option I’d choose for an apple that gets played with often. I tried stick-on Velcro, but it didn’t hold up to my crew, so I recommend sewing it in. Velcro can tug at the felt over time, so check the attachment points for wear, and realize this comes with the caveat that the Velcro pulls at the felt so it will likely get a little fluffy over time.
Add snaps. Sew-on snaps or carefully installed snap fasteners could give kids another way to join the slices while practicing the push-and-pull motion. Make sure both halves line up before attaching them, and check regularly that no snap is loosening or pulling through the felt. Small parts that detach from a toy can be a choking hazard for young children.
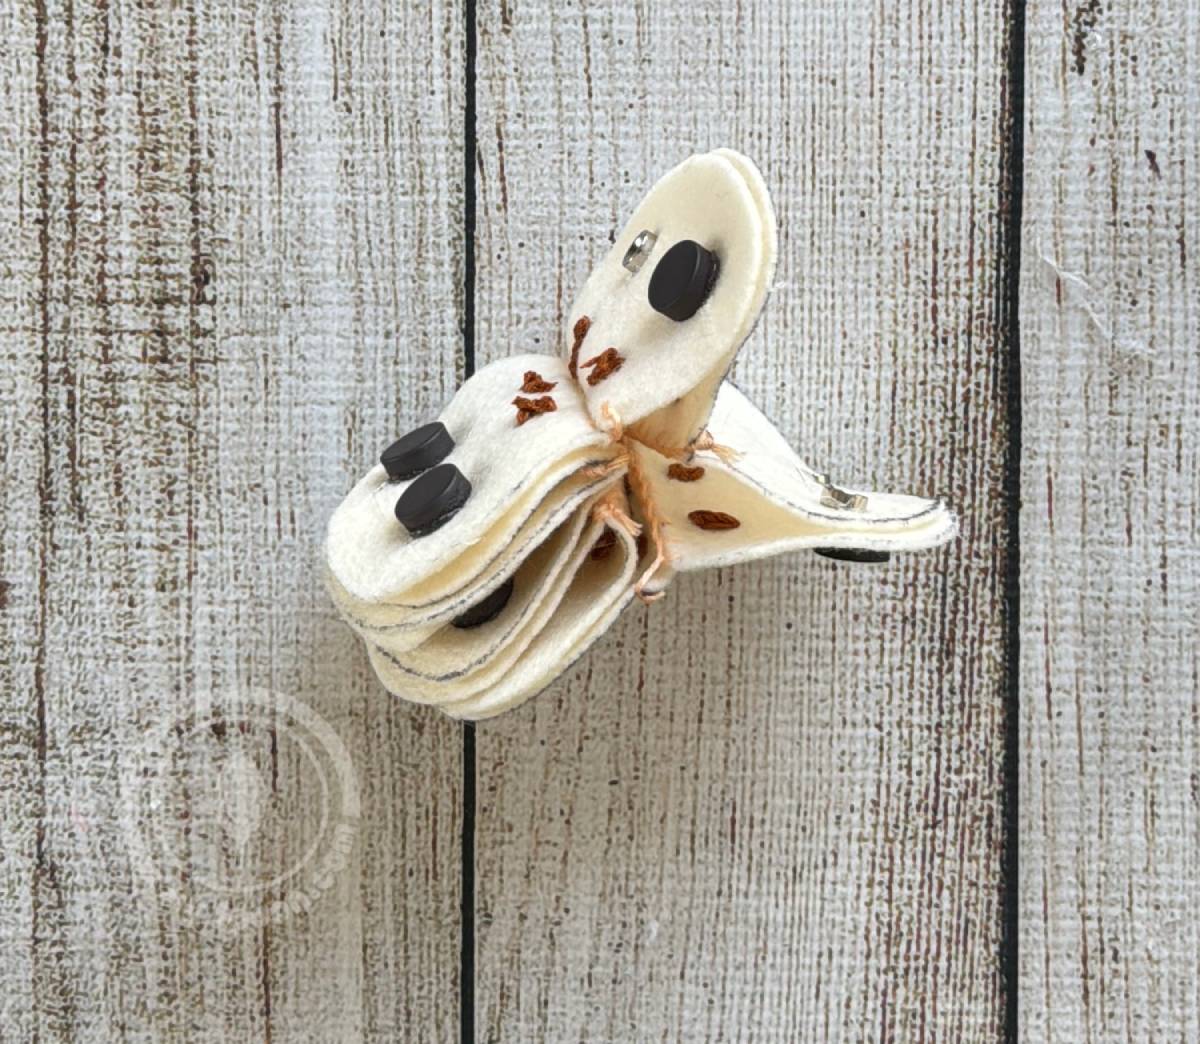
Enclose magnets inside the slices. Magnets make the apple click together nicely. For this version, the magnets would be glued to the inside of the felt and then enclosed when each slice is sewn shut, so they aren’t accessible during normal play. The concern is what could happen later if a seam opens or the felt tears: a magnet could work loose and fall out. If you make a magnetic apple, supervise play, inspect every slice for holes, worn felt, or damaged seams before each use, and stop using it immediately if a magnet is loose or missing. Swallowed magnets can cause severe internal injury; the U.S. Consumer Product Safety Commission explains the risk here.
You could also mix fasteners on one apple to turn it into a matching puzzle or busy-book-style activity. For example, some slices could connect with Velcro and others with snaps, so a child has to find the matching edges. Plan which slices connect before sewing the fasteners in, mixing types means the slices won’t all attach in every order. For younger children, I’d keep the design free of magnets and regularly check any attached fasteners for wear.
Once you figure out how you want your slice to attach, add the attachments to each slice, making sure they line up to make a complete circle with the core pieces.
Attach the Skin
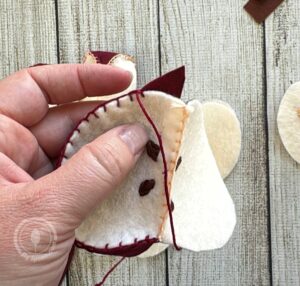
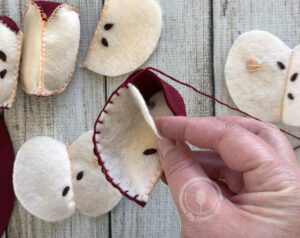
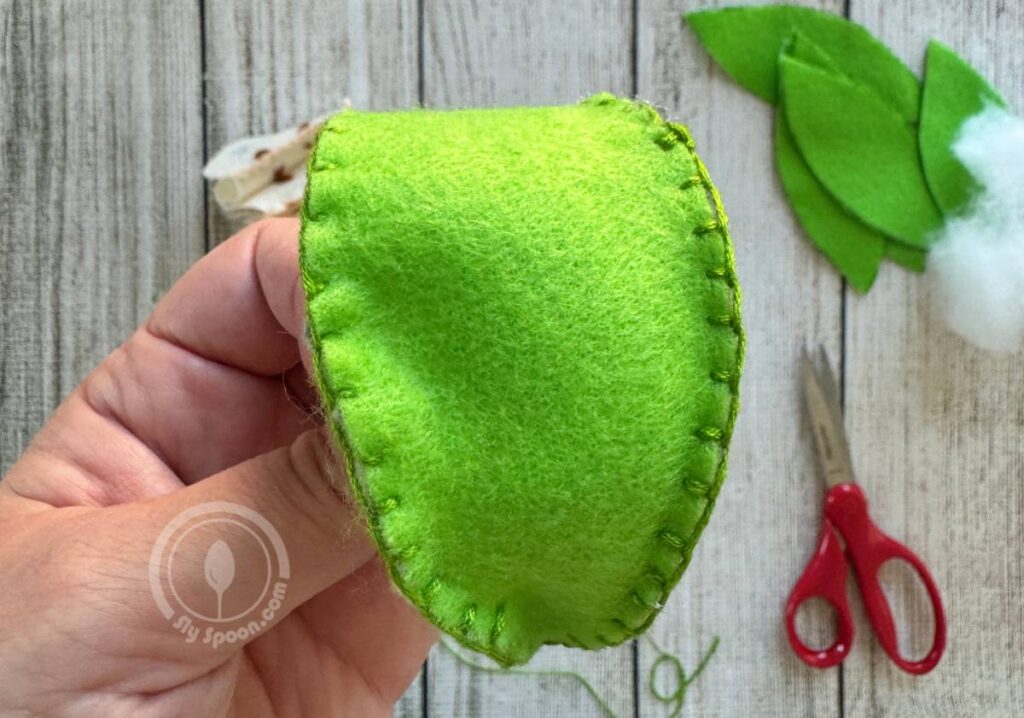
After you’ve sewn your cores and add any fasteners you’ll sew the skin to the apple cores. Take one piece of the core and one of the apple skins. Put a knot stitch at the top to secure the apple skin to the core, then carefully sew around the edge of each, bending the skin piece around as you go so the edges of the skin line up with the edges of the core. Pause about an inch from the bottom of the piece, and make sure your skin is still lining up with the core and that the bottom point of the skin will meet the bottom point of the core. If the pieces have misaligned, tug either the core or the skin as you sew to lengthen whichever is a little short so they line up at the bottom point.
Once you reach the bottom, sew 2/3 of the way up the other side, then stuff your apple core with your stuffing. I suggest adding a little stuffing, and stuffing it not super firm or to bursting, so the slice has some shape without becoming too firm or distorting the shape of the piece so they can all fit together at the end. Sew the opening closed and repeat until you have six slices.
Make the stem and leaf
For the leaf, cut two felt pieces. Use a backstitch to sew the leaf veins onto the top piece first, while you can still reach its back easily. Then place the two leaf pieces together and sew around the edge with your stitch of choice.
For the stem, fold the rectangular felt piece into a tube and sew its two short sides together. Place one felt circle over the top opening. Using the same stitch, sew all the way around, catching both the edge of the tube and the edge of the circle as you go. Add a small amount of stuffing, then sew the second circle onto the bottom in the same way.
The bottom circle is also a good place to add a fastener if you want the stem to attach to the apple. I used Velcro on mine; if you’re using a sew-on fastener, attach it to the bottom circle before sewing that circle onto the stuffed stem. Finally, sew the leaf to the stem. I joined these two smaller pieces so they wouldn’t get lost between play sessions.
Put your apple together
Once all six slices are finished, arrange them into a whole apple and add the stem and leaf. Then pull a slice away to see the core and seeds inside!
If you’re new to sewing, you don’t have to make all six slices in one sitting. Finish one, see how you like the stitch and the amount of stuffing, then use what you learned on the next one.
This is the first project in my ABC felt pattern series. What should I make for letter B? Leave your idea in the comments on the YouTube video or send me a message, I’d love to hear what you’d like to sew next.
The sight word “like” is an important early reading word that helps children express preferences, interests, and comparisons. These free printable “like” sight word worksheets give kids meaningful practice recognizing, reading, tracing, and using the word like through simple, hands-on learning activities.
Children see like often in everyday language and early readers, such as: “I like cats,” “I like to play,” “She likes apples,” and many beginner books. Because like helps children share opinions and feelings, learning it early supports sentence fluency and expressive language.
As a mom of four (with one child currently learning sight words), I know how motivating it is when kids can read and say words that help them talk about what they enjoy. I design these worksheets to be encouraging, approachable, and easy to use at home or in the classroom.
All of these “Like” worksheets are completely free, easy to print, and flexible enough for classroom use, homeschooling, or quick literacy practice at home.
Each download is shared as a single click-and-print, with no sign-up required.


 This felt apple comes apart into six individual slices and goes back together again. Each slice has an apple skin, a core, and little seeds, making it a fun hands-on project for anyone who wants to practice sewing with felt.
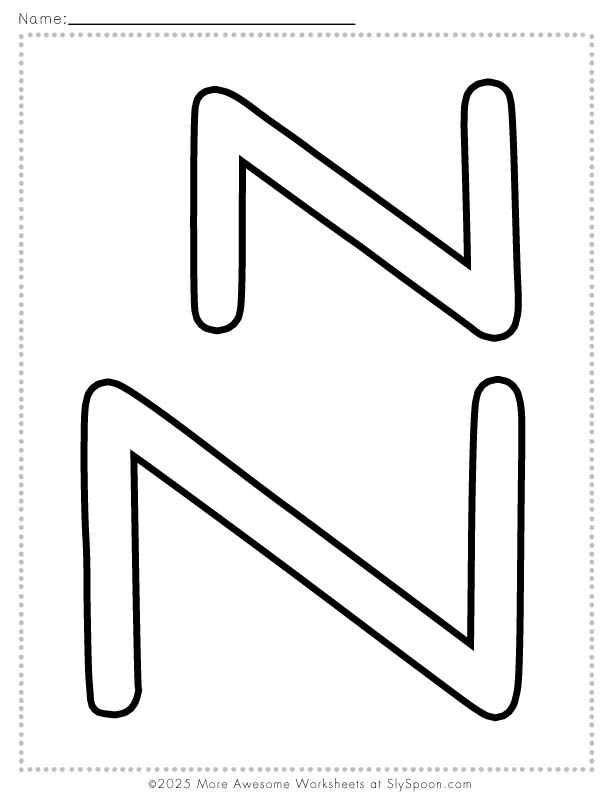
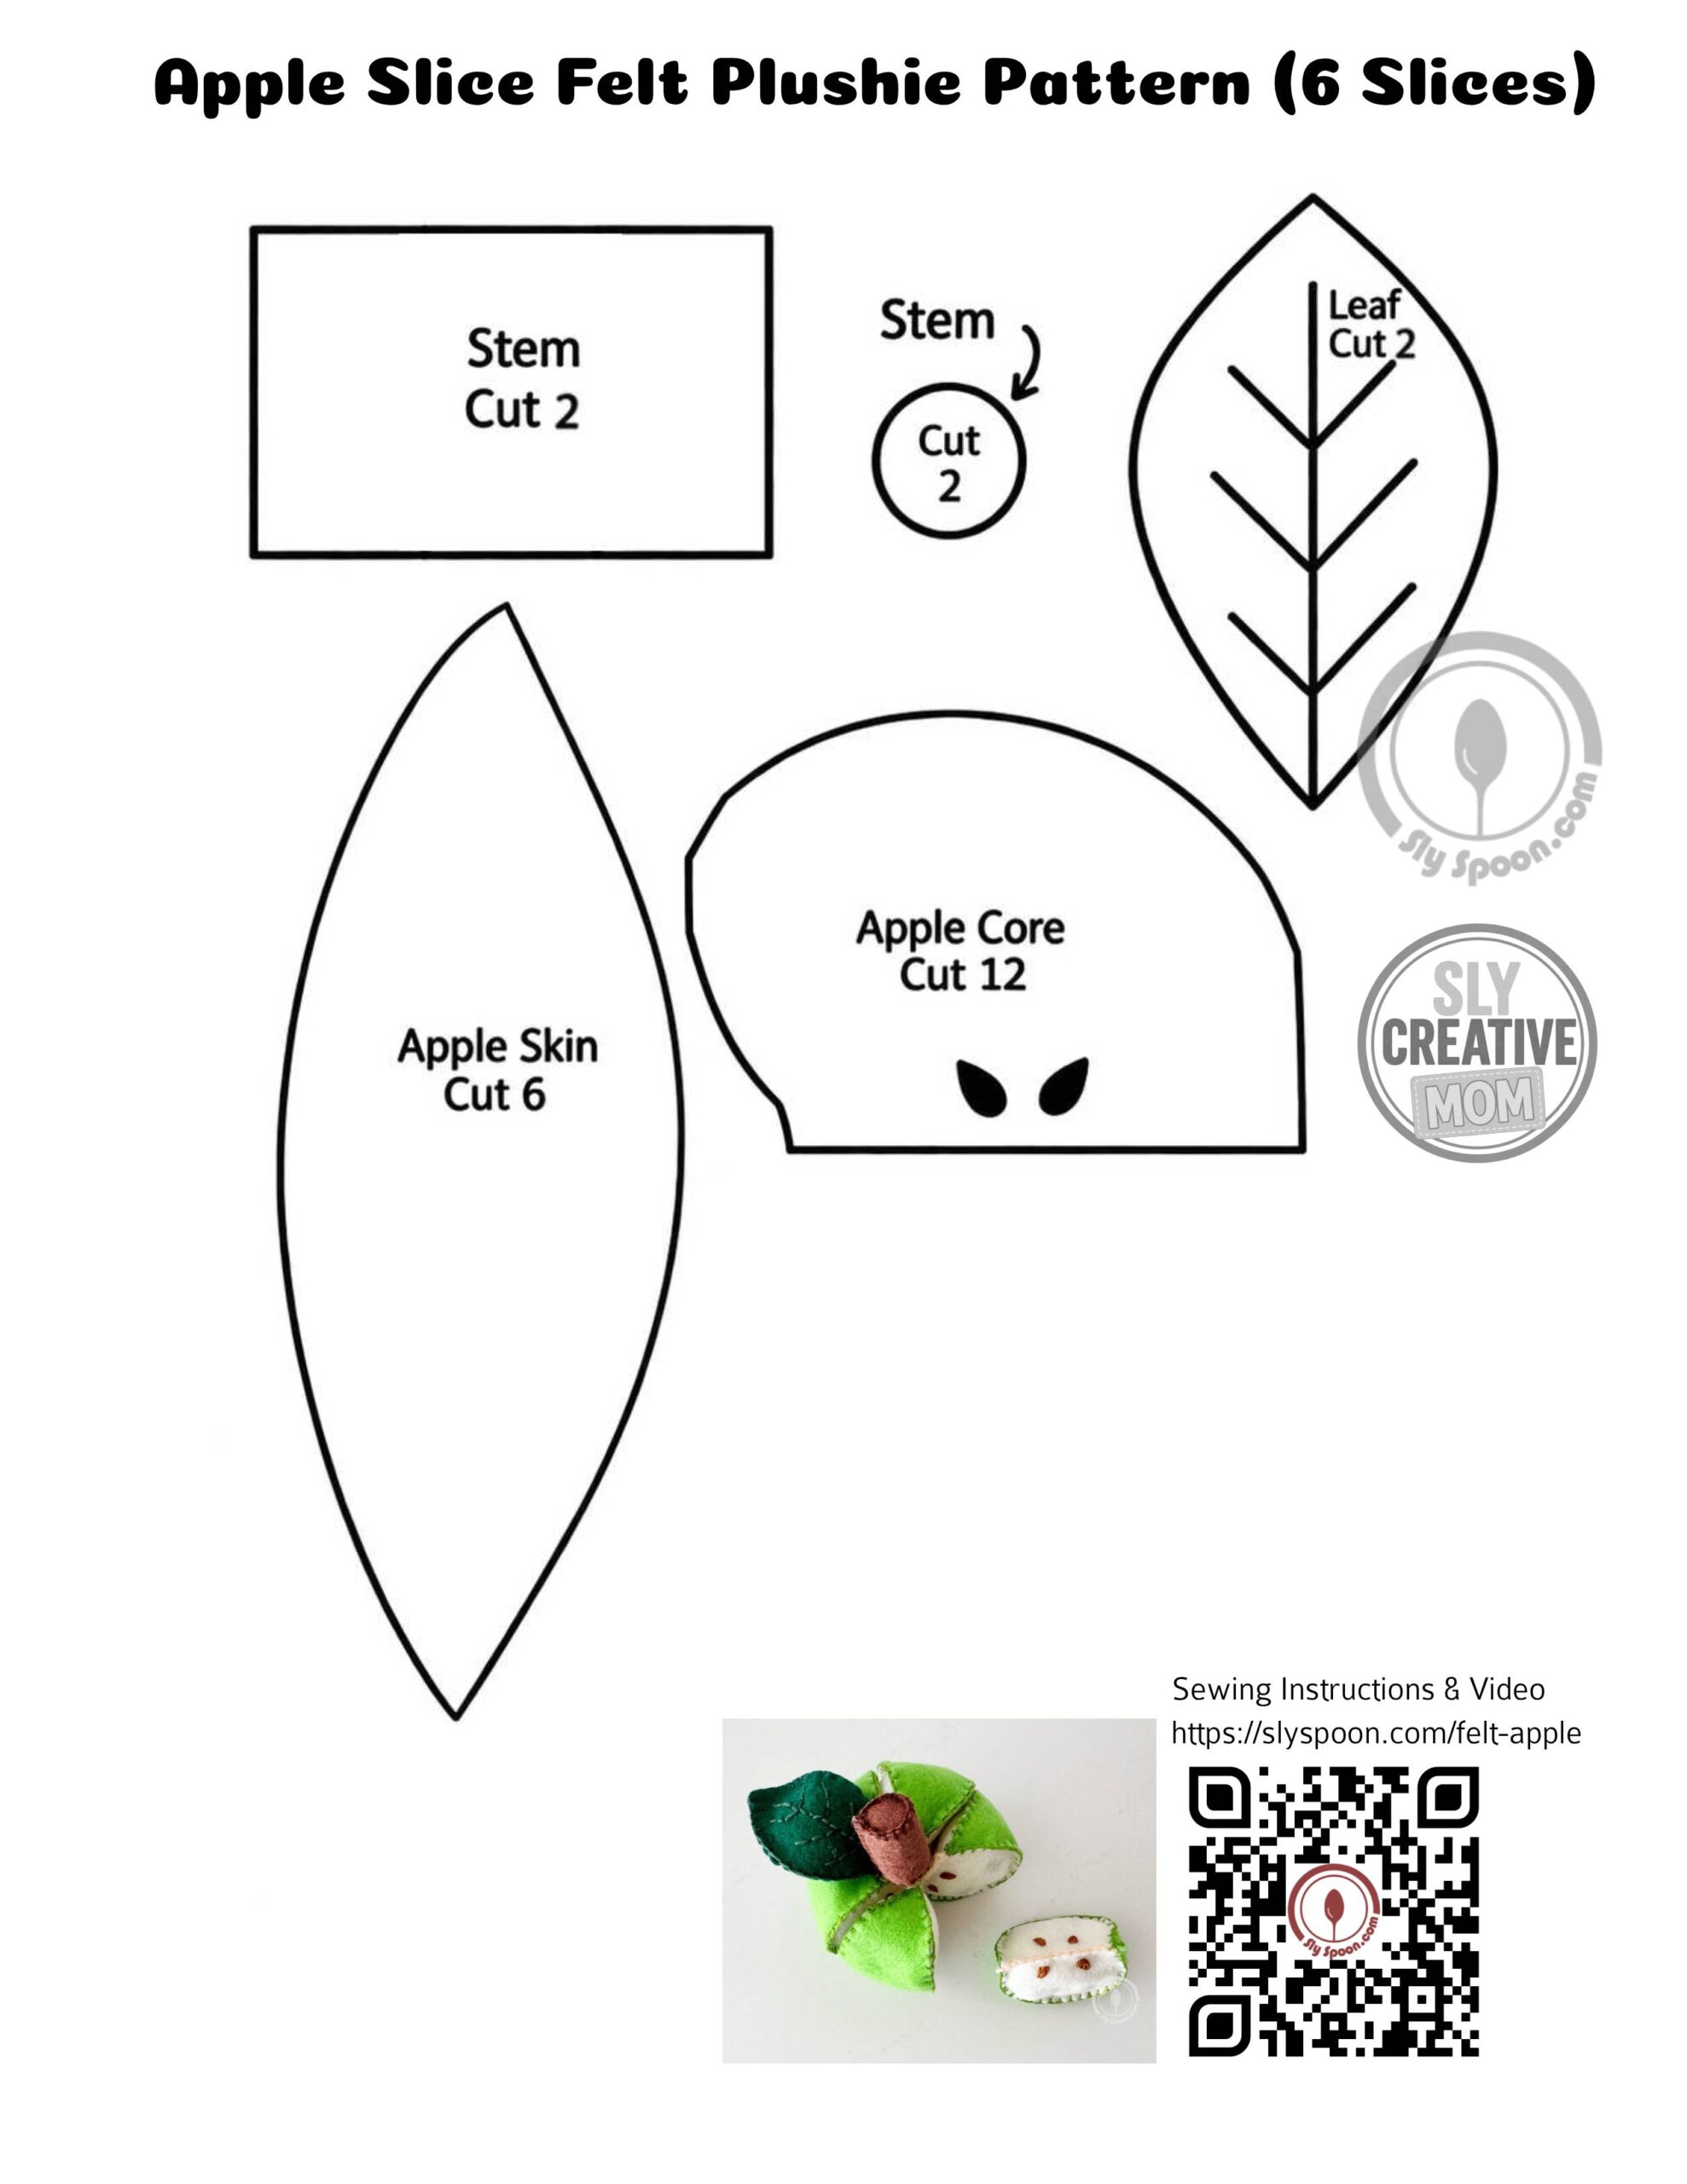 Click Image to Download and Print