This post may contain affiliate links. Read our disclosure policy.

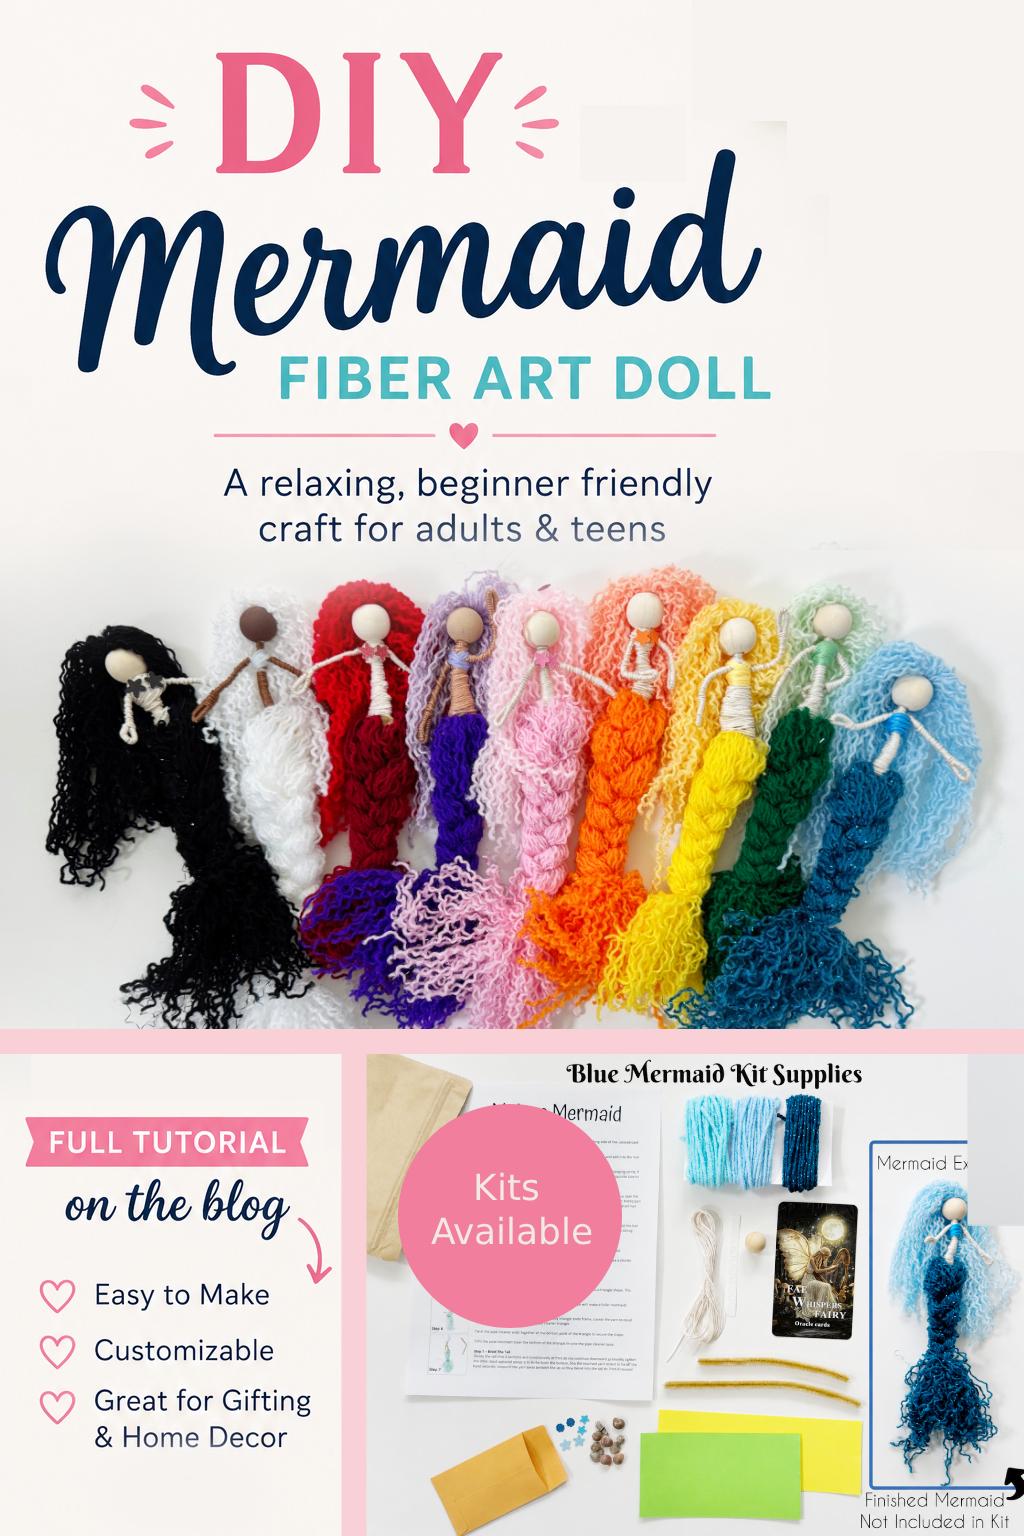
I’ve always loved crafts that feel relaxing without needing a huge list of supplies or tons of experience, and these fiber art mermaids have quickly become one of my favorites because they’re simple enough for beginners but still leave plenty of room to get creative.
They are so easy to personalize with different hair and tails (length, color, and style) and endless opportunity for embellishments. Even when starting with the same supplies, they all end up different, and they’re incredible flexible for a broad range of ages and abilities which make them a fantastic group craft or girls night experience.
Whether you’re making one for yourself, crafting with a friend, or looking for a creative gift idea, these little mermaids are a hit.
Why I Love This Mermaid Craft
Not only are they fun to make and customize, but they’re also beautiful in a way that is undeniably soft and lovely.
Mine have ended up:
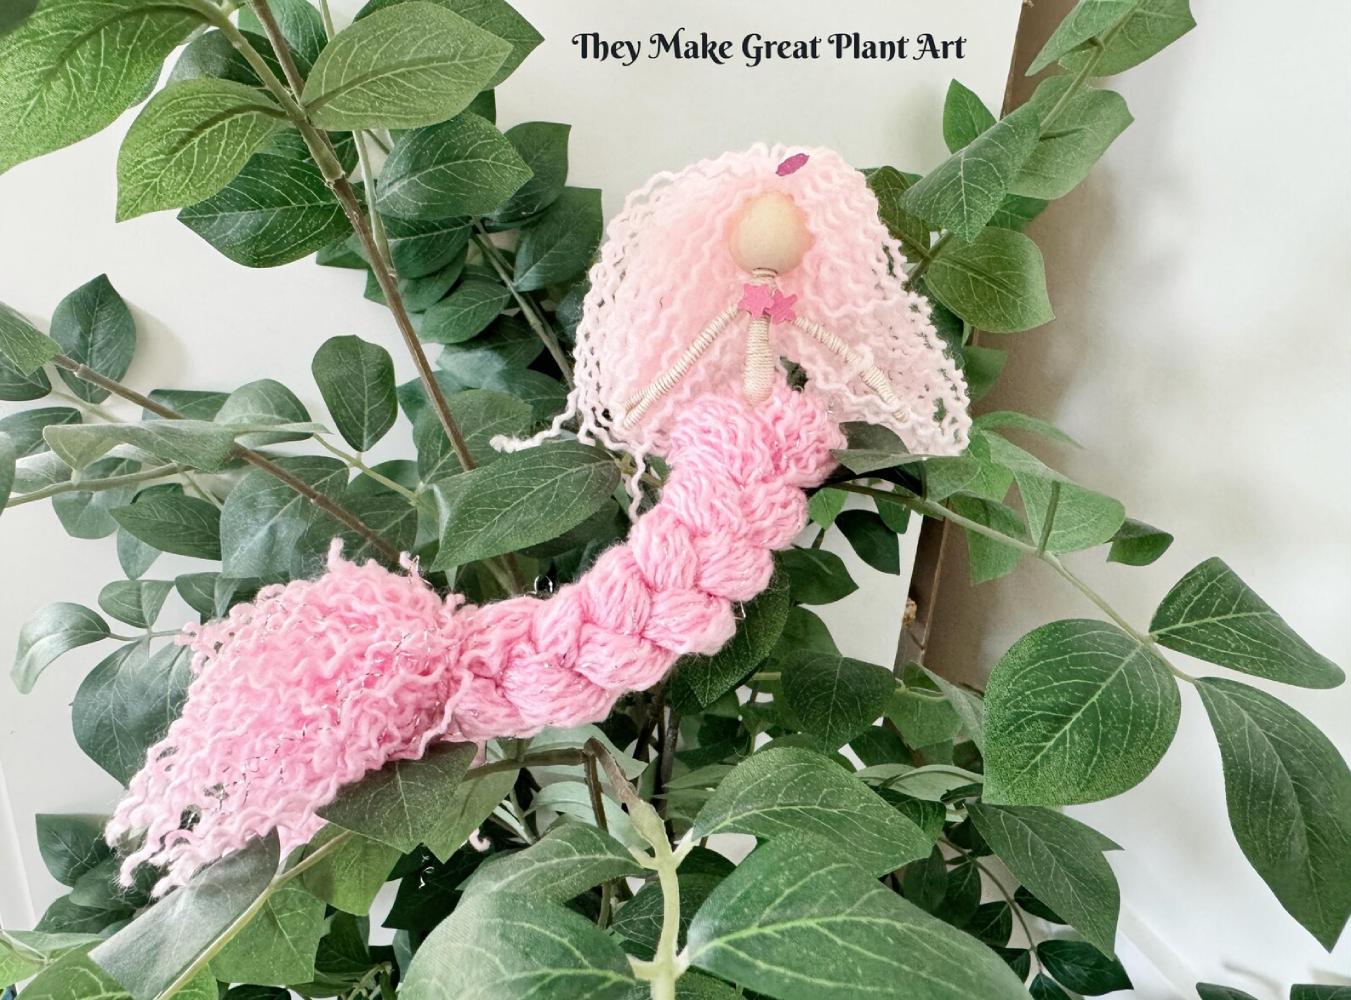
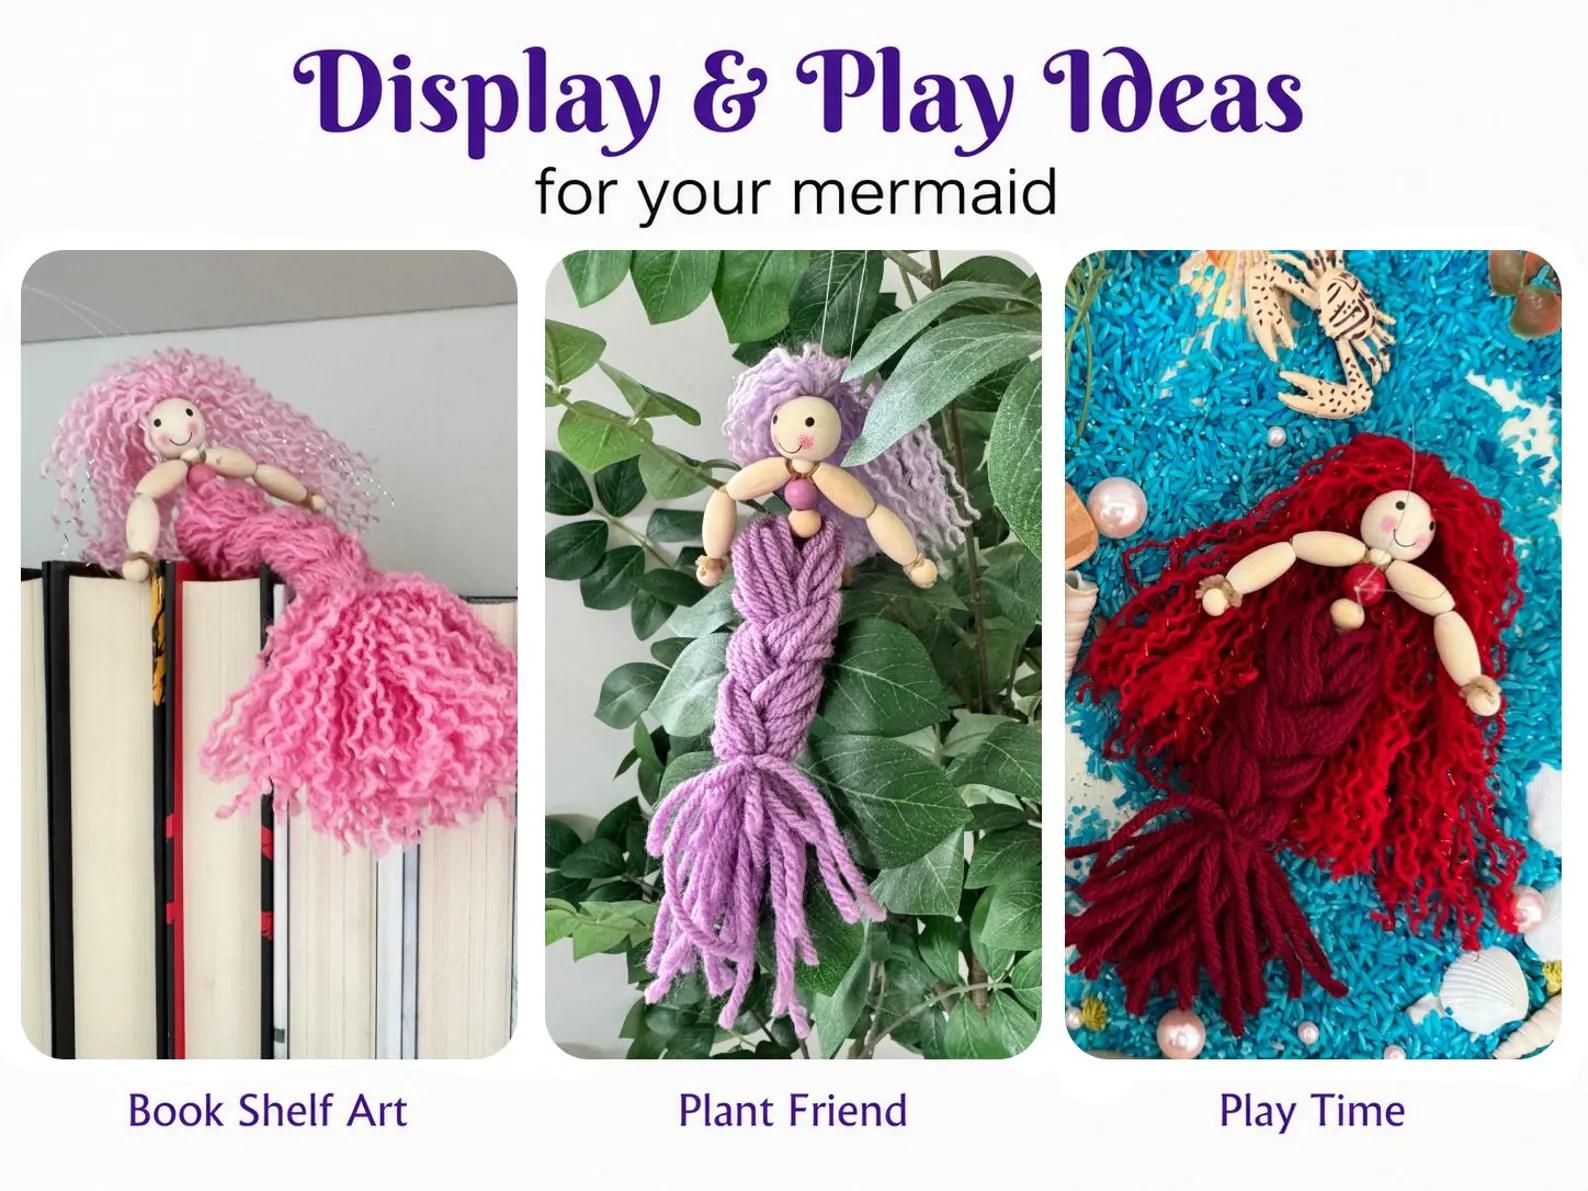
- Hanging from houseplants
- Sitting on bookshelves
- Decorating Christmas trees
- Playing in sensory bins
- and have been gifted to friends
They’re one of those crafts that keeps making me smile long after the crafting is over.
Supplies You’ll Need
You can absolutely gather everything yourself if you enjoy sourcing supplies.
Here’s what you’ll need:
- Wooden bead (20mm)
- Pipe cleaners (skin tone) cut to 6.5″ & 5″
- Yarn in 2-3 coordinating colors
- Embroidery floss (skin tone)
- Glue Dots (alternatively hot glue would also work)
- Scissors
- Measuring cards or cardboard – 7″ & 5.5″
- Hanging string (optional)
Want to Skip Gathering Supplies?
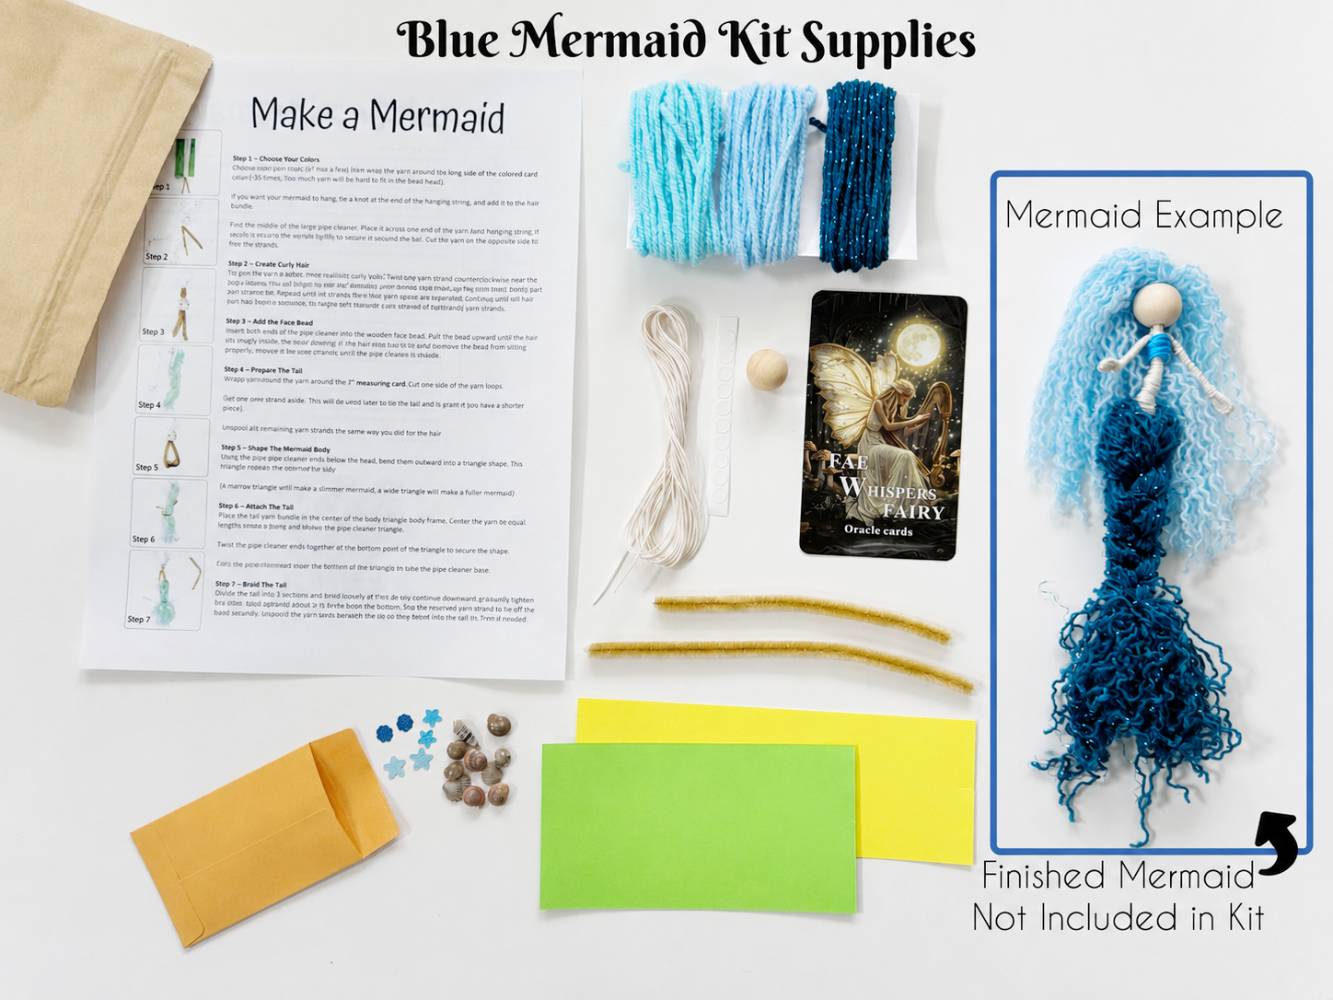
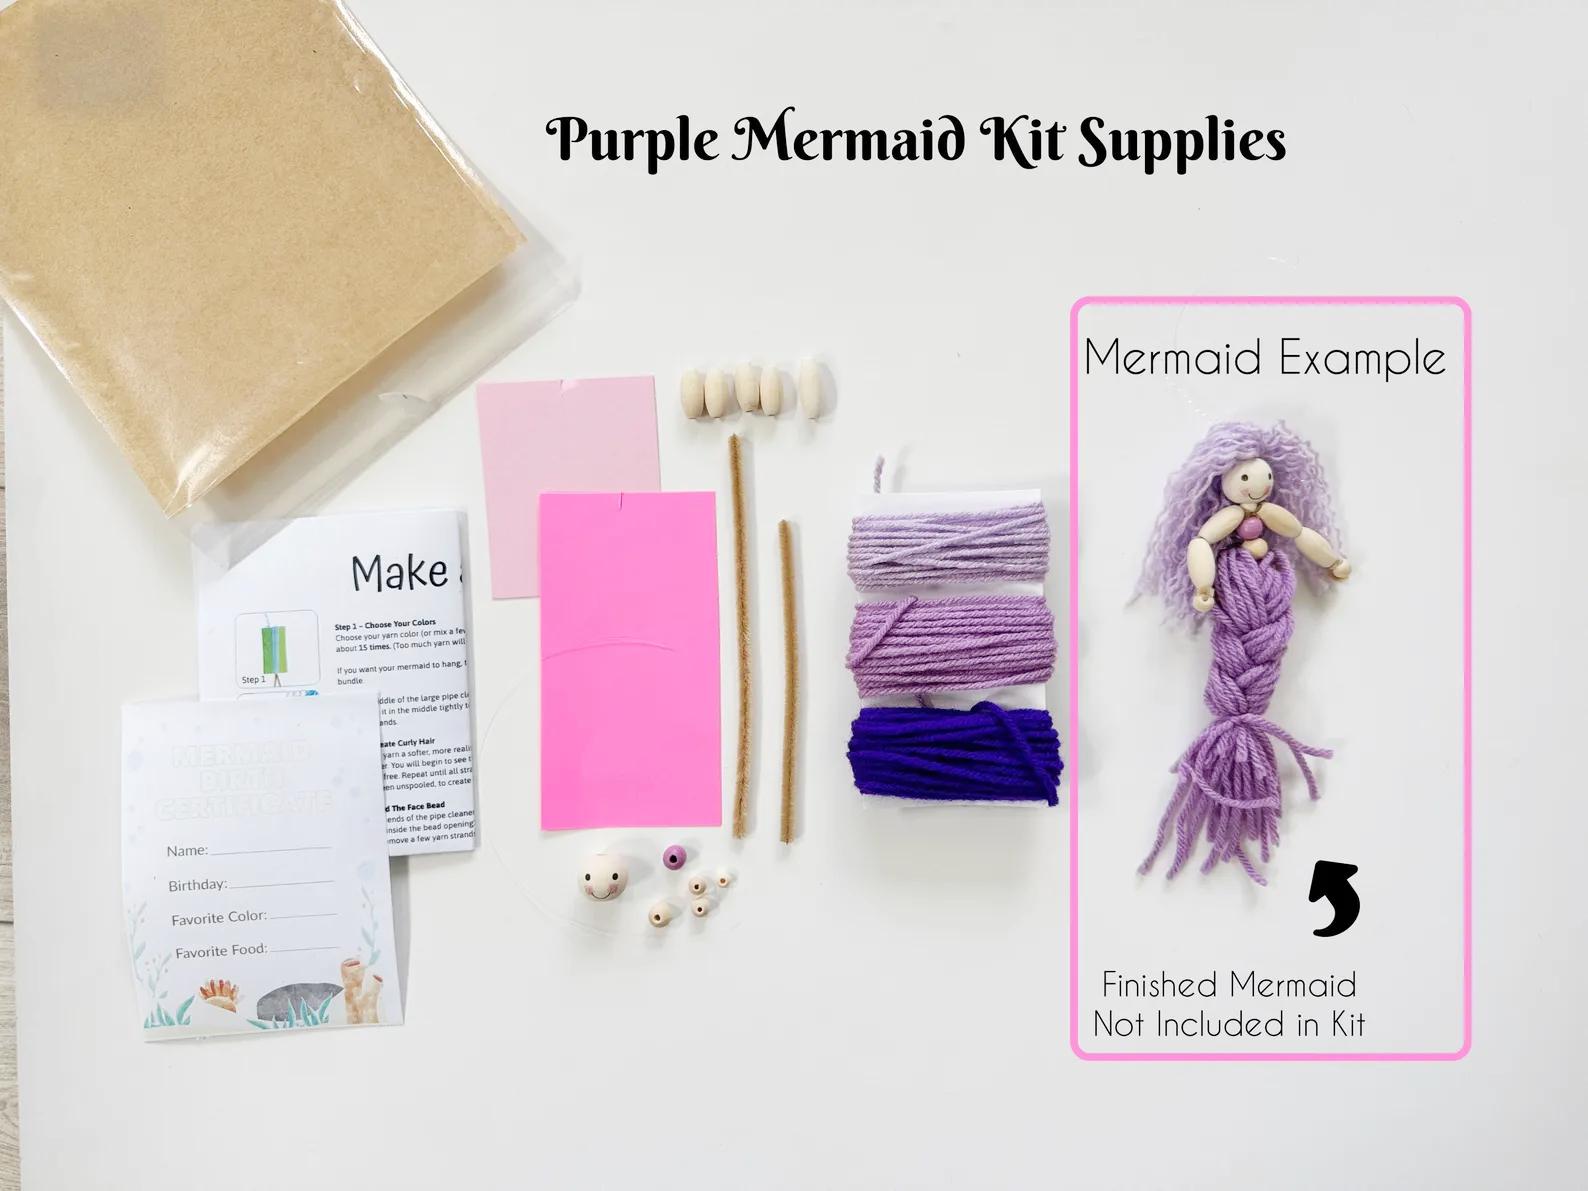
If you’d rather jump straight into crafting, I also put together DIY Mermaid Kits in my Etsy shop.
Each kit includes the supplies already measured and organized, along with illustrated instructions, so you can start creating right away instead of shopping for materials.
➜ Shop Adult Fiber Art Mermaid Kits
Watch the Full Video Tutorial
If you’re more of a visual learner, I walk through every step of making one of these mermaids in my YouTube tutorial.
How to Make A Fiber Art Mermaid
 Step 1 – Choose Your Colors
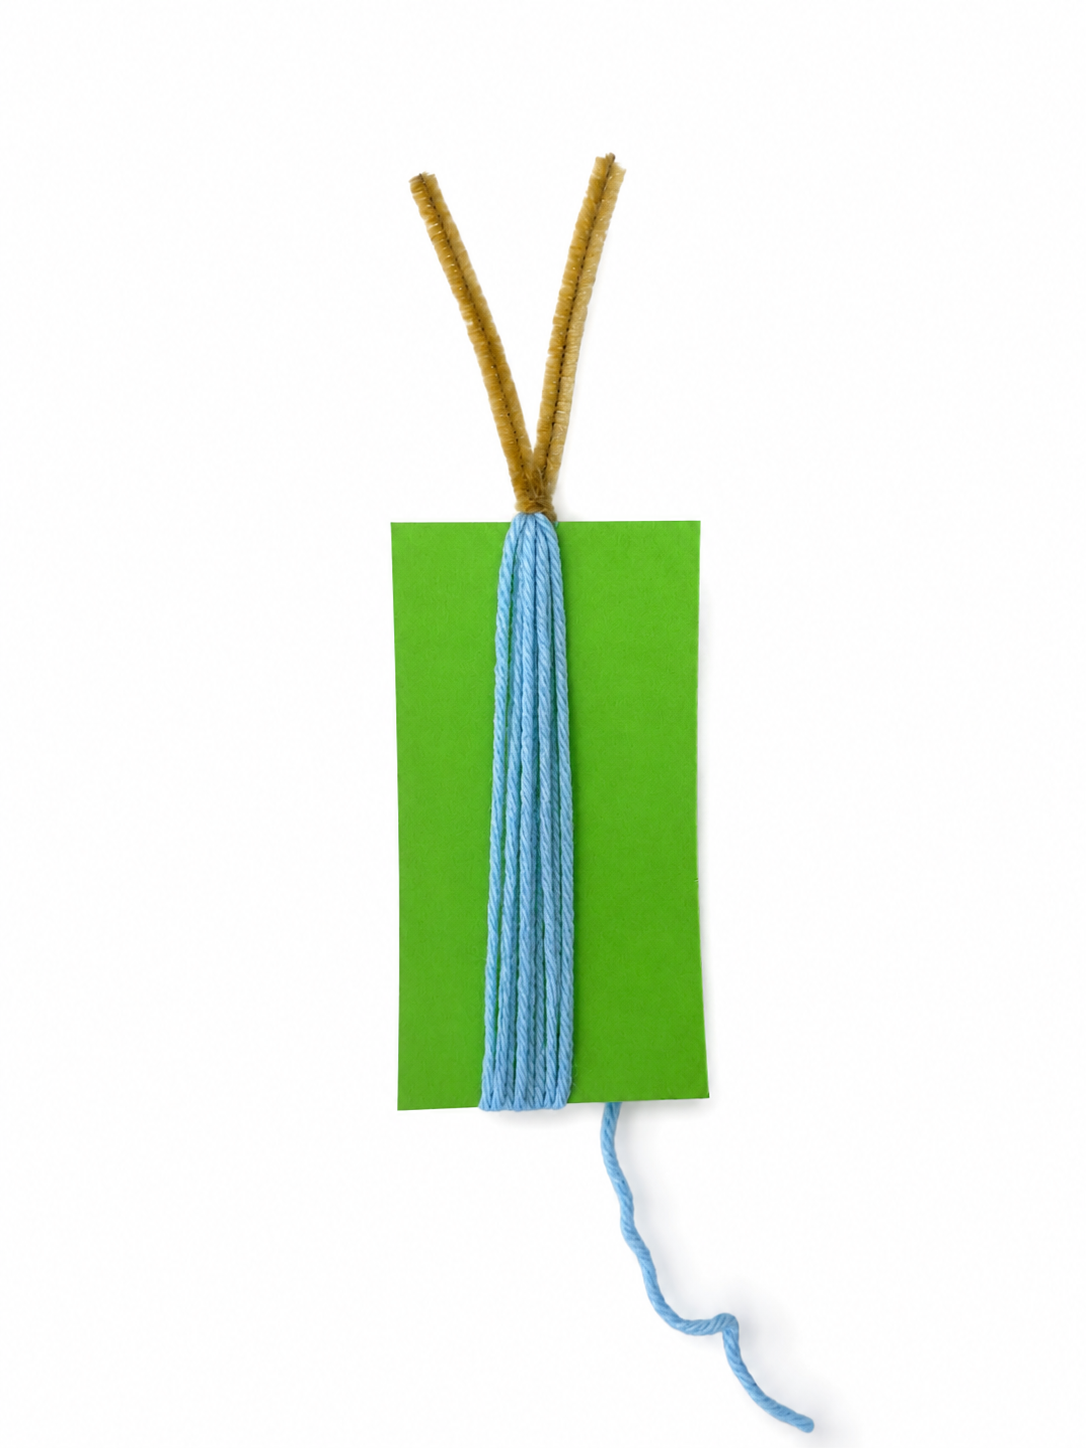
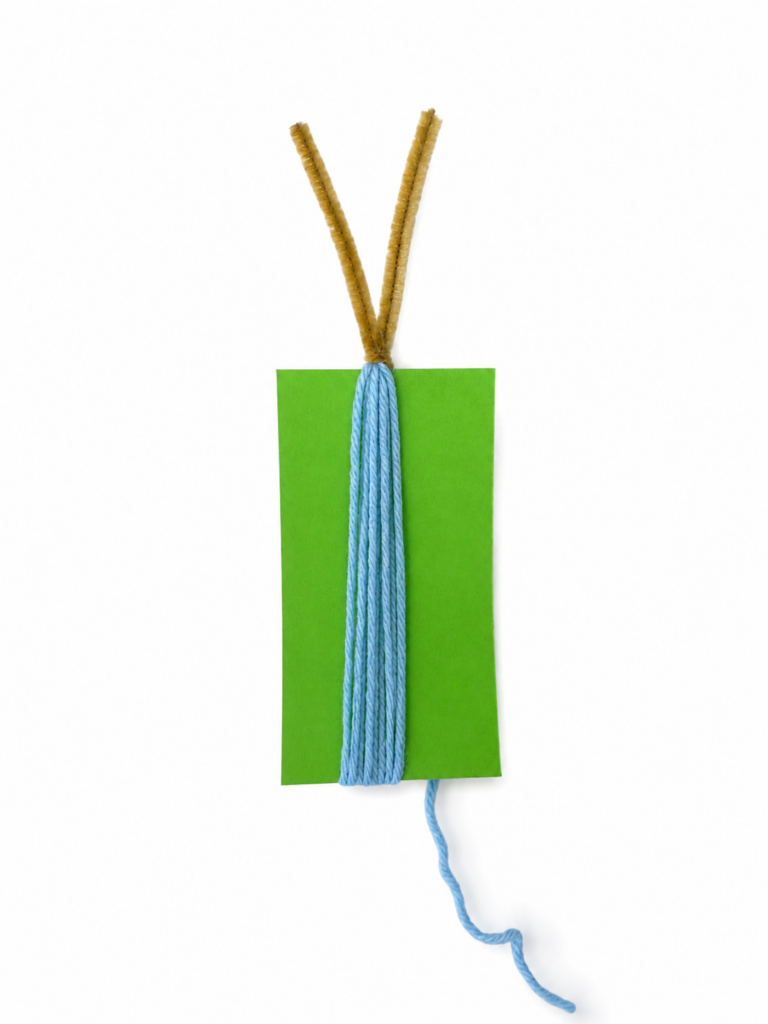
Choose your yarn color (or mix a few) then wrap the yarn around the 5.5 measuring card about 15 times. (If you want longer hair you can also do the 7″ card – also too much yarn will be hard to fit in the bead head and yarns have different thickness. If your yarn ends up being too thick you can always remove stands later.)
If you want your mermaid to hang, tie a knot at the end of the hanging string, and add it to the hair bundle.
Find the middle of the 6.5″ pipe cleaner. Place it across one end of the yarn (and hanging string, if used), twist it in the middle tightly to secure it around the hair. Cut the yarn on the opposite side to free the strands.
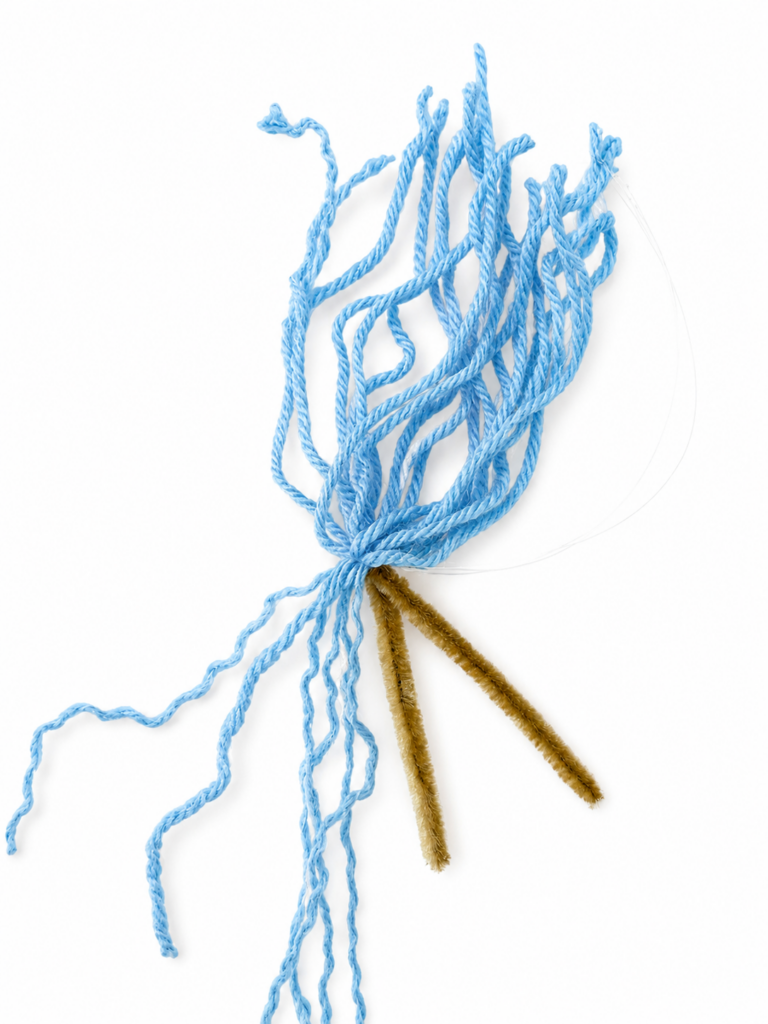 Step 2 – Create Curly Hair
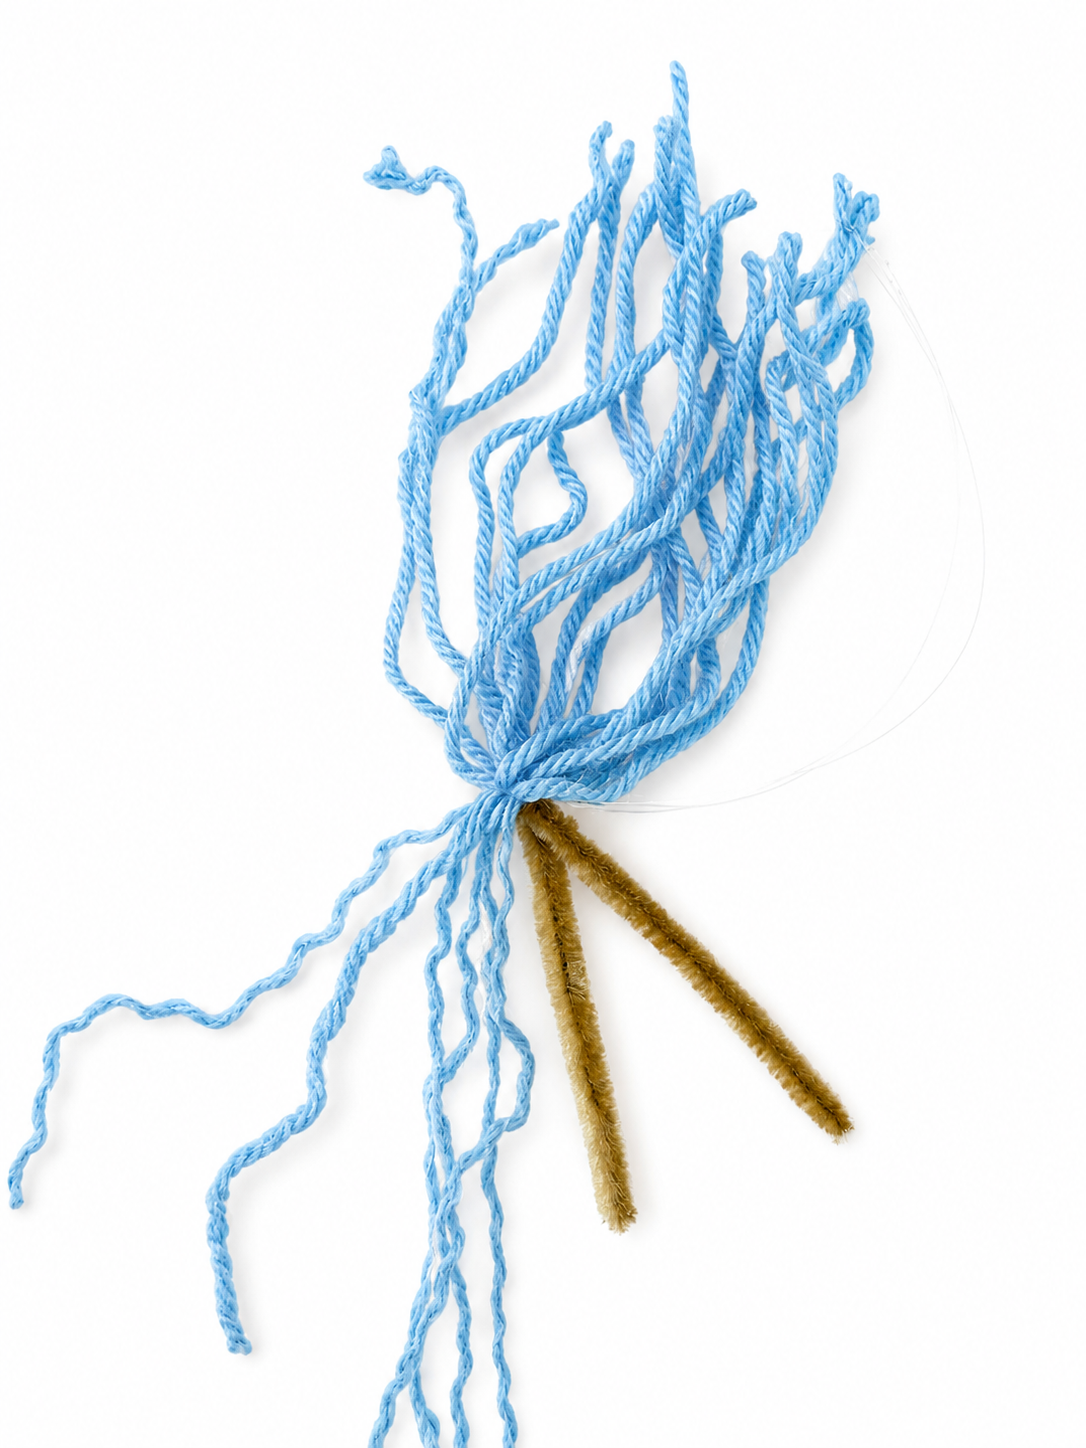
To give the yarn a softer, more realistic curly look: Twist one yarn strand counterclockwise near the pipe cleaner. You will begin to see the 4 smaller yarn strands that make up the yarn twist. Gently pull one strand free. Repeat until all strands from that yarn piece are separated. Continue until all hair yarn has been unspooled, to create soft textured curls instead of traditional yarn strands. (Acrylic yarn tends to be more curly than cotton yarn)
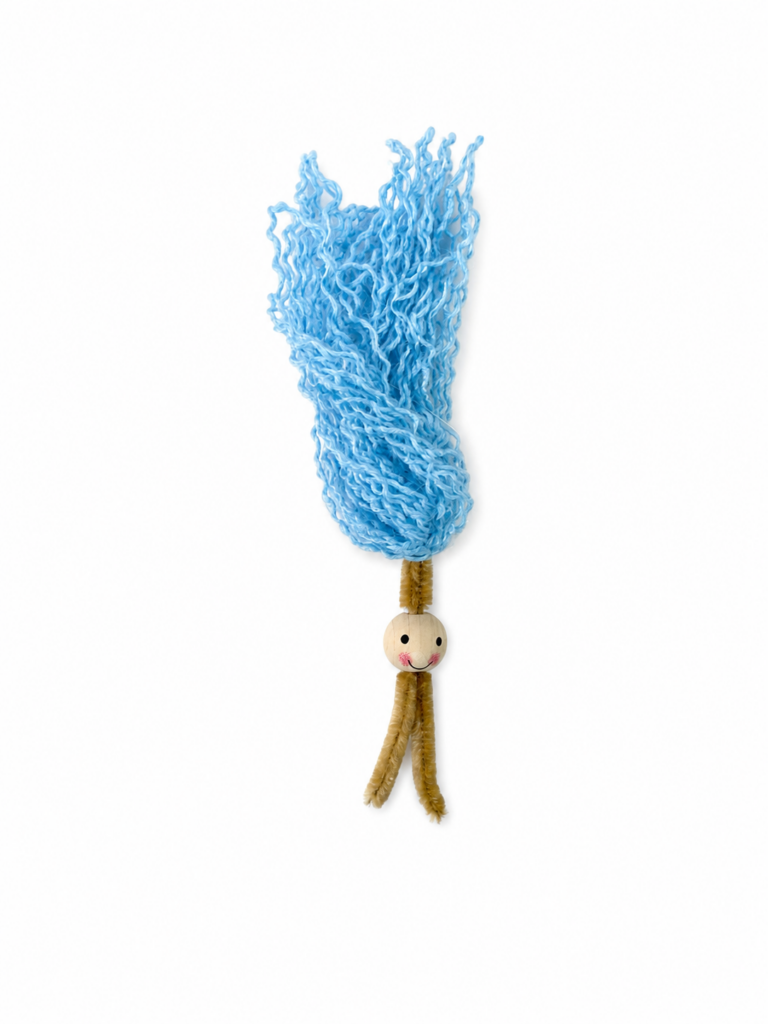 Step 3 – Add The Face Bead
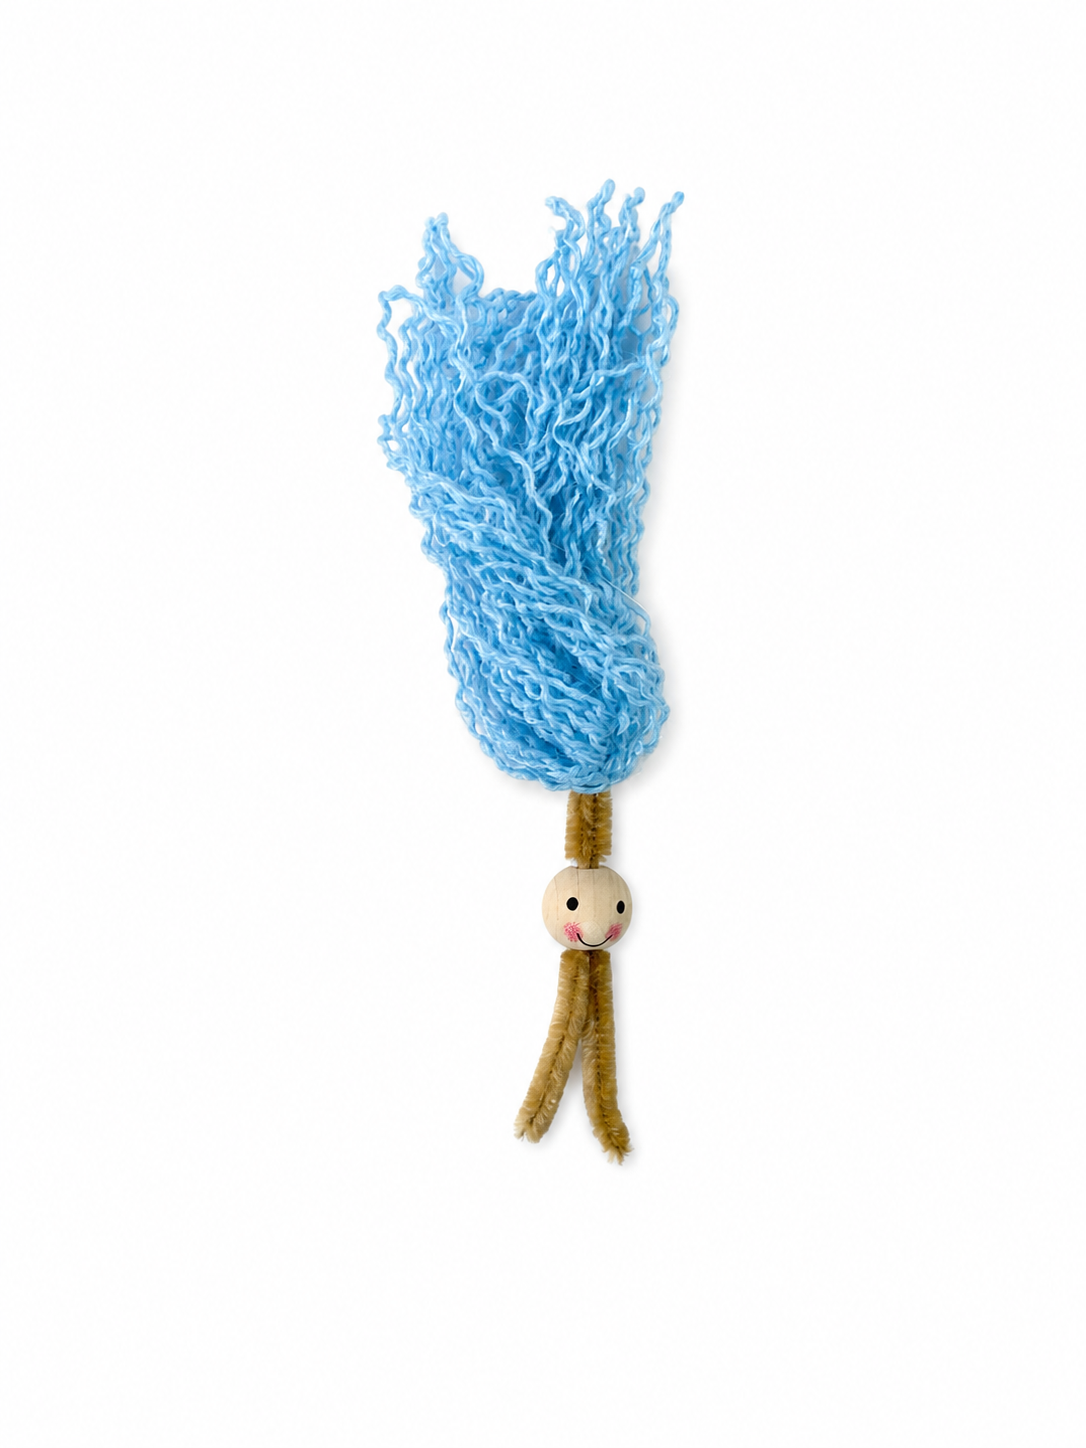
Insert both ends of the pipe cleaner into the wooden face bead. Pull the bead upward until the hair sits snugly inside the bead opening. If the hair feels too thick and prevents the bead from sitting properly, remove a few yarn strands until the pipe cleaner is hidden.
 Step 4 – Prepare The Tail
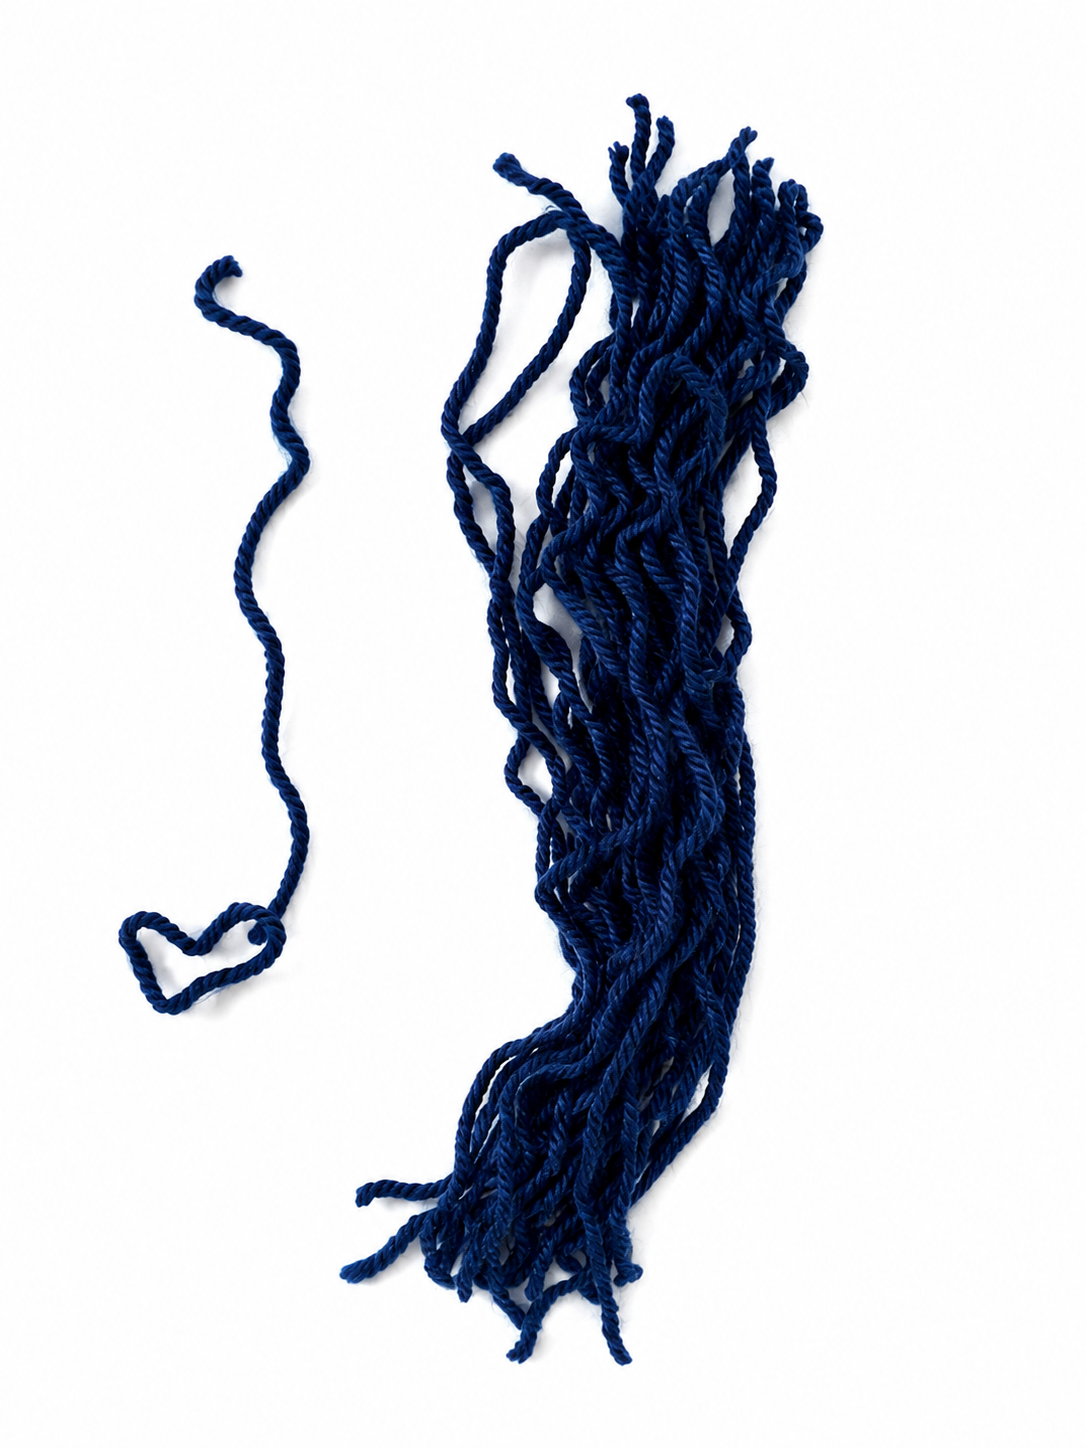
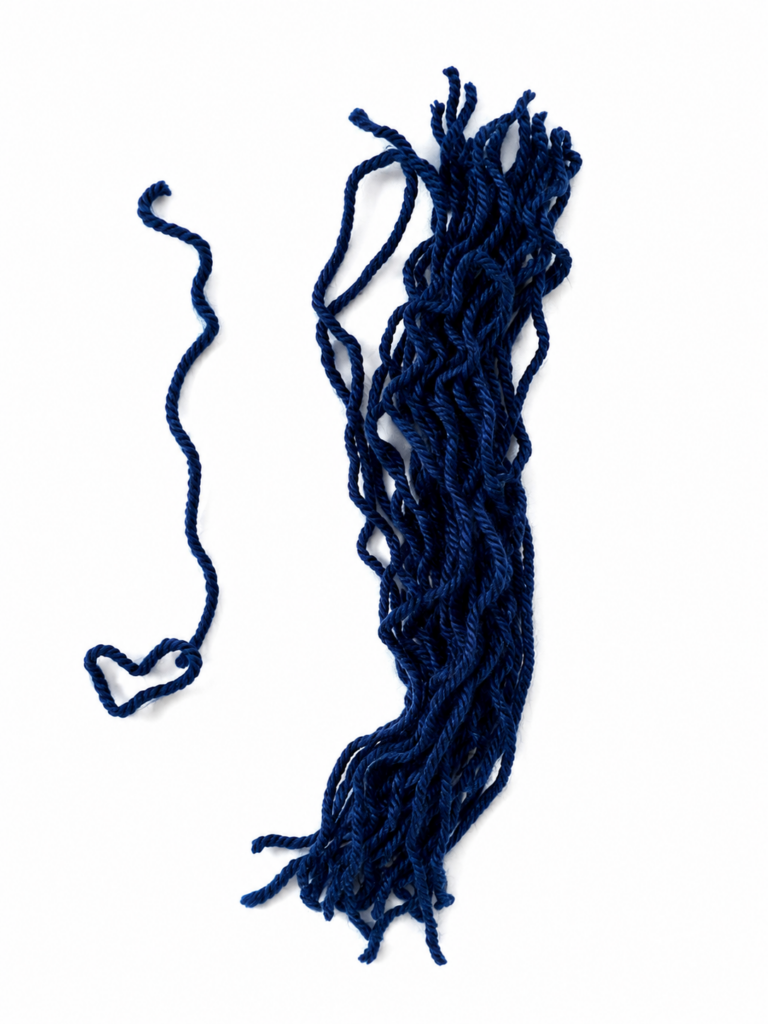
Wrap your chosen tail yarn around the 7″ measuring card 20-30 times (depending on how thick you want your tail) Cut one side of the yarn loops.
(Set one yarn strand aside. This will be used later to tie the tail and is great if you have a shorter piece.)
Unspool all remaining yarn strands the same way you did for the hair.
 Step 5 – Shape The Mermaid Body
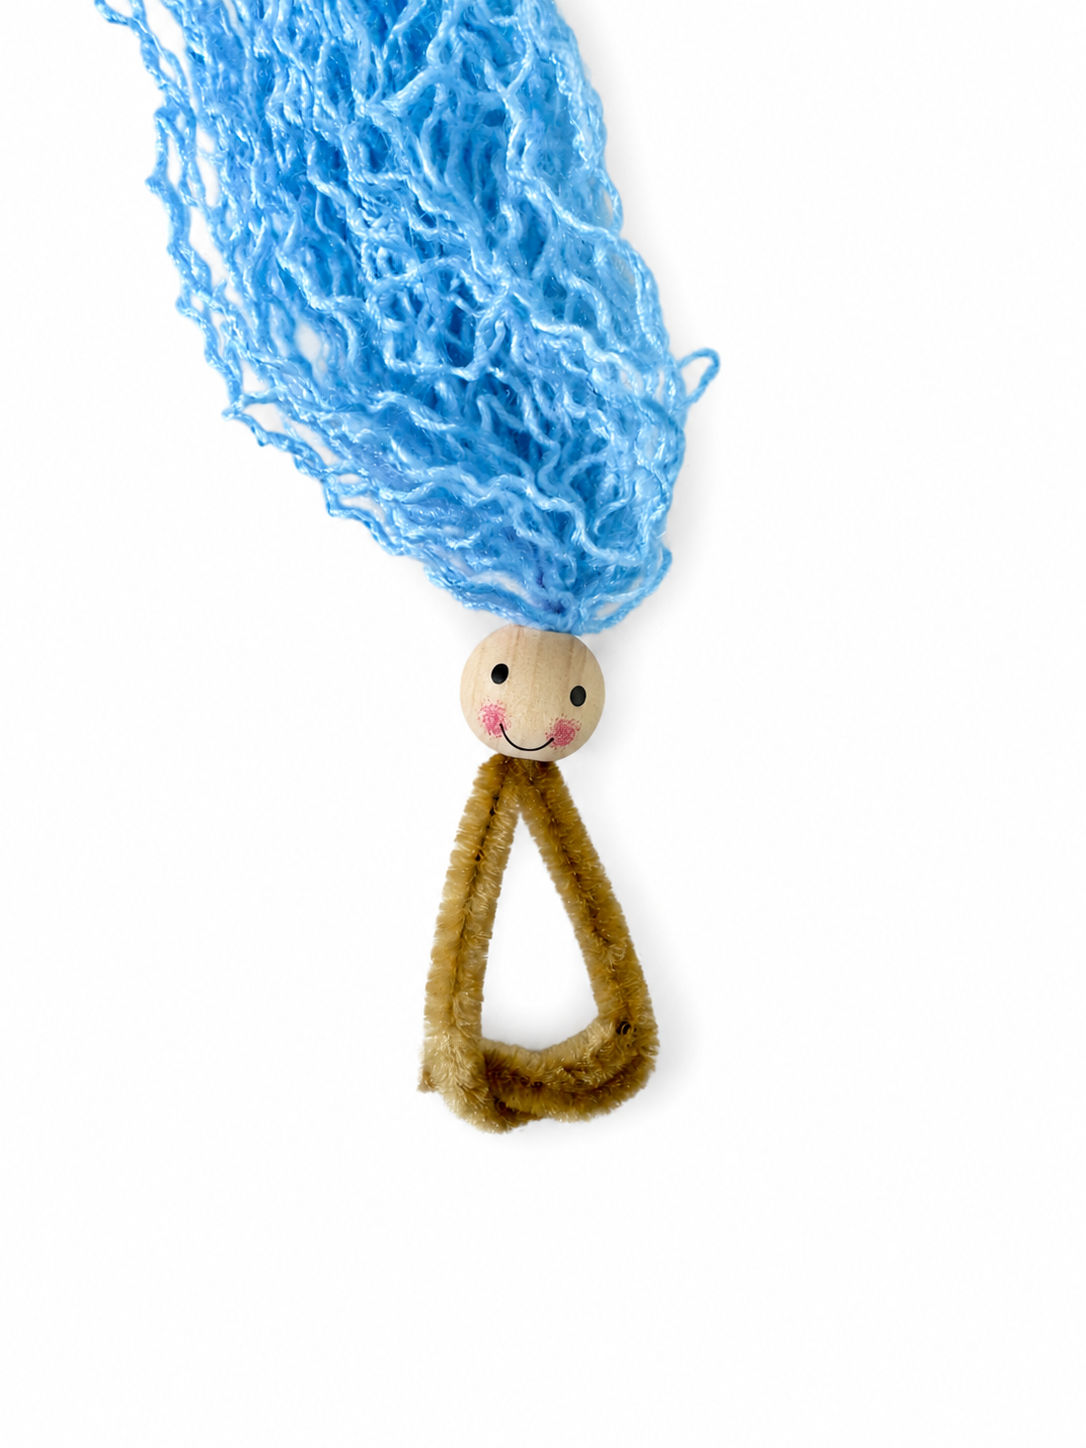
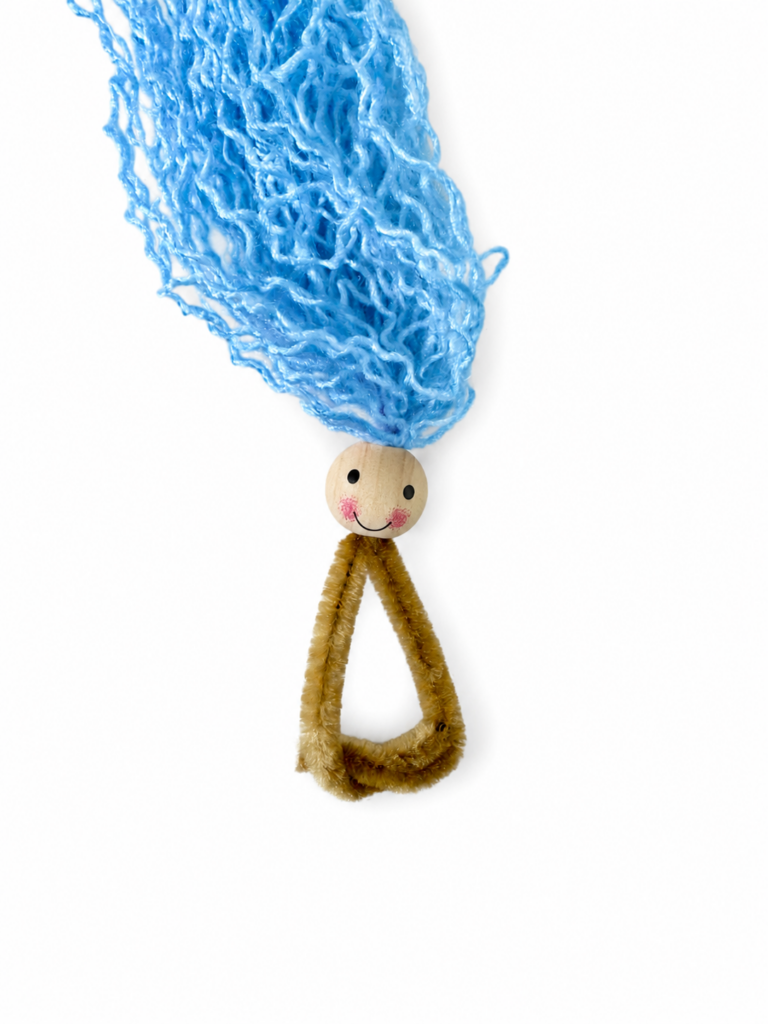
Using the two pipe cleaner ends below the head, bend them outward into a triangle shape. This triangle creates the mermaid’s body.
(A narrow triangle will make a slimmer mermaid, a wide triangle will make a fuller mermaid)
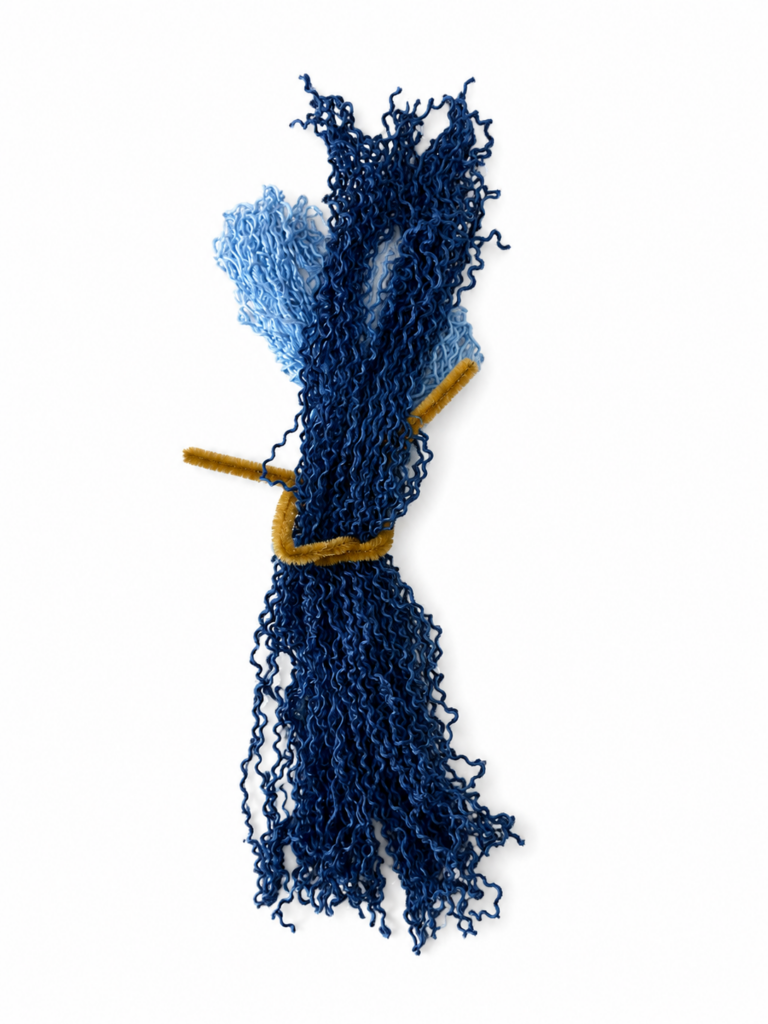 Step 6 – Attach The Tail
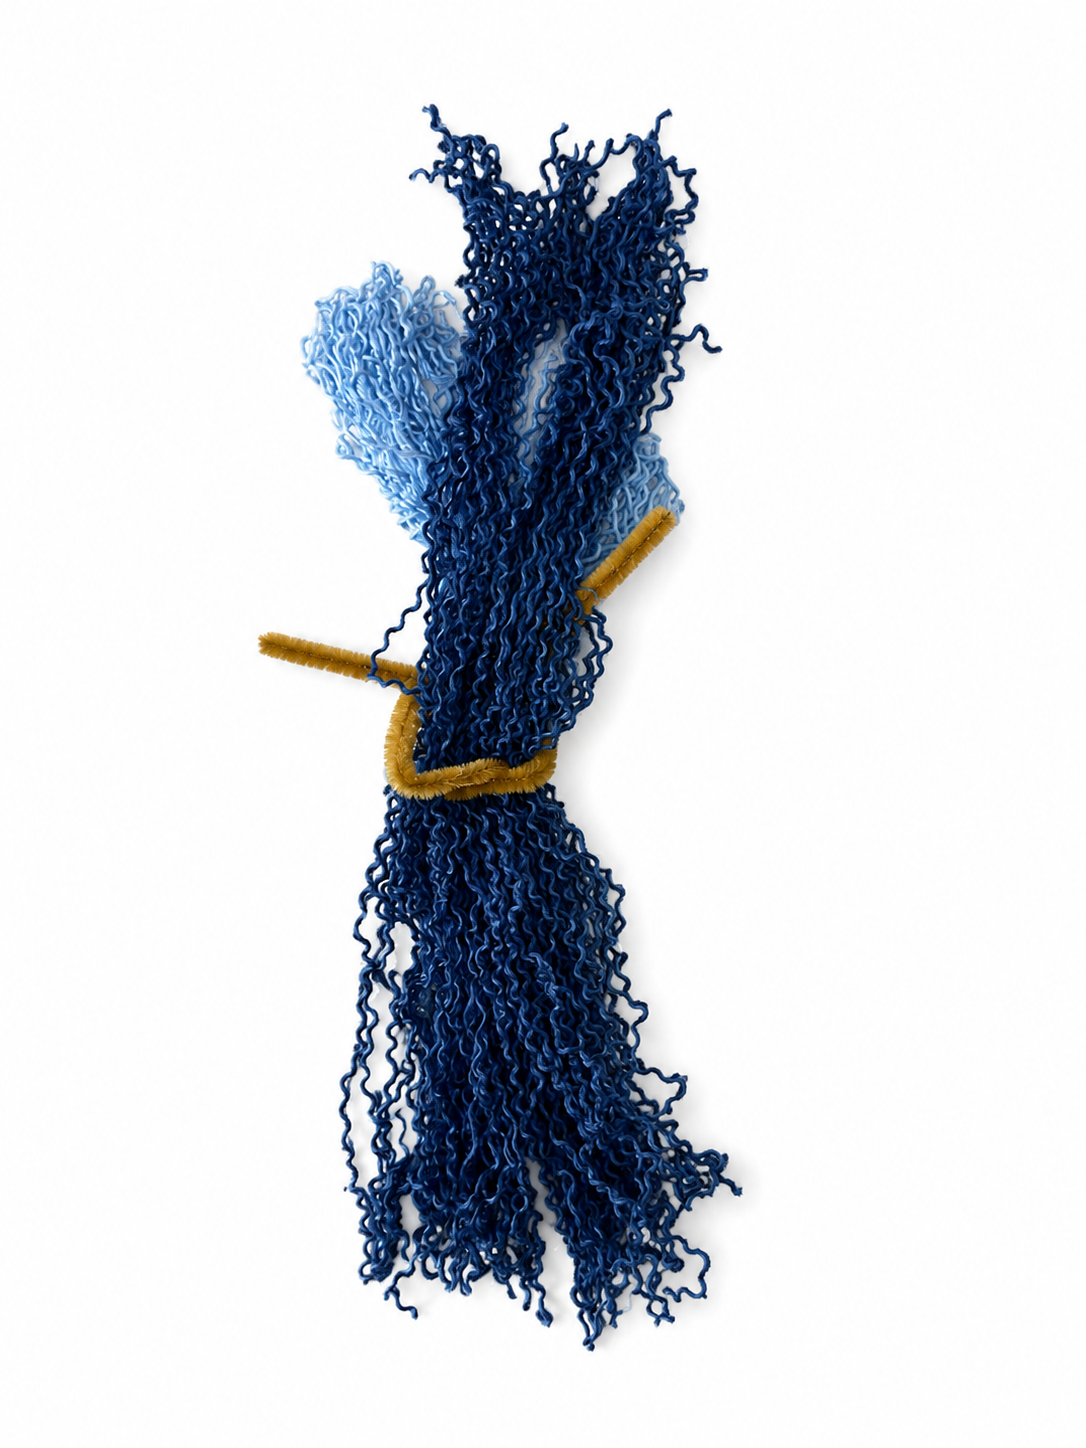
Place the tail yarn bundle in the center of the body triangle body frame. Center the yarn so equal lengths extend above and below the pipe cleaner triangle.
Twist the pipe cleaner ends together at the bottom point of the triangle to secure the shape.
Fold the yarn downward over the bottom of the triangle to hide the pipe cleaner base.
 Step 7 – Braid The Tail
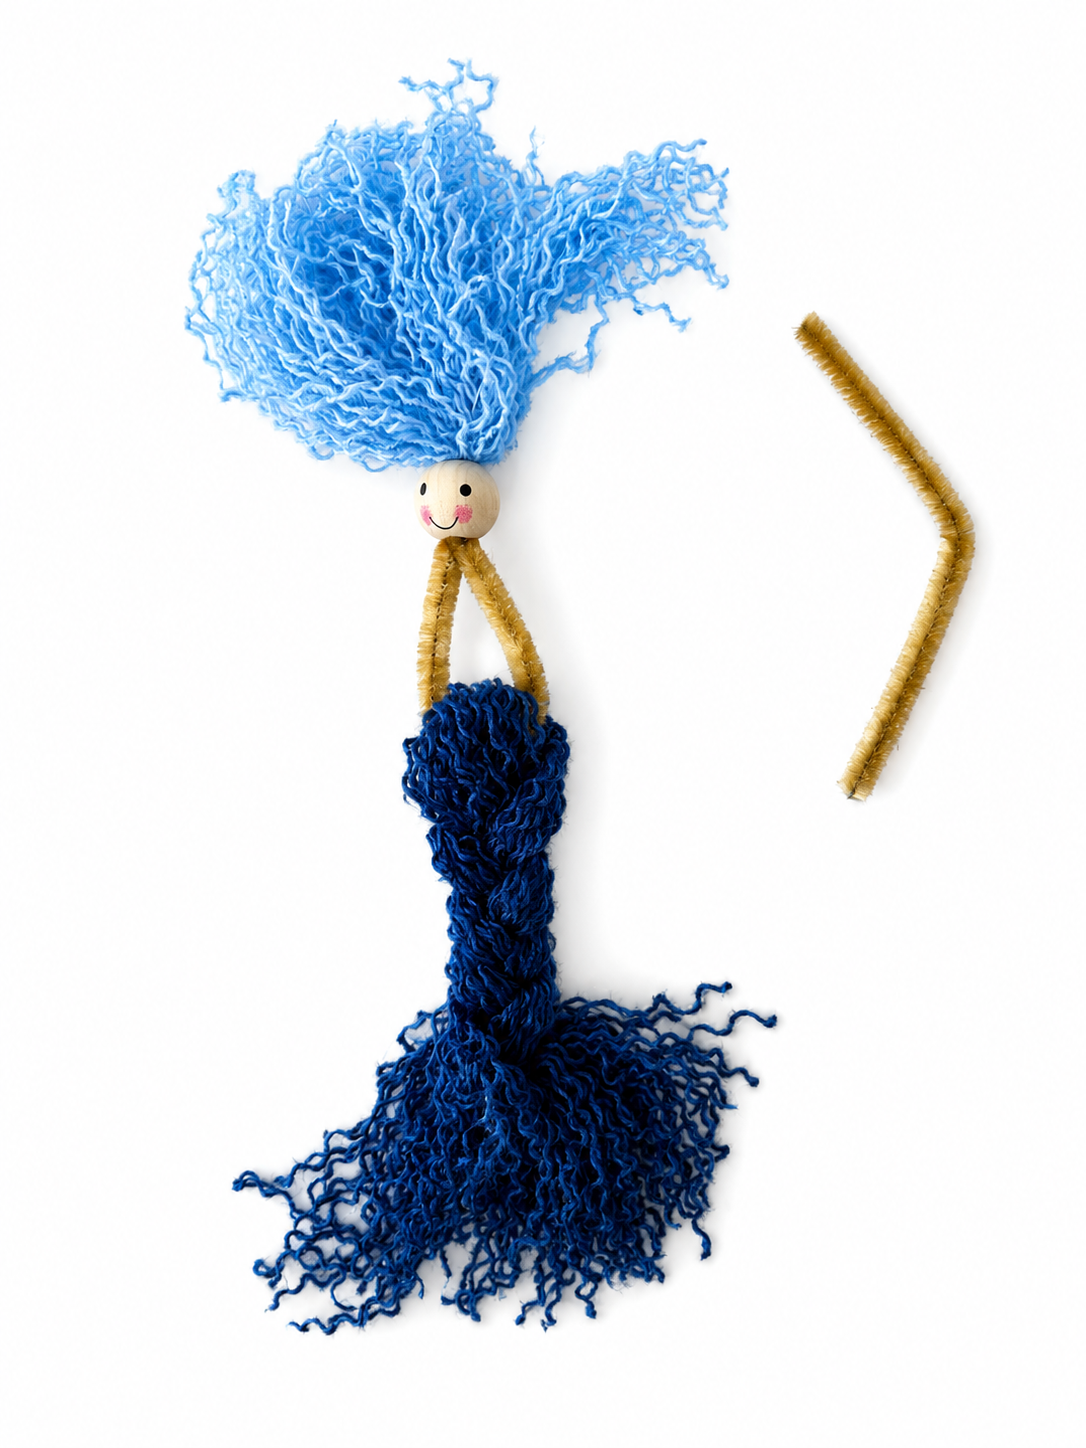
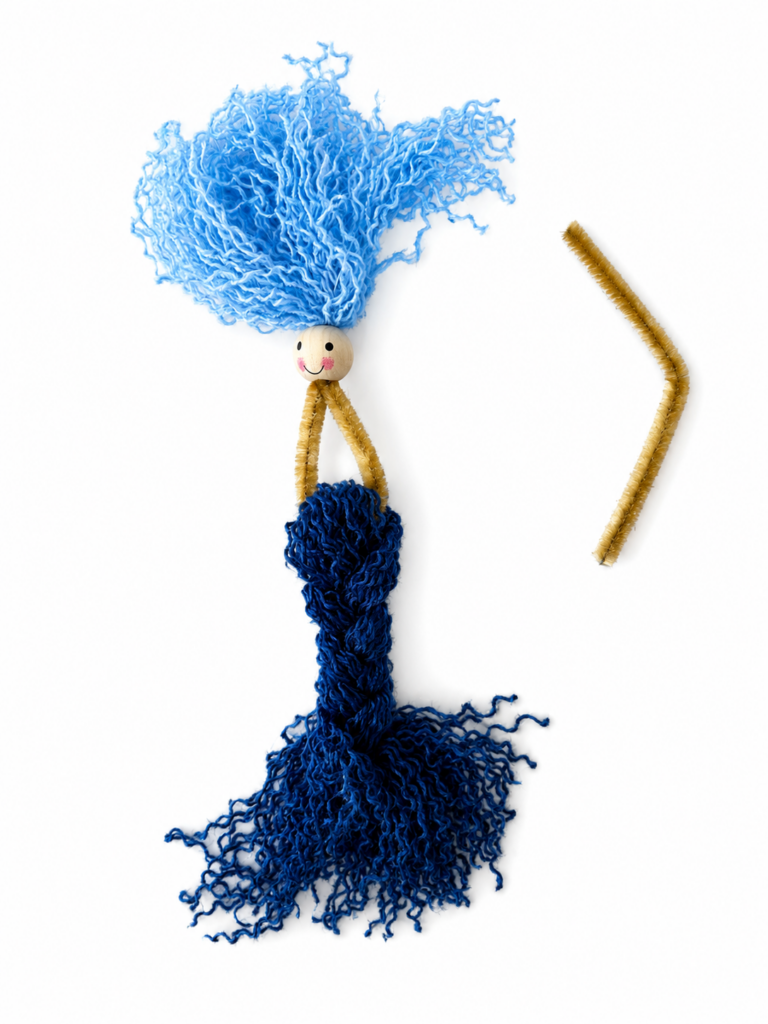
Divide the tail into 3 sections and braid loosely at first. As you continue downward, gradually tighten the braid. Stop braiding about 1–2 inches from the bottom. Use the reserved yarn strand to tie off the braid securely. Unspool the yarn ends beneath the tie so they blend into the tail fin. Trim if needed.
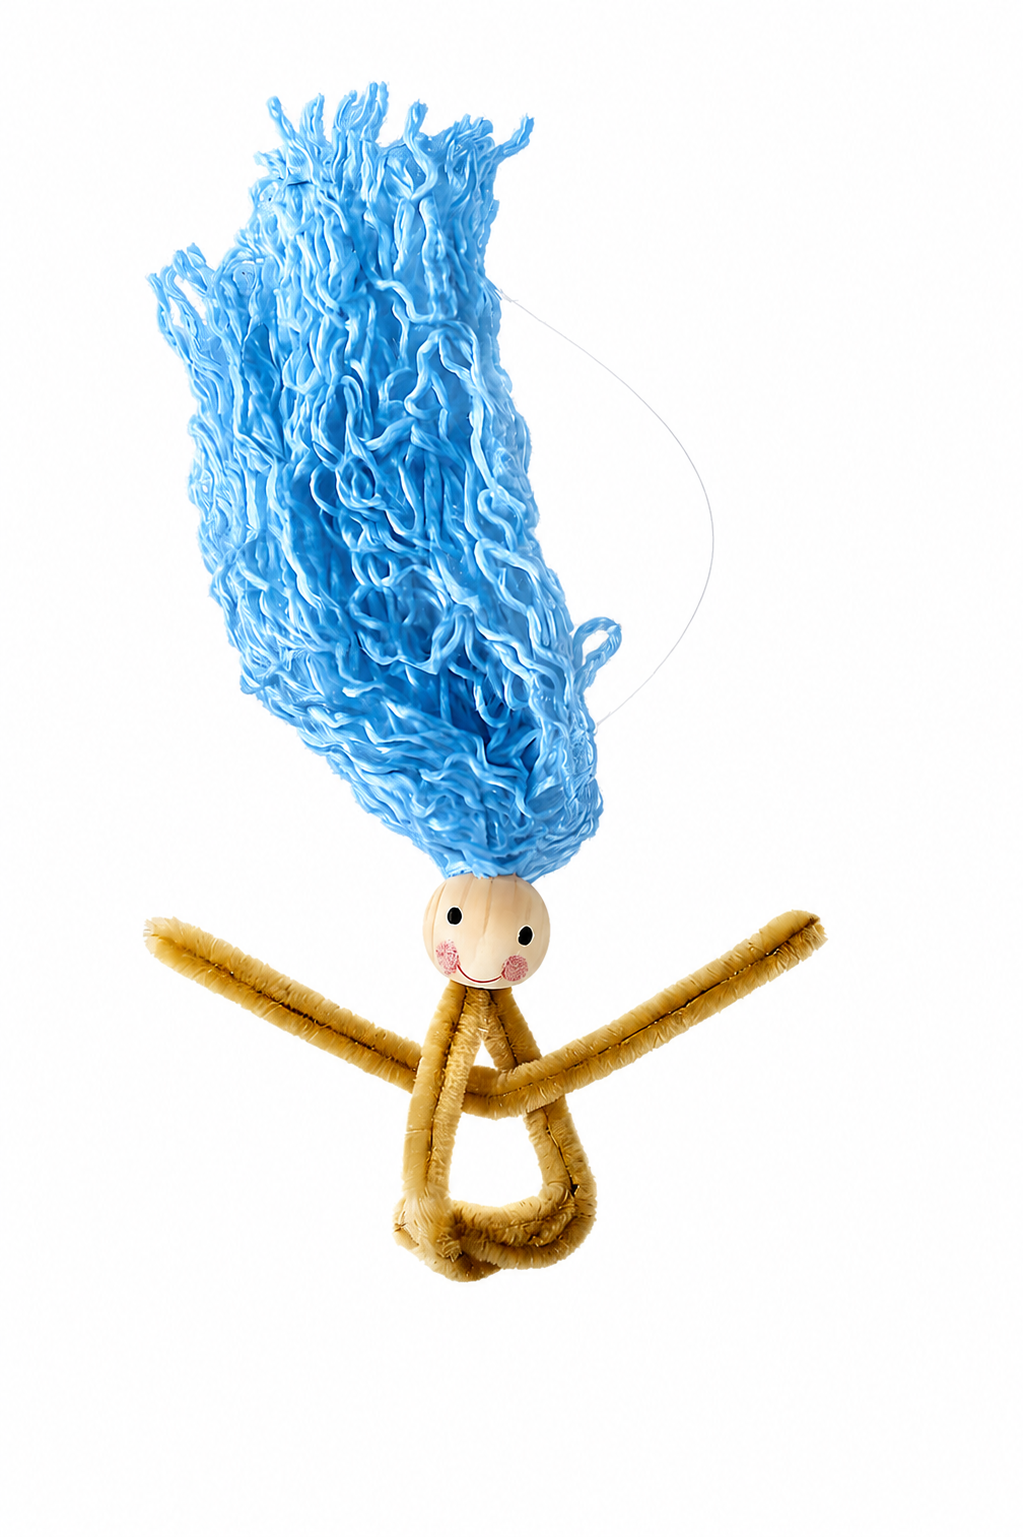
Step 8 – Add The Arms
Take the short pipe cleaner and bend it in half. Slide it horizontally through the upper body triangle near the neck area to create the arms. Leave a small gap below the head to create a neck.
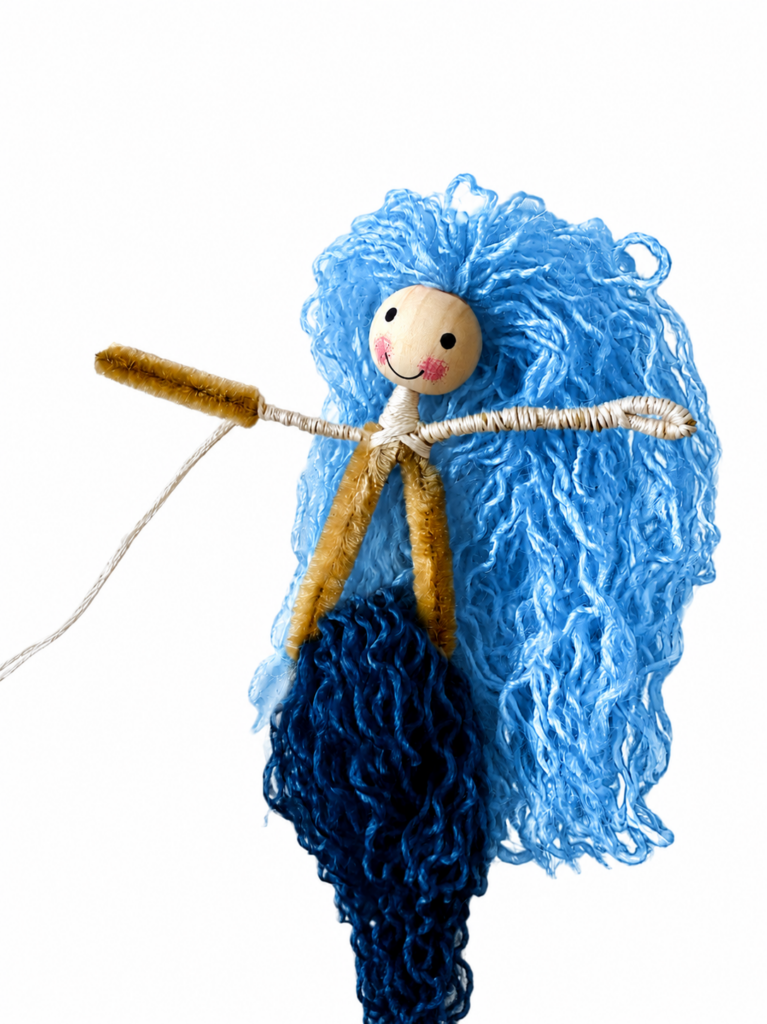 Step 9 – Wrap The Body
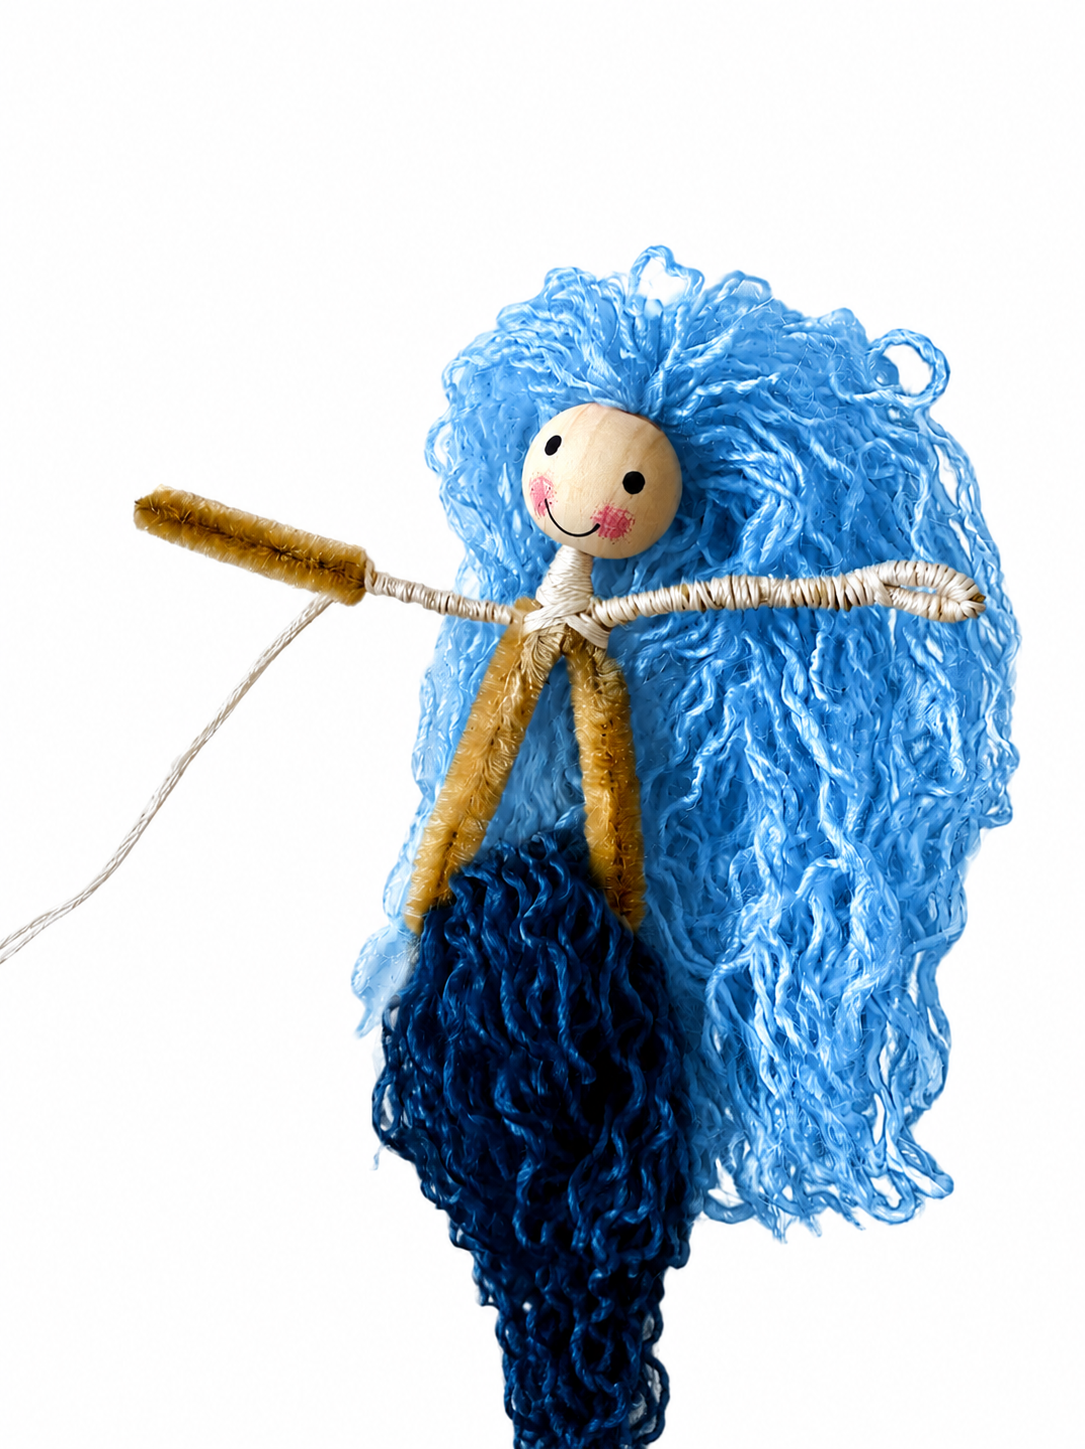
Place a dot of hot glue or a sticky tab on the back of the mermaid near the neck. Press one end of the embroidery floss onto the sticky tab to secure it. Slowly wrap the embroidery floss around the pipe cleaners (Wrap tightly so no fuzzy pipe cleaner shows through.) Continue wrapping down the neck. At the arms: Wrap several X-shapes around the center to help hold the arm wire securely in place.
Arms and Hands: After wrapping an X around the chest, pick an arm and continue wrapping down it until you’re almost to the end of the pipe cleaner.
Leave about 1/8 inch at the end unwrapped.
Bend the pipe cleaner tip into a small loop to create the hand. Continue wrapping to cover the hand completely. Return to the body center and repeat on the second arm.
Continue wrapping down the torso until all visible pipe cleaner is covered. Add a second sticky tab near the tail to secure the floss before trimming the excess.
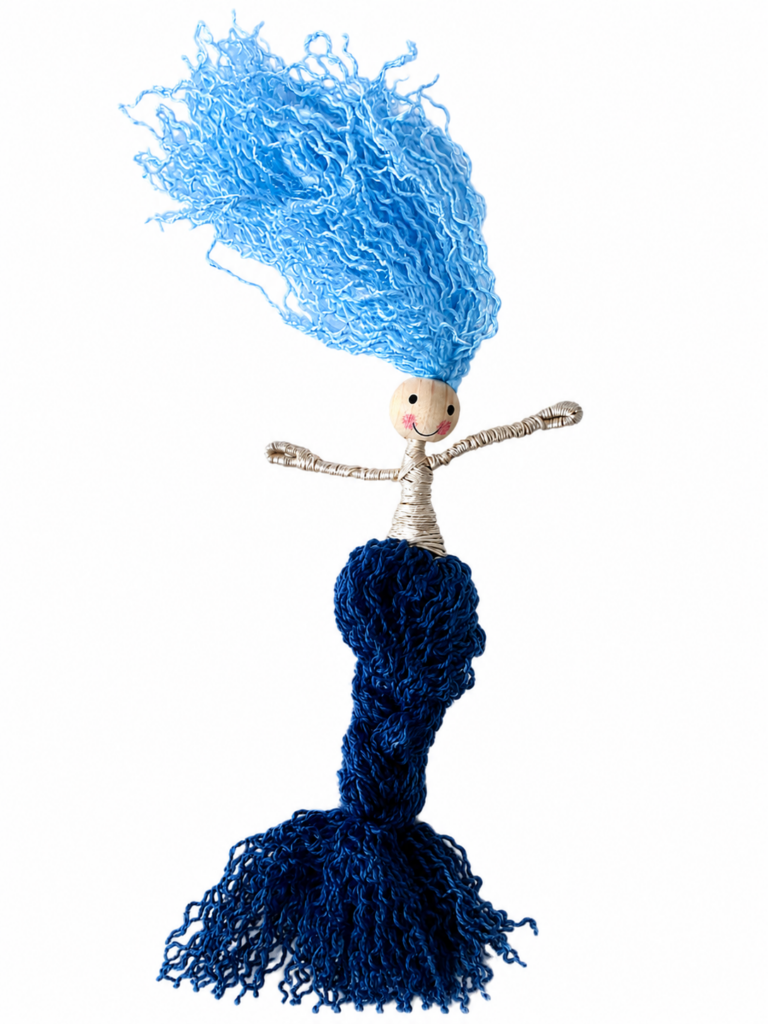 Step 10 – Decorate Your Mermaid
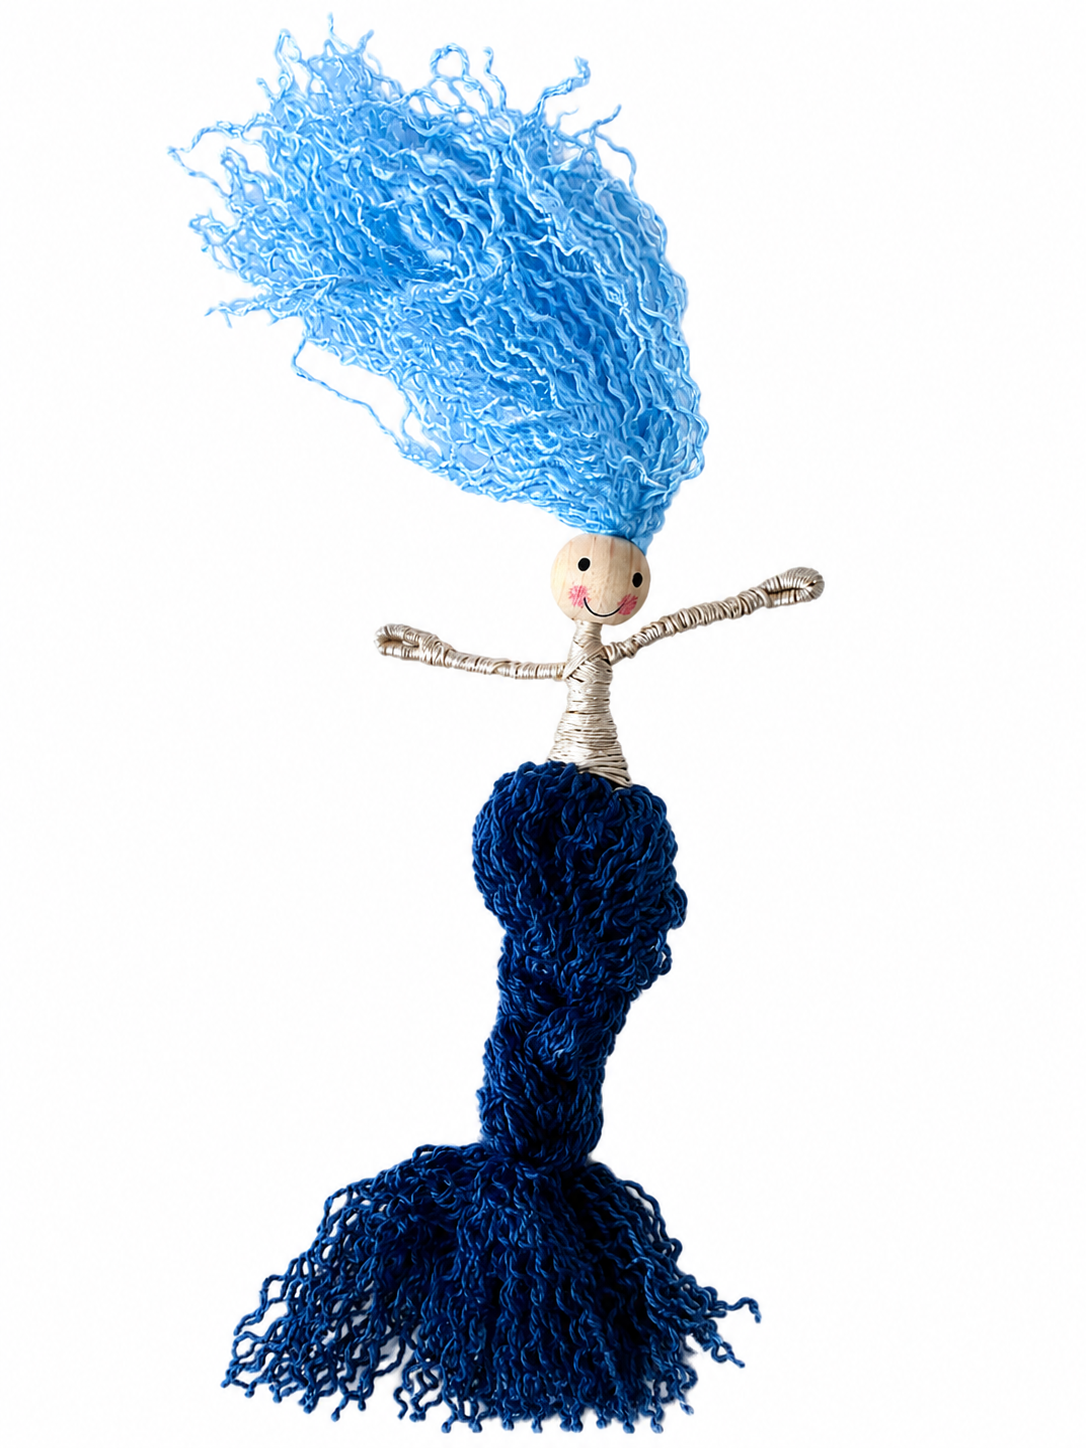
Use more yarn or add embellishments to customize your mermaid.
Ideas:
Create a starfish or seashell bra using sticky tabs
Wrap colored embroidery floss around the torso for a top
Add embellishments to the hair or tail
Mix colors for fantasy-inspired mermaids
I hope you enjoyed this project and have fun making your mermaid unique!
Easy to Customize
One of my favorite things about these mermaids is that they can be as simple, or as detailed, as you want.
Here are just a few ideas:
- Mix different yarn colors
- Make long or short hair
- Braid different tail styles
- Add curly hair
- Create a fluffy tail
- Add a hanging loop
- Pose the arms
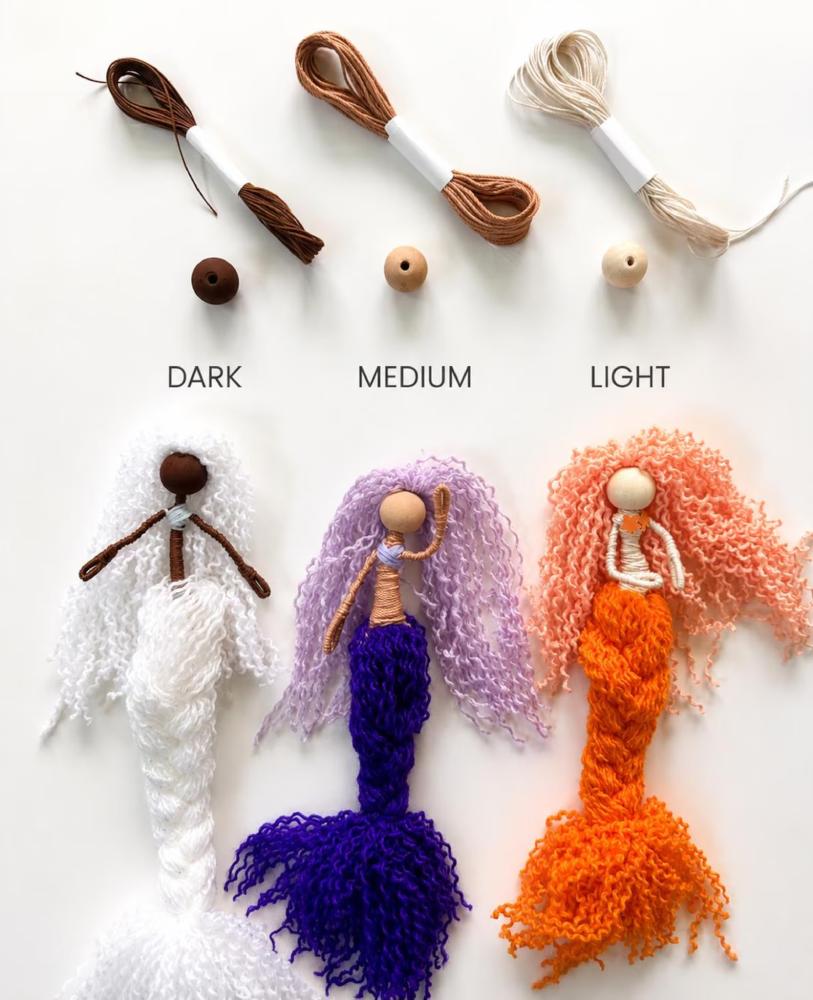
A Mermaid Craft for the Whole Family
One of the unexpected things I discovered while making these kits is that the same basic project works for a huge range of ages.
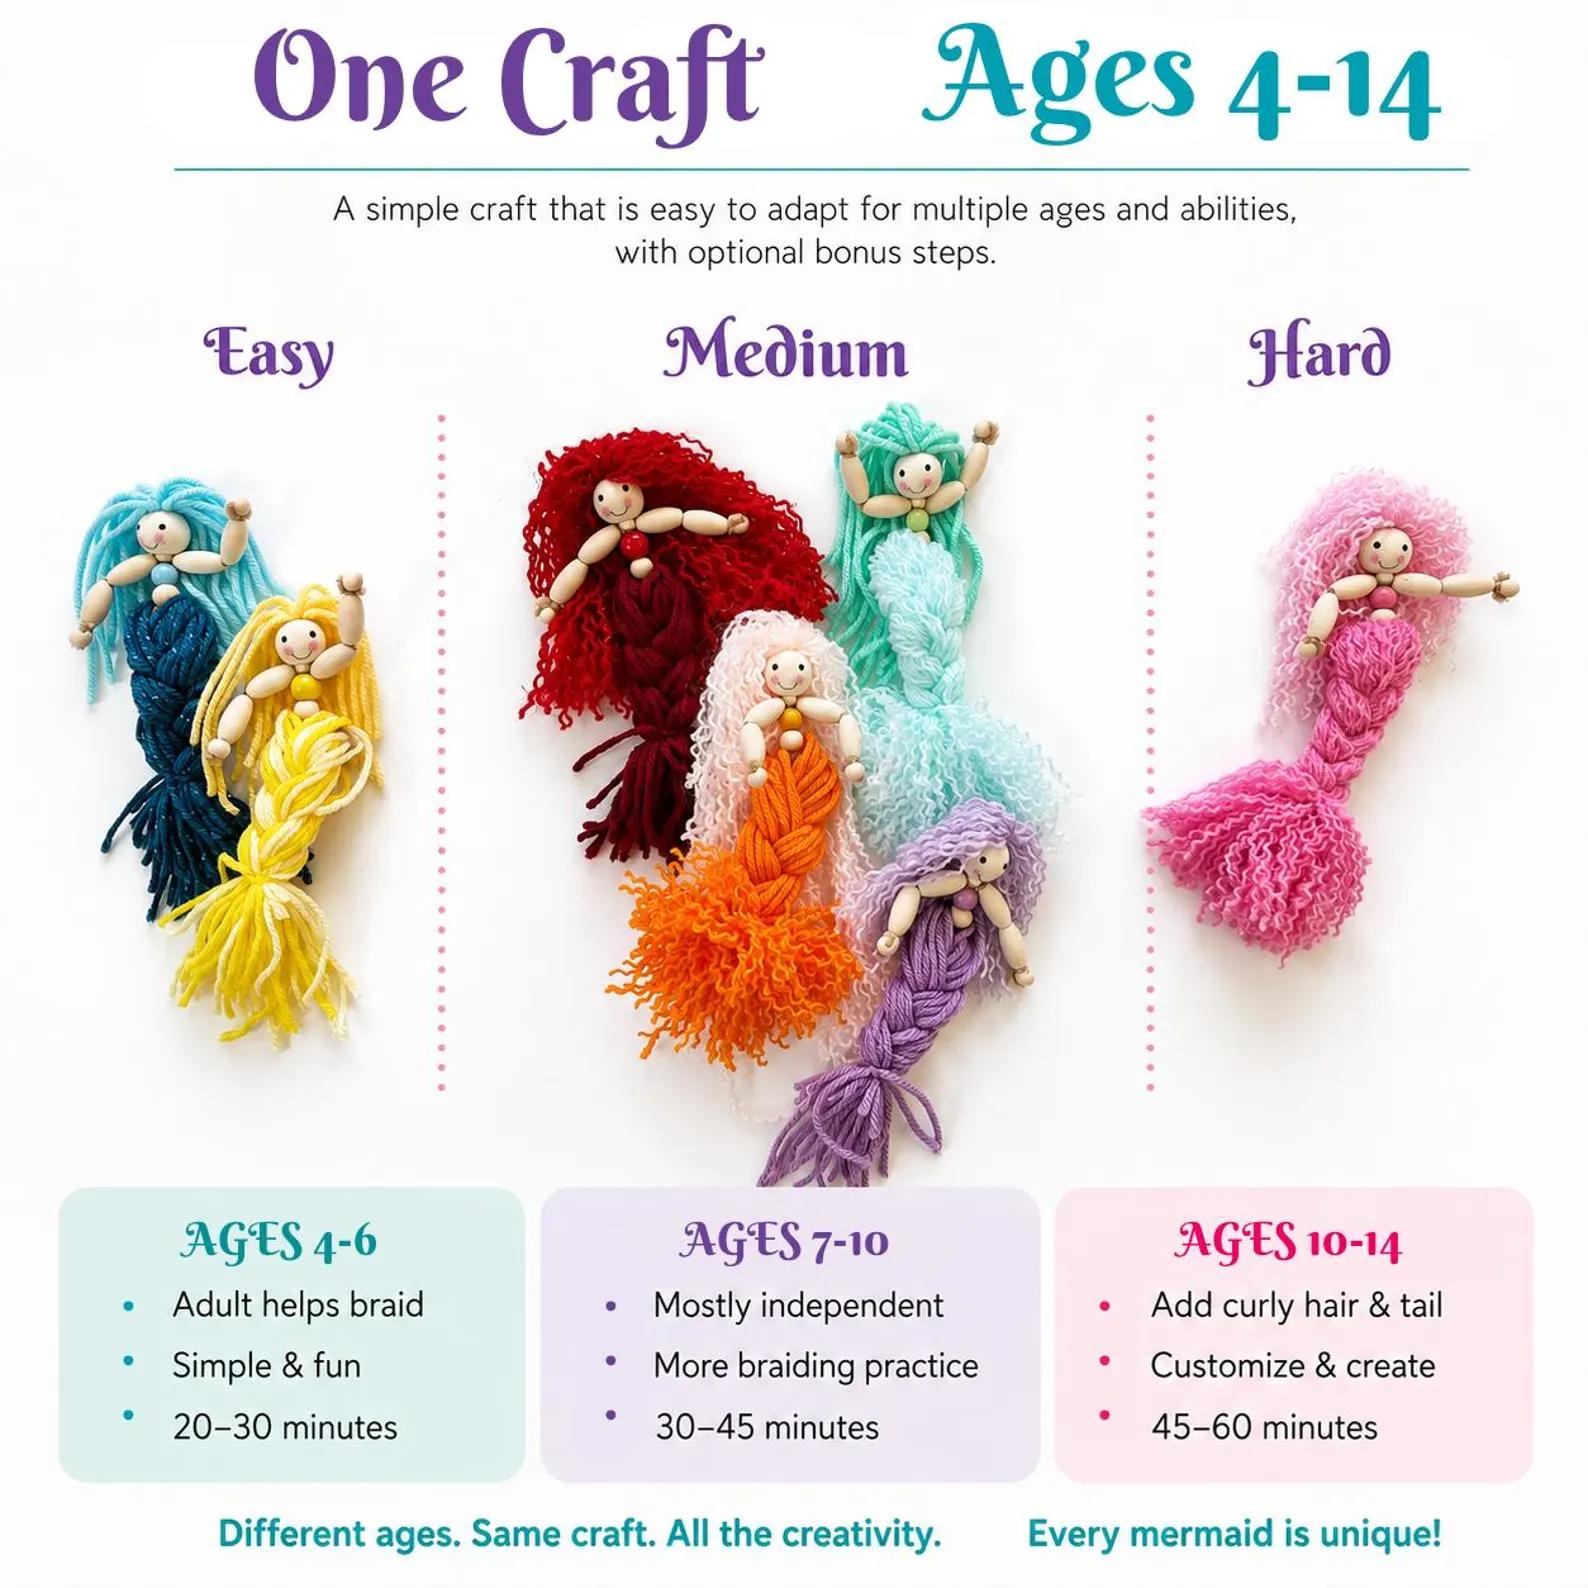
Craft kids (10+) can make a simpler version with leaving the yarn twisted, while teens and adults can spend extra time adding details and curly yarn.
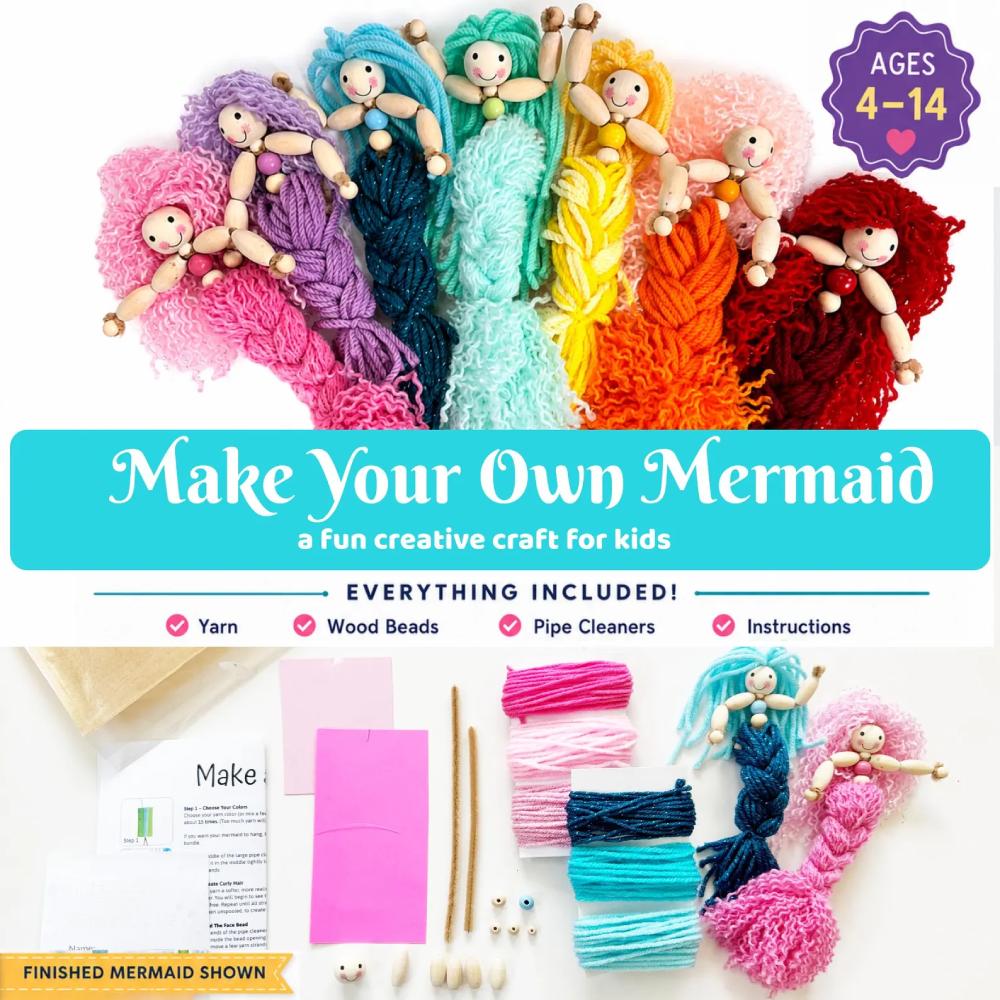
I also created a bead-based kids version of this project for ages 4+.
The younger kit focuses more on threading beads and simple wrapping, while this fiber art version gives makes a slightly more finished and heirloom looking mermaid.
It’s been really fun watching families make both versions together.
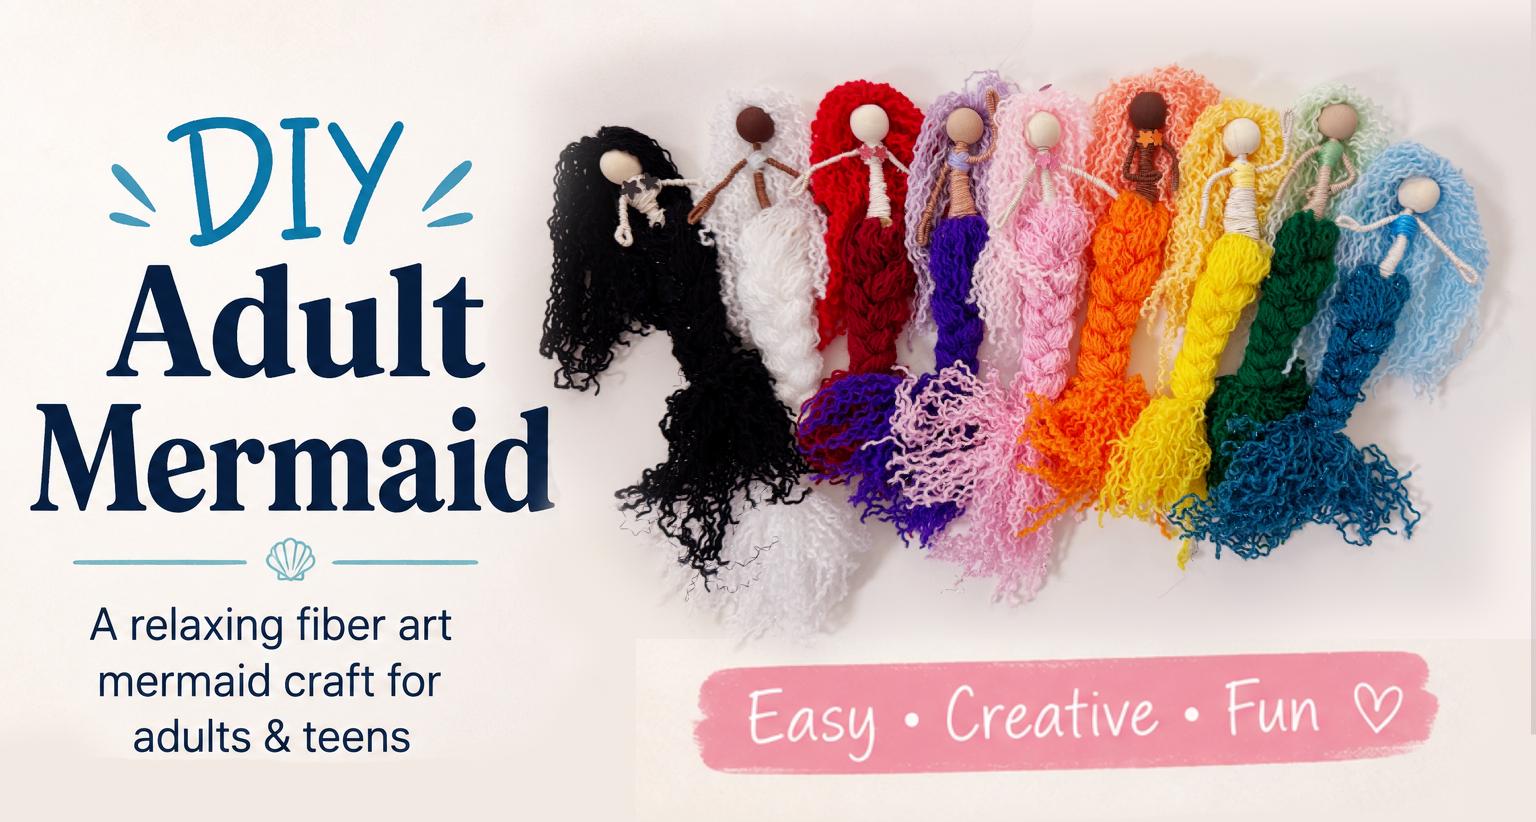
Looking for the Kids Version?
If you’re crafting with younger children, you might also enjoy my Kids DIY Mermaid Kit.
It’s designed with younger hands in mind but still creates an adorable finished mermaid, making it a great companion project if siblings, parents, or grandparents all want to craft together. (Great for age 4+, and scales in difficultly to still be entertaining for up to age 10)
Frequently Asked Questions
How long does it take to make?
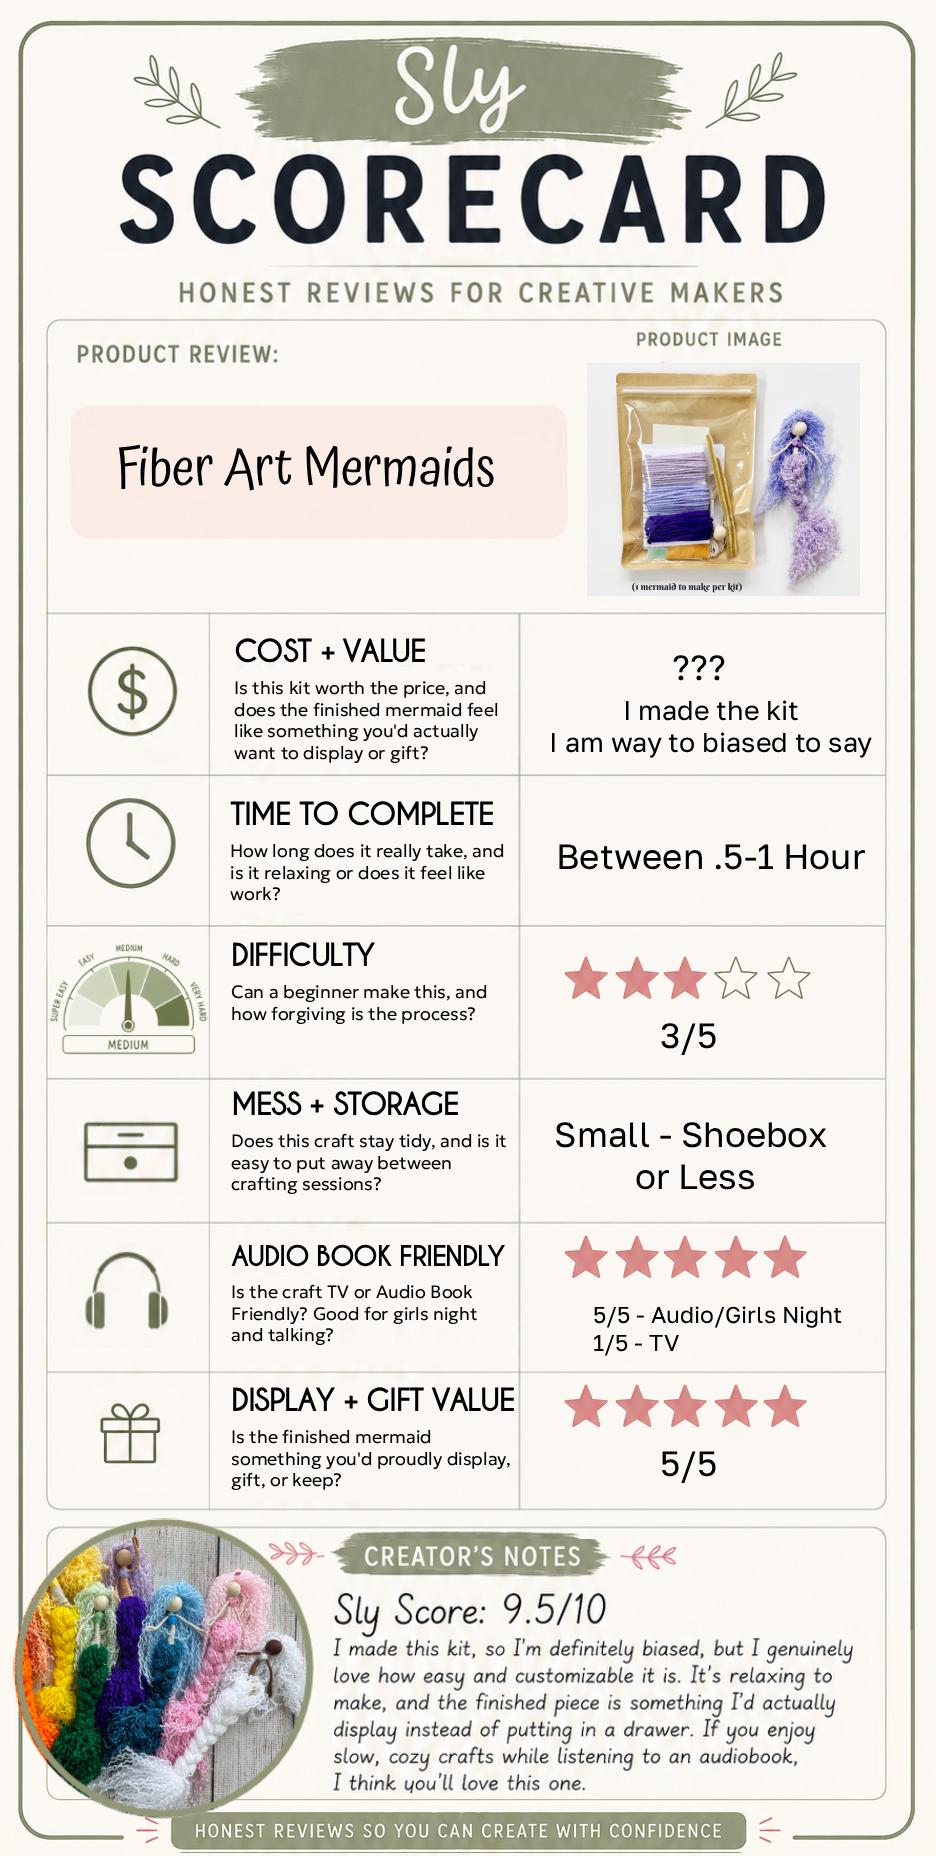
Anywhere from about 30–60 minutes, depending on how much customization you add.
Is this beginner friendly?
Yes! If you can braid yarn and thread beads, you can absolutely make one.
Can I make more than one?
Definitely! Once you’ve made your first mermaid, the second one usually comes together much faster.
What age is this best for?
I think it’s ideal for teens and adults, but younger kids can absolutely join in with a little help.
Final Thoughts
I honestly didn’t expect to enjoy making these as much as I have.
They’re one of those crafts that’s relaxing enough to do while listening to an audiobook or chatting with a friend, and I love that every finished mermaid ends up looking a little different.
If you decide to make one, I’d love to see it! Feel free to tag me or leave a comment and show off your finished creation.
Happy crafting!
Related Crafts
