This post may contain affiliate links. Read our disclosure policy.

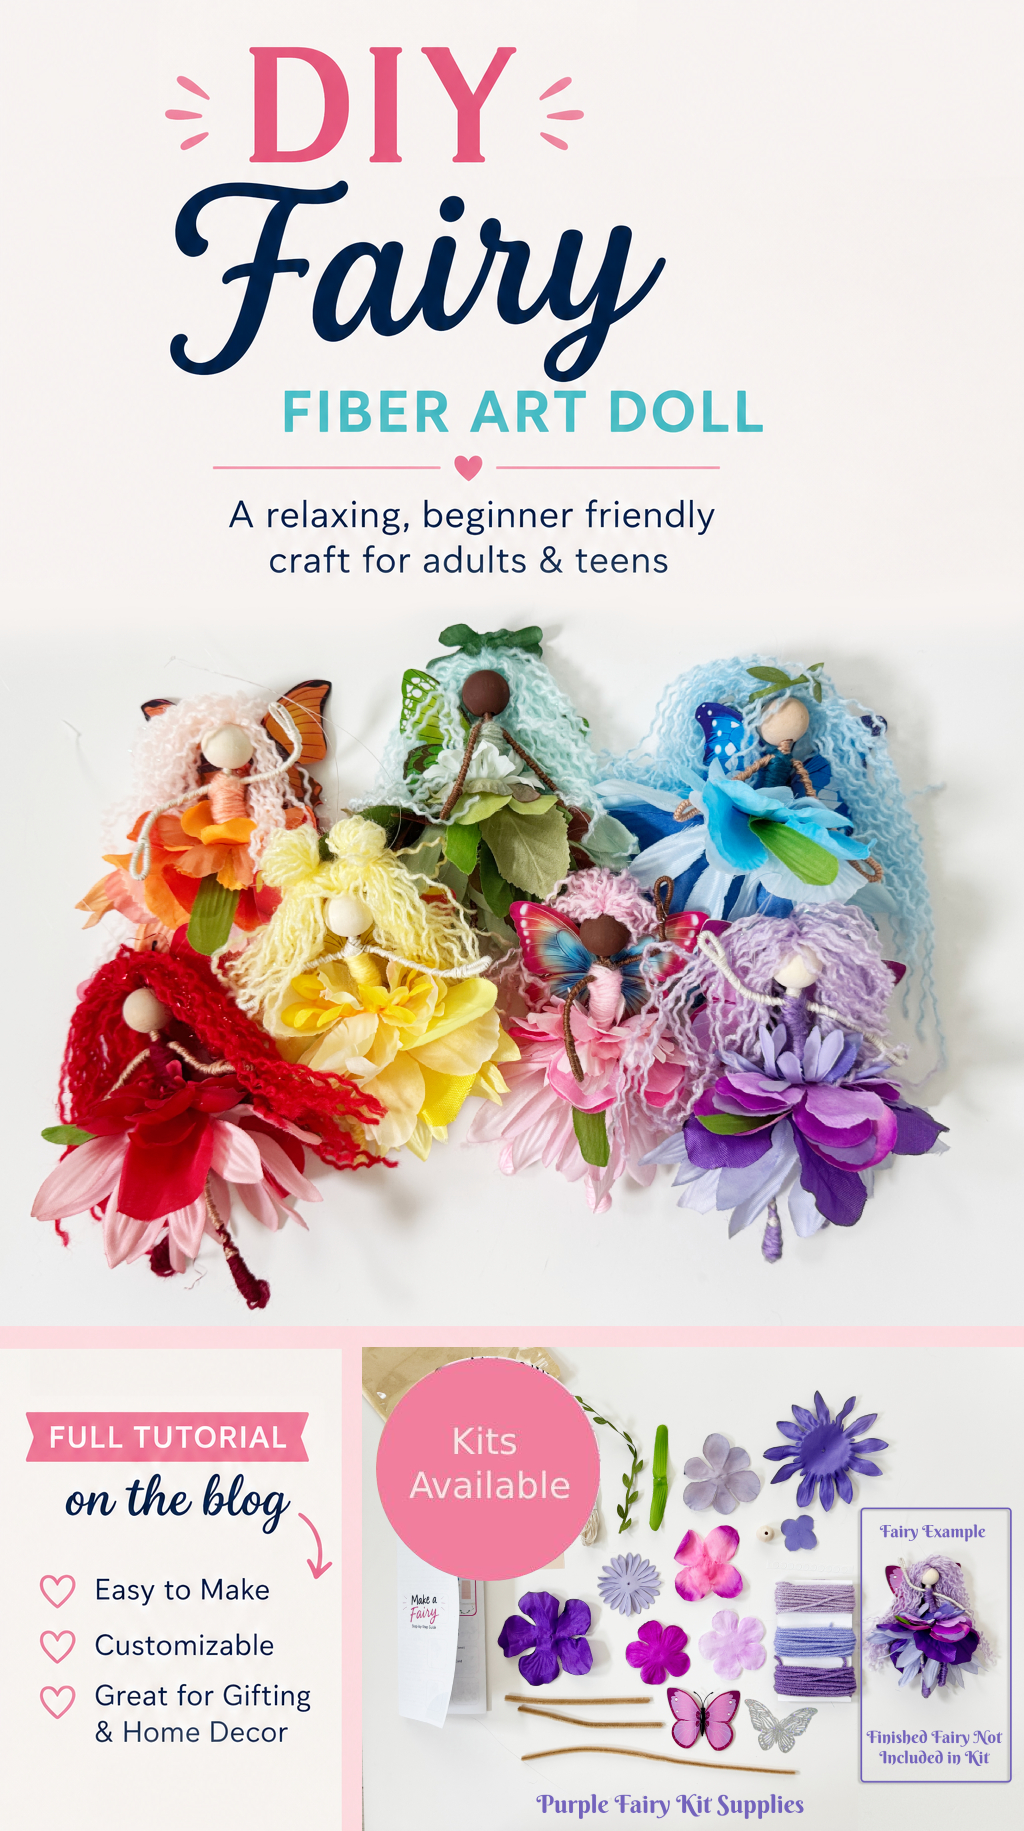
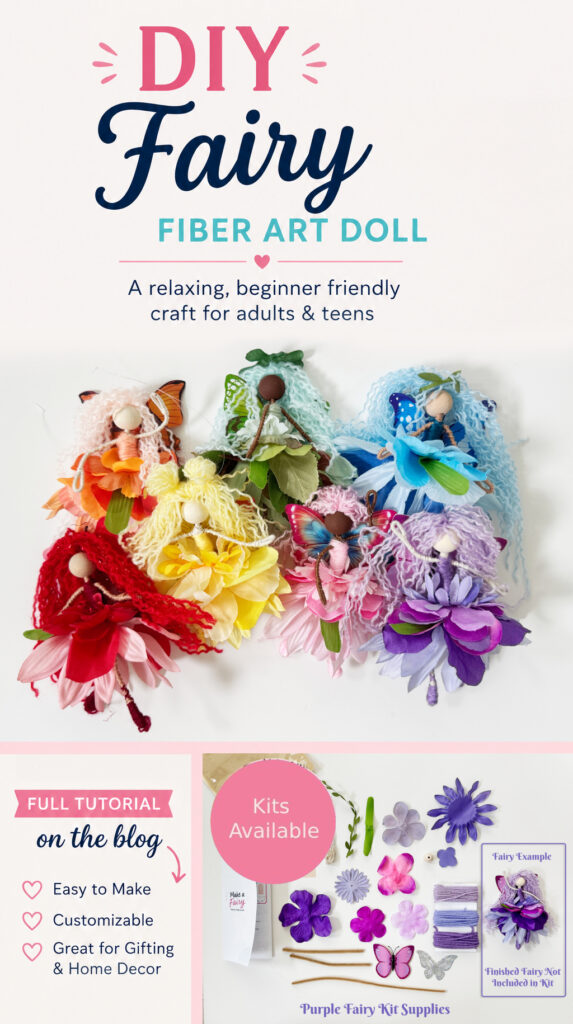
I’ve always had a soft spot for fairies, and crafts in general, but these little fiber art flower fairy dolls are some of my favorites yet.
They combine so many of the things I love about crafting: fun, relaxing, customizable, and an amazing finished project. Best of all, they look much more complicated than they actually are.
They’re a relaxing fairy craft intended for adults and teens, but crafty older kids can absolutely make them too.
Whether you make one to hang in a plant, tuck onto a bookshelf, give as a handmade gift, or simply enjoy the process of creating something sweet, these little flower fairies are fun project.
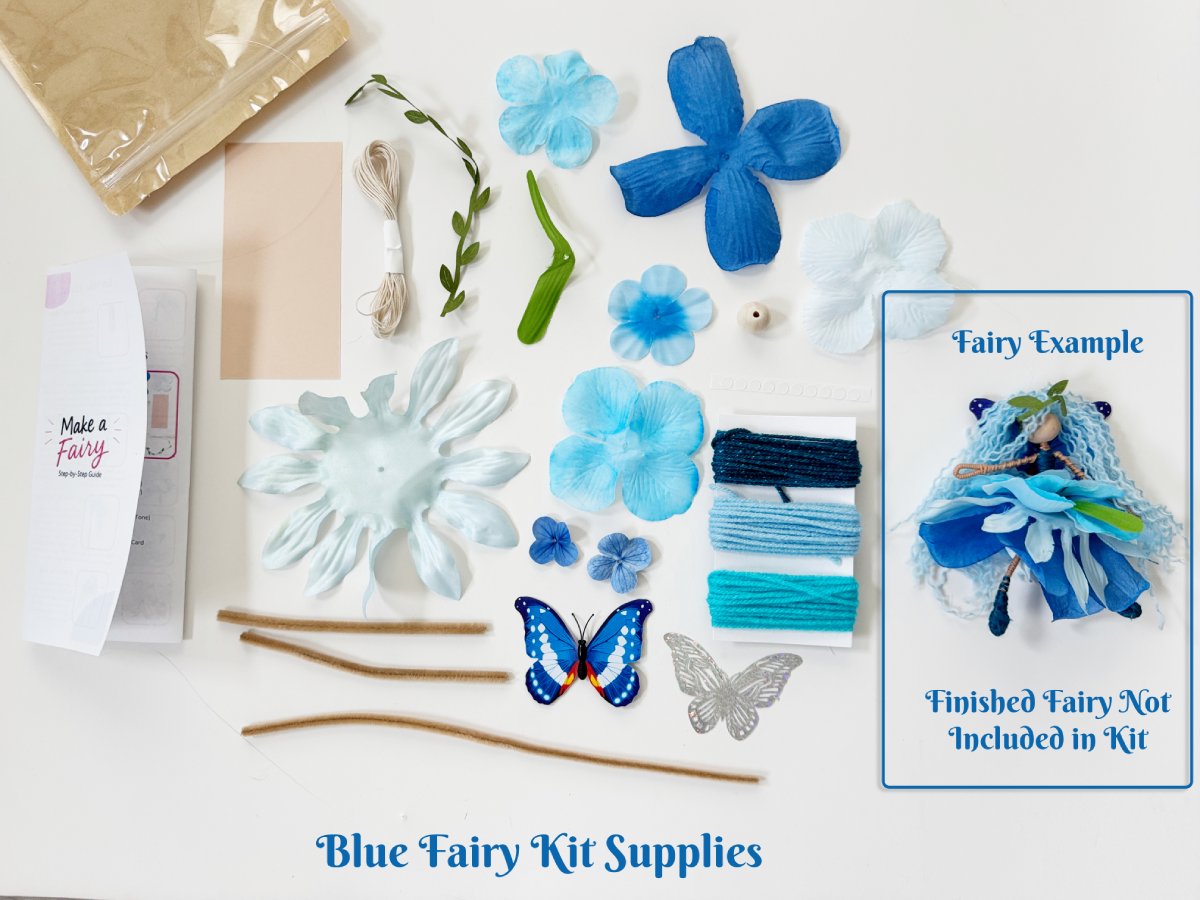
➜ Shop My Flower Fairy Kit on Etsy and Skip Gathering the Supplies
Supplies You’ll Need
You can absolutely gather everything yourself if you enjoy sourcing supplies.
Here’s what you’ll need:
- Wooden bead (20mm) For the head
- Pipe cleaners (skin tone) cut to 12″ & 6″
- Yarn in 2 coordinating colors
- Embroidery floss (skin tone)
- Glue Dots (alternatively hot glue would also work)
- Scissors
- Measuring cards or cardboard – 6″
- Hanging string (optional)
- Artificial fabric flowers
- Butterfly or fairy wings
- Additional flowers, leaves, vine ribbon, yarn or embellishments for decorating
This is also a fantastic project for using leftover artificial flowers. Once they’re pulled apart into individual layers and petals, even inexpensive flowers can make surprisingly beautiful fairy dresses.
A note about the flowers
Don’t feel like you need to find exactly the same flowers I used. That’s part of the fun! Look for artificial flowers in coordinating colors and experiment with different shapes and sizes. Large petals can create the bottom of the skirt, while smaller flowers and petals can be layered around the waist or used to create a top.
Want to Skip Gathering Supplies?
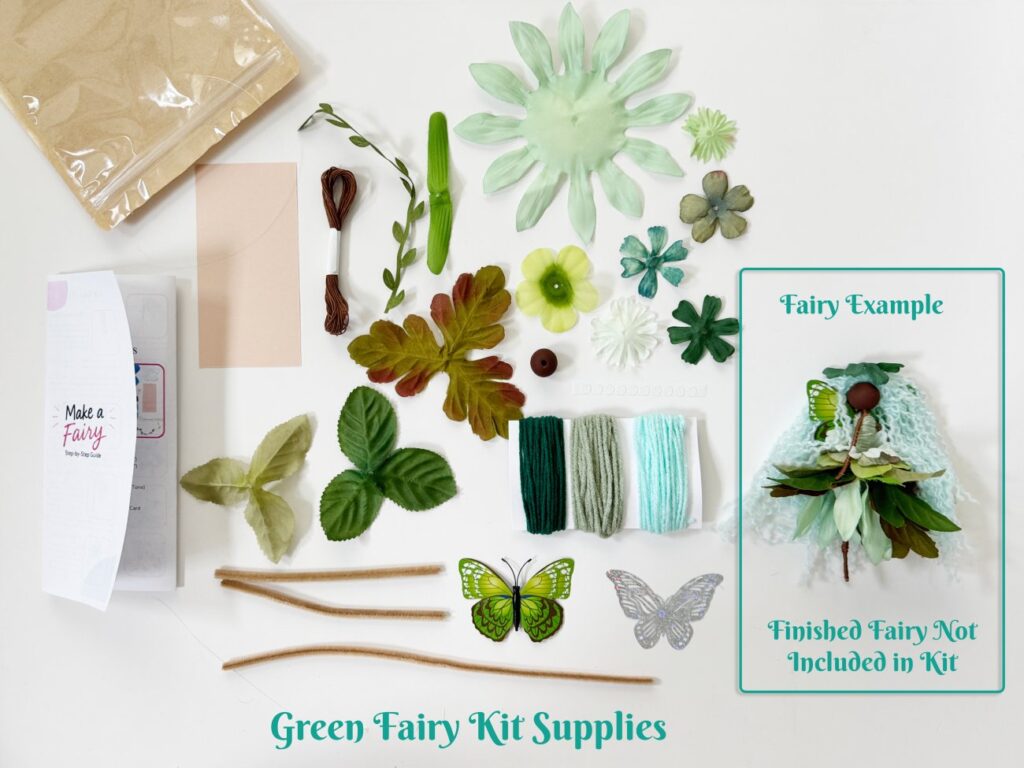
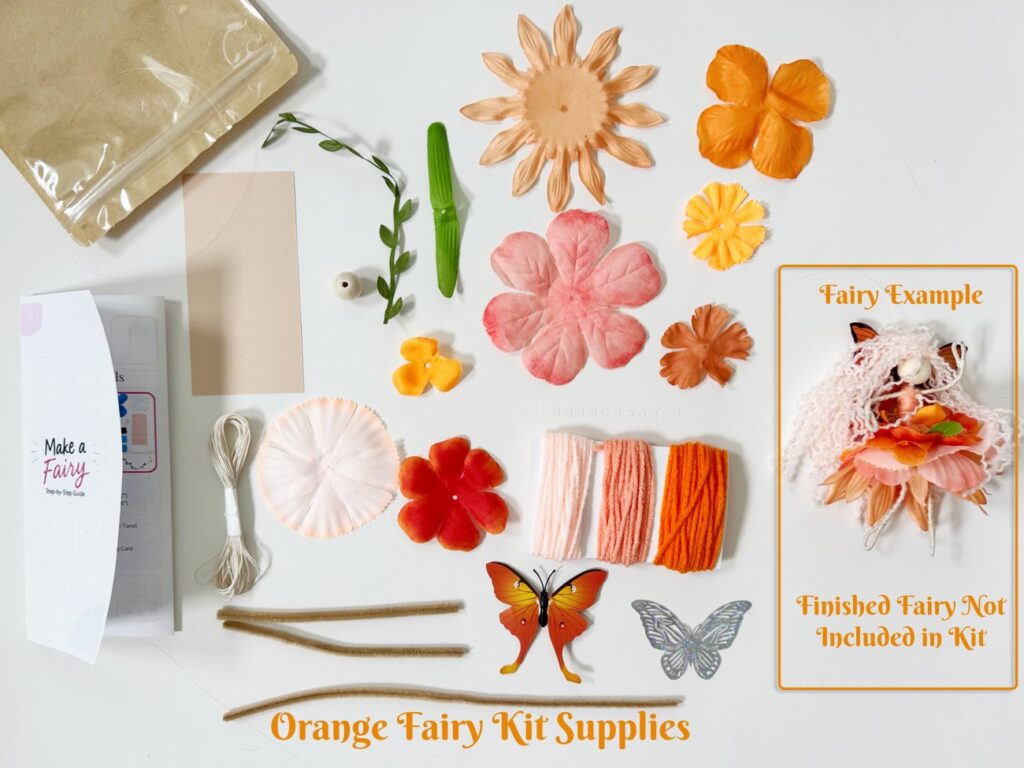
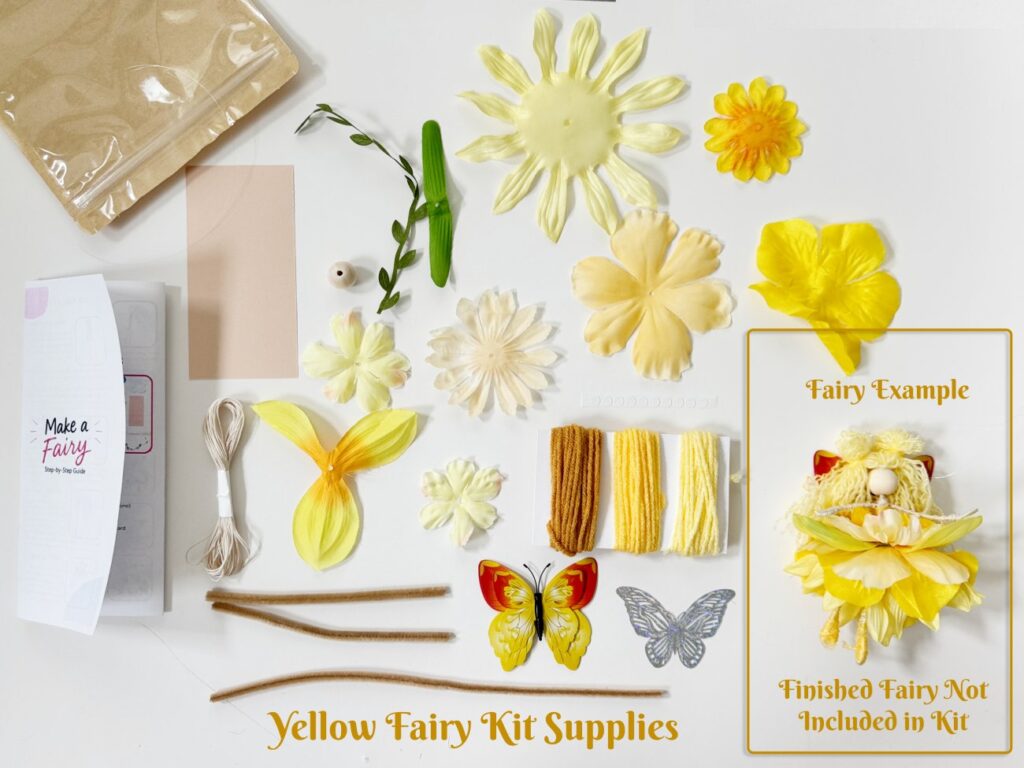
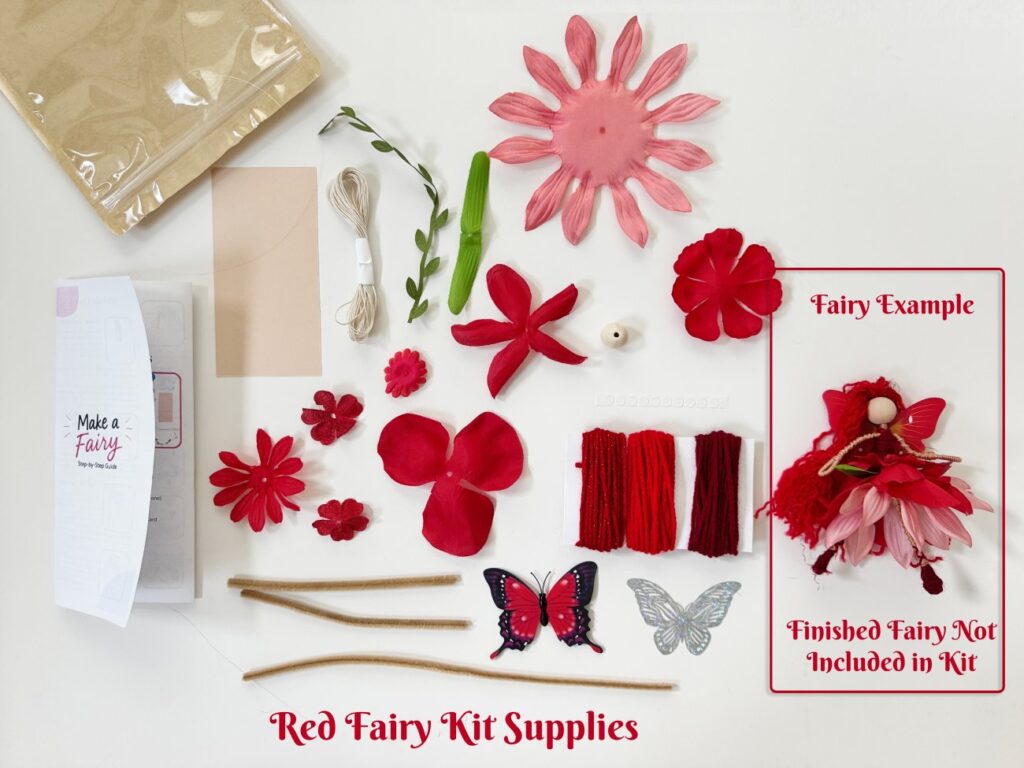
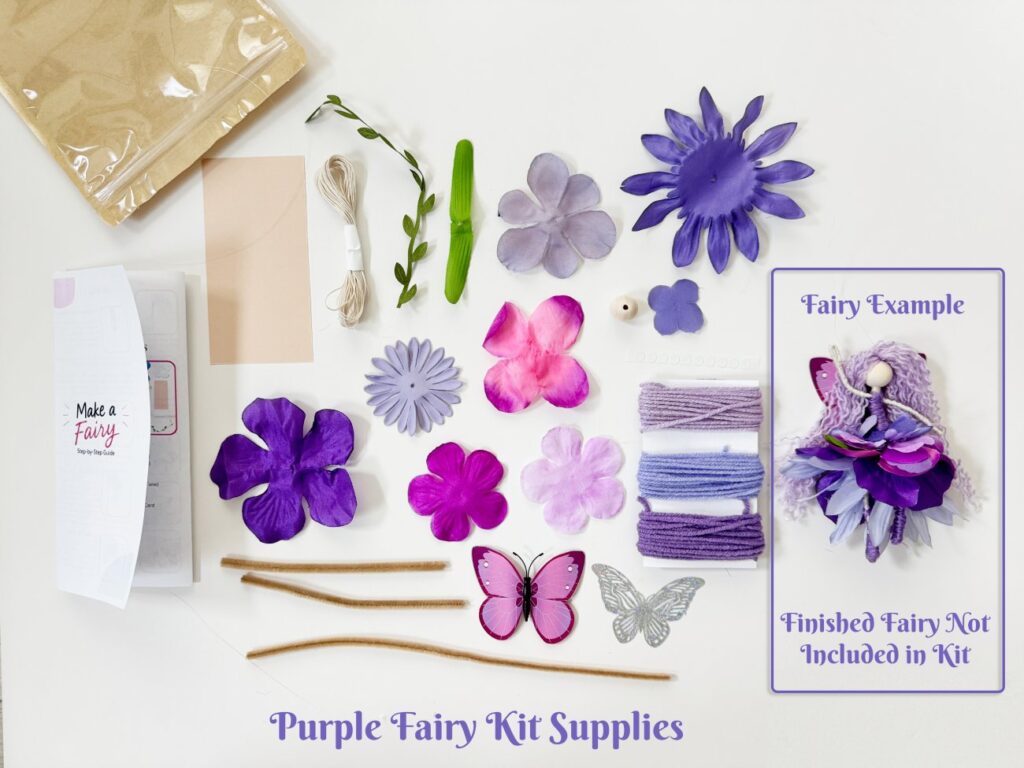
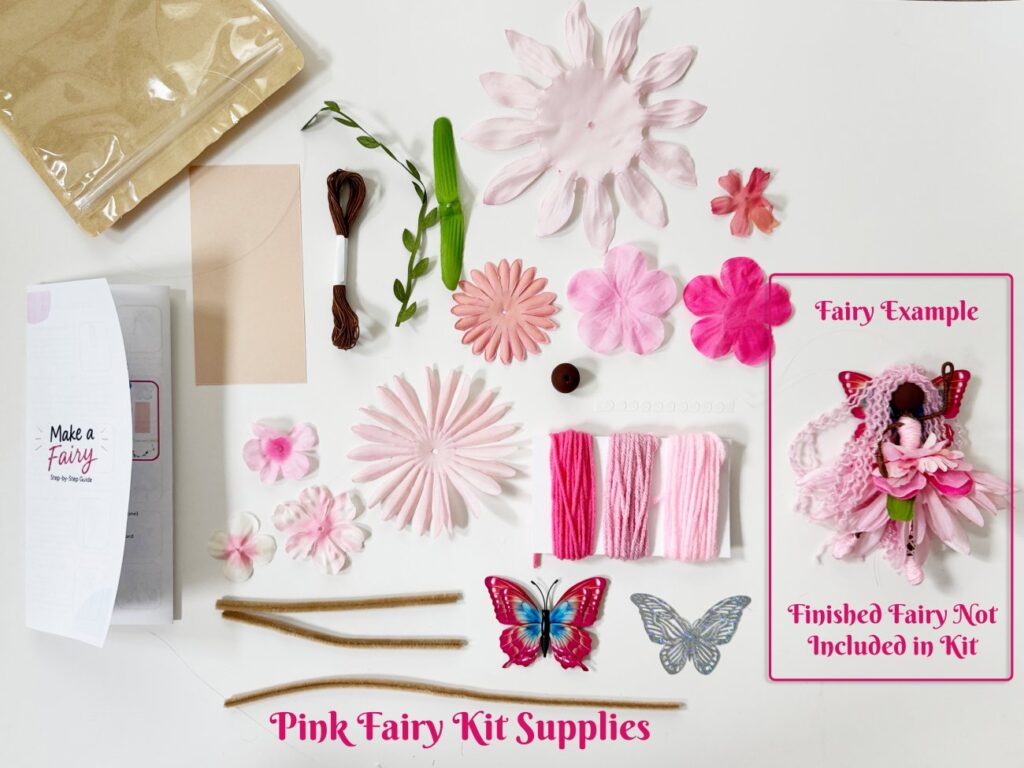
If you’d rather jump straight into crafting, I also put together DIY Adult Fiber Art Fairy Kits in my Etsy shop.
Each kit includes coordinated supplies for making your own fairy, including the yarn, flowers, wings and embellishments, along with illustrated step-by-step instructions. Everything is already coordinated and organized so you can get to the fun part: actually making your fairy.
➜ Shop Adult Fiber Art Flower Fairy Kits
Watch the Full Fairy Video Tutorial
If you’re more of a visual learner, I’ve also made a complete video showing how I put one of these DIY fairy dolls together from beginning to end.
How to Make a Fiber Art Fairy Doll
Step 1 – Choose Your Hair
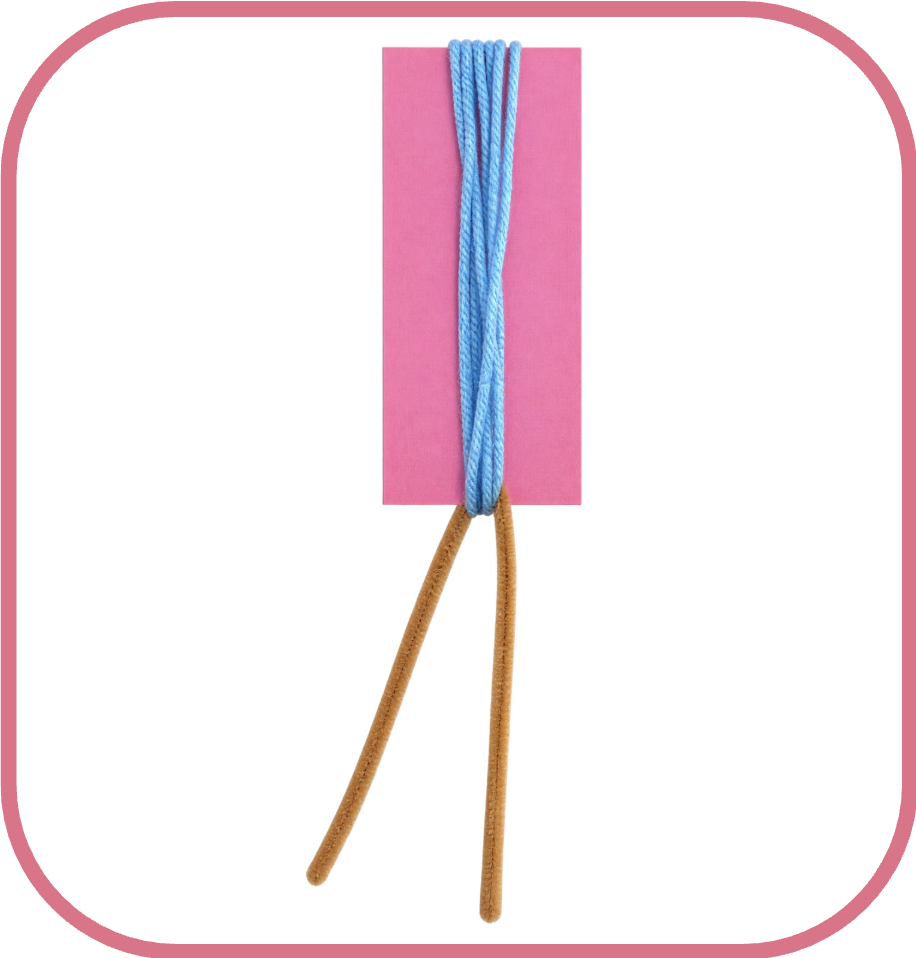 Choose your yarn color and wrap the yarn around the long side of the 6″ card about 12 times. (Too much yarn will be hard to fit in the bead head.) You can use a larger card if you’d like your fairy to have extra-long hair.
If you want your fairy to hang, tie a knot in your hanging string (I used fishing line) and add it to the hair bundle now.
Find the middle of the 12″ pipe cleaner. Place it across one end of the yarn (and hanging string, if used), twist it in the middle tightly to secure it around the hair. Cut the yarn on the opposite side to free the strands.
Tip: Avoid using too much yarn. All of that hair needs to fit inside the opening of the wooden bead. You can always remove a few strands if your bundle is too thick.
 Step 2 – Create Curly Fairy Hair
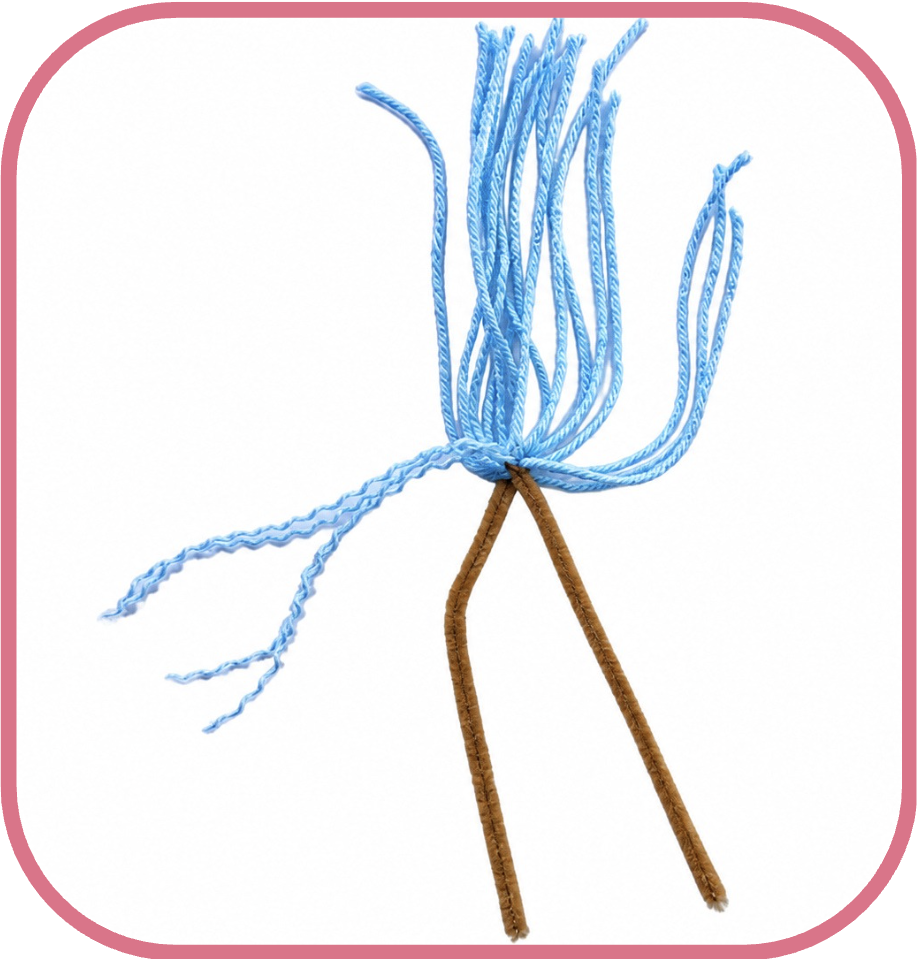
This step is optional, but it’s what gives these fairies their wonderfully fluffy, textured hair.
Take one strand of yarn and gently untwist it until you can see the smaller strands that make up the yarn. Pull those individual strands apart.
Repeat with the remaining yarn.
Different yarns behave differently when they’re separated. Acrylic yarn tends to create especially fluffy curls, while other yarns may produce softer waves.
You can also leave the yarn intact, braid sections, or combine textures to create your own hairstyle.
 Step 3 – Add the Face Bead
Insert both ends of the pipe cleaner through the wooden bead.
Slide the bead upward until the hair sits securely inside the bead opening.
If you’ve used too much hair and the bead won’t slide into place, simply remove a few yarn strands and try again.
Step 4 – Add the Arms
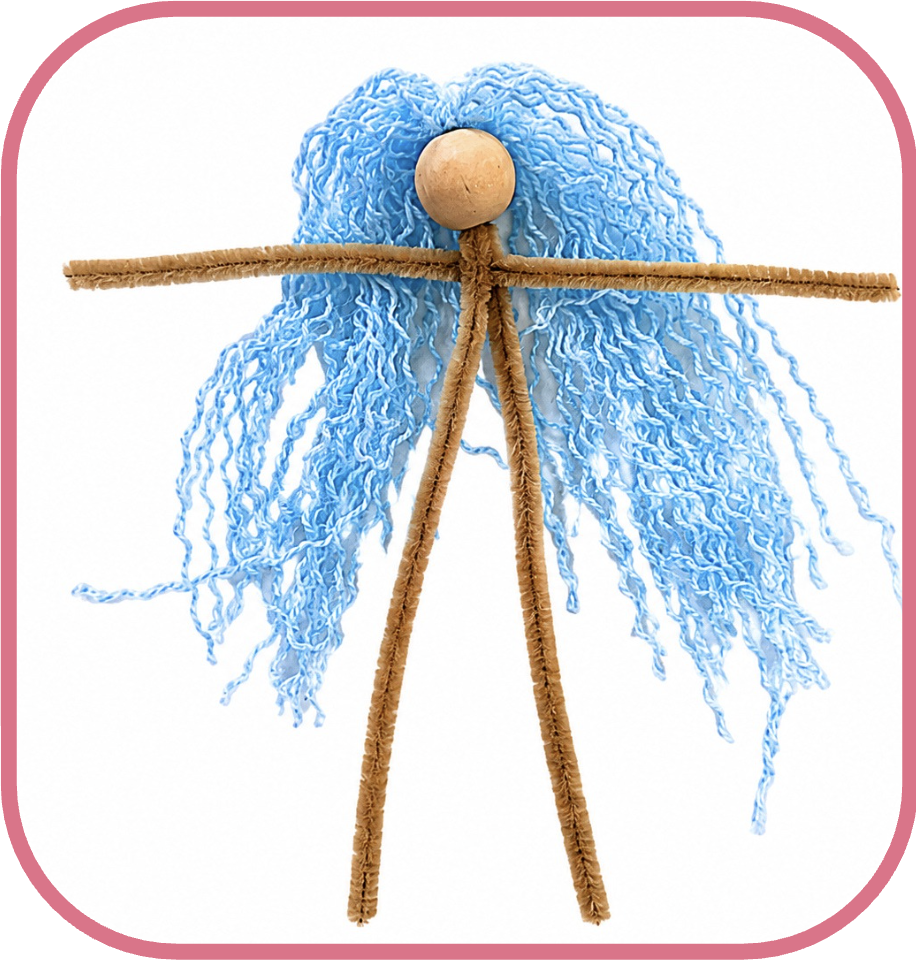 Take the shorter pipe cleaner and bend it in half to find the center.
Slide it horizontally through the upper part of the body triangle.
Leave a little space underneath the wooden bead for your fairy’s neck and adjust the pipe cleaner until the arms are approximately the same length.
Step 5 – Wrap the Upper Body and Arms
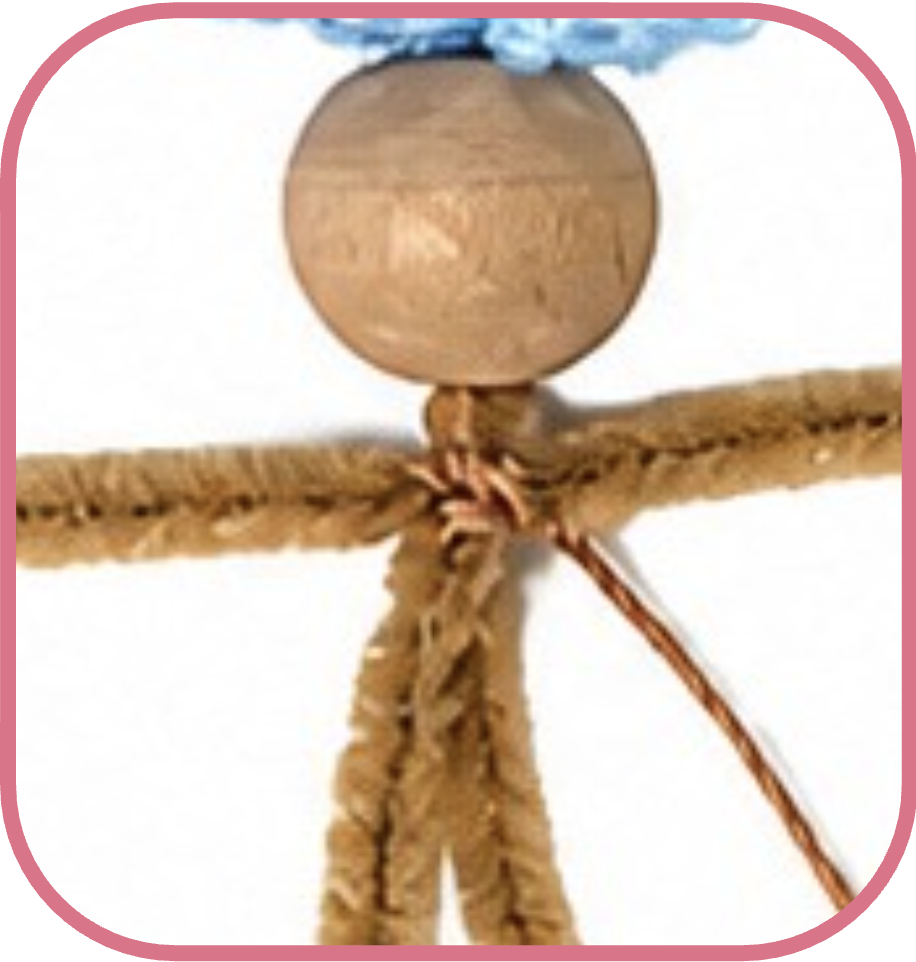
Place a sticky tab or some hot glue on the back of the fairy near the neck. Press one end of the skin colored embroidery floss onto the sticky tab. Slowly wrap the embroidery floss around the pipe cleaners in an “x” shape to secure the arms in place, then wrap up the neck, (wrap tightly so no fuzzy pipe cleaner shows through.)
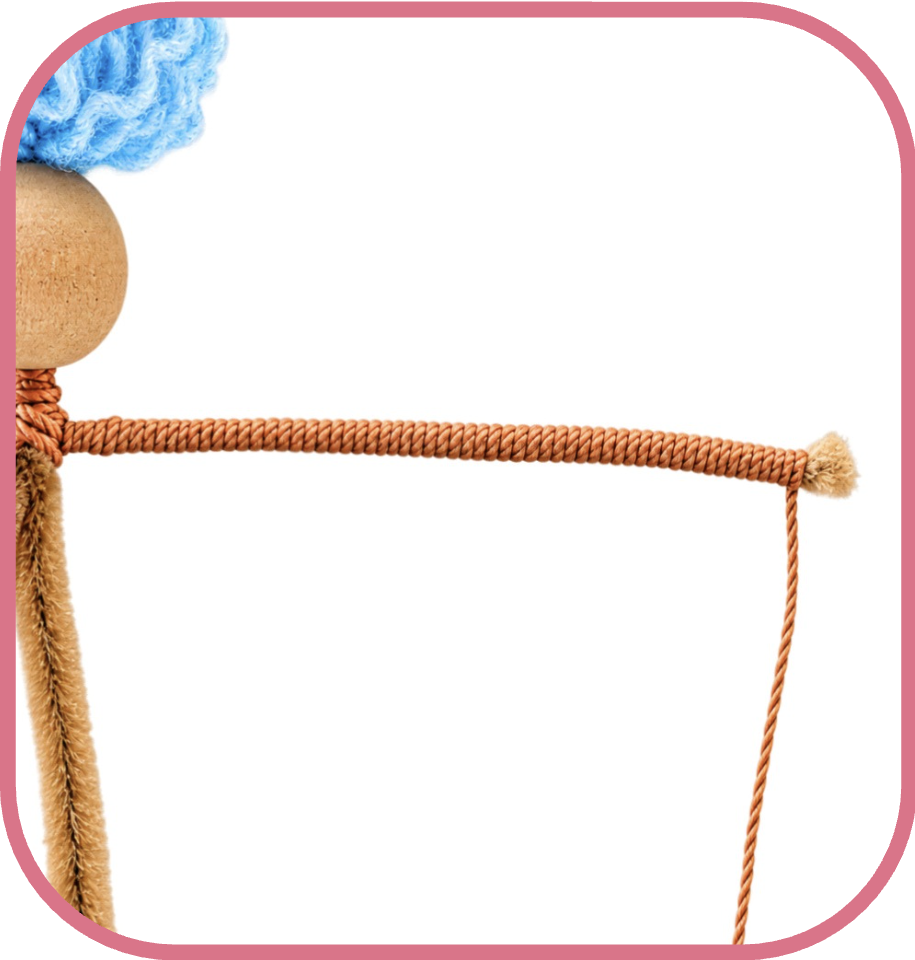
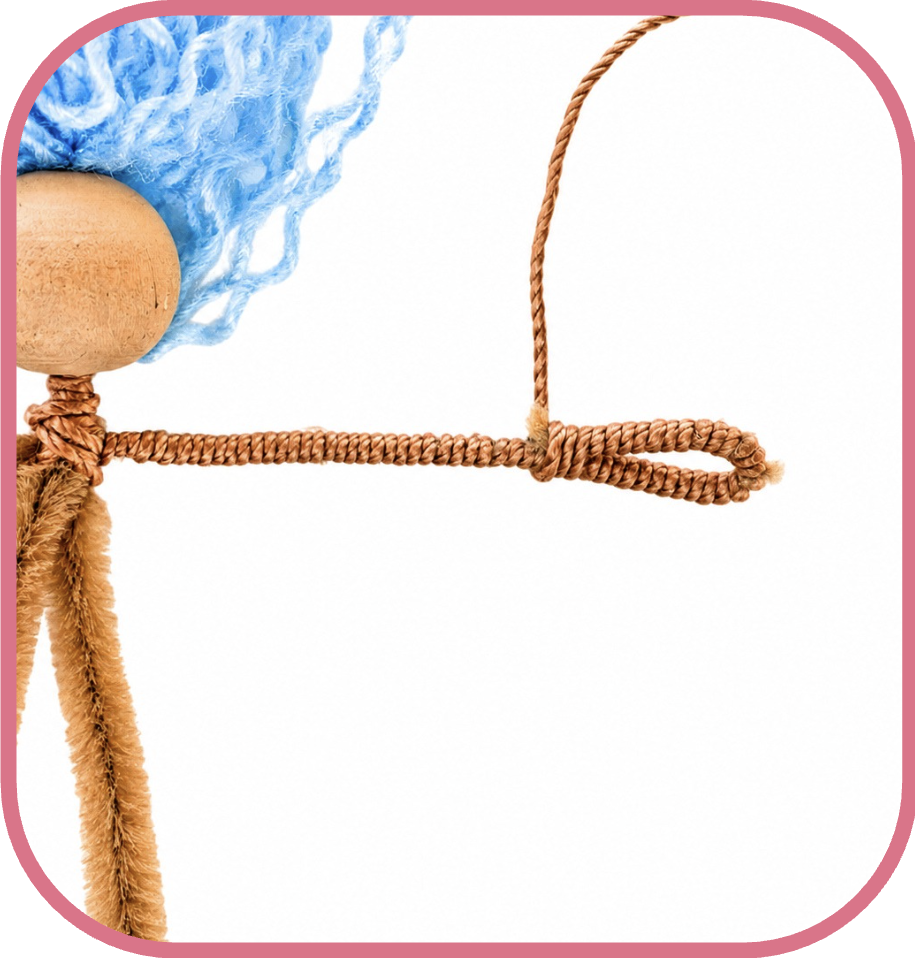
Arms and Hands: Next, pick an arm and continue wrapping almost to the end of the pipe cleaner. Leave about 1/8 inch at the end unwrapped. Bend the pipe cleaner tip into a small loop to create the hand.
Continue wrapping to cover the end of the hand completely, then return to the body center and repeat on the second arm.
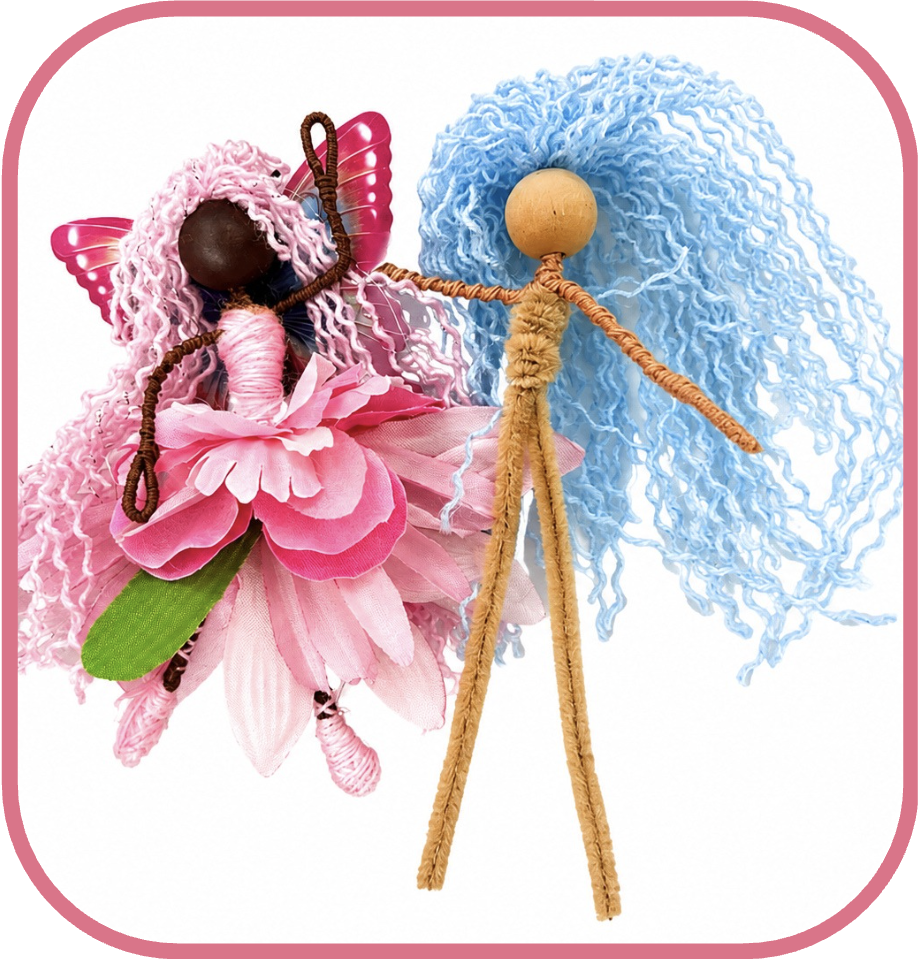
Continue wrapping back toward your “x” until all visible pipe cleaner on the arms is covered. Add a second sticky tab on the back to secure the floss before trimming the excess.
 Step 6 – Make A Shirt
Start by giving your Fairy’s torso some shape. Take the second 6″ pipe cleaner, and wrap it around your fairy’s torso, if you want your fairy to have a bigger chest, hips or stomach, wrap the pipe cleaner in wider circles in those areas.
When you’re finished pick another strand of yarn and measure out about 24″. Like you did with the hair, twist the yarn counter clockwise until you see 4 stands and carefully pull out one of the stands. Get a sticky tab and place it on the back of the fairy and use your new single stand of yarn to wrap over the torso, covering all the fluffy bits of the pipe cleaner and creating a shirt for your fairy. Add sleeves, or other embellishments if you like
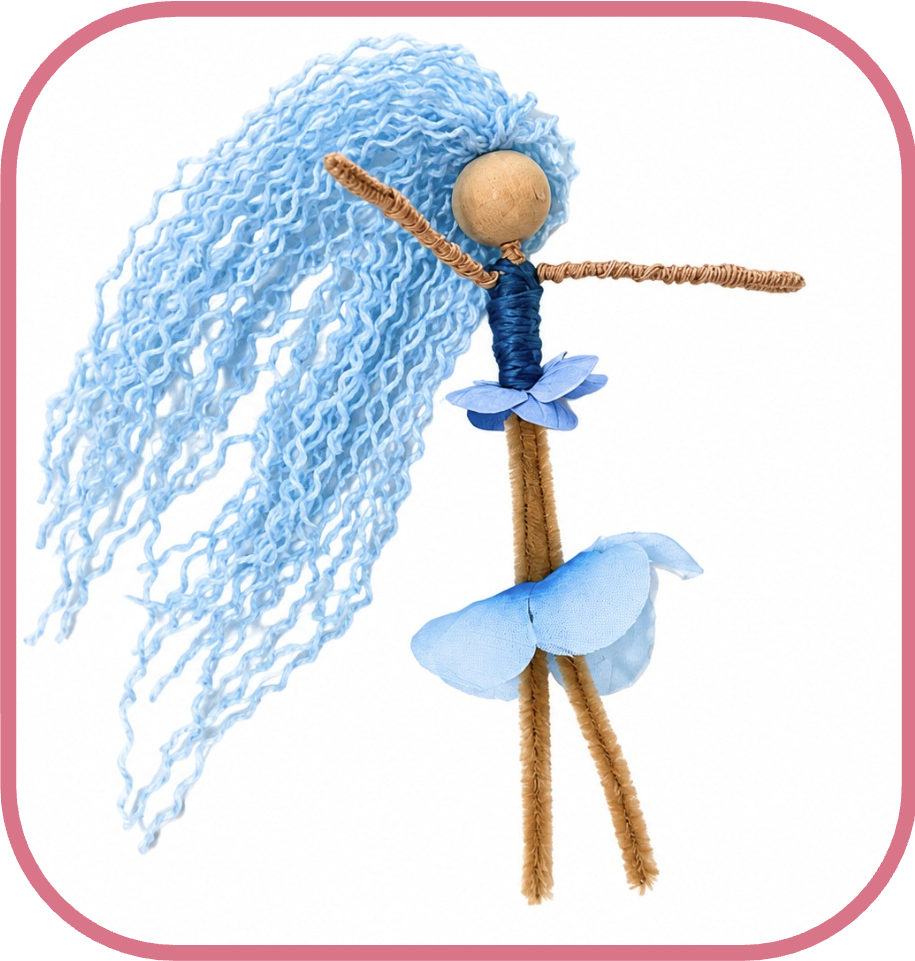 Step 7 – Make the Flower Petal Skirt
Take apart your artificial flowers and experiment with layering different petals around the fairy’s waist.
You can keep the skirt simple with just a few petals or create a wonderfully full flower dress by mixing different shapes, sizes and colors.
Arrange all the flowers petals how you like to create the skirt. I arrange mine from smallest to largest. Then put the unwrapped legs through the center of each of the flowers until you create your desired skirt. (You can leave a smaller flower out if you’d like to use it as a fairy hat)
Step 8 – Wrap The Legs
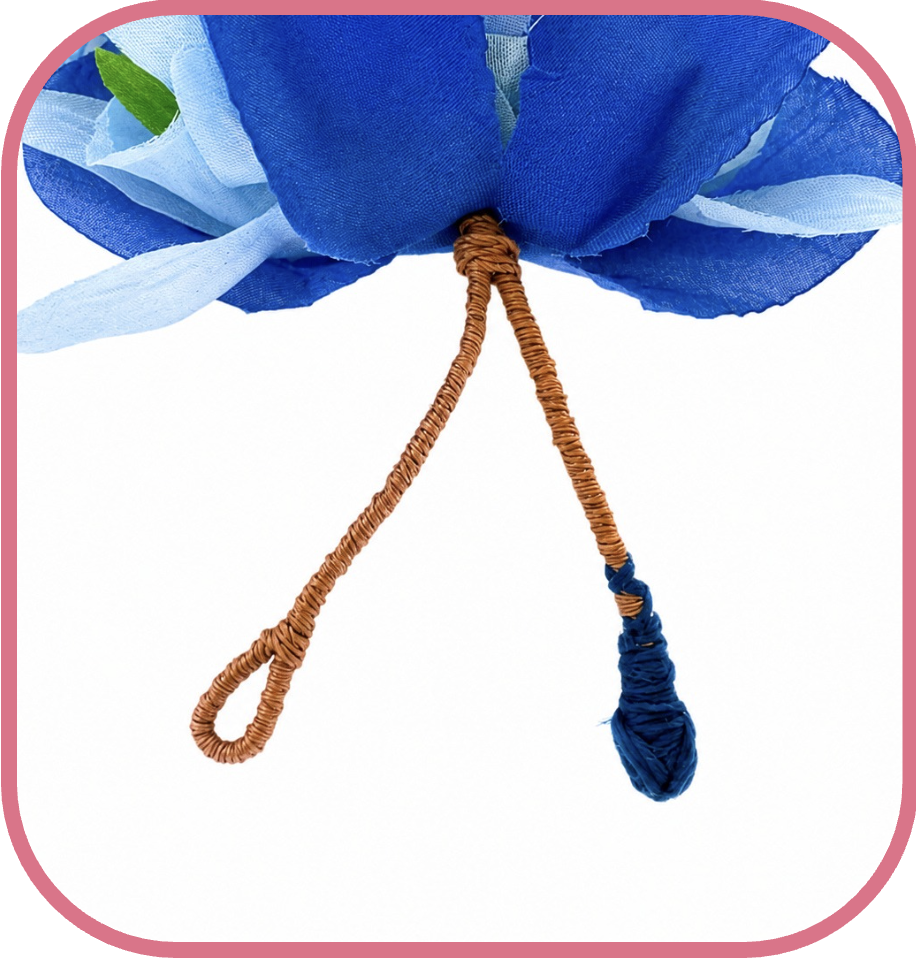 Place a sticky tab on the back bottom of the fairy. Press one end of the embroidery floss onto the sticky tab to secure it. Slowly wrap the embroidery floss around the pipe cleaner legs the same way that you did for the arms. Continue wrapping down the legs until all visible pipe cleaner is covered. Add a second sticky tab near the fairy’s bottom to secure the floss before trimming the excess.
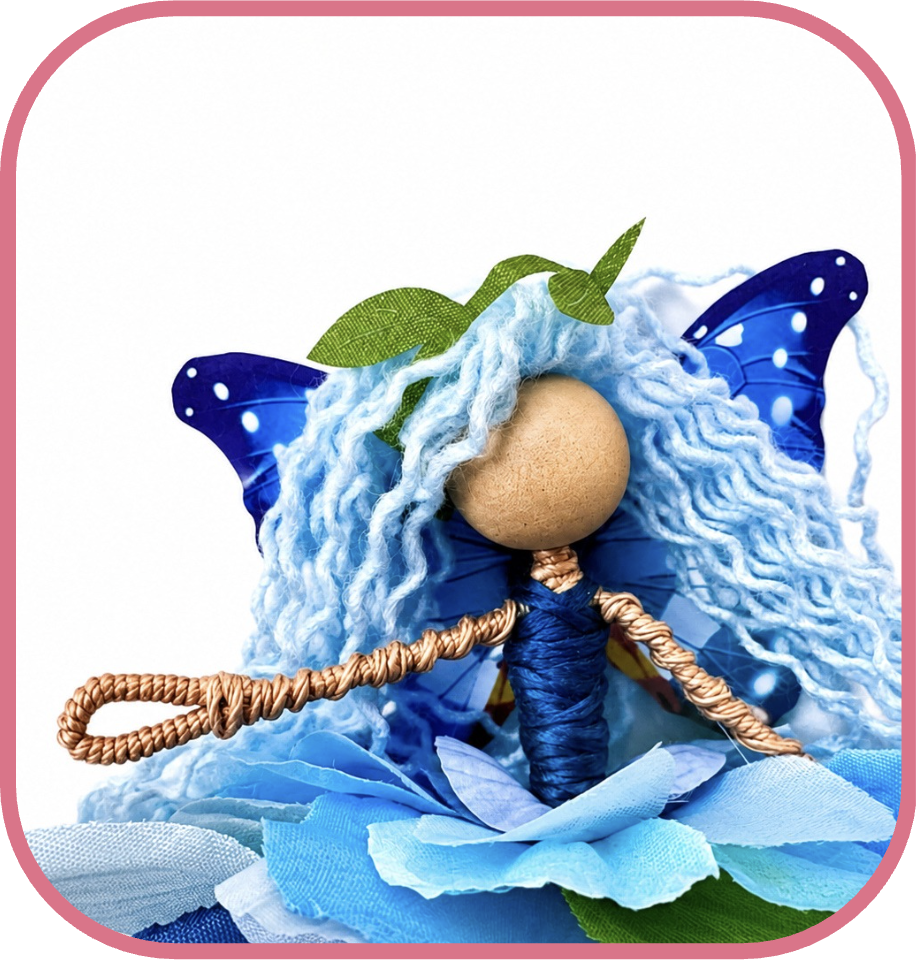 Step 9 – Add Wings
Finally, add your fairy’s wings and finishing touches.
Place a sticky tab on the back of the fairy and add her wings to her back.
 Step 10 – Decorate Your Fairy
Have fun with the details.
You could:
- Add tiny flowers or leaves to her hair
- Braid part of her hair
- Add greenery around her waist
- Create a flower crown
- Add ribbon or decorative yarn
- Pose her arms and legs
- Wrap her legs in yarn to create ballet style slipper shoes
At this point, there are really no rules.
Make your fairy yours.
 Easy to Customize
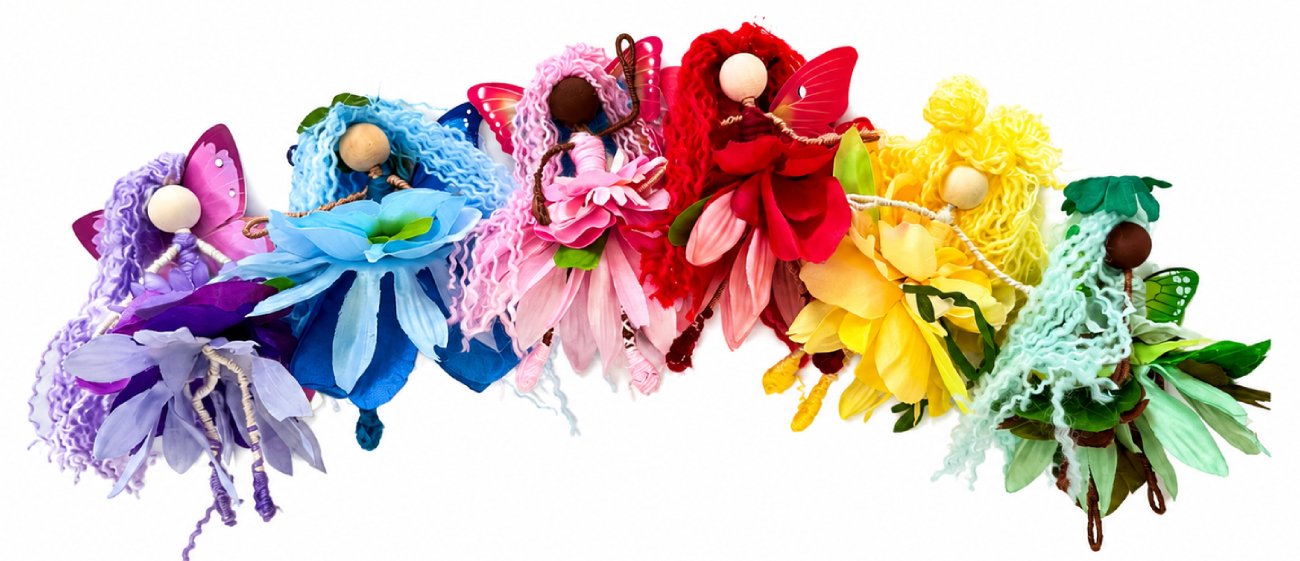
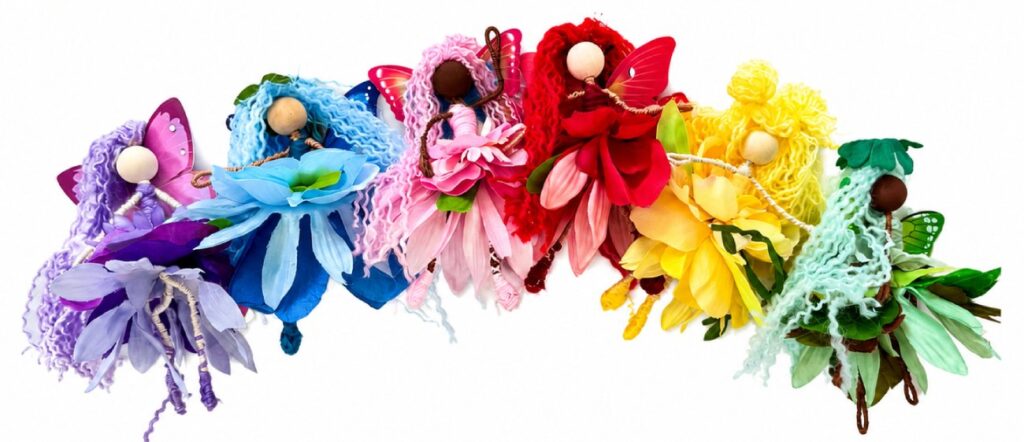
One of the reasons I enjoy these handmade fairy dolls so much is that the same basic pattern can become almost anything.
Try making:
- A rainbow fairy
- Woodland fairy
- Flower fairy
- Garden fairy
- Autumn fairy
- Christmas fairy
- Dark or gothic fairy
- Pastel fairy
- Butterfly fairy
- Fairy inspired by someone’s favorite colors
You can also experiment with different skin tones, hairstyles, flower shapes and wing styles.
That makes this a particularly fun project to make with friends because everyone can start with the same instructions and still go home with something completely different.
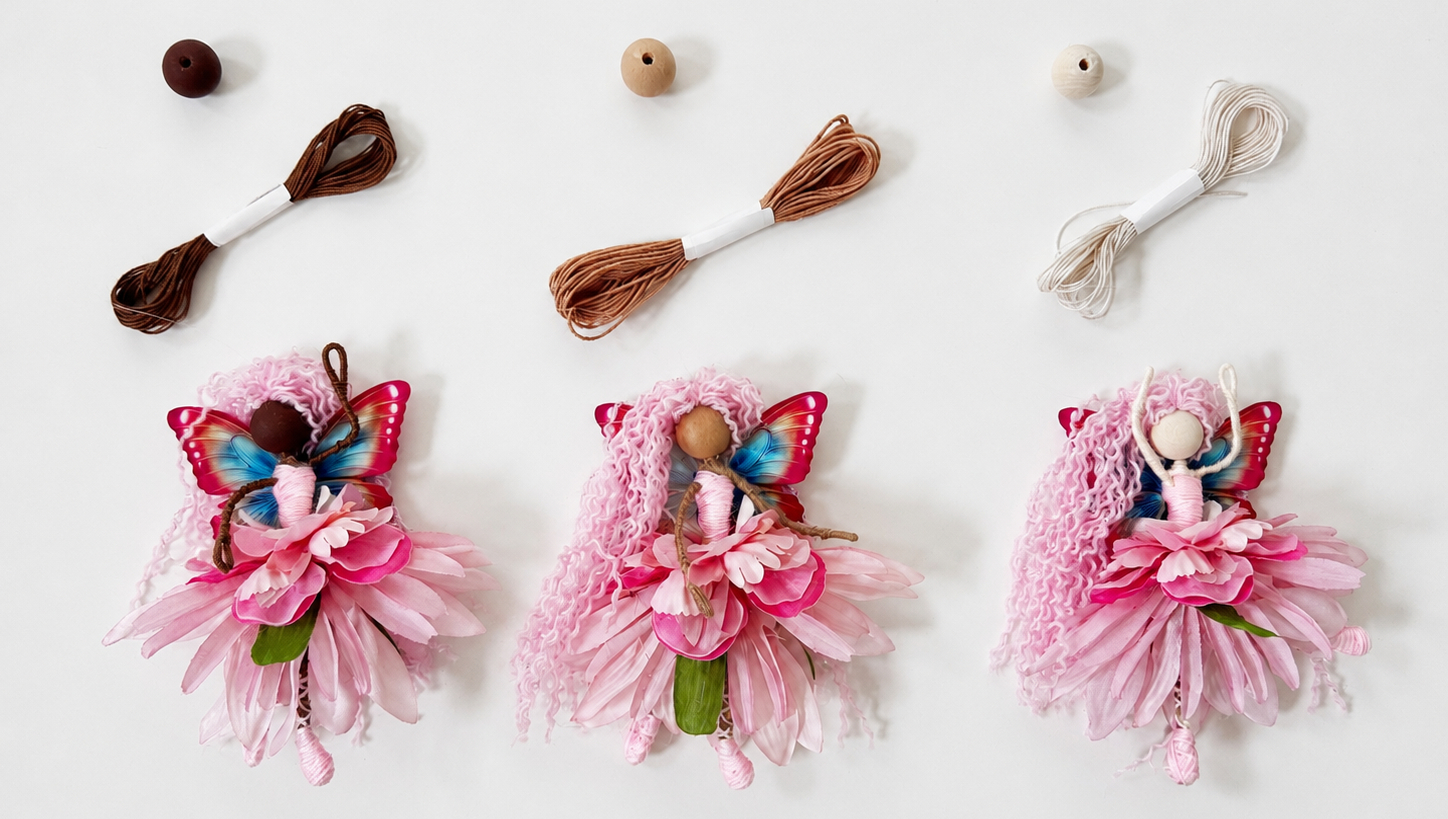
A Fairy Craft for Teens & Adults (and Crafty Kids!)
I designed this version primarily as a fairy craft for adults and teens, because there are enough little details to make it satisfying without requiring advanced crafting skills.
But it’s certainly not adults-only. Crafty older kids can make these too, especially if they’re comfortable wrapping embroidery floss and working with small pieces.
For younger children, I have a simpler bead-based version of my fairy craft that uses larger components and focuses more on threading, wrapping and decorating.
That means this can also be a really fun parent-and-child, grandparent-and-grandchild, or sibling craft activity where everyone makes a version suited to their ability level.
Looking for the Kids Version?
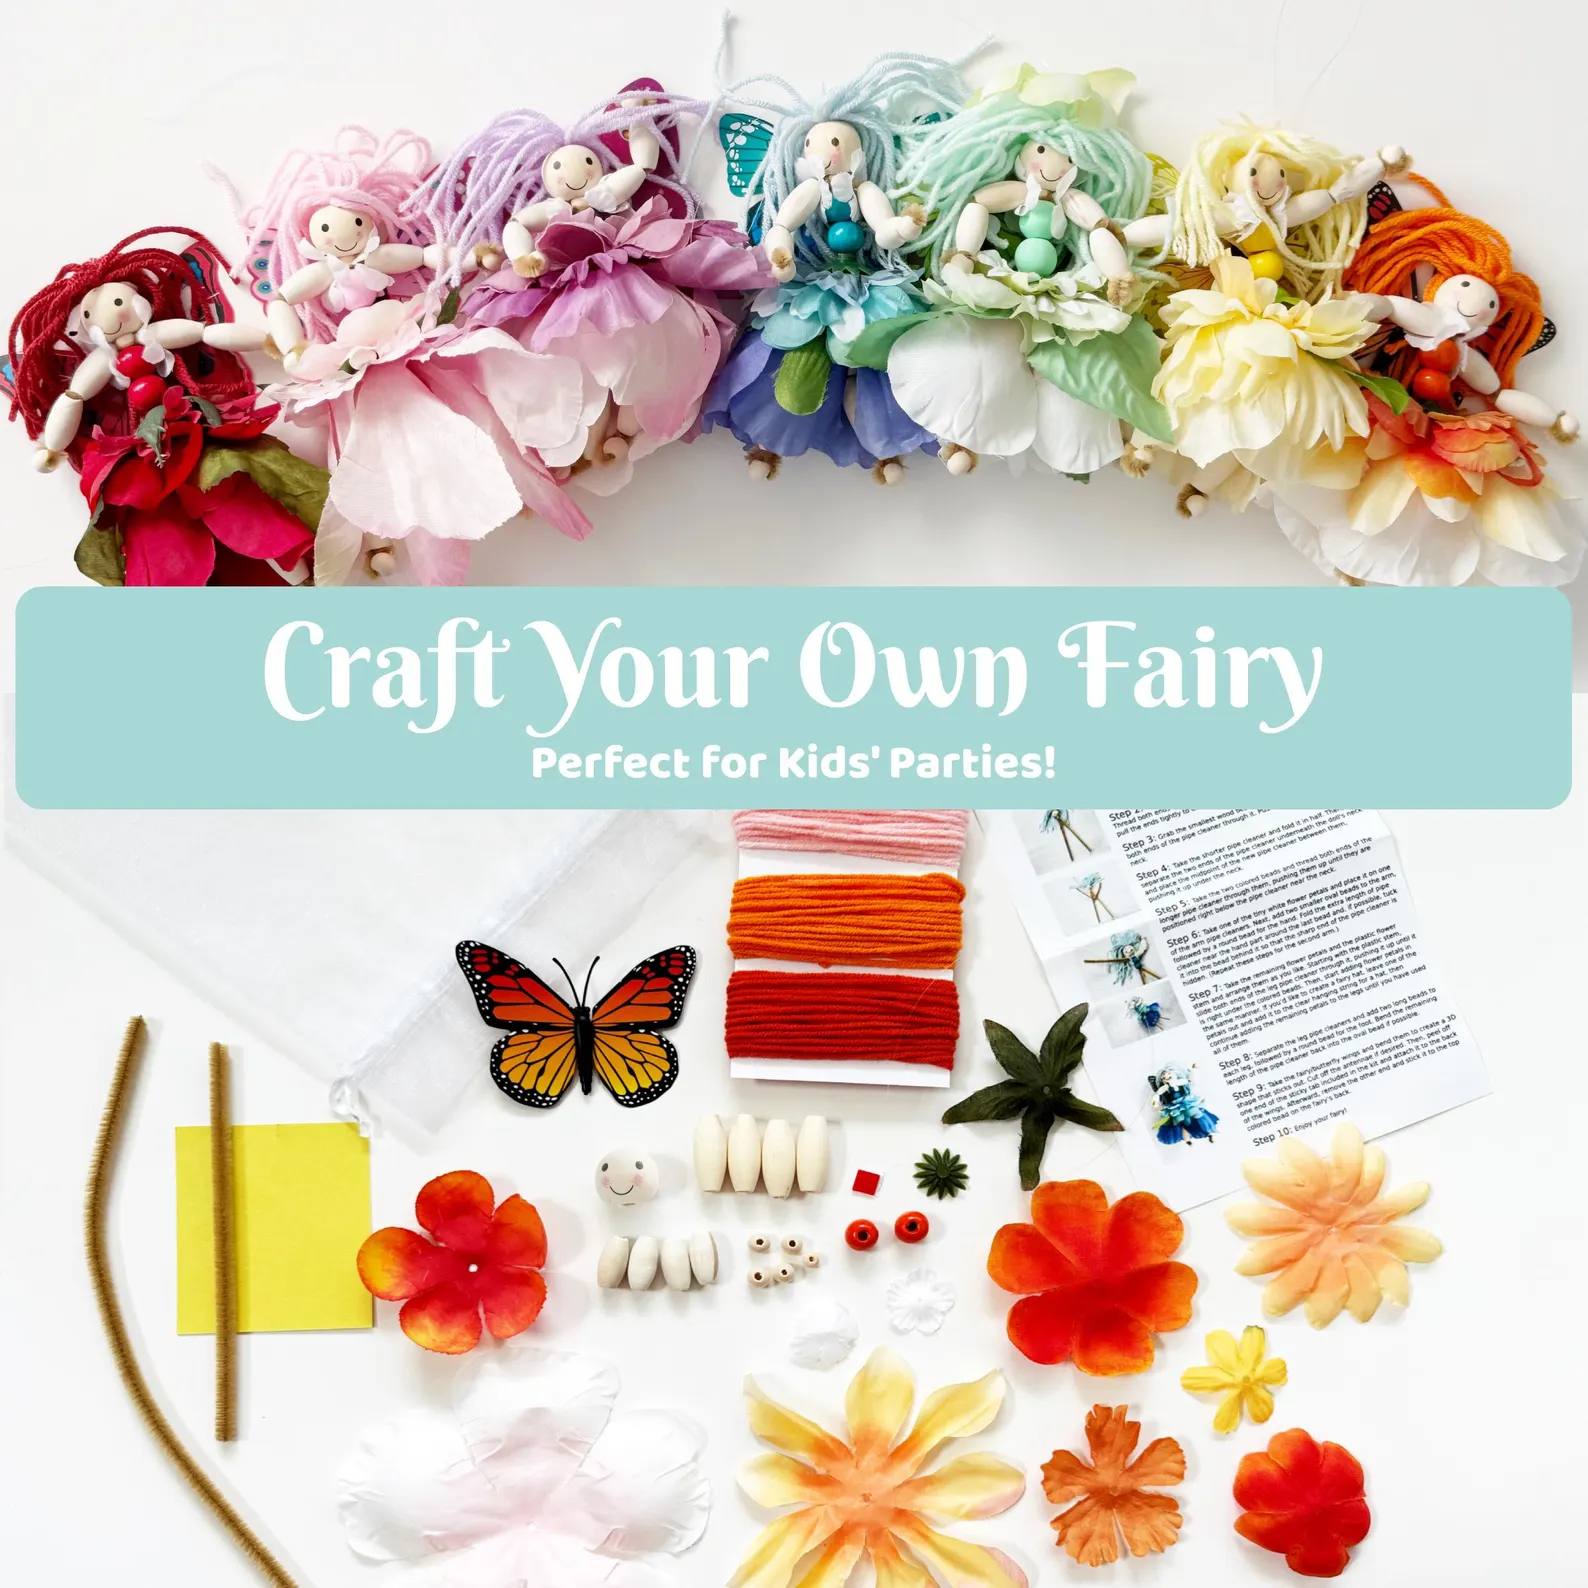
If you’re crafting with younger children, you might also enjoy my Kids DIY Fairy Kit.
It’s designed with younger hands in mind but still creates an adorable finished fairy, making it a great companion project if siblings, parents, or grandparents all want to craft together. (Great for age 4+)
 Frequently Asked Questions
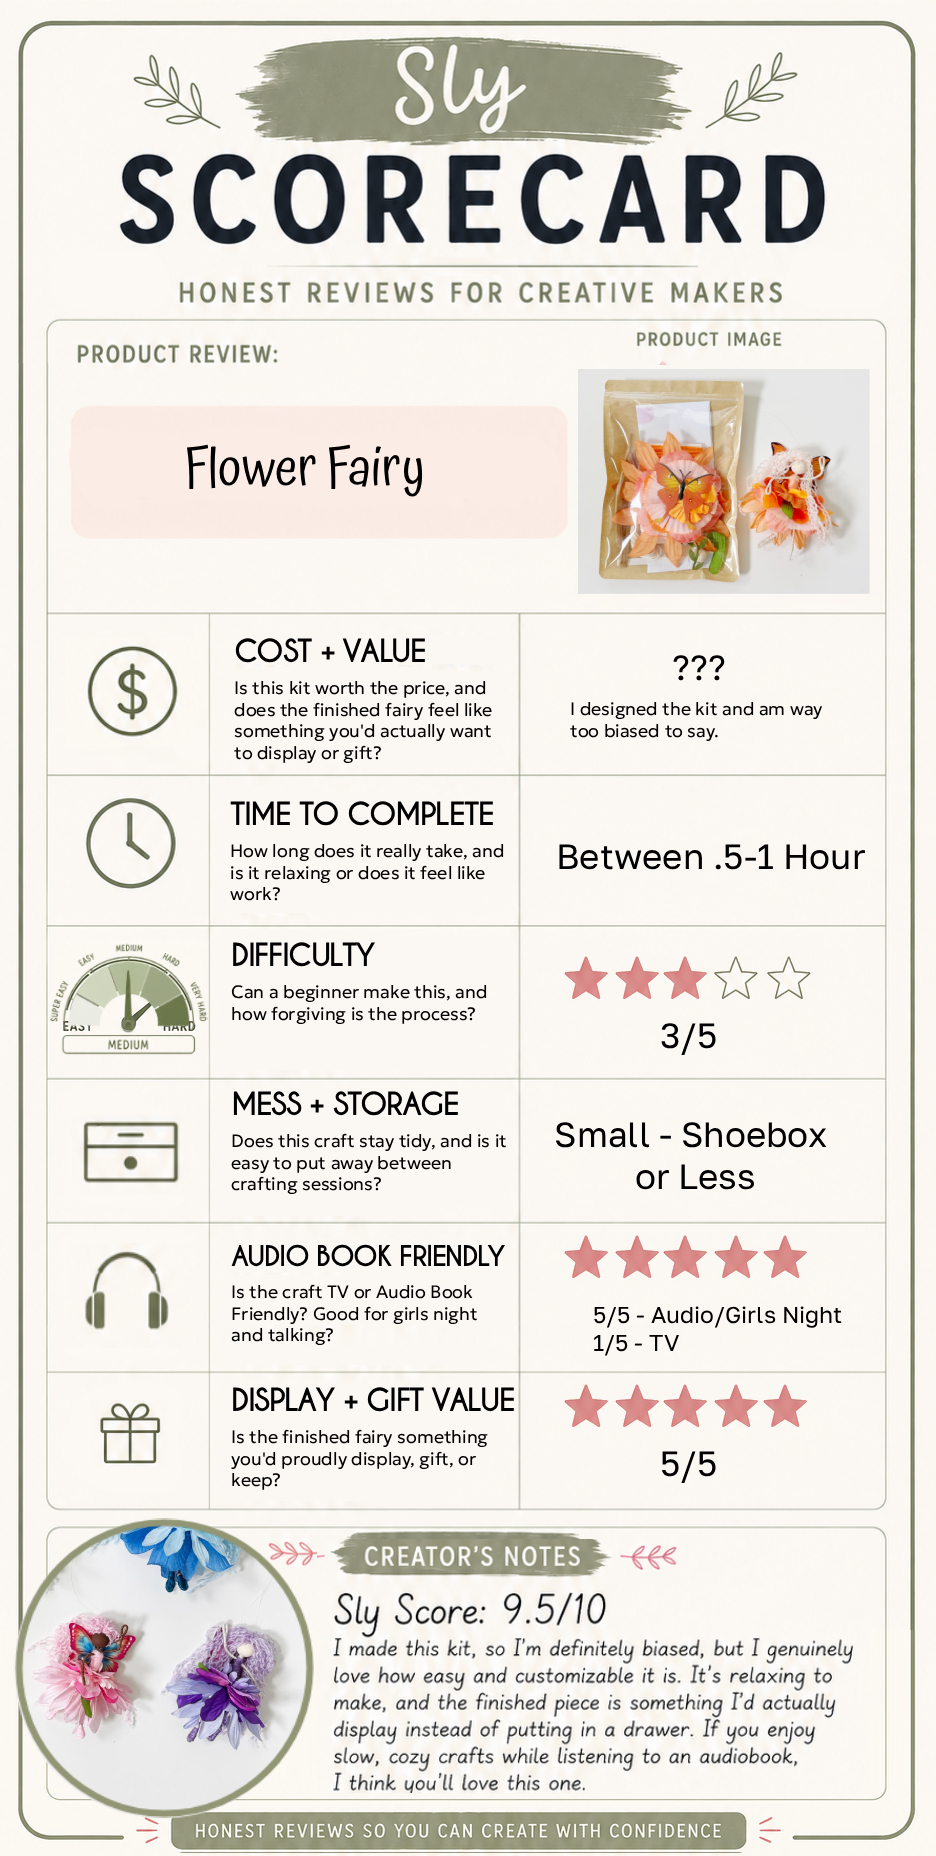
How long does a fiber art fairy take to make?
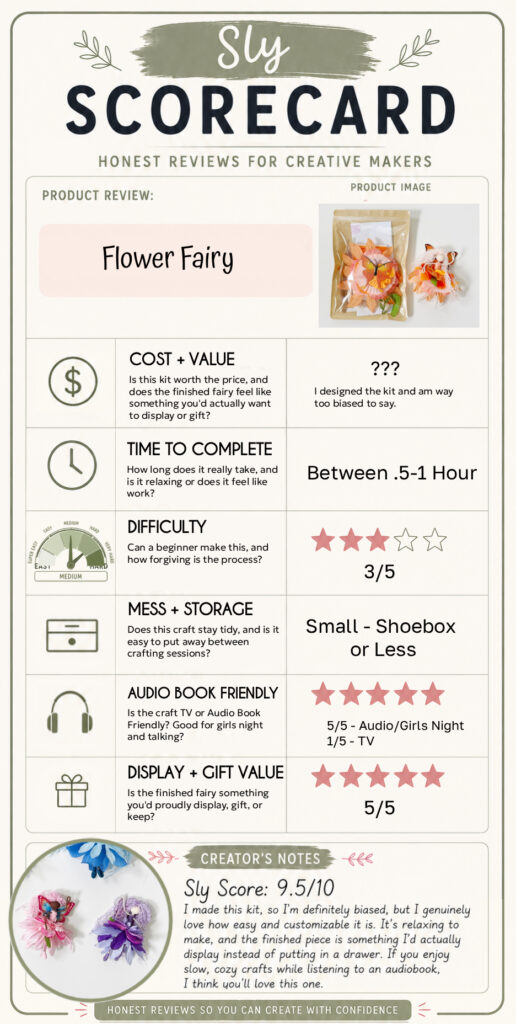
Plan on approximately 45–90 minutes.
Is this fairy craft beginner friendly?
Yes!
You don’t need sewing, doll-making, or advanced fiber-art experience.
The basic techniques are wrapping yarn and embroidery floss, bending pipe cleaners, separating yarn strands, layering flowers, and gluing embellishments.
Do I have to use the same flowers?
Definitely not.
Artificial flowers are one of the easiest ways to make this project your own. Try different colors, petal shapes and sizes.
Can I make these without buying the kit?
Absolutely.
The kit is there for people who would rather have everything coordinated and ready to use, but I’ve included the supply list so you can source everything yourself too.
What age is this best for?
I’d recommend this version primarily for teens and adults, although crafty older children can certainly make one with some help.
For younger children, I’d recommend the simpler kids fairy kit.
What can I do with my finished fairy?
Try displaying your fairy:
- In a houseplant
- On a bookshelf
- Hanging from a hook or branch
- As part of seasonal decor
- On a Christmas tree
- In a fairy garden
- In a child’s bedroom
- Or attached to a wrapped gift as an extra handmade surprise
They also make lovely little handmade gifts all on their own.
More DIY Craft Kits to Try
If you enjoyed making this fairy, I have several other DIY kits and tutorials that use the same idea: simple crafts that look impressive.
DIY Adult Fiber Art Mermaid
If you like the construction of this fairy, you’ll probably love my Adult Fiber Art Mermaid.
It uses a very similar yarn-and-pipe-cleaner technique, but instead of flower-petal skirts and legs, you create a long textured mermaid tail.
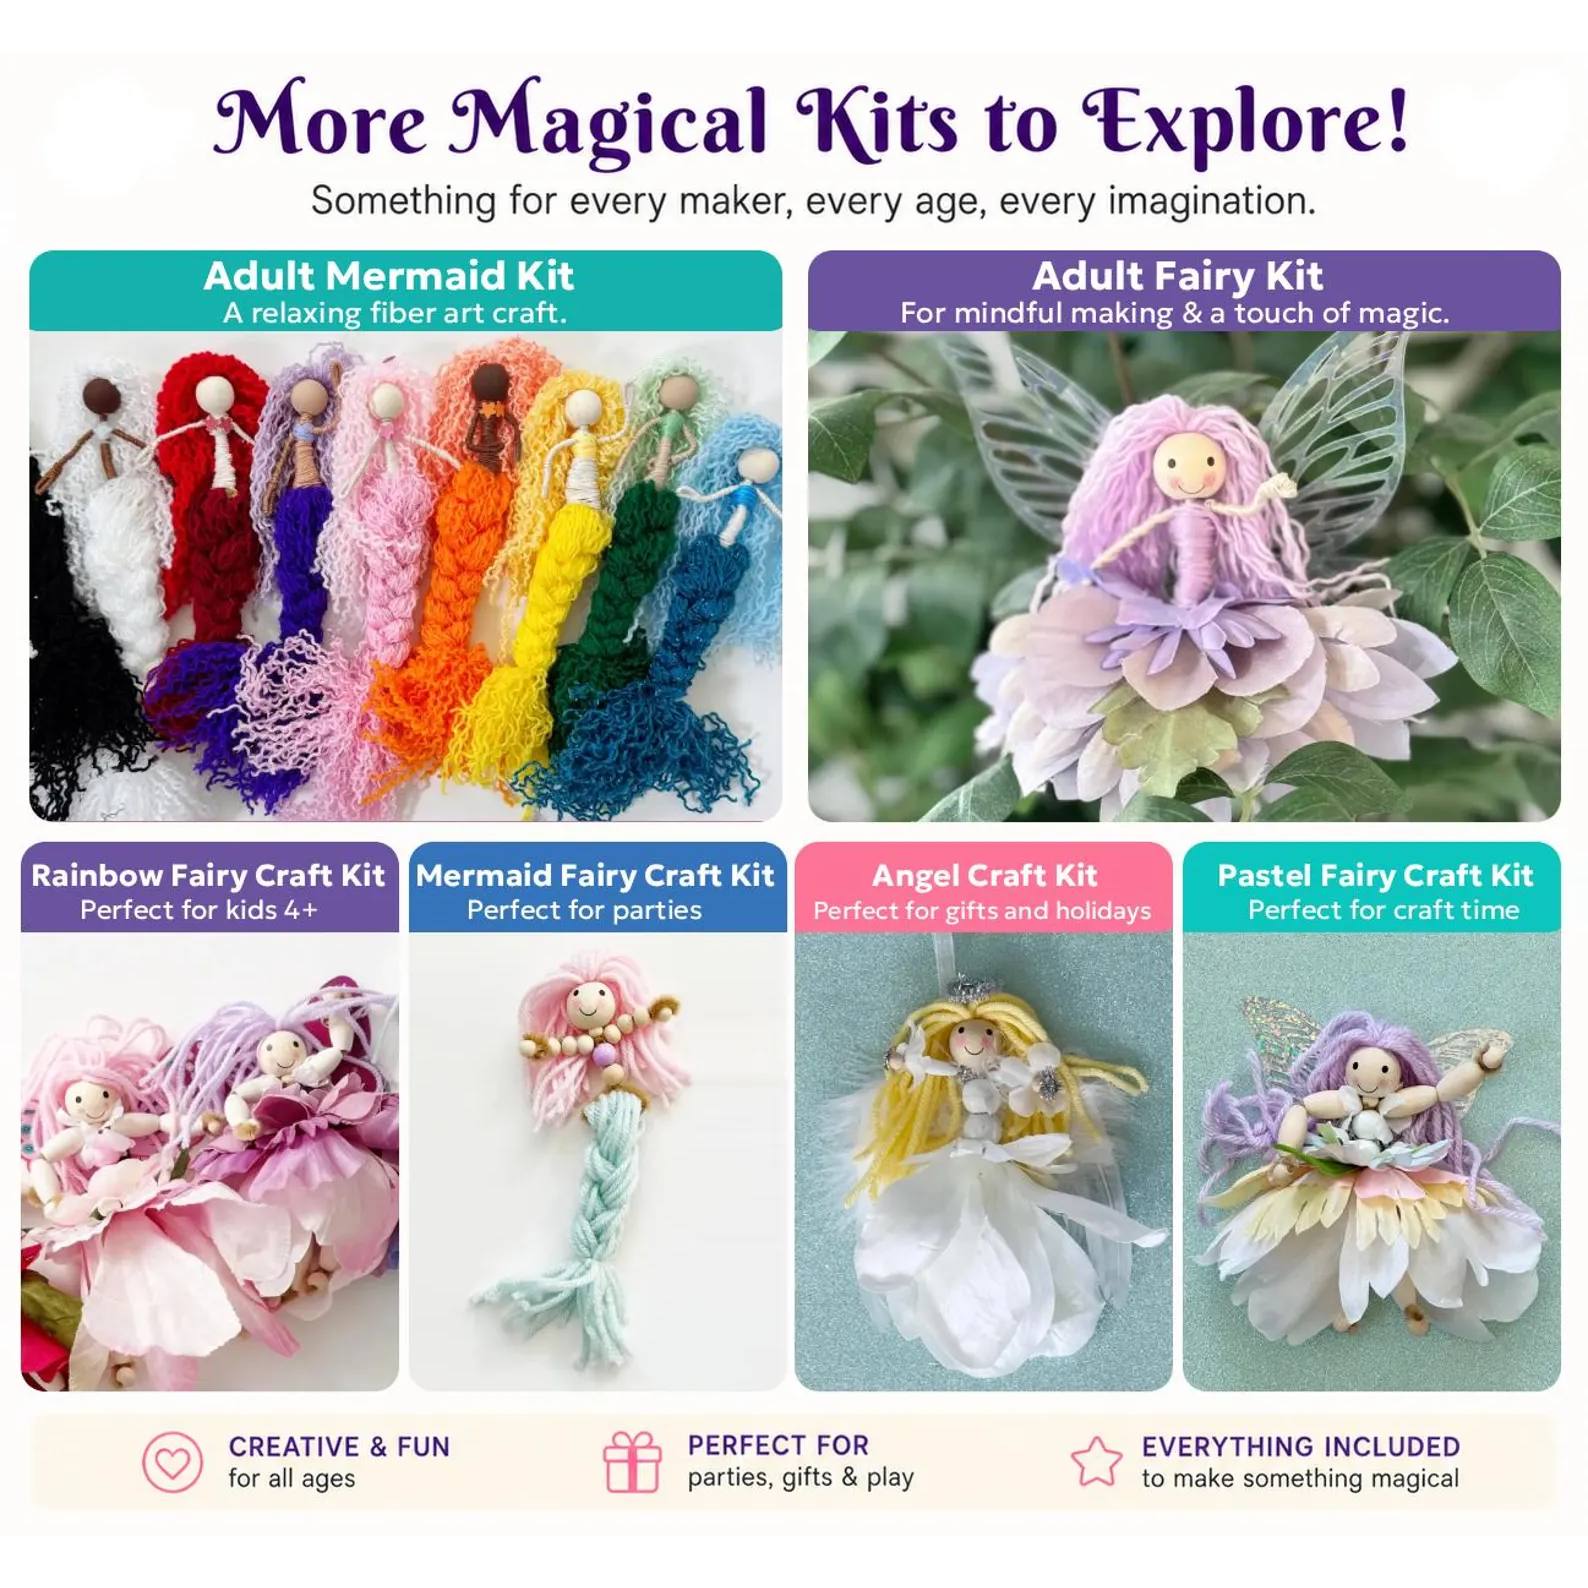
➜ Make the Adult Fiber Art Mermaid (Tutorial on blog)
DIY Fairy Kit for Kids
A simpler version of the fairy project designed for younger makers.
➜ Make the Kids Fairy (Tutorial on blog)
DIY Mermaid Kit for Kids
My kid-friendly mermaid uses beads and simple wrapping techniques, making it a fun companion to the more detailed adult fiber-art version.
➜ Make the Kids Mermaid (Tutorial on blog)
Shop All My DIY Craft Kits
If you’d rather have the materials measured, coordinated and ready to go, you can also browse all of my current DIY craft kits in my Etsy shop.
➜ Shop All DIY Craft Kits on Etsy
Final Thoughts
I think what I love most about these fairies is that they sit right in that sweet spot between easy and creative.
The basic construction isn’t complicated, but once you reach the flowers, hair, wings and embellishments, you can spend as much or as little time customizing them as you want.
If you make your own fiber art fairy, I’d love to see how she turns out!
Happy crafting!