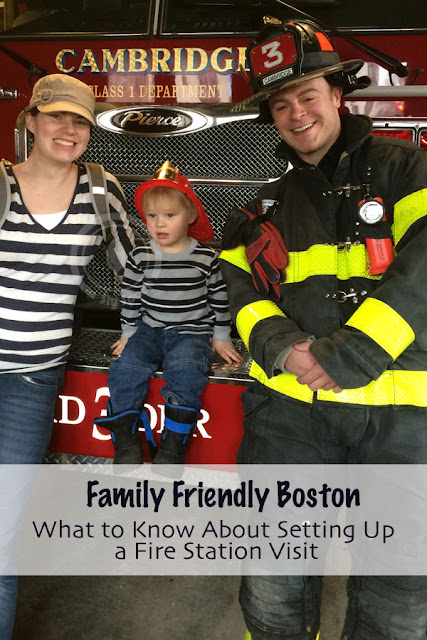
One of my son’s favorite activities to date was a visit to our local fire station. The Cambridge Fire Fighters are awesome and if your interested in a planning a similar activity all it took for us was a small group of friend who were interest in going and a phone call to the fire station.
When we got there they gave all the little kids plastic fire hats and called down a few of the fire fighters and had them dress up in all their gear for the kids. I had to laugh at the announcement made over the PA when we enter that was something like “If you’ve been here less than 3 years suite up and come down,” which I read as “if you you’ve been here less than 3 years you’re at the bottom of the totem pole and you’ve got kiddies to entertain.” Whether that was true or not doesn’t really matter because the people that did come to talk to us were all amazing!
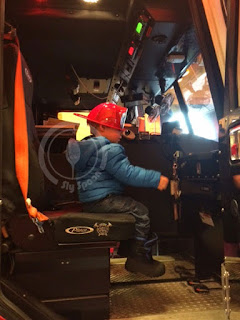
They were super friendly as they walked us over to the fire trucks and let the kids go wild climbing on the trucks. The kids were allowed to push the buttons, sit in different seats, and pretend to drive the engine all while talking to the fire fighters. The fire fighters were also super good sports about letting us take pictures with them.
Our trip ended when calls started coming in and soon both of the fire engines along with most of the fire fighters were gone, which seemed like a good point to wrap up our trip.
Things to Note:
1) Price
Free! Fire fighters are awesome.
2) Setting up an appointment
Call the fire station and let them know you’re interested in coming. We told them that we had a small group and set up a tentative date. On that day they will have you call in an hour or so before your appointment to make sure that there haven’t been emergencies calling away the firefighters. So keep in mind that your date will be semi tentative.
To Schedule a visit: Call Lieutenant Mike Hughes at 617-349-4153 or email him. Please give the following information: number of students/kids visiting; ages; what school or organization; contact person with phone number; the station you would like to visit, the day and time you would like to visit.
The day of your visit: Call 617-349-4900, their Emergency Communications Center, and ask for the station you will be visiting. When connected, double check that your visit is expected and confirm your time and number of visitors. Upon arrival, if the station is empty, that means the firefighters had an emergency run. Call 349-4900 again, tell them you are at the station for a visit and ask if they know how long before the firefighters return. You can then decide to wait or call and reschedule a visit.
If you need to cancel: Call 617-349-4900, their Emergency Communications Center, and ask for the station you were expected to visit. When transferred, tell them of your cancelation.
3) Things for the Kids
The fire fighters were amazingly nice and fun. Each kid got to start the tour out with a fire fighter badge (sticker) and a fire fighter plastic hat, both of which were provide by the fire station.
4) Things you might end up doing
For us, and our group of 15 toddlers we ended up sticking close to the fire trucks. The kids were mesmerized and perfectly happy just to be able to see real fire fighters and crawl around on the trucks. I don’t know how long this would have lasted but we were there for a good half hour before both trucks got called away.
Summary & Rating ★★★★★
Five Stars. How could I do any less? This was a wonderful activity, my son adored it, it was educational, hands on, free and a lot of fun to be able to interact with the amazing people keeping us safe. The only possible down side I can see is if your child was super excited about a potential trip and you had to change the date due to the firefighters being called away… which really can’t be helped. In any case we loved this and will be doing it again… probably every year that we live here.
Have you been here before? If so I’d love to know more about your experience and any tips or tricks you have for setting up an outing in the comments section below.
Cambridge Fire Department
(lots of locations) This is the main office
491 Broadway Cambridge MA 02138
Phone: 617.349.4900
Website: http://www.cambridgema.gov/cfd
Visiting Hours: They prefer morning hours during the weekday (Not Tuesday or Thursday mornings because they have inspections) If those times don’t work for you call and they will probably be willing to try to work something out with you.
