This post may contain affiliate links. Read our disclosure policy.
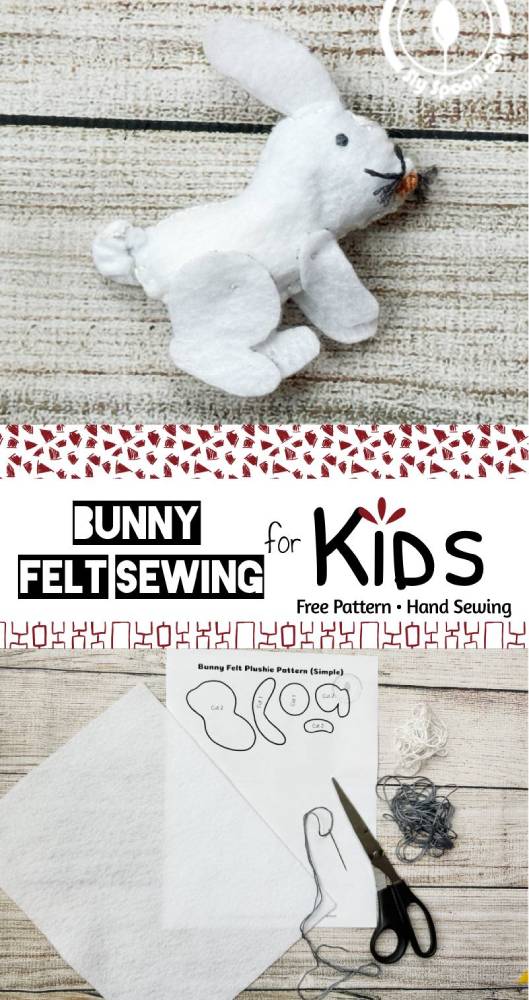
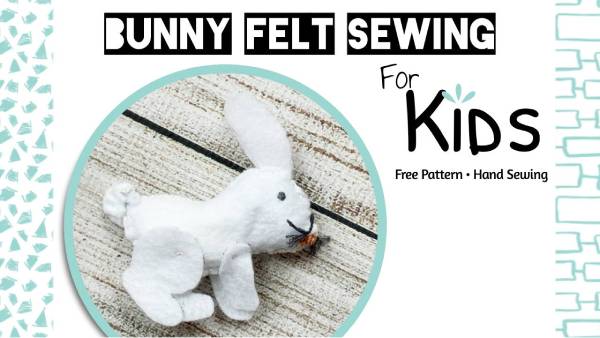
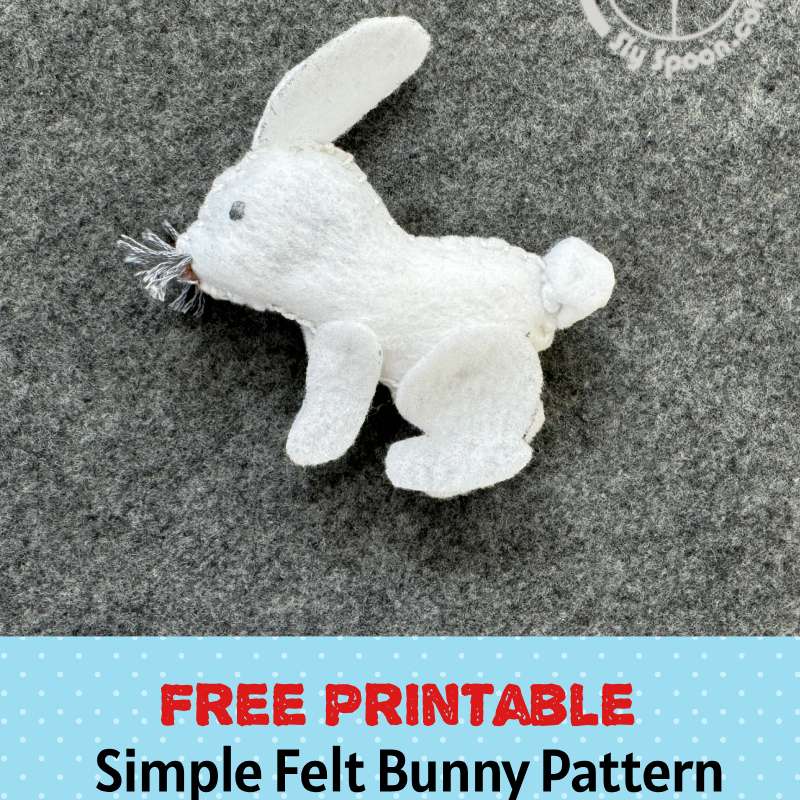
Hi everyone! I’m thrilled to share this easy sewing project with you! Today, we’ll be sewing a simple felt bunny that’s perfect for kids ages 6 and up (with a bit of adult supervision!). This project is a fantastic way to learn sewing basics while letting their creativity shine. Ready to hop into it? Let’s get started!
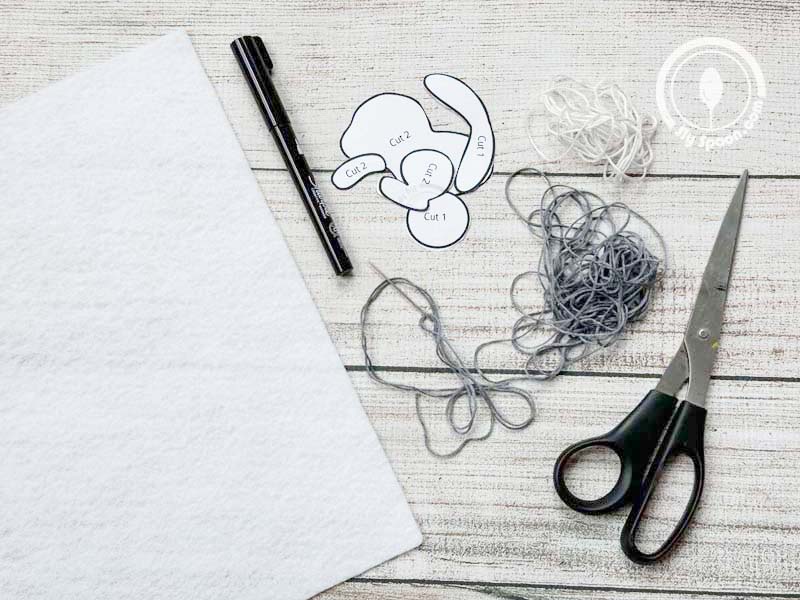
What You’ll Need:
Want More Felt Sewing Fun?
Find more beginner-friendly felt sewing projects and step-by-step videos on my YouTube channel, Sly Sew Simple. I post new patterns, easy tips, and fun crafts for kids and grown-ups alike!
» Subscribe & Explore More
- Felt (in your chosen colors for body)
- Free Bunny pattern (link below)
- Sharpie Creative Markers (or similar) for tracing
- Embroidery floss (try to match the colors to your felt)
- Needle with the big eye / Embroidery Needle (a child-friendly one works best)
- Scissors
- Stuffing (polyester filler, scrap felt, or even ripped-up plastic grocery bags)
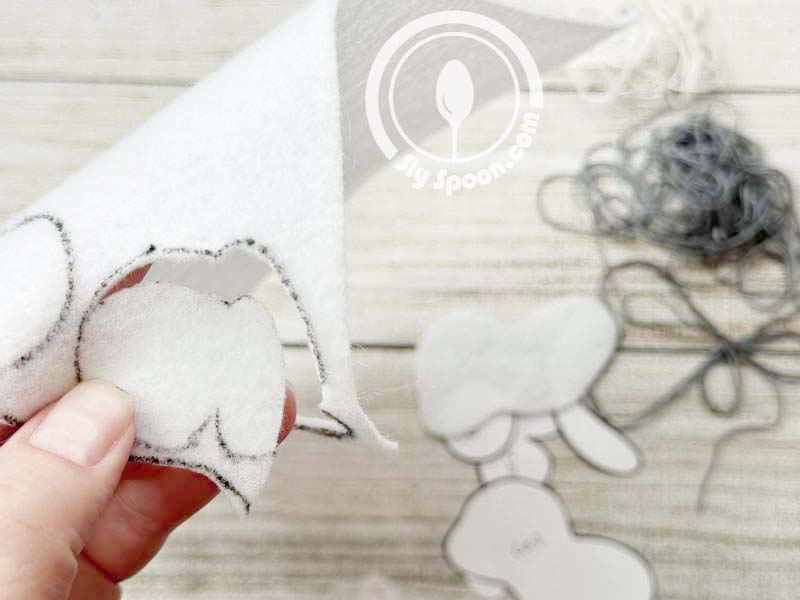
Step 1: Trace and Cut
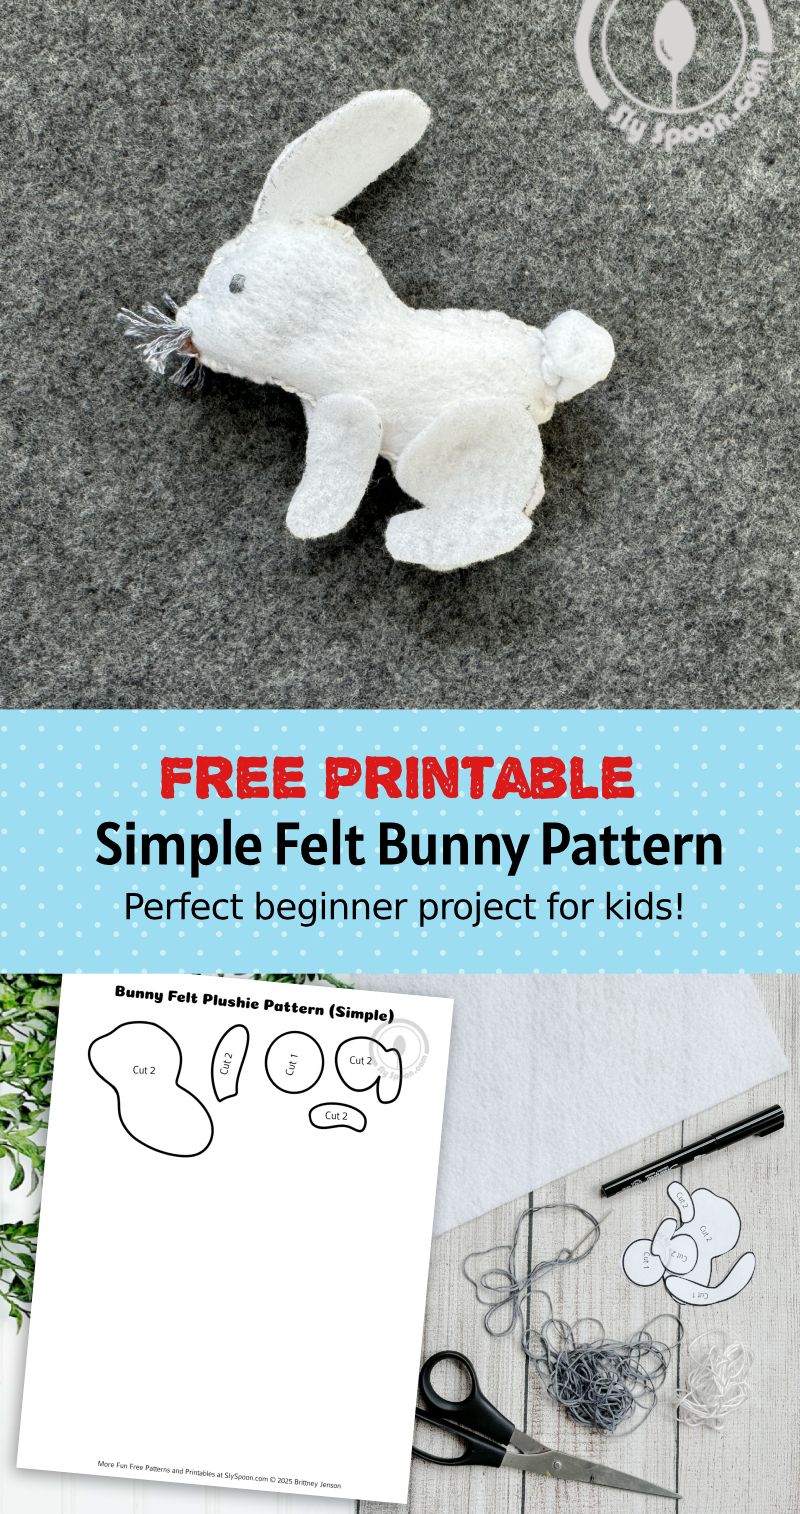
First, grab your free bunny rabbit pattern, print it out. Click the pattern image to download and print.
(Two pattern options below, one with an image of the finished project, one without)
Click Image To Download and Print
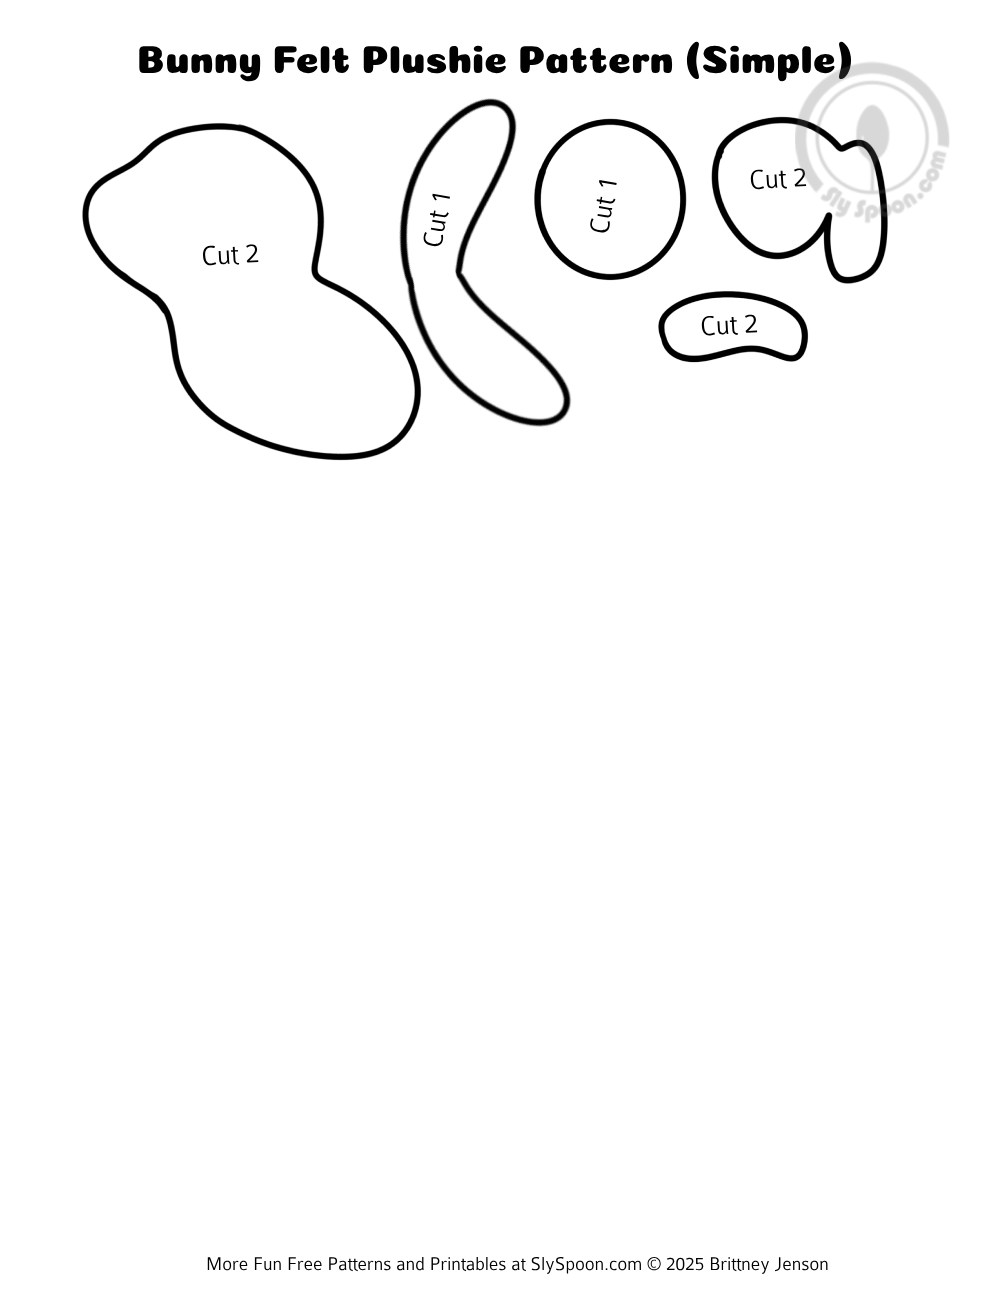
Next let’s get tracing! The pattern includes the bunny’s body, ears, legs, arms, and tail.
Cut the pattern out and lay the pattern pieces on your felt and use your marker to trace around them. Remember to flip the pattern pieces when tracing any that you need to cut out twice; this ensures they match up perfectly when you sew. After tracing, carefully cut out your felt pieces, trimming any marker lines off where possible. Don’t forget to save any scraps as they make great stuffing for your bunny!

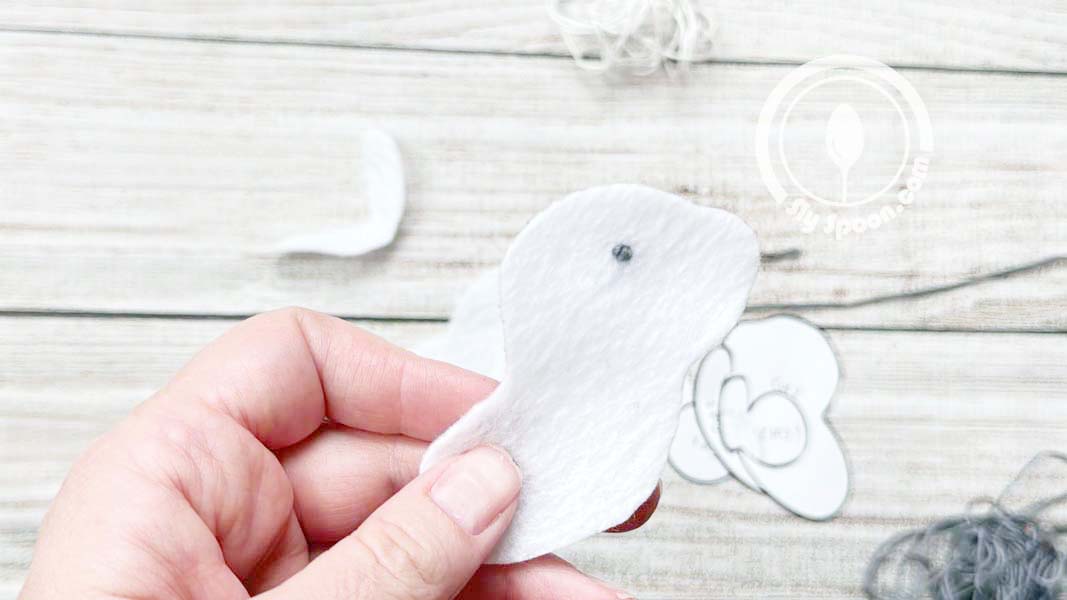
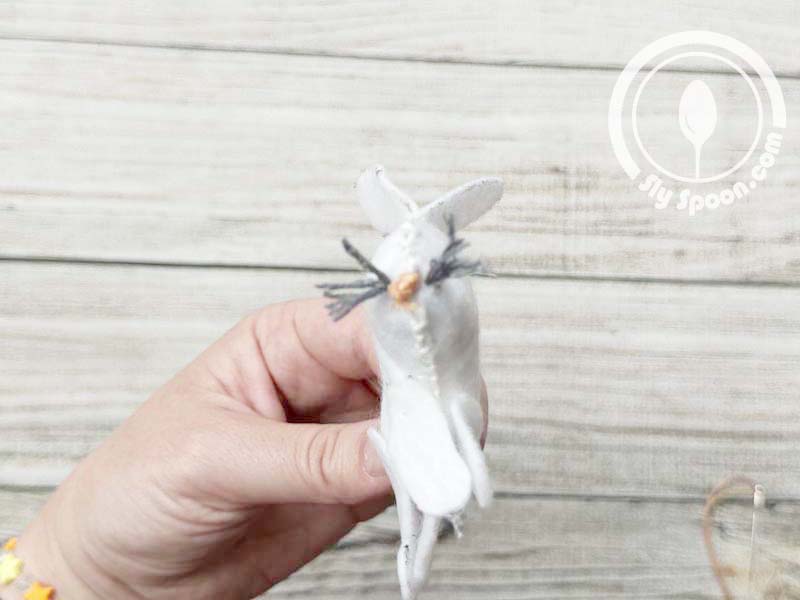
Step 2: Create Eyes and Whiskers
Now, let’s add some eyes! You can either use a small piece of felt (perhaps in a bright color) for the eyes or create simple stitched eyes.
Make a simple knot at the end of the embroidery floss, then poke the needle from the back of the bunny body piece to the front where you want the eye. Secure it by making a “knot stitch” — just pull the thread tight and tie a little knot by looping the floss and pulling it through. Repeat for the second eye, ensuring the knots are on the inside of the bunny piece.
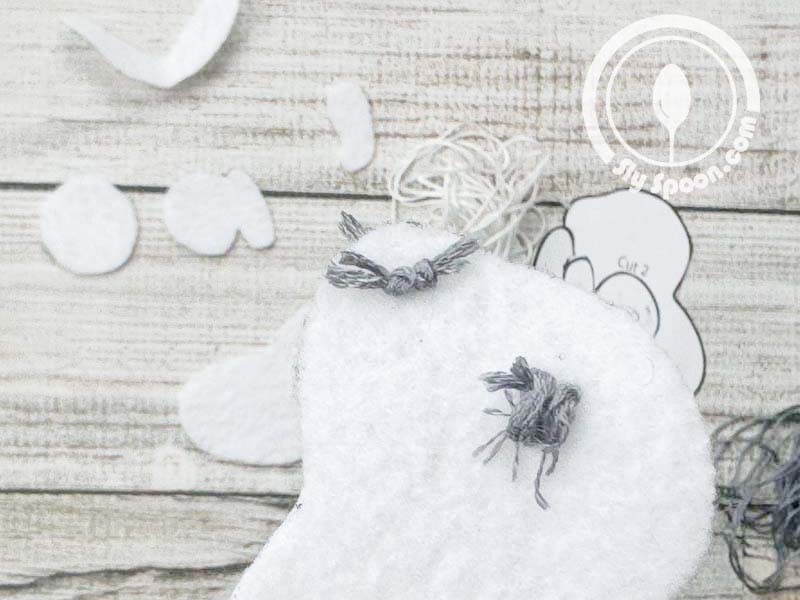
to make whiskers make a knot at the end of your thread, then poke it threw near where the bunnies nose would be, pull your needle to the threads end and cut the thread, leaving a 1/2 inch or so of thread poking out of the bunnies face. If you want more than two whiskers (I did 4 on each side) repeat it a second time.
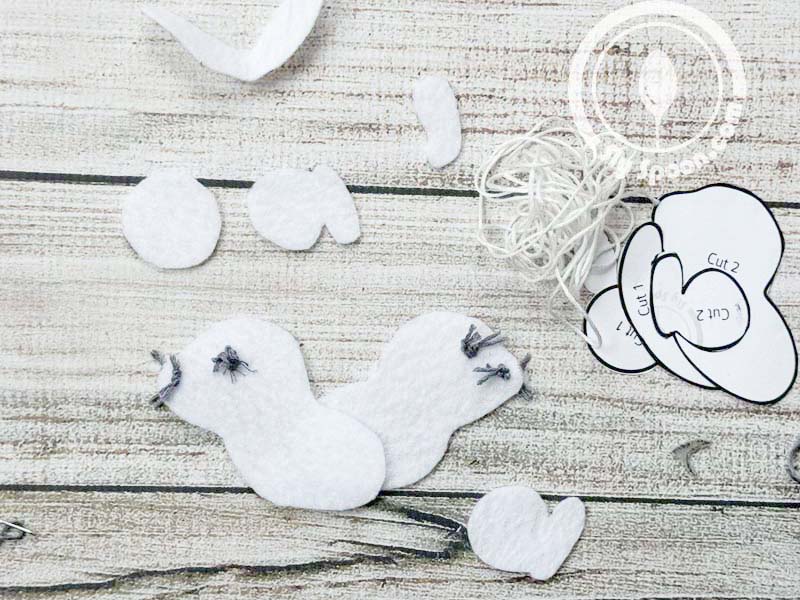
Then line up your two bunny body patterns, and repeat the same steps for the other side of the bunny, making sure that you’ve got the rough/knot side of stitches on the inside of the bunny for both pieces.
Step 3: Adding Legs
Now, let’s attach the legs. Place two back leg pieces on either side of the bunnies body piece. Thread your needle again, and use another simple knot stitch to secure them in place. Repeat with the front legs.

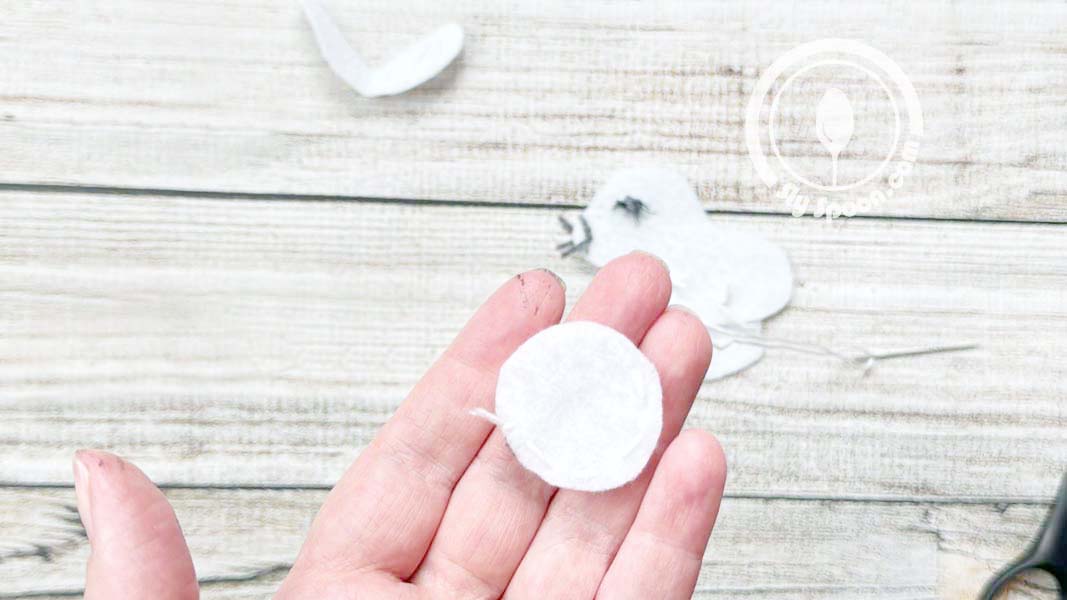
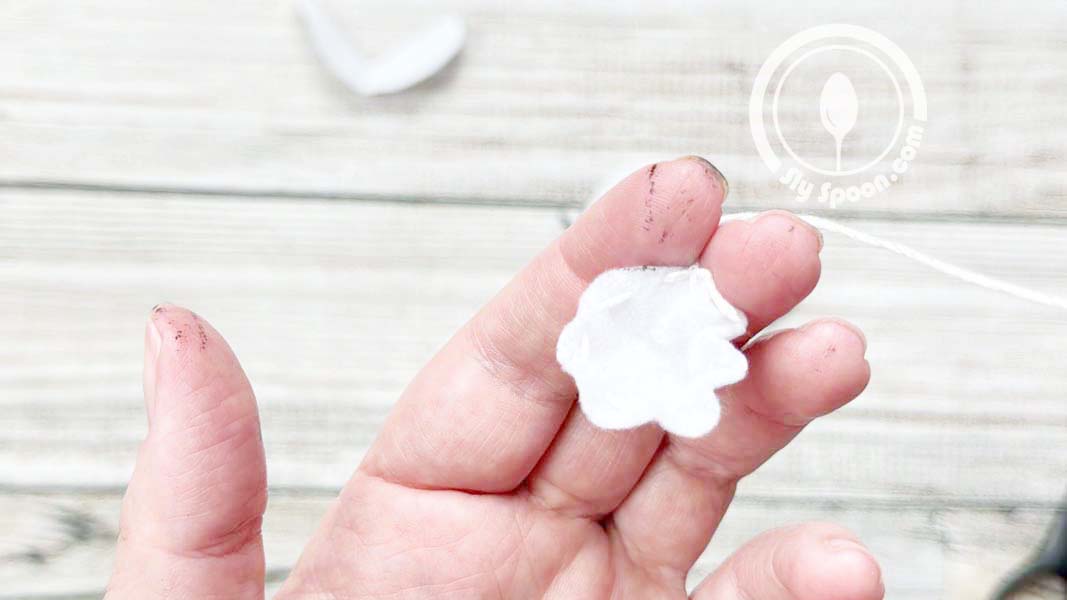
Step 4: Prep the Tail
Take your felt circle and your sewing needle and sew a small, single thread, in and out stitch around the edge of the circle. When you’ve gone around the full thing, pull your thread tight, making the stitches pull together and create a small puffy tail. Then knot your thread off.

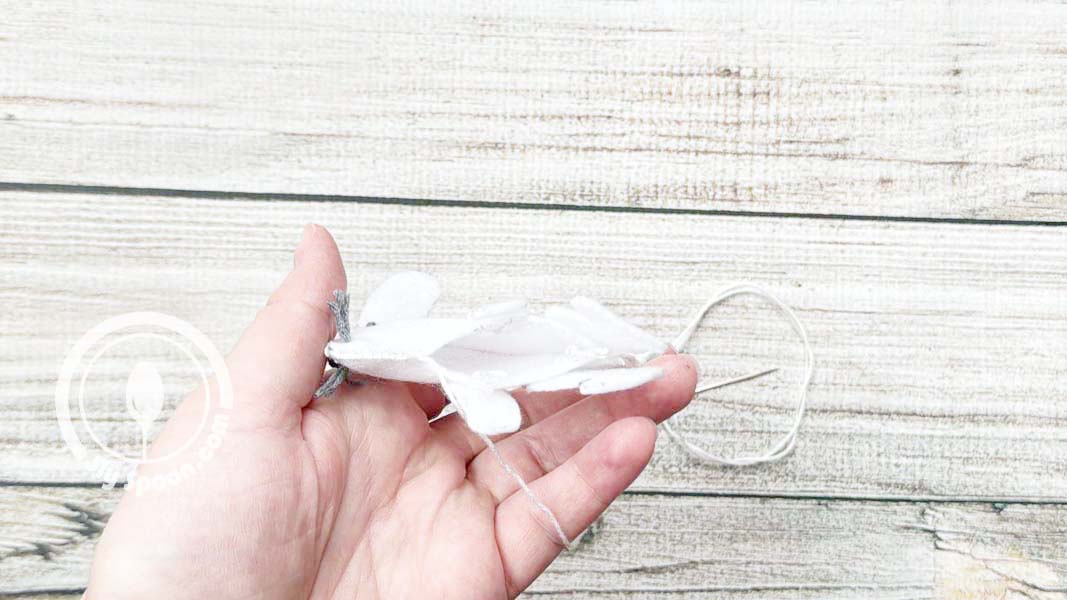
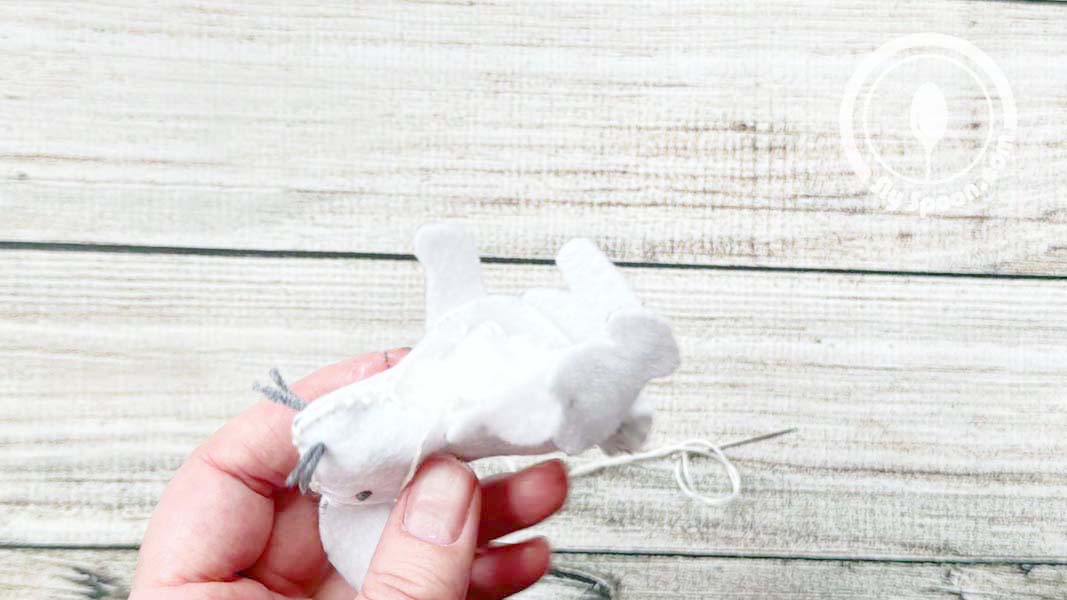
Step 5: Start Sewing the Body
Begin sewing at the back leg area of the bunny. Knot your starting stitch behind one of the legs, and use a blanket stitch around the bottom of the bunny’s body.
How to Blanket Stitch: To make a blanket stitch, start by threading a needle with some sturdy thread and tying a knot at the end. Choose the edge of your fabric where you want to start stitching. Poke the needle up from the back of the fabric, so the knot is hidden. Pull it all the way through. Next, bring the needle back down into the fabric a little bit away from where you came up, then pull it through again. Before you pull the thread all the way tight, loop the thread around the edge of the fabric and bring the needle back through the hole where you first poked it up. Keep repeating this process, making sure to keep the stitches evenly spaced and pulling the thread tight each time, until you reach the end of your stitching line.
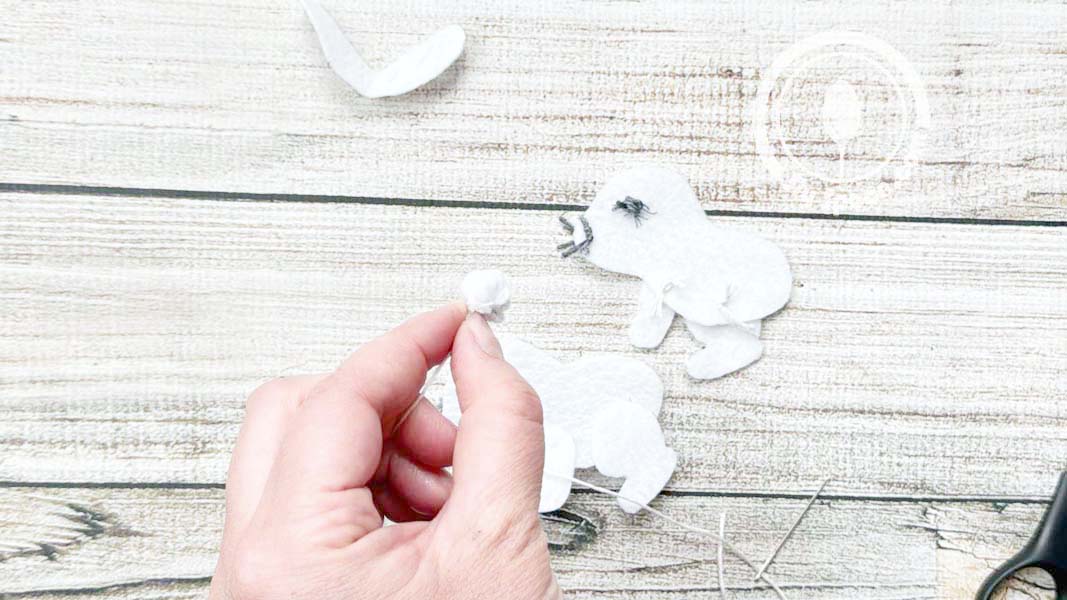
Step 6: Attach the Tail
When you reach the bottom of the bunny, it’s tail time! Place the tail against the two body pieces and use a running stitch to sew the tail in place.
How to do a Running Stitch: To make a running stitch, start by getting your needle and thread ready with a knot at the end. Begin by pushing the needle up through the fabric from the back to the front, pulling it all the way through. Then, move the needle a little forward and poke it back down through the fabric making sure to leave a small space. Pull it through until the thread is tight. Next, poke the needle back up through the fabric right where you came down so it makes a little stitch. Keep going back and forth, moving forward a little each time and sticking the needle down and then back up, making sure the stitches are nice and straight. Continue until you reach the end of where you want to stitch!
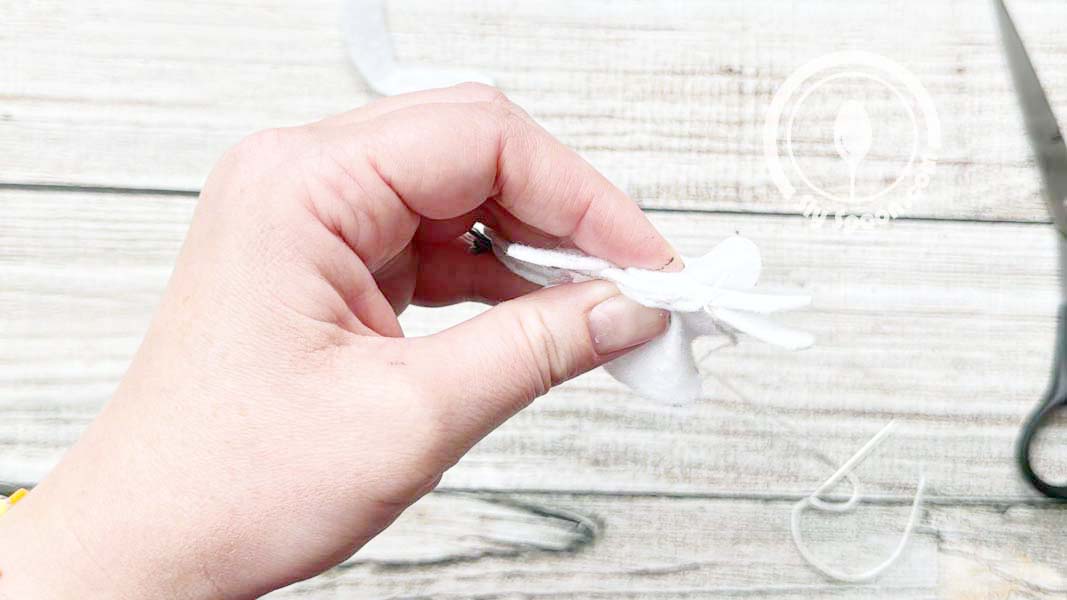
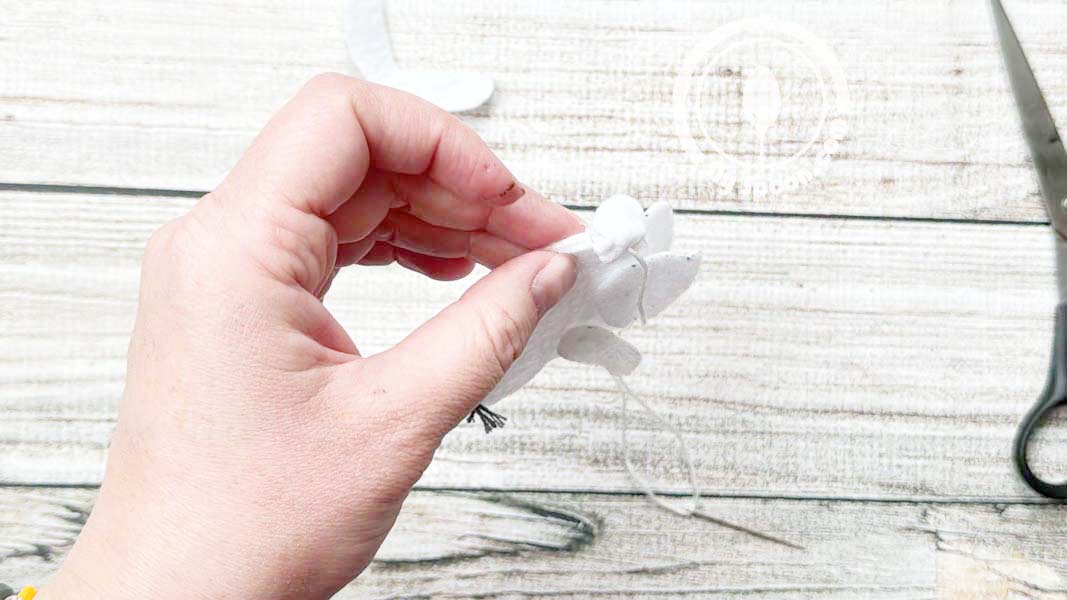
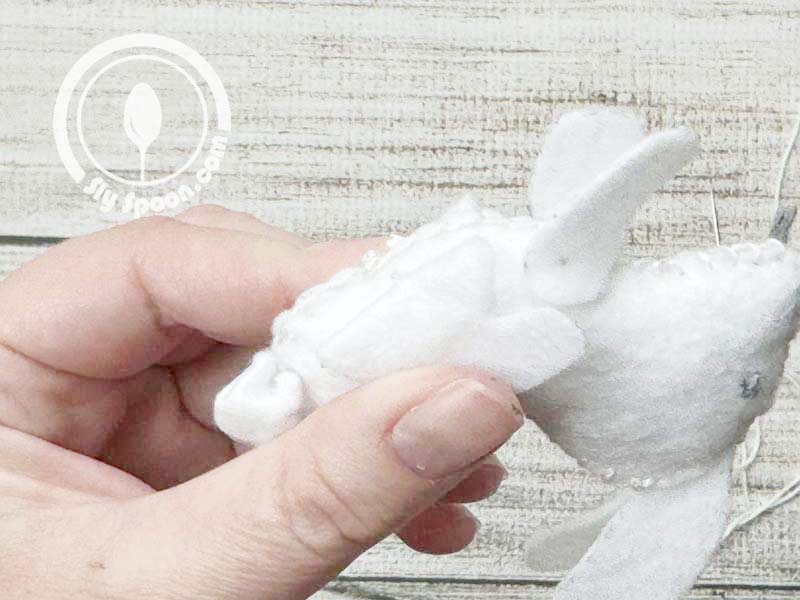
Step 7: Add the Ears
Once the tail is attached, continue your blanket stitch around the back of the bunny, until you reach its head where its ears should be. Take the long ears, and bend them in half, then slide the bent part of the ears between the two part of the felt at the bunnies head, and do a running stitch to attach them in place. Then continue with a blanket stitch around the bunnies face, being extra slow and careful around the whiskers, and pushing them into place as need when you go around them.
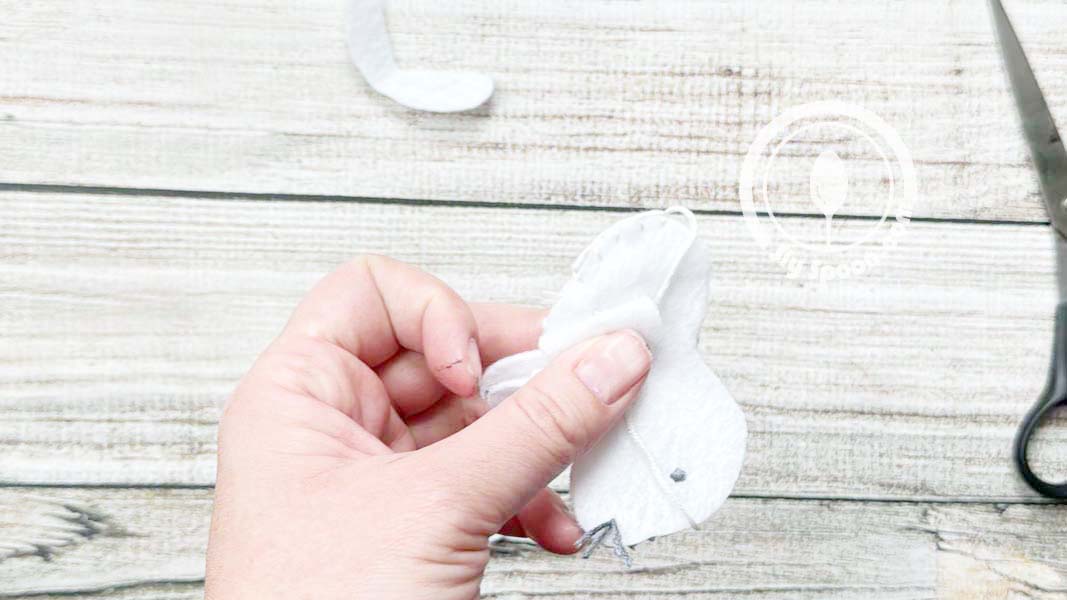
Continue with a blanket stitch around the bunny’s face and neck, adding small amounts of stuffing as you go for shape, especially around the head.
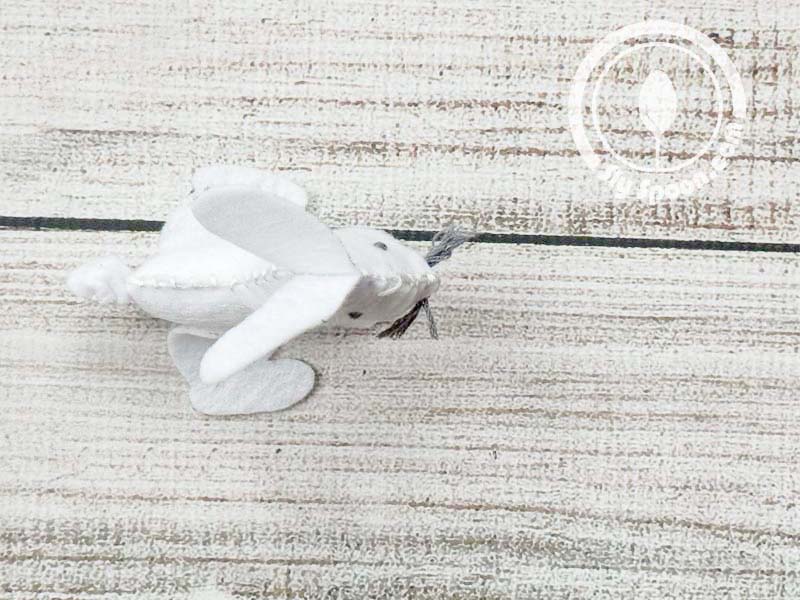
Step 8: Fill and Finish
Continue with the blanket stitch until you reach the bunnies front legs and pause to add your stuffing. Use small pieces of polyester filler or scrap felt for stuffing. You can even use torn-up plastic grocery bags if you have them! For those tricky spots like the head, use the back of a pencil to help push the filling in. Once your bunny is nicely stuffed, use the blanket stitch to close up the opening and knot everything off securely.
Step 9: Add a Nose!
-
Thread the Needle: Cut a piece of thread about 1 foot long. Hold one end and push it through the needle’s eye. Tie a knot at the end of the thread.
-
Start Sewing: Push the needle up through the felt where you want the nose. Pull it all the way through.
-
The Stitch: For a simple stitch, bring the needle back down next to where it came up. Pull the thread tight, then go up again a little bit away. Repeat this until the nose is as big as you want it to be.
-
Finish: When done, make a knot on the back of the felt to secure it. Cut off any extra thread.
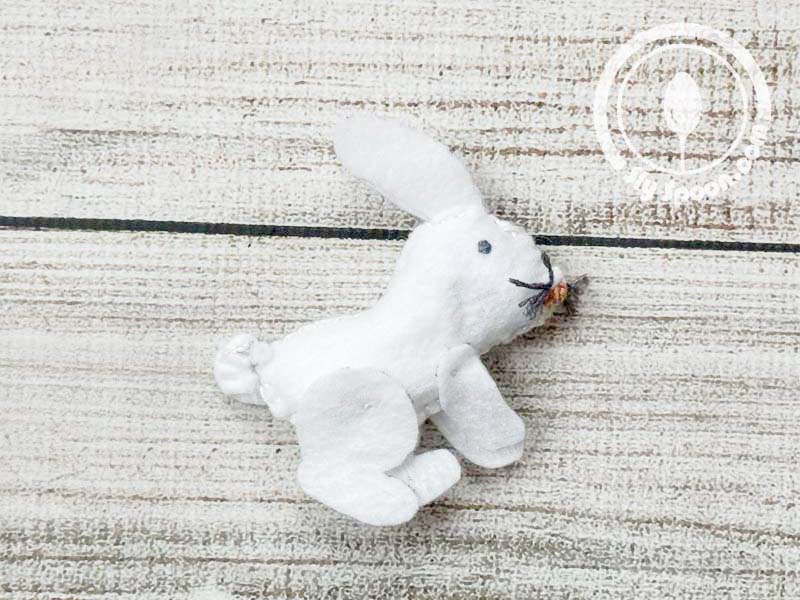
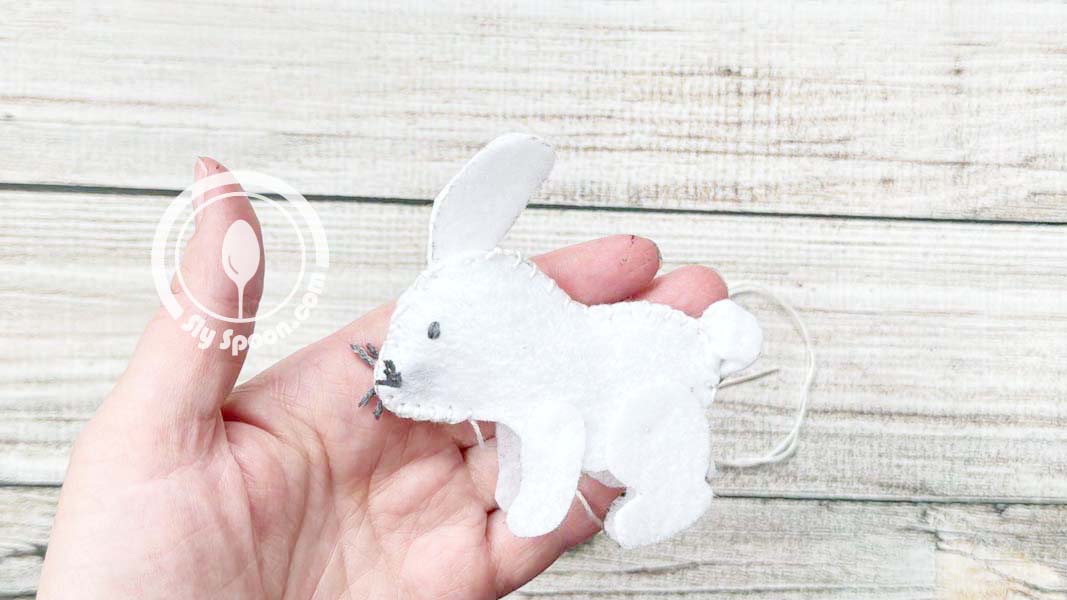
And there you have it—a charming felt bunny crafted by your very own hands! This project not only introduces kids to the basics of sewing but also promotes creativity and the joy of crafting.