This post may contain affiliate links. Read our disclosure policy.
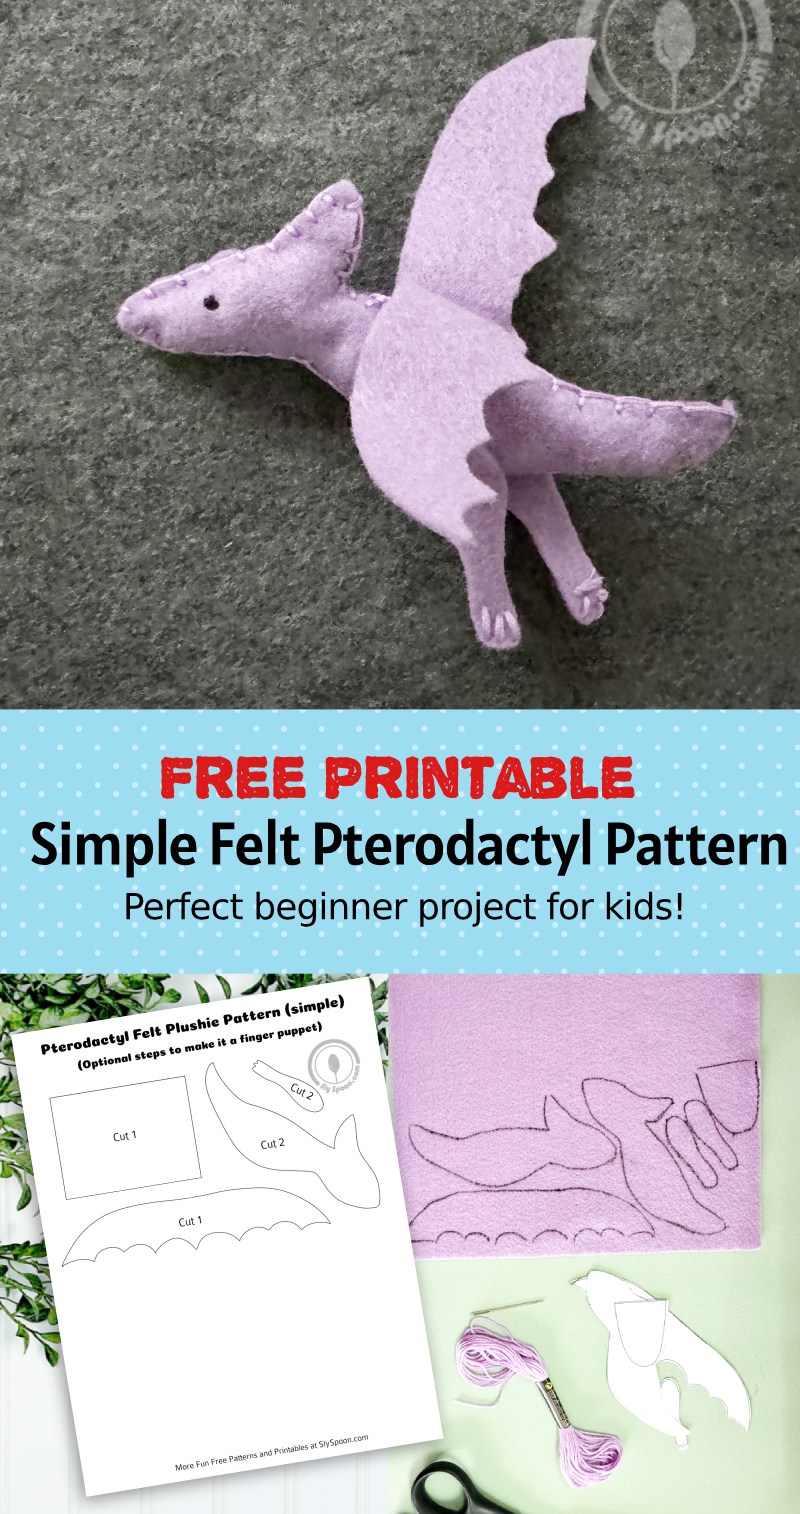
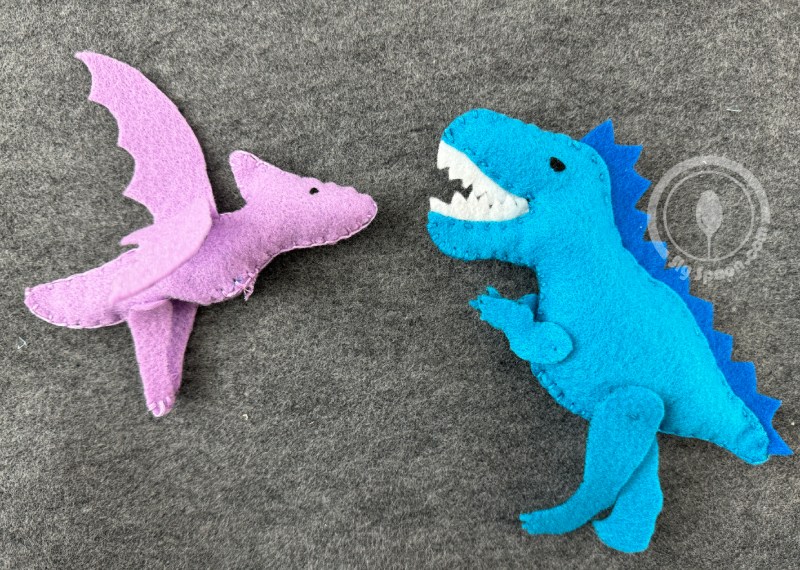
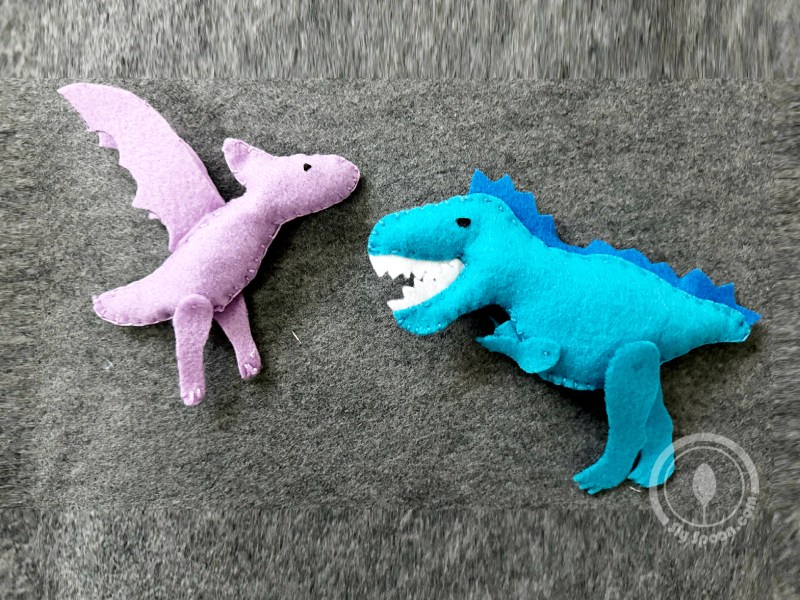
As a mother of young children I love creating fun and engaging projects that teach my kids new skills, are creative, and that we can do together! Today, I’m excited to share a a fun sewing project that is perfect for beginners and will introduce beginners and kids to the joy of making something with their hands—an adorable felt pterodactyl!
This project is designed for kids aged 6 and up (with a bit of adult supervision), and I’ve included a free downloadable pattern for you to use. Plus, if you want to take it a step further, I’ll show you how to turn this cute pterodactyl into a fun finger puppet!
Want More Felt Sewing Fun?
Find more beginner-friendly felt sewing projects and step-by-step videos on my YouTube channel, Sly Sew Simple. I post new patterns, easy tips, and fun crafts for kids and grown-ups alike!
» Subscribe & Explore More
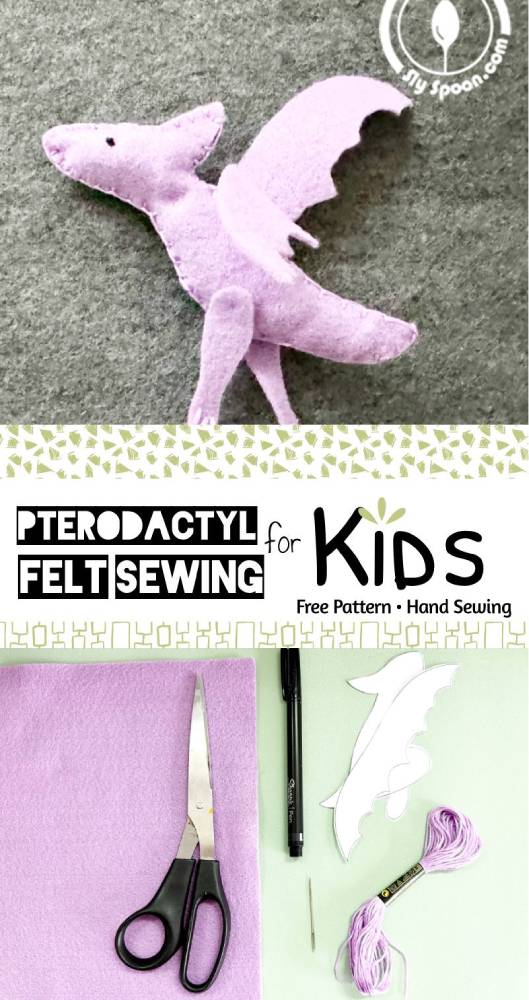
Supplies Needed:
- Felt (in your chosen color)
- Free pterodactyl pattern (link below)
- Sharpie Creative Markers (or similar) for tracing
- Embroidery floss (try to match the colors to your felt)
- Needle with the big eye / Embroidery Needle (a child-friendly one works best)
- Scissors
- Stuffing (polyester filler, scrap felt, or even ripped-up plastic grocery bags)
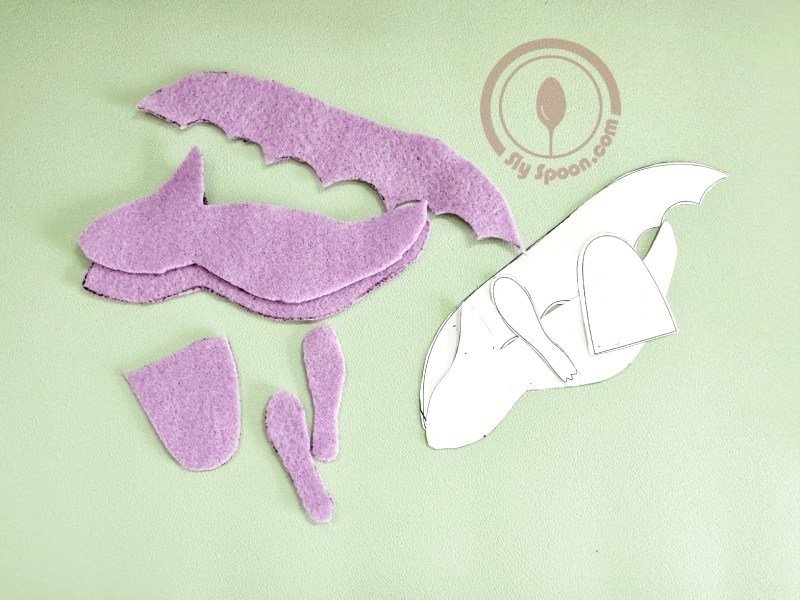
Step 1: Cut Out the Pattern
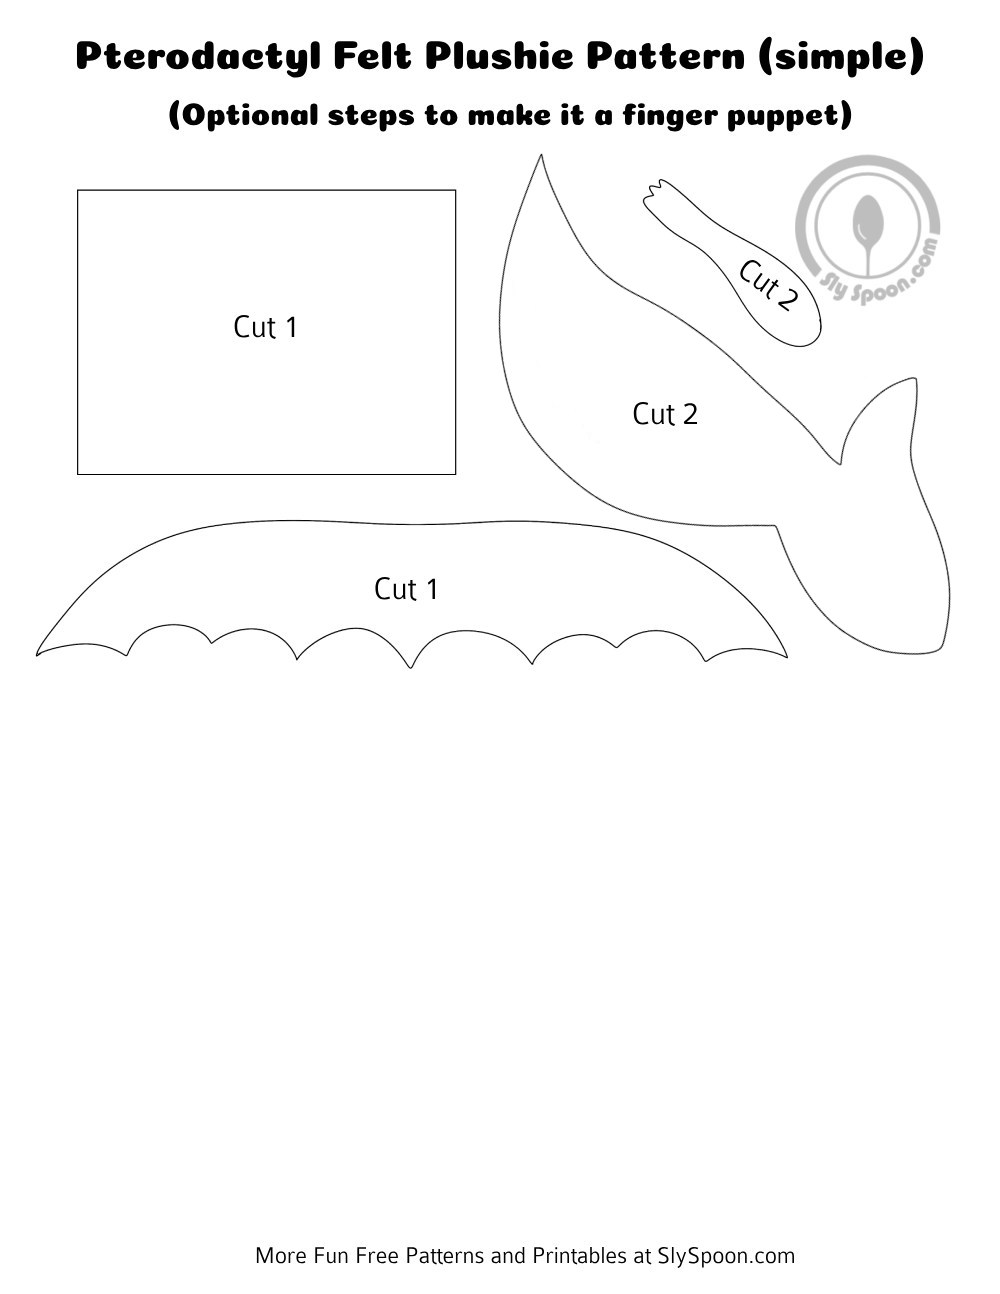
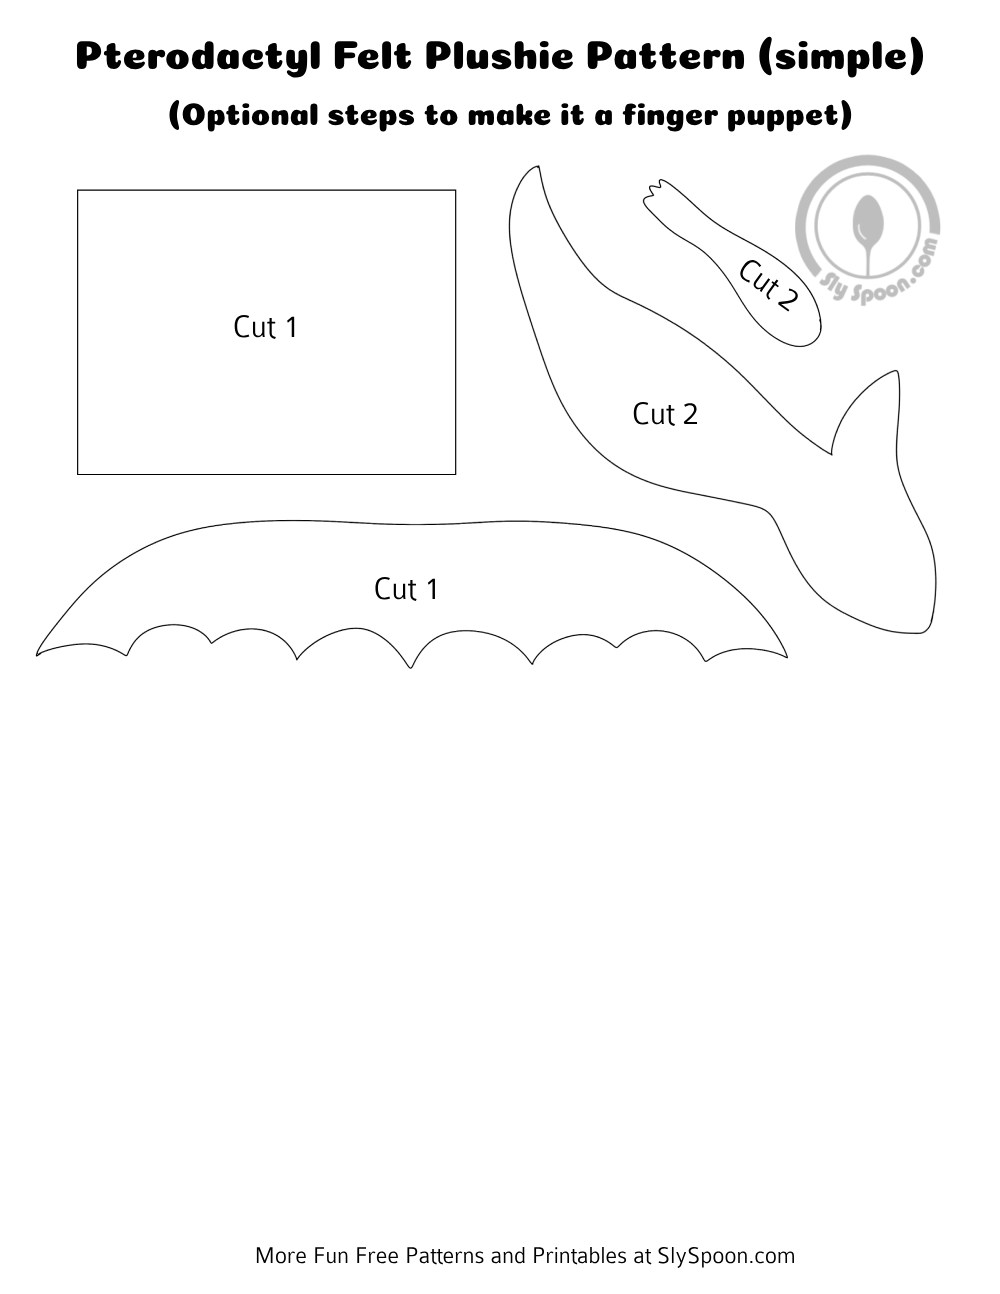
First, download and print the pterodactyl pattern (two options below). You’ll see four pieces: the pterodactyl body (cut out twice, flip when tracing, so you trace both sides of it), the foot (cut out twice, flipped when tracing), the wing (cut out once), and the optional finger puppet pocket square (cut out once).
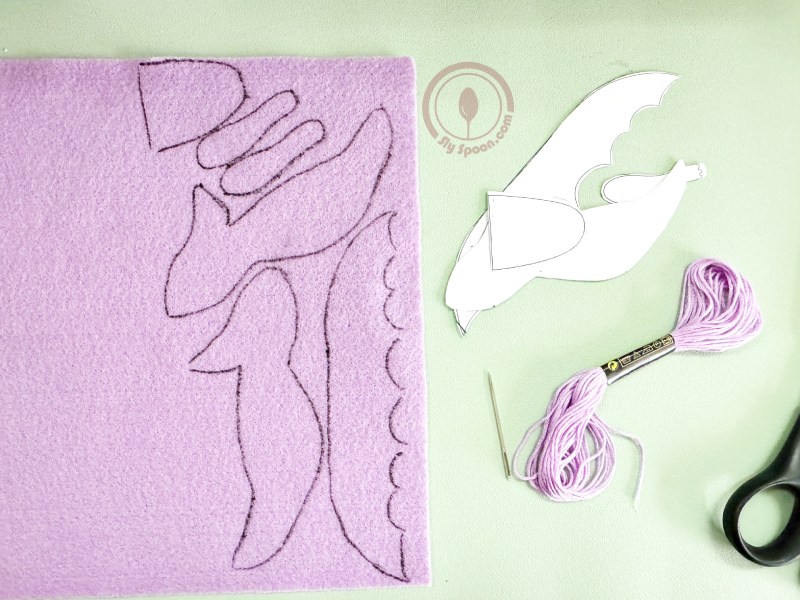
Use your marker to trace the pieces onto your felt, and then cut them out. When you cut, be sure to cut off any tracing lines or face them inward so they’re hidden in the final product.
(Two pattern options below, one with an image of the finished project, one without)
Click to Download and Print  Click to Download and Print
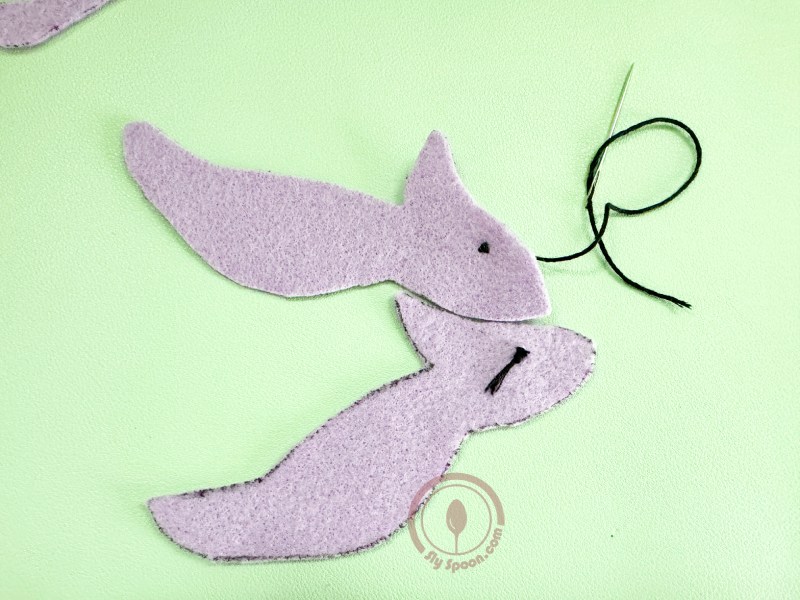
Step 2: Sew the Eyes
Add some eyes! You can do a simple “knot eye” or choose a small piece of felt (maybe a bright color) for the eyes.
- Make a simple knot at the end of the floss, then poke the needle from the back of the pterodactyl body piece to the front where you want the eye to be placed.
- Secure it by making a “knot stitch” — just pull the thread tight and tie a little knot by looping the floss and pulling it through.
- Repeat for the other eye!
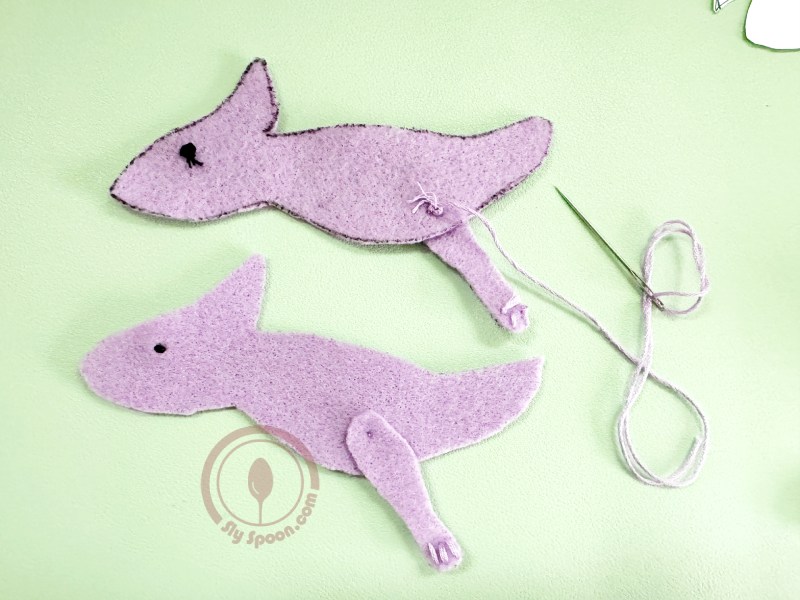
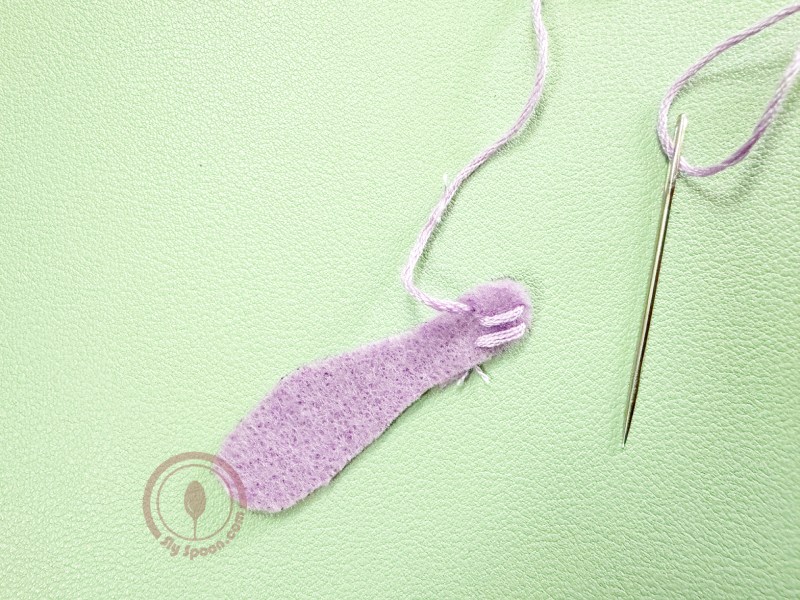
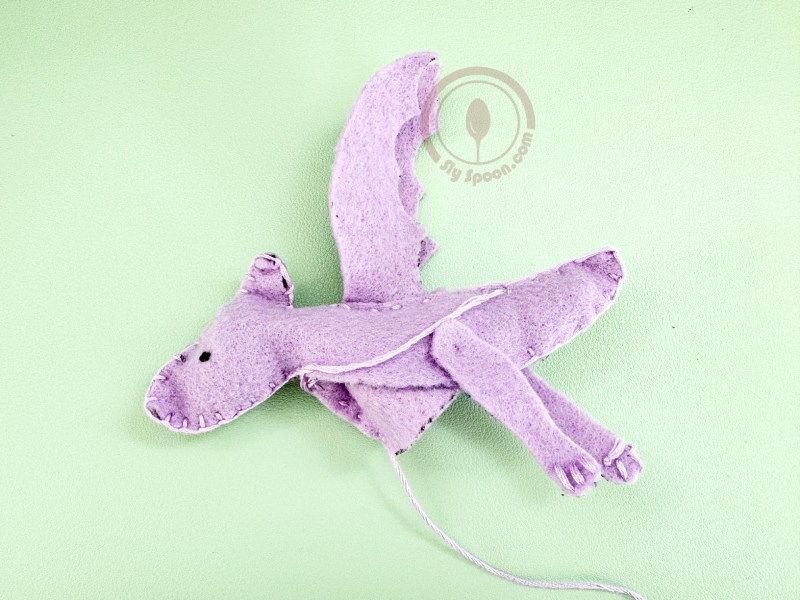
Step 3: Attach the Legs
Now it’s time to attach the legs. Take your leg pieces and simply sew them onto each side of the pterodactyl’s body using a knot stitch again.
Remember, choose a colored floss that matches your felt for a seamless look! If you want to add toes, you can sew loops of thread from the inside of the foot to the bottom of the felt (poke it really close to the end of the felt rather than just wrapping it, so it doesn’t slip) and add some toes. Be sure to knot your thread when done.
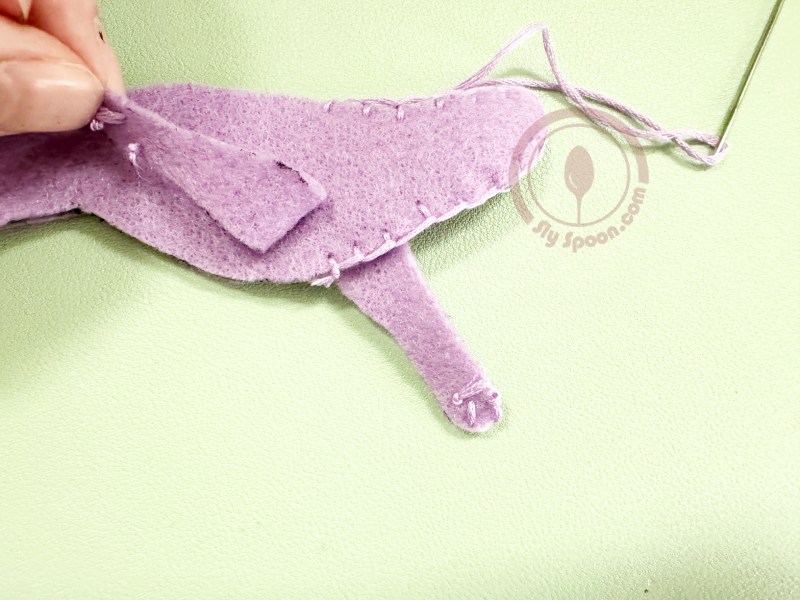
Step 4: Start Sewing the Body
Now that your legs are attached, it’s time to sew the pterodactyl together! Start at the back leg.
- Make a knot behind one of the legs to keep everything hidden.
- Use a blanket stitch around the tail. This just means pulling the needle through the felt and looping it around before pulling tight—easy peasy!
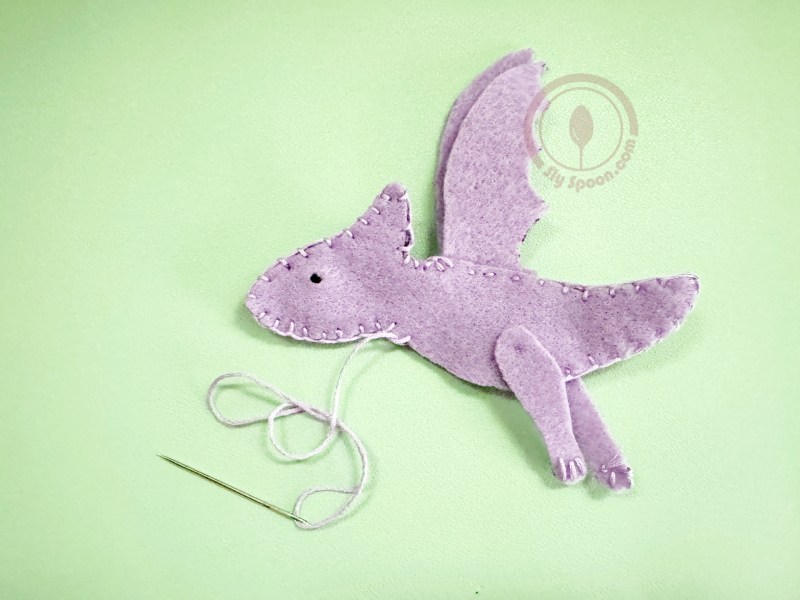
- When you reach the lower back, place the folded wing on top and use a running stitch to attach it. A running stitch is simply stitching in and out, creating a dashed line.

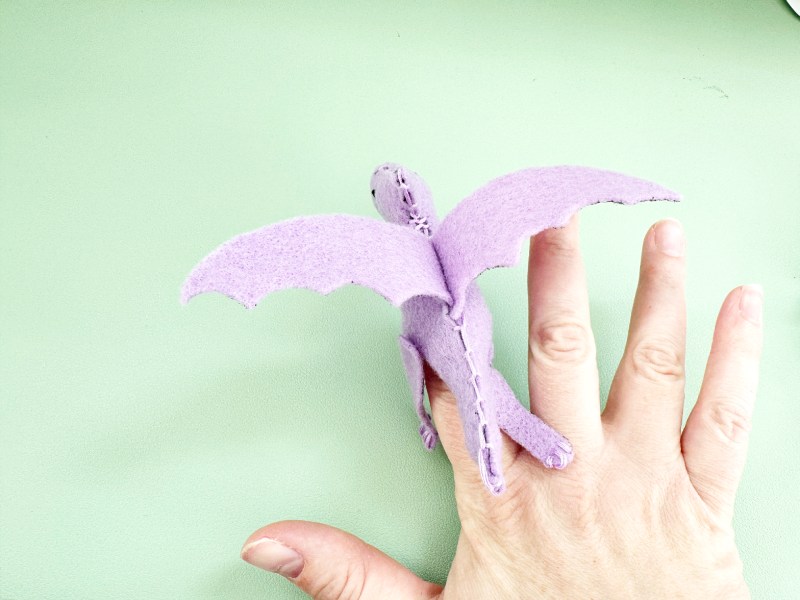
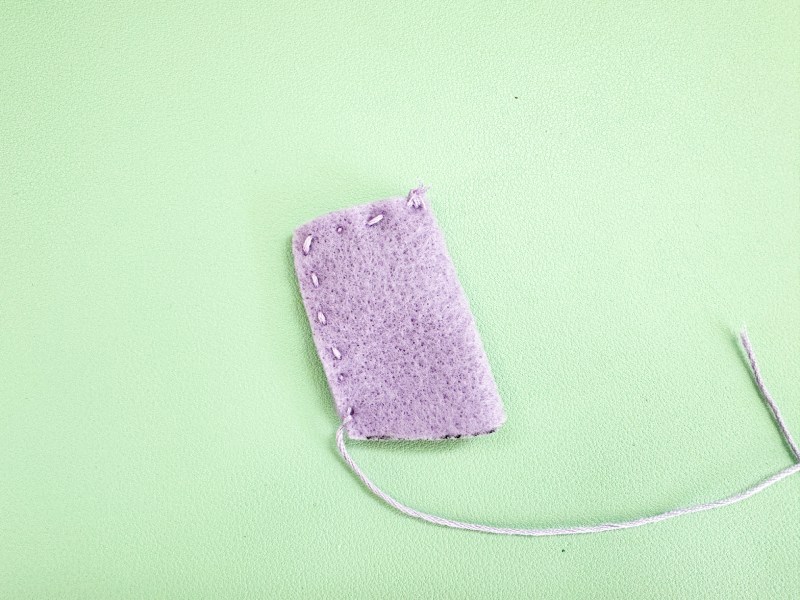
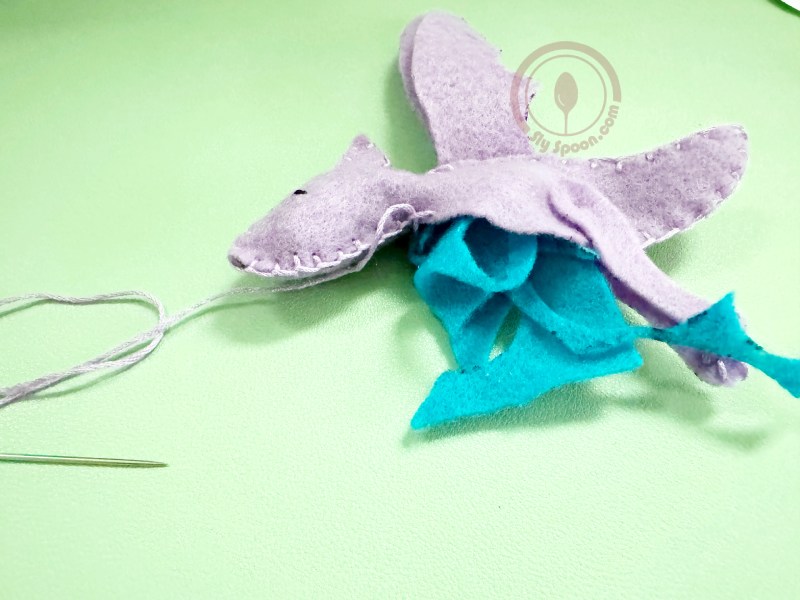
Step 5: Make it a Finger Puppet (Optional)
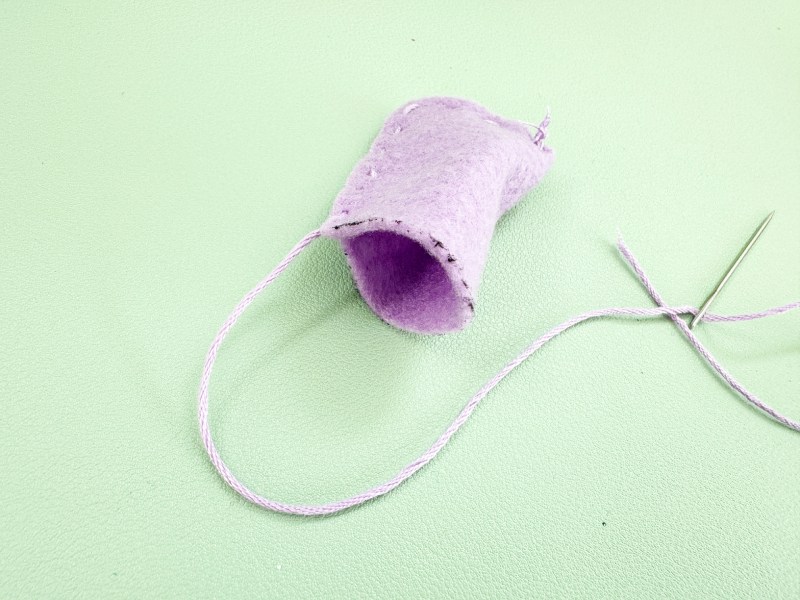
If you want to make your pterodactyl a finger puppet, fold the felt pocket square in half and use a running stitch to sew along the top and one side, leaving the bottom open for your finger.
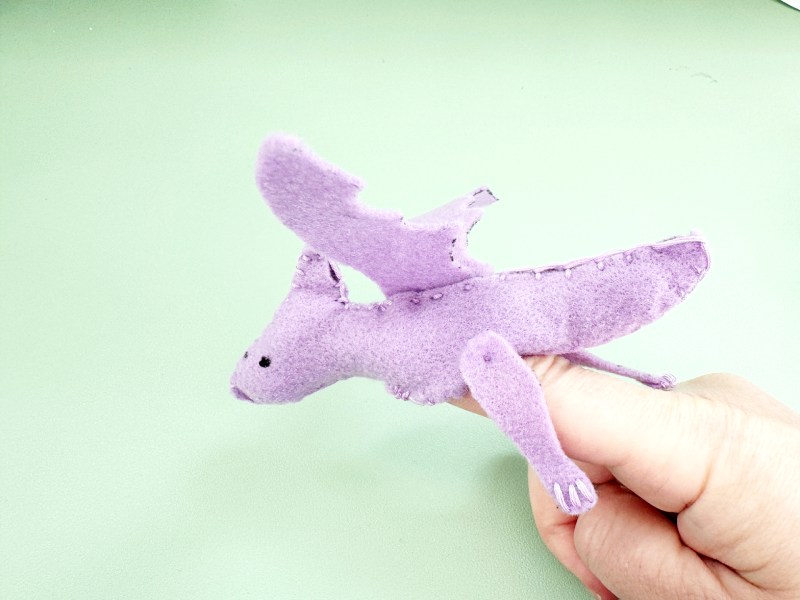
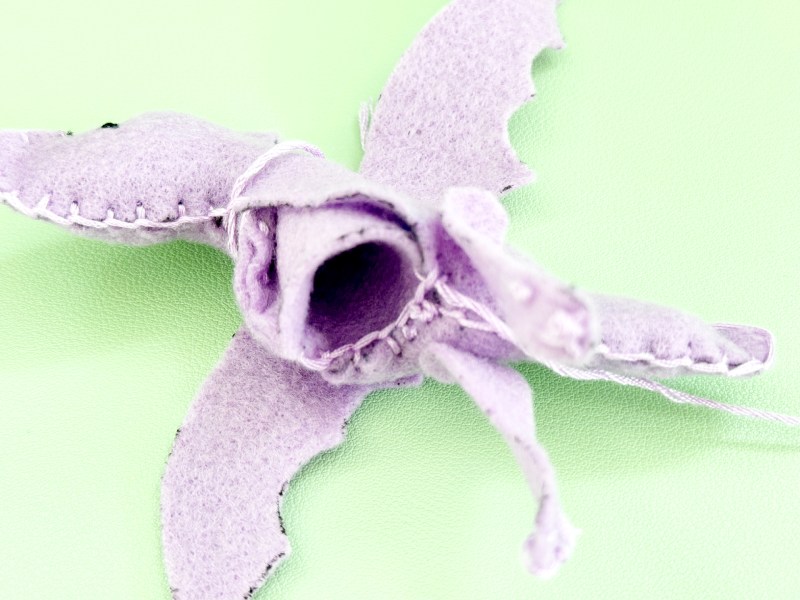
Step 6: Stuffing Time!
Now let’s stuff the pterodactyl! You can use polyester stuffing, scrap pieces of felt, or even ripped plastic bags. Just make sure to gently poke the stuffing into the head and tail area.
For the finger puppet, insert the pocket you made into the belly of the pterodactyl, angling it toward the head. Finish it off with a blanket stitch around the edges to secure it!
If you decide not to make a finger puppet, simply stuff the body and use a blanket stitch to close it up, knotting where you started.
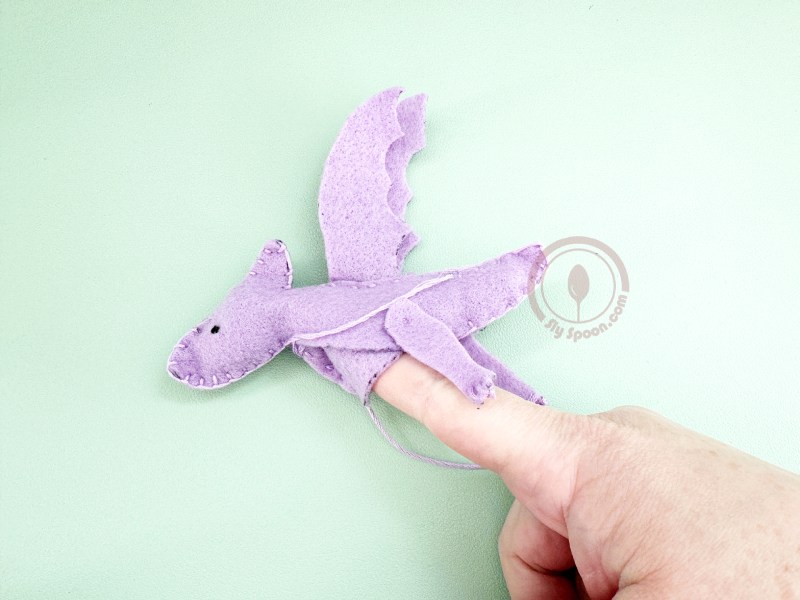
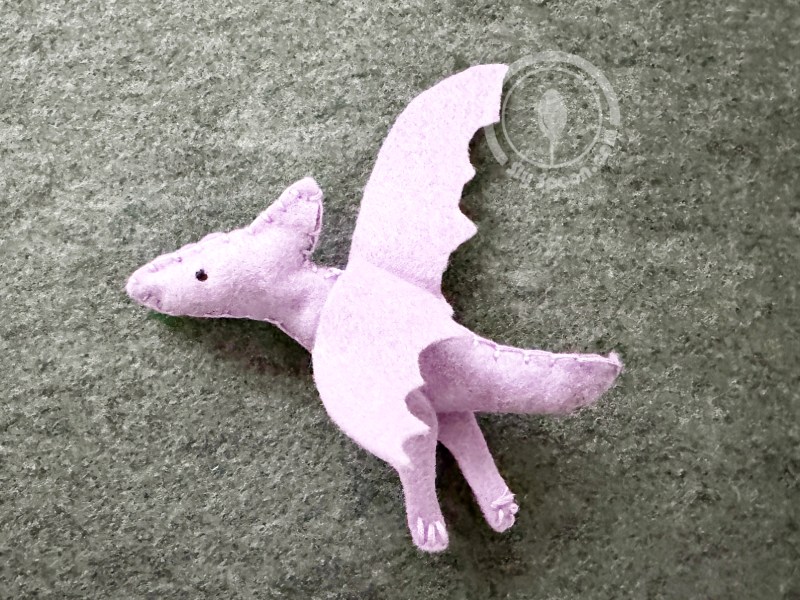
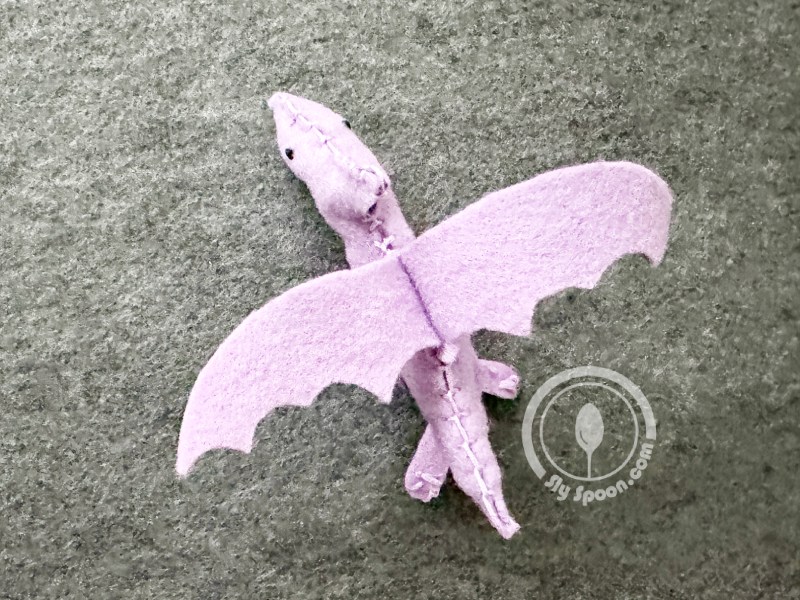
And You’re Done!
Give your pterodactyl a final fluff and enjoy the work of your hands! This project is a fantastic way to introduce kids to sewing and crafting. I hope you and your little ones have as much fun making these as I do with my children!
Happy sewing!