This post may contain affiliate links. Read our disclosure policy.
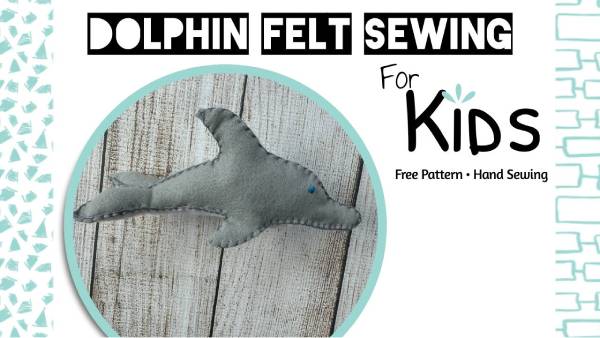
I’m thrilled to present this fun and easy sewing project for you! Today, we’ll be creating an adorable felt dolphin, perfect for children ages 6 and up (with a little adult guidance!). This project is a wonderful way to learn essential sewing skills while allowing creating a project that is fun without being overwhelming for kids. Are you ready to dive in? Let’s craft our dolphin!
Want More Felt Sewing Fun?
Find more beginner-friendly felt sewing projects and step-by-step videos on my YouTube channel, Sly Sew Simple. I post new patterns, easy tips, and fun crafts for kids and grown-ups alike!
» Subscribe & Explore More
What You’ll Need:
- Felt (in your chosen colors for body and belly)
- Free Dolphin pattern (link below)
- Sharpie Creative Markers (or similar) for tracing
- Embroidery floss (try to match the colors to your felt)
- Needle with the big eye / Embroidery Needle (a child-friendly one works best)
- Scissors
- Stuffing (polyester filler, scrap felt, or even ripped-up plastic grocery bags)

(Two pattern options below, one with an image of the finished project, one without)
Click Image To Download and Print

Step 1: Trace and Cut
First, download and print the free dolphin pattern (click the image above to access it). The pattern includes the dolphin’s body, and belly.
Lay the pattern pieces on your felt and trace around them with your marker. If you need to cut out any pieces twice, remember to flip them to ensure they align perfectly during sewing. After tracing, carefully cut out your felt pieces, trimming away any visible marker lines. Don’t throw away the scraps; they’ll make excellent stuffing for your dolphin!


Step 2: Create the Eyes
Next, let’s give your dolphin some eyes! You can either use small pieces of contrasting felt for these features or opt for simple stitched versions.
To make a stitched version start by making a small knot at the end of your embroidery floss. Poke the needle from the back of the dolphin’s body piece to the front at your chosen spot for the eye. Secure it with a “knot stitch”—pull the thread tight and tie a knot by looping the floss and pulling it through. If you’d like a bigger eye, repeat several times; I did 4 stitches for each of my dolphin’s eyes. Repeat for the second eye, ensuring the knots are tucked inside the dolphin piece.


Step 3: Attach the Top
Now, let’s attach the top. Place the two top pieces together, making sure the messy part of the eye stitches are inside both pieces. Get a long (from about finger tops to shoulder) length of sewing floss and do a starter knot right at the tip of the dolphins nose. Then begin attaching the two top pieces of the dolphin together with a blanket stitch, going from the nose, around the head and dorsal fin and pausing before you start sewing the tail.
How to Blanket Stitch: To make a blanket stitch, start by threading a needle with some sturdy thread and tying a knot at the end. Choose the edge of your fabric where you want to start stitching. Poke the needle up from the back of the fabric, so the knot is hidden. Pull it all the way through. Next, bring the needle back down into the fabric a little bit away from where you came up, then pull it through again. Before you pull the thread all the way tight, loop the thread around the edge of the fabric and bring the needle back through the hole where you first poked it up. Keep repeating this process, making sure to keep the stitches evenly spaced and pulling the thread tight each time, until you reach the end of your stitching line.


Step 4: Add the Tail
When you reach the tail section, it’s time to take your underbelly piece and line it up with the tail. Now you’re going to continue your blanket stitch, but rather than sewing the two gray top pieces of the dolphin together, you’ll be sewing one piece of gray and one piece of whatever color you’ve chosen for your under belly. Carefully go around the tail, attaching the new piece with a blanket stitch. For this do your best just to make sure the edges of both pieces of felt are lined up as you stitch.
After you get around the dolphins front flipper pause and see how your belly felt is lining up with the head of your dolphin. You may need to pull and stretch the belly piece if it’s gotten too short, or pull on the face if your belly is seeming long. Do you best to push, tuck and pull as you continue to stitch around the face getting the edges of white lined up with edges of the gray.

Step 5: Add the Stuffing
When you get around the second flipper it’s time to pause your sewing and add your stuffing! Use small pieces of polyester filler or scrap felt. If you have them on hand, torn-up plastic grocery bags work too! For those tighter spots, like the head, and close tail fin use the back of a pencil to push the filling in. Once your dolphin is nicely stuffed, continue with the blanket stitch around the side of the dolphin and to the second flipper of its tail.

Step 6: Continue with a Blanket Stitch
Continue with your blanket stitch around the tail until you have an opening in the back of it just large enough for stuffing, and stuff that second tail fin.

Step 7: Finish
Once your dolphins tail is nicely stuffed, use the blanket stitch to close the opening and secure everything off back at your starting point with a knot stitch.
And there you have it! A charming felt dolphin, crafted by your very own hands! This project not only teaches kids the basics of sewing but also encourages determination, problem solving, and satisfaction with a finish amazing project.


