This post may contain affiliate links. Read our disclosure policy.


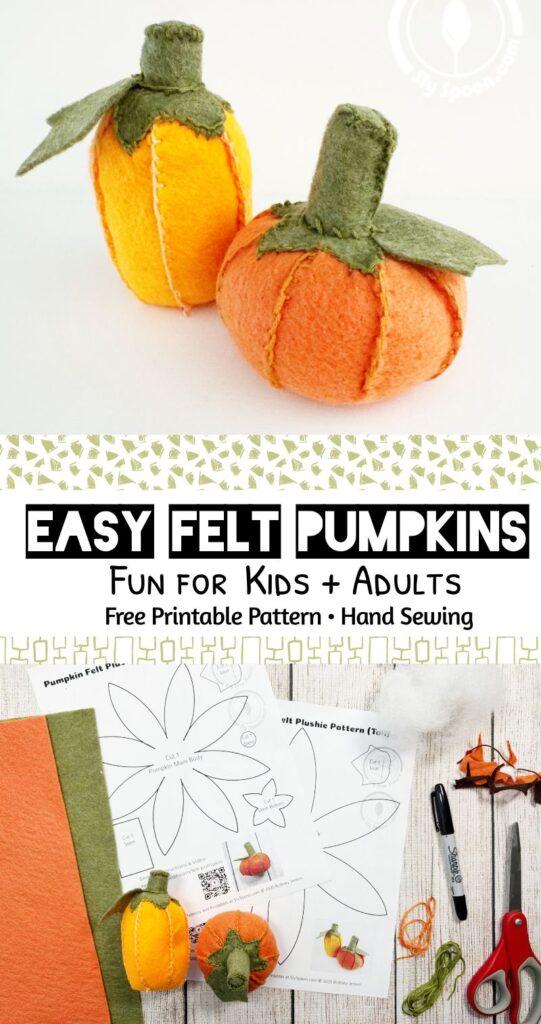
If you’re looking for a fun and beginner-friendly fall craft, this hand-stitched felt pumpkin is perfect! With a free printable sewing pattern and simple step-by-step instructions, this project is easy enough for kids (with a some help) and relaxing for adults who want to make something festive for their Halloween or Thanksgiving décor.
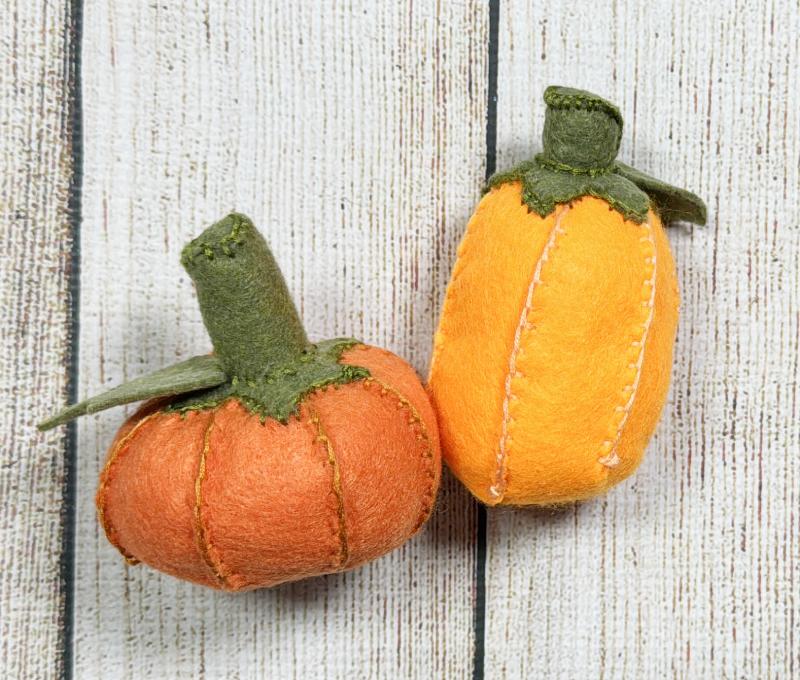
You can sew just one pumpkin for a cozy handmade accent, or create a whole mini pumpkin patch with the two included patterns—one for a round, squat pumpkin and another for a taller pumpkin. Mix and match sizes and colors for a beautiful display!
Want More Felt Sewing Fun?
Find more beginner-friendly felt sewing projects and step-by-step videos on my YouTube channel, Sly Sew Simple. I post new patterns, easy tips, and fun crafts for kids and grown-ups alike!
» Subscribe & Explore More
Why You’ll Love This Felt Pumpkin Project
- Beginner Friendly: A simple hand-sewing project great for kids, teens, and adults.
- Seasonal Décor: Works perfectly for Halloween, Thanksgiving, or autumn home decorating.
- Customizable: Choose your own felt colors, classic orange, farmhouse neutrals, or even spooky black or purple.
- Quick & Fun: Most pumpkins can be stitched in under an hour.

What You’ll Need
- Felt (orange for pumpkin, green for leaves, brown/green for stem)
- Free printable pumpkin pattern (download below)
- Markers (or similar) for tracing
- Embroidery floss (try to match the colors to your felt)
- Needle with the big eye / Embroidery Needle
- Scissors
- Stuffing (polyester filler, scrap felt, or even ripped-up plastic grocery bags)
-
Optional: ribbon or twine for extra farmhouse vibes
🖨️ Free Printable Felt Pumpkin Pattern – Download and Print
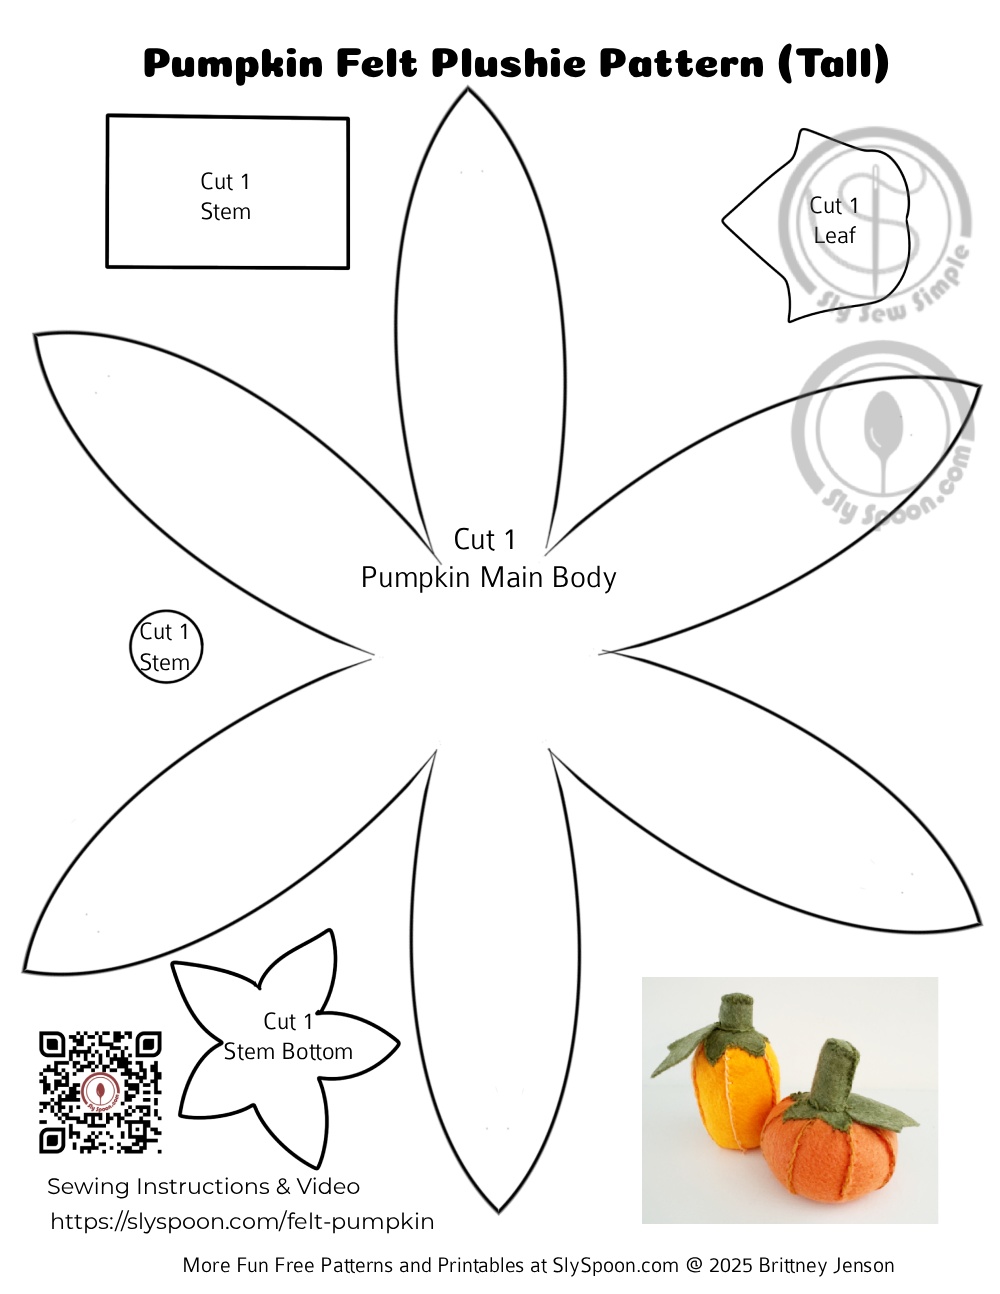 Click Image to Download and Print
  Click Image to Download or Print
  Click Image to Download and Print
 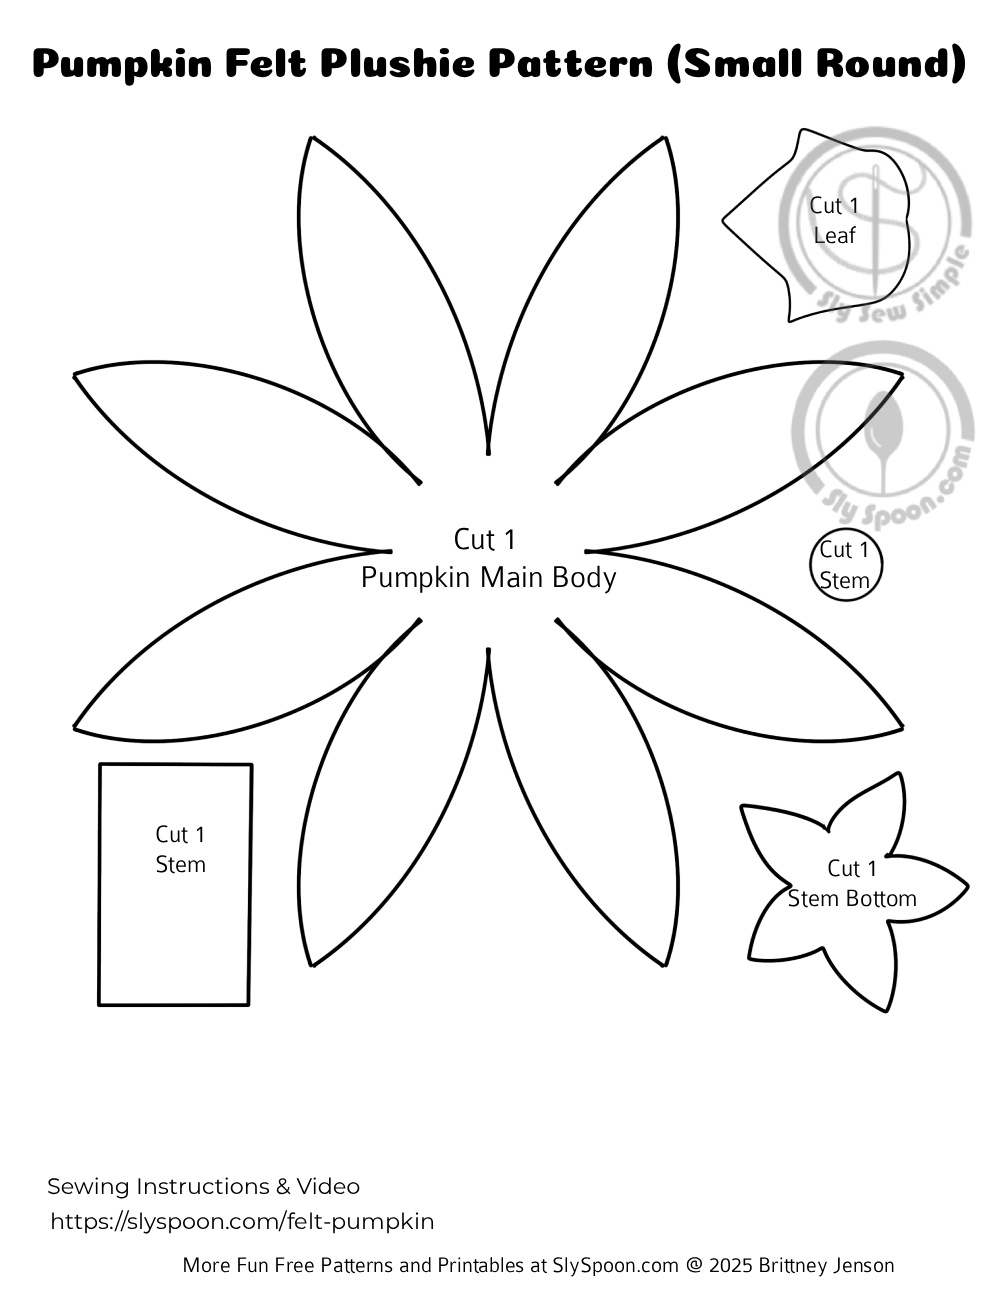 Click Image to Download or Print

Step 1: Cut Out Your Pumpkin Pieces
The main pumpkin piece looks like a flower. Cut this shape from orange felt. You’ll also cut:
- 1 small circle (for the top of the stem)
- 1 rectangle (for the stem tube—shorten this piece lengthwise if you want a smaller stem)
- 1 star-shaped piece (for the green leafy base)
- 1 leaf-shaped piece, cut as many as wanted
Choose either the squat pumpkin pattern or the tall pumpkin pattern to customize your look.

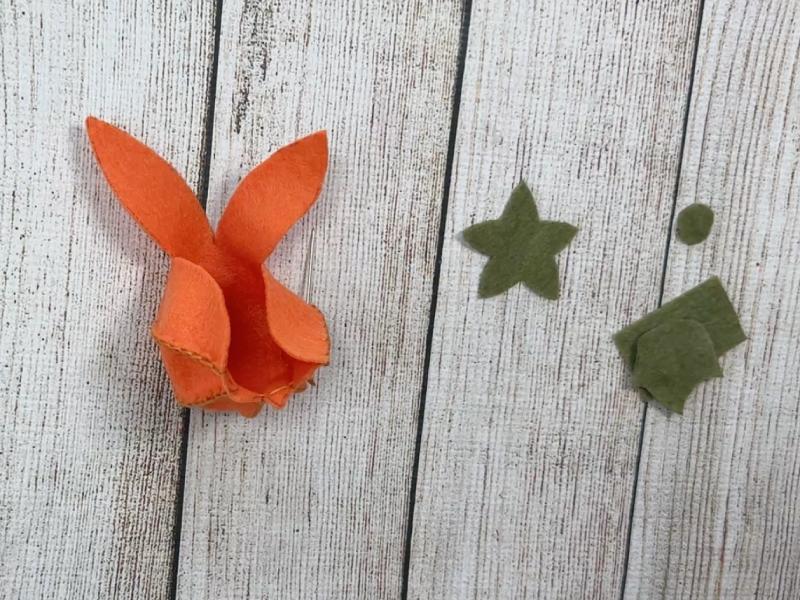
Step 2: Sew the Pumpkin
Fold the orange “flower” piece and begin stitching up each side of the petals with a blanket stitch, leaving a small gap at the top so you can stuff your pumpkin, I’d say a 1/4″ or so on each of the flower/pumpkin petal pieces.
After you’ve sewn along the sides of all the petals, take an orange string that’s 5″ or so long, and make a knot stitch in the bottom center of your pumpkin, and pull the string straight upwards.
I sewed my example with a blanket stitch for all the pieces, but you can also do a running stitch.
How to Blanket Stitch: To make a blanket stitch, put your needle through both pieces of fabric, and pause before pulling it all the way through. Pull the end of your thread (Where it came of your last stitch) around the top of your needle, then pull your needle fully through the fabric. Move down your felt a little bit, and poke the needle back through on the same side as you started the previous stitch, and again loop the tail end of the thread over the top of the needle before you pull it all the way out of your felt. Keep repeating this process, ensuring your stitches are evenly spaced and pulling tight, until you reach the end of your stitching line.
How to do a Running Stitch: To make a running stitch, begin by pushing the needle up through the fabric from the back to the front, pulling it all the way through. Then, move the needle a little forward and poke it back down through the fabric making sure to leave a small space. Pull it through until the thread is tight. Next, poke the needle back up through the fabric right where you came down so it makes a little stitch. Keep going back and forth, moving forward a little each time and sticking the needle down and then back up, making sure the stitches are nice and straight. Continue until you reach the end of where you want to stitch!


Step 3: Shape and Stuff the Pumpkin
Stuff the orange pumpkin body until it’s nice and plump, but make sure the thread you stitched in the bottom stays in the center of your pumpkin as you do. Once your pumpkin is stuffed, use that long center thread to stitch through the very top of each of the pumpkin petals with a loose stitch, then pull it tight, pulling up the bottom of the pumpkin to create that oblong pumpkin shape and to close up the top the of the pumpkin. Knot it off when you’re done. It’s okay if the top stitches are messy as they’ll be covered by the stem.
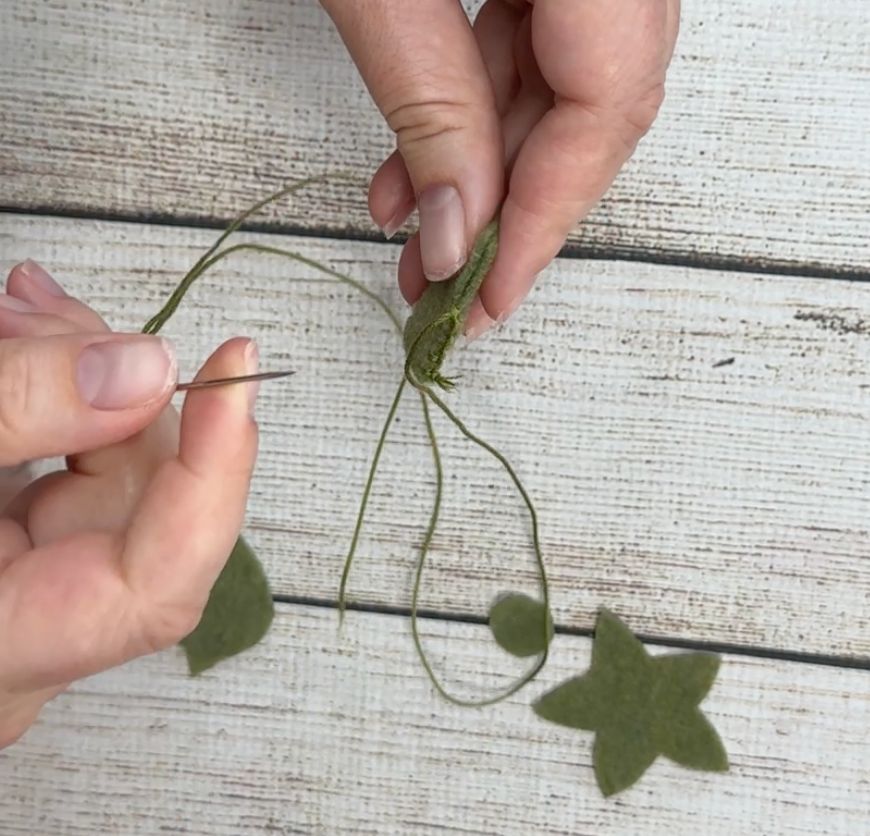
Step 4: Make the Stem
Take the rectangle piece of felt and roll it into a tube. Sew along the edge to make a cylinder shape, then sew the small felt circle to the top of the tube. (I find inserting a marker or pen into the stem tube, so it holds it shape while sewing makes it a lot easier to sew the two pieces together on that rounded angle.
Once the stem is closed at the top, stuff it lightly. Then sew the stuffed stem to the center of the green star piece. I used a blanket stitch for all of these.

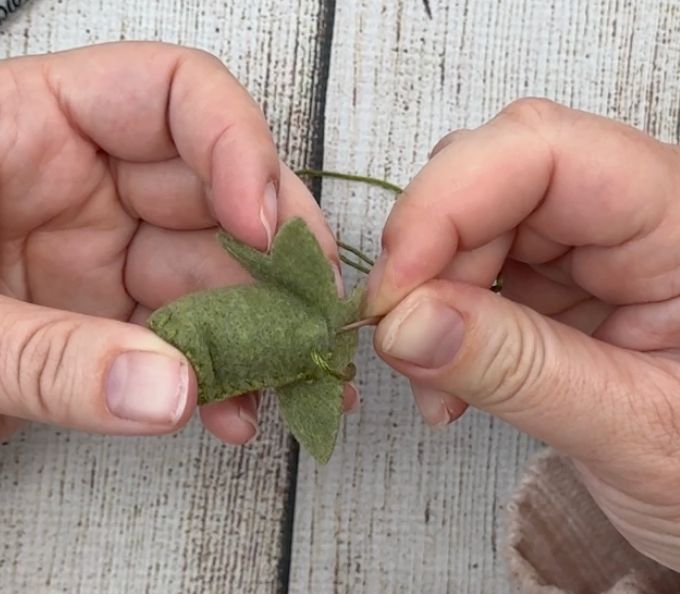
Step 5: Attach the Stem
Finally, sew the stem (with the star base) onto the top of your pumpkin. Add a few extra stitches to secure it firmly, and add a leaf if you desire.
And just like that, you’ve made a hand-sewn felt pumpkin!
Display & Ideas
- Make a set of mini pumpkins in different shapes to create a DIY pumpkin patch.
- Use them as Halloween décor – add spooky faces with black felt for a jack-o’-lantern twist.
- Sew in neutral colors (white, cream, tan) for a Thanksgiving centerpiece.
- Gift them as handmade fall party favors.
✨ Whether you’re helping kids learn to sew or you’re an adult beginner looking for a quick autumn project, this felt pumpkin sewing pattern is a wonderful way to practice hand stitching and make something festive. Try mixing squat and tall pumpkins to build your own cozy handmade pumpkin patch!