This post may contain affiliate links. Read our disclosure policy.

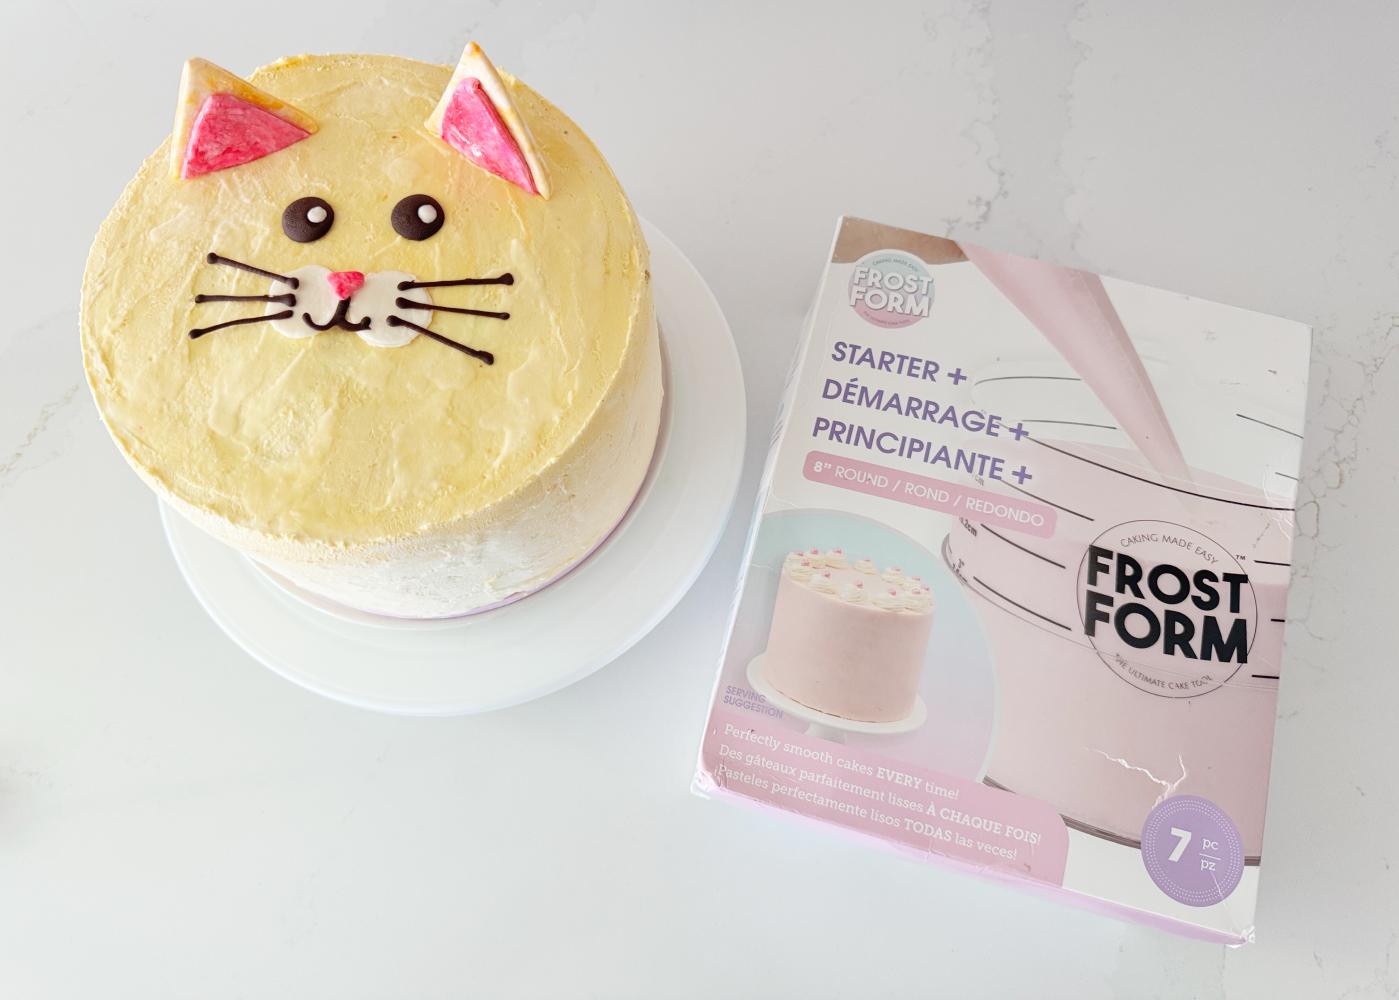
Disclosure: This post is not sponsored. I purchased the Frost Form Beginner Kit myself at a local discount store.
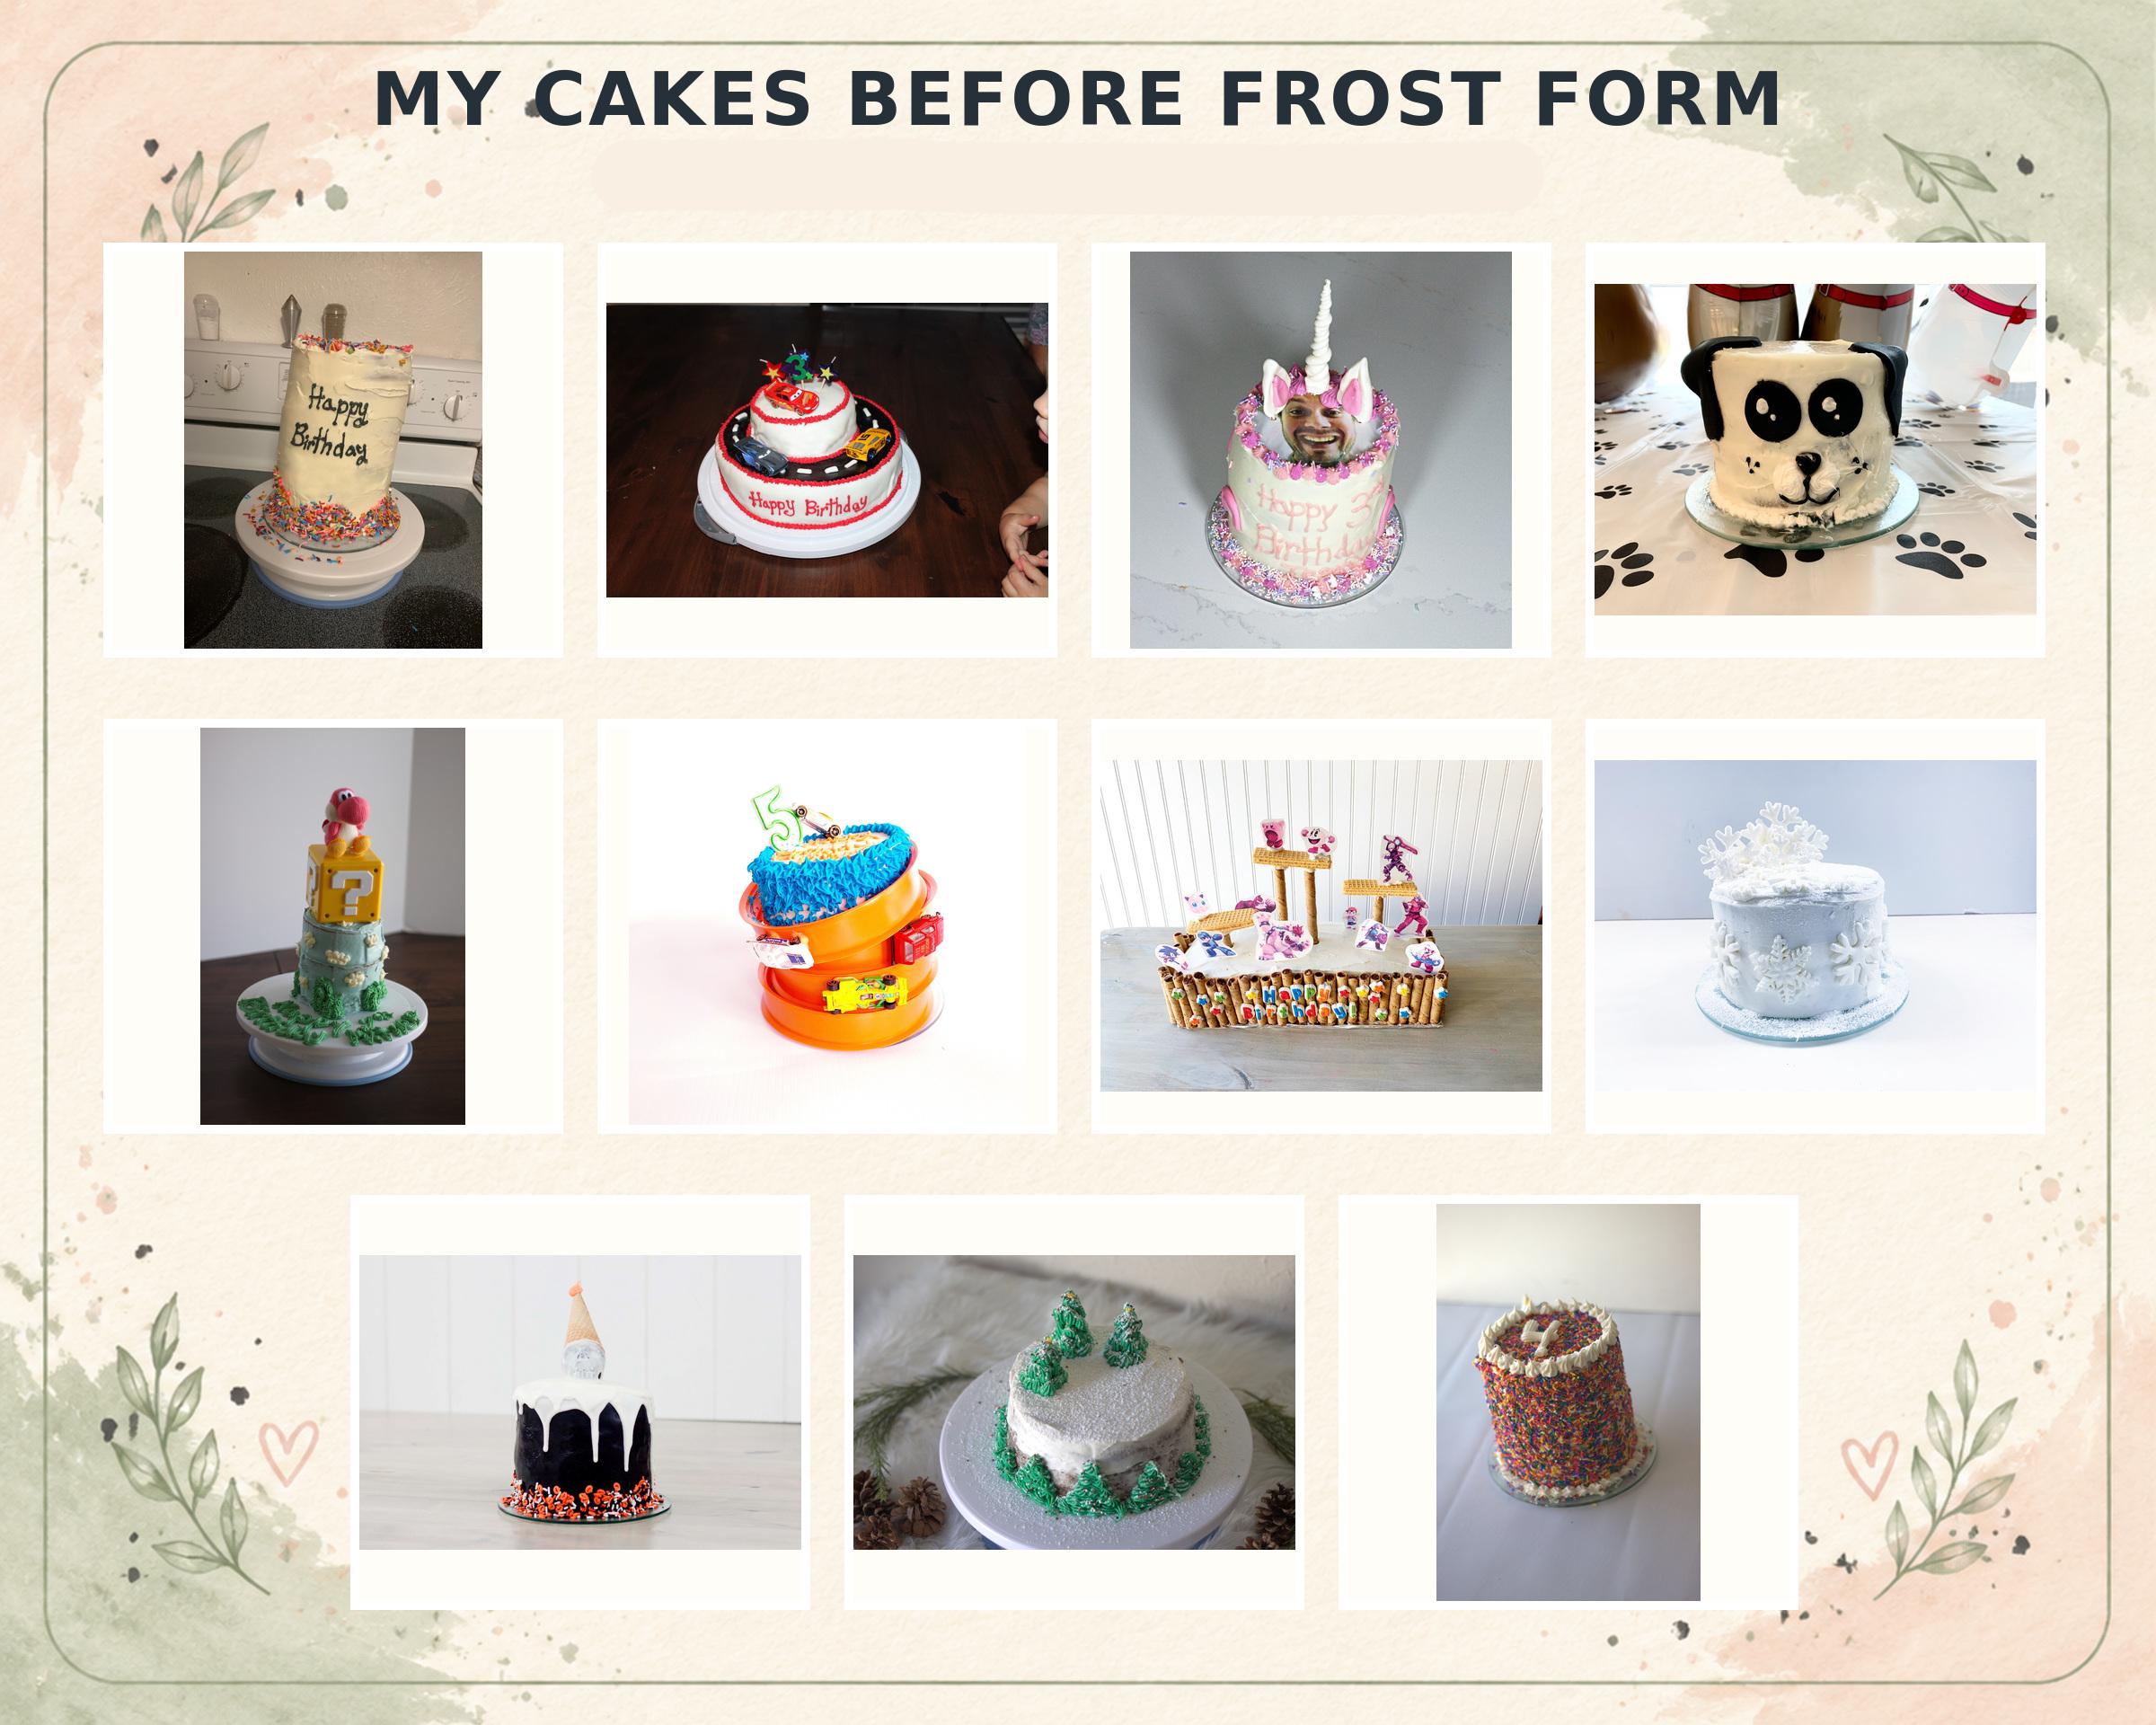
Every year, I make birthday cakes for my kids. They’re made with love, but they’re hardly smooth and professional-looking.
So when I found a Frost Form Beginner Kit at a local discount store, I was thrilled. I’ve seen them online and they seem pricey, but kind of amazing for my level of baking (the slap dash kind). Frost Form is supposed to help bakers build tall, smooth layer cakes, which is harder to do than it seems. It sounded exactly like the kind of tool that could help me level up my cake making.
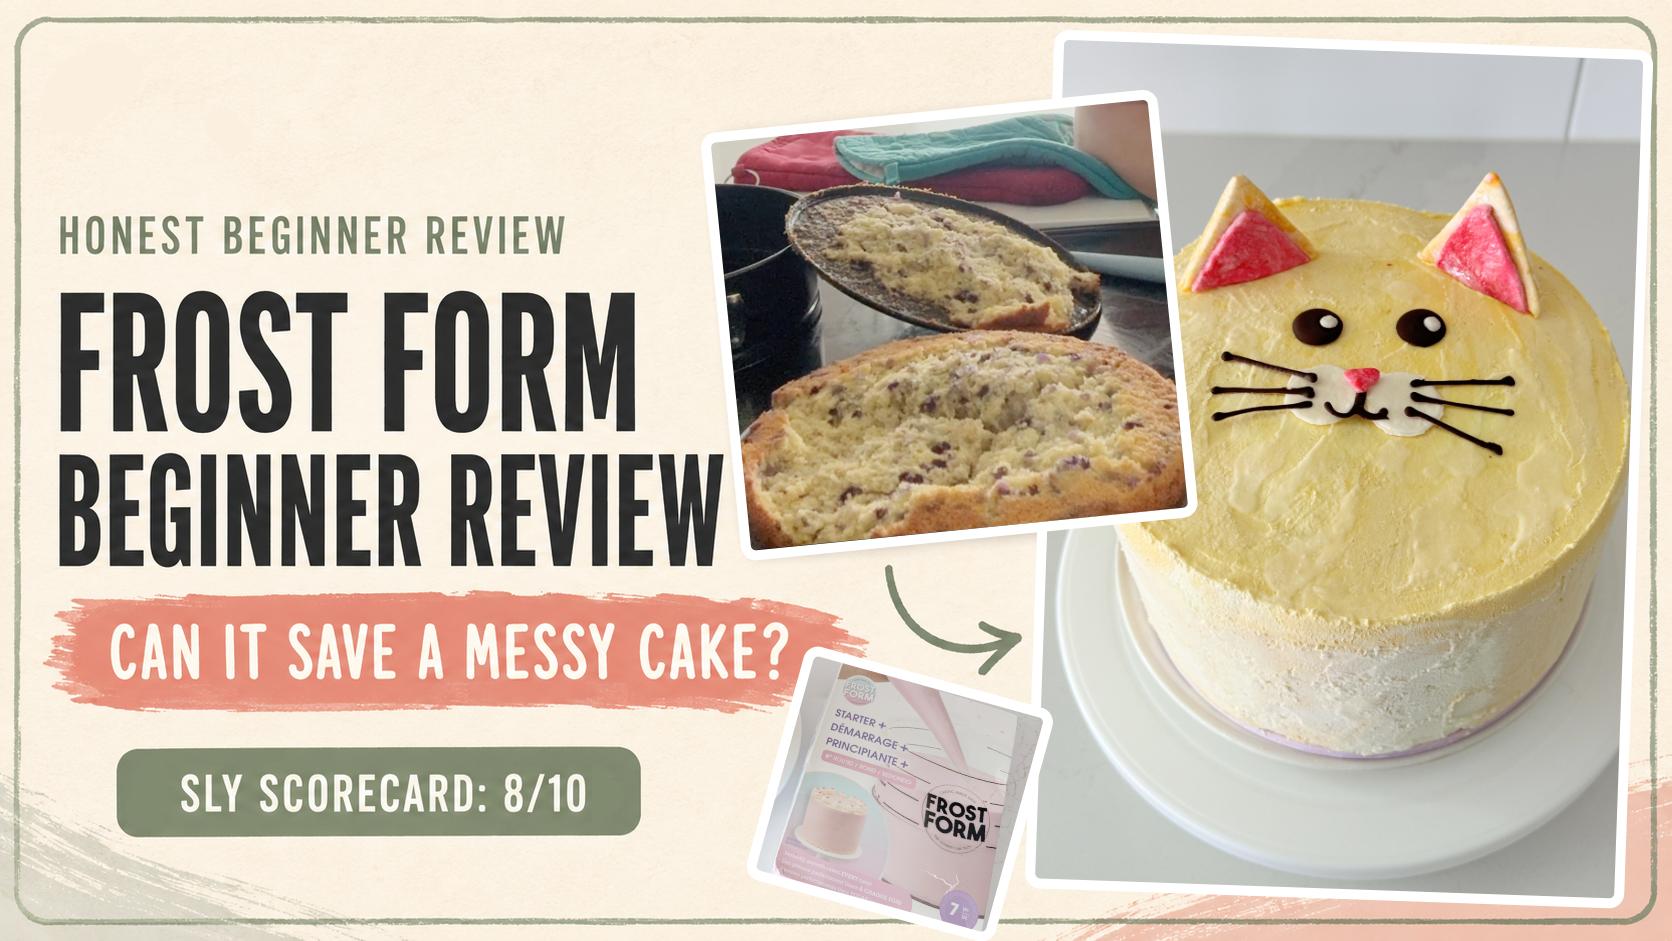
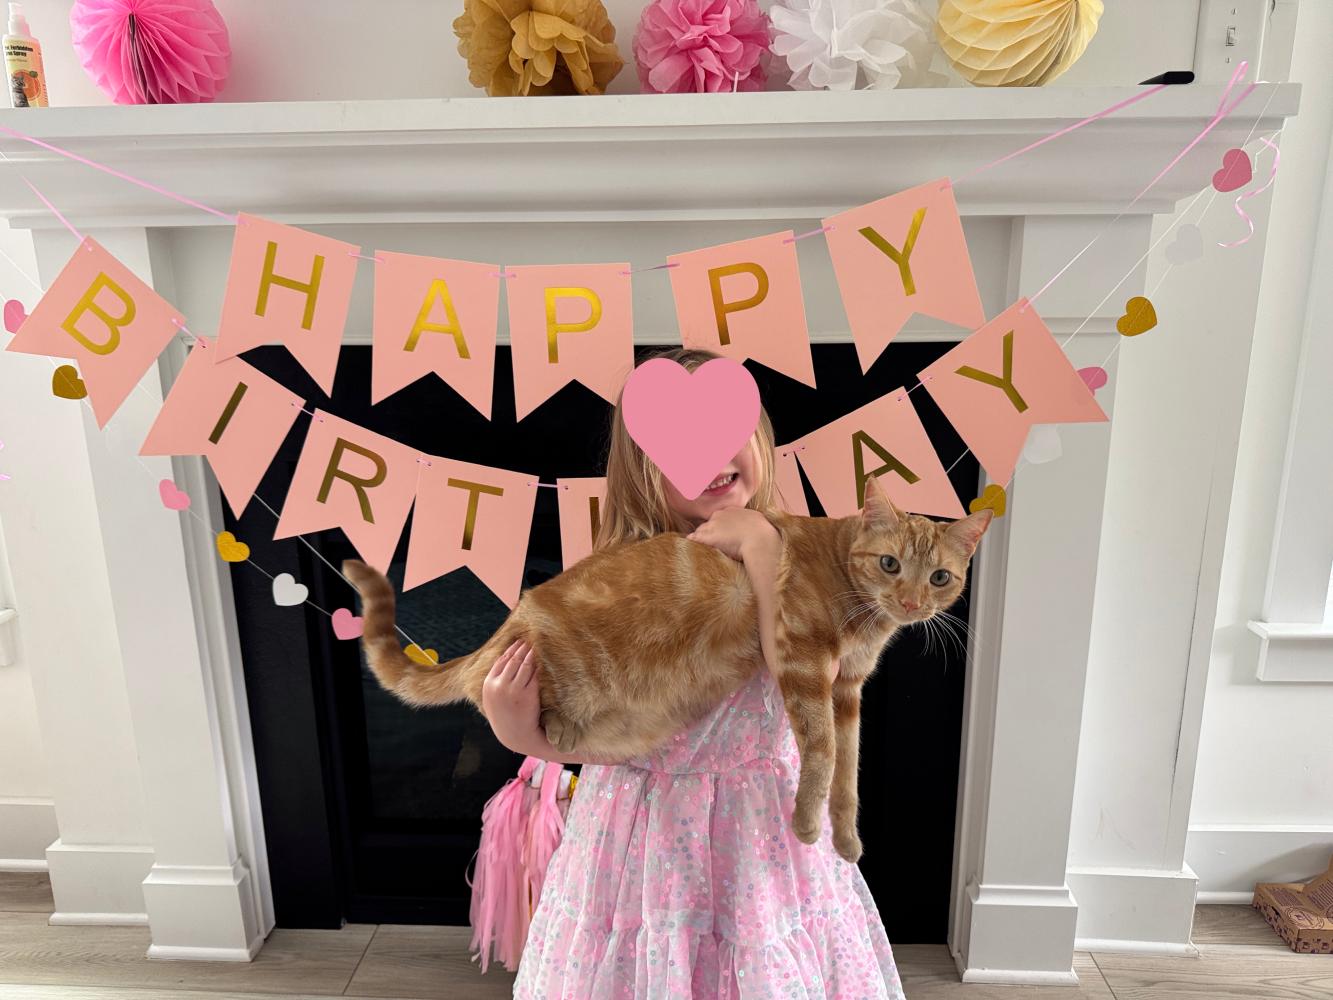
My daughter (who was about to turn four) wanted an orange cat cake – perfect, I had a real world test! I would use Frost Form to make her birthday cake and find out: Can a cake-decorating beginner really use Frost Form, and could it save a cake when almost everything else went wrong?
As it turned out, this was a much more thorough test than I’d planned.
My quick Frost Form verdict
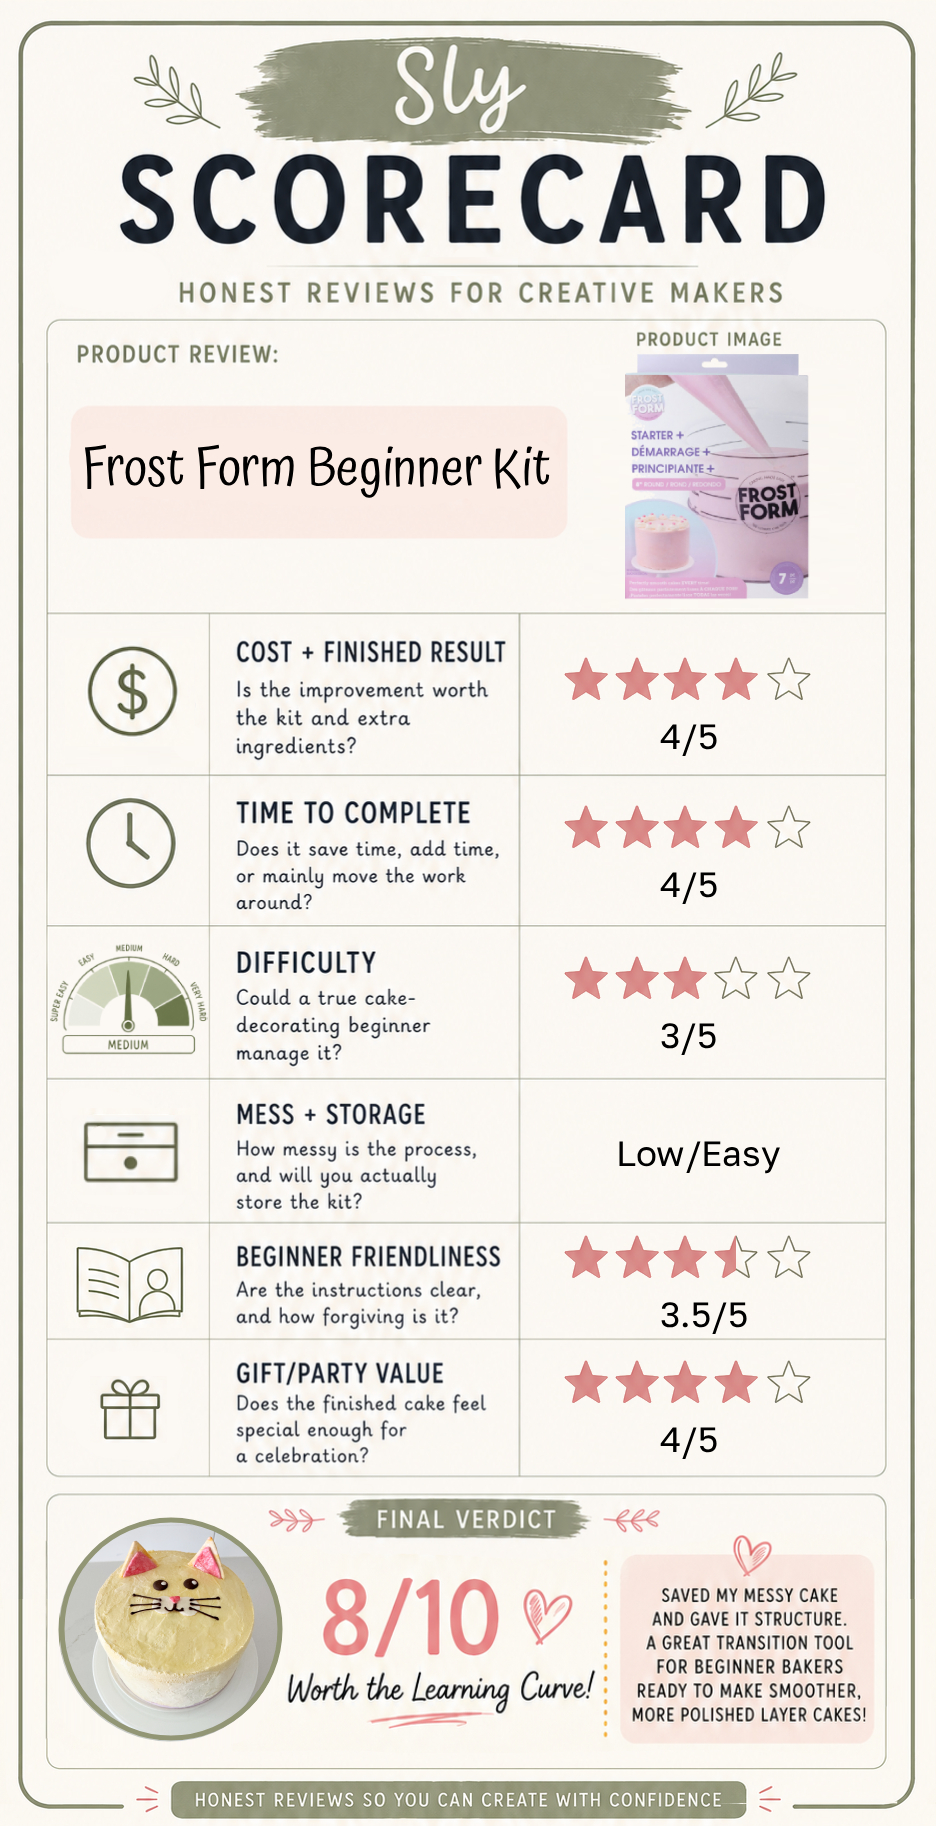
Frost Form earned an 8/10 on my Sly Scorecard.
I hit several snags out of the gate, and I would not call the process foolproof. However, Frost Form ultimately saved my hot mess disaster of a cake and helped me make a tall cake that looked half decent in spite of my best efforts to ruin it (unintentionally).
It’s a fantastic transition tool for beginner bakers ready to make more polished, intermediate-level cakes. If you rarely bake cakes and don’t care about tall, smooth layers, you may not use it enough to justify buying one. But if you already make birthday cakes and want them to look more professional without mastering freehand frosting, Frost Form might be the key and stepping stone to that end.
What is Frost Form, and how does it work?
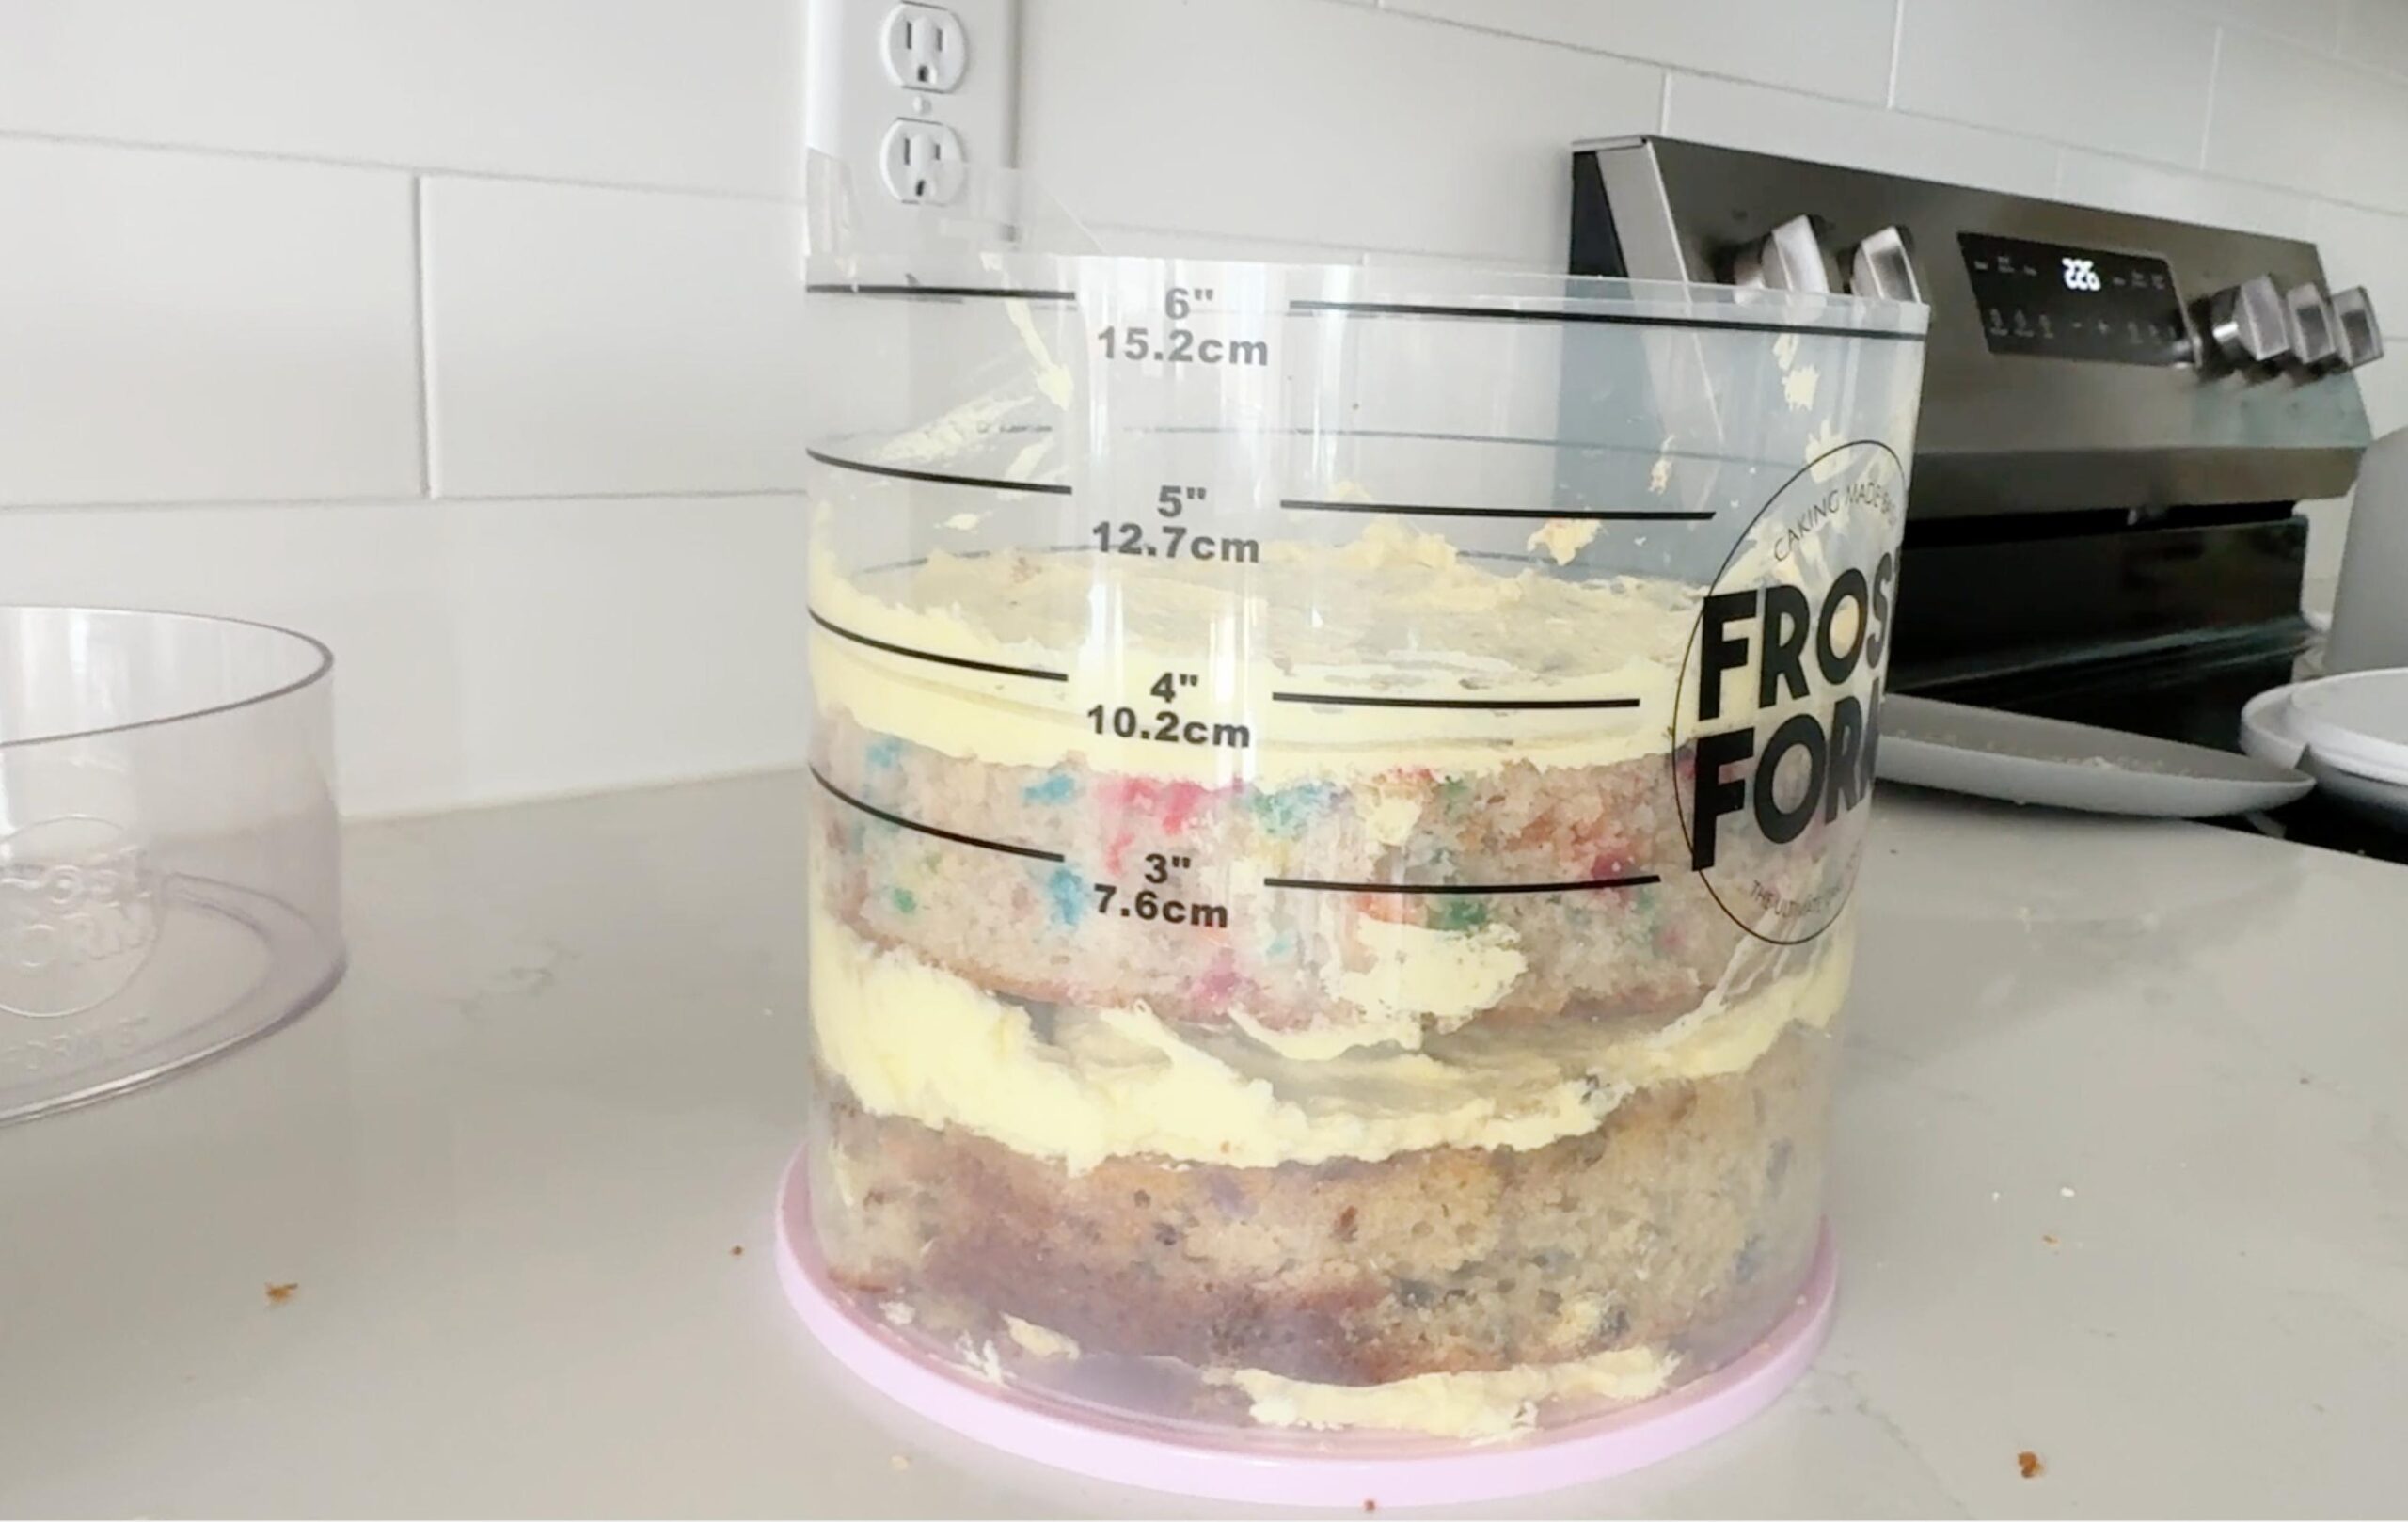
Frost Form is a reusable cake-decorating system that creates a mold around a stacked cake. You assemble the cake layers inside the form, then pipe or pour a compatible frosting into the space between the cake and the liner. After the frosting has chilled and become firm, you remove the outer form and peel away the liner.
The goal is to produce straighter sides, a more even coating and a cleaner overall shape than many beginners can create with a spatula alone. Frost Form’s official FAQ and step-by-step guide explain the basic process in more detail.
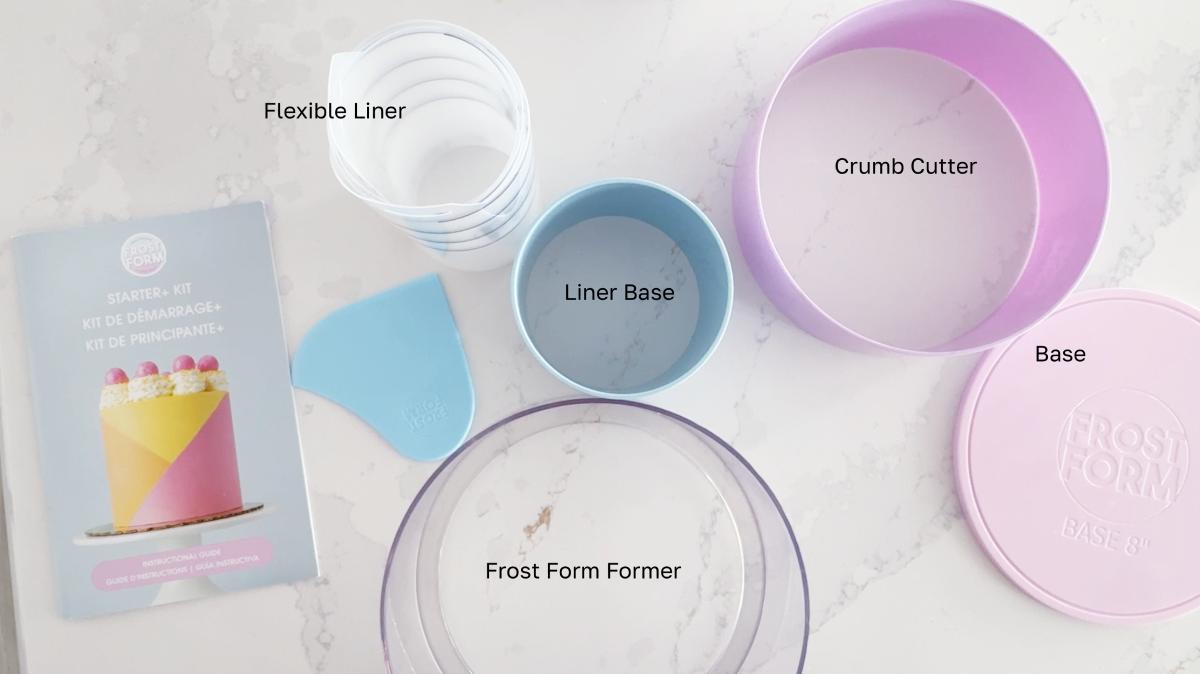
The core kit includes:
- The reusable Frost Form former
- A base
- A flexible liner
- A liner base
- A crumb cutter
- Step-by-step instructions
The crumb cutter helps trim the cake to the correct size, leaving a consistent space around it for the outer frosting layer.
My plan: a tall cat cake for a fourth birthday
My goal was a simple round cat cake: a tall layer cake with smooth sides, a small cat face and easy ears on top. I did not want an elaborate professional design. I wanted something that still felt achievable for a medium beginner but looked noticeably more polished than my previous homemade birthday cakes.
That was the plan, anyway.
Before the cake ever made it into the form, I encountered several problems of my own making.
Problem #1: I did not own the correct cake pan
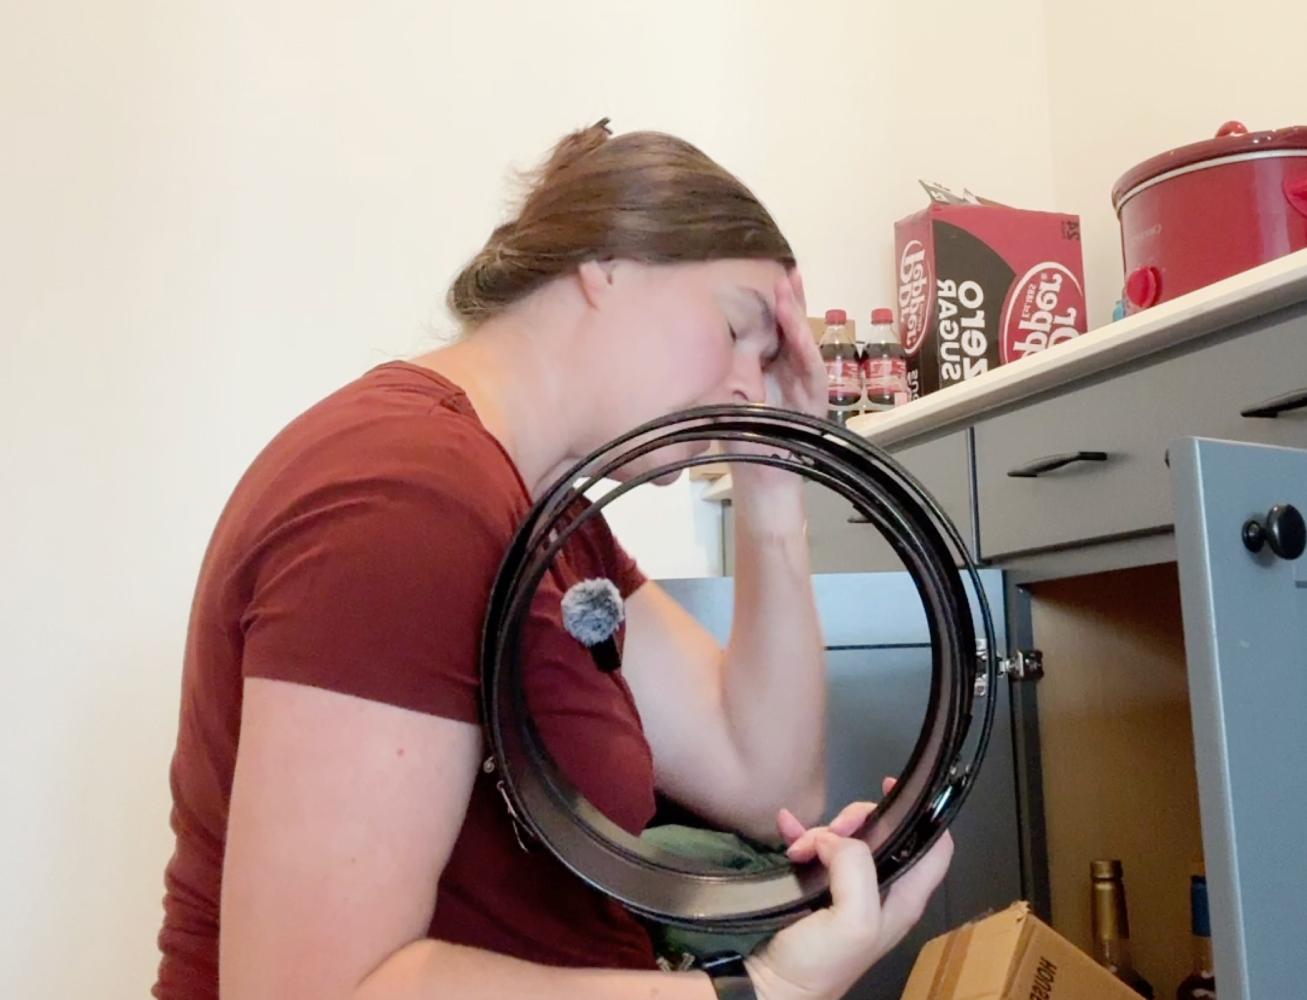
The first problem was fairly fundamental: I needed an 8-inch cake pan, but I own a 6-inch pan and a 10-inch pan.
Rather than abandon the experiment, I baked the cake in my 10-inch pan and planned to cut it down to size. This did technically work, but it added time, created more cake scraps and made an already unfamiliar process more complicated than it needed to be.
My first lesson was very simple: Use the cake-pan size recommended for your kit if at all possible. Frost Form is a system built around consistent measurements, and beginning with the correct cake size removes a great deal of unnecessary improvisation.
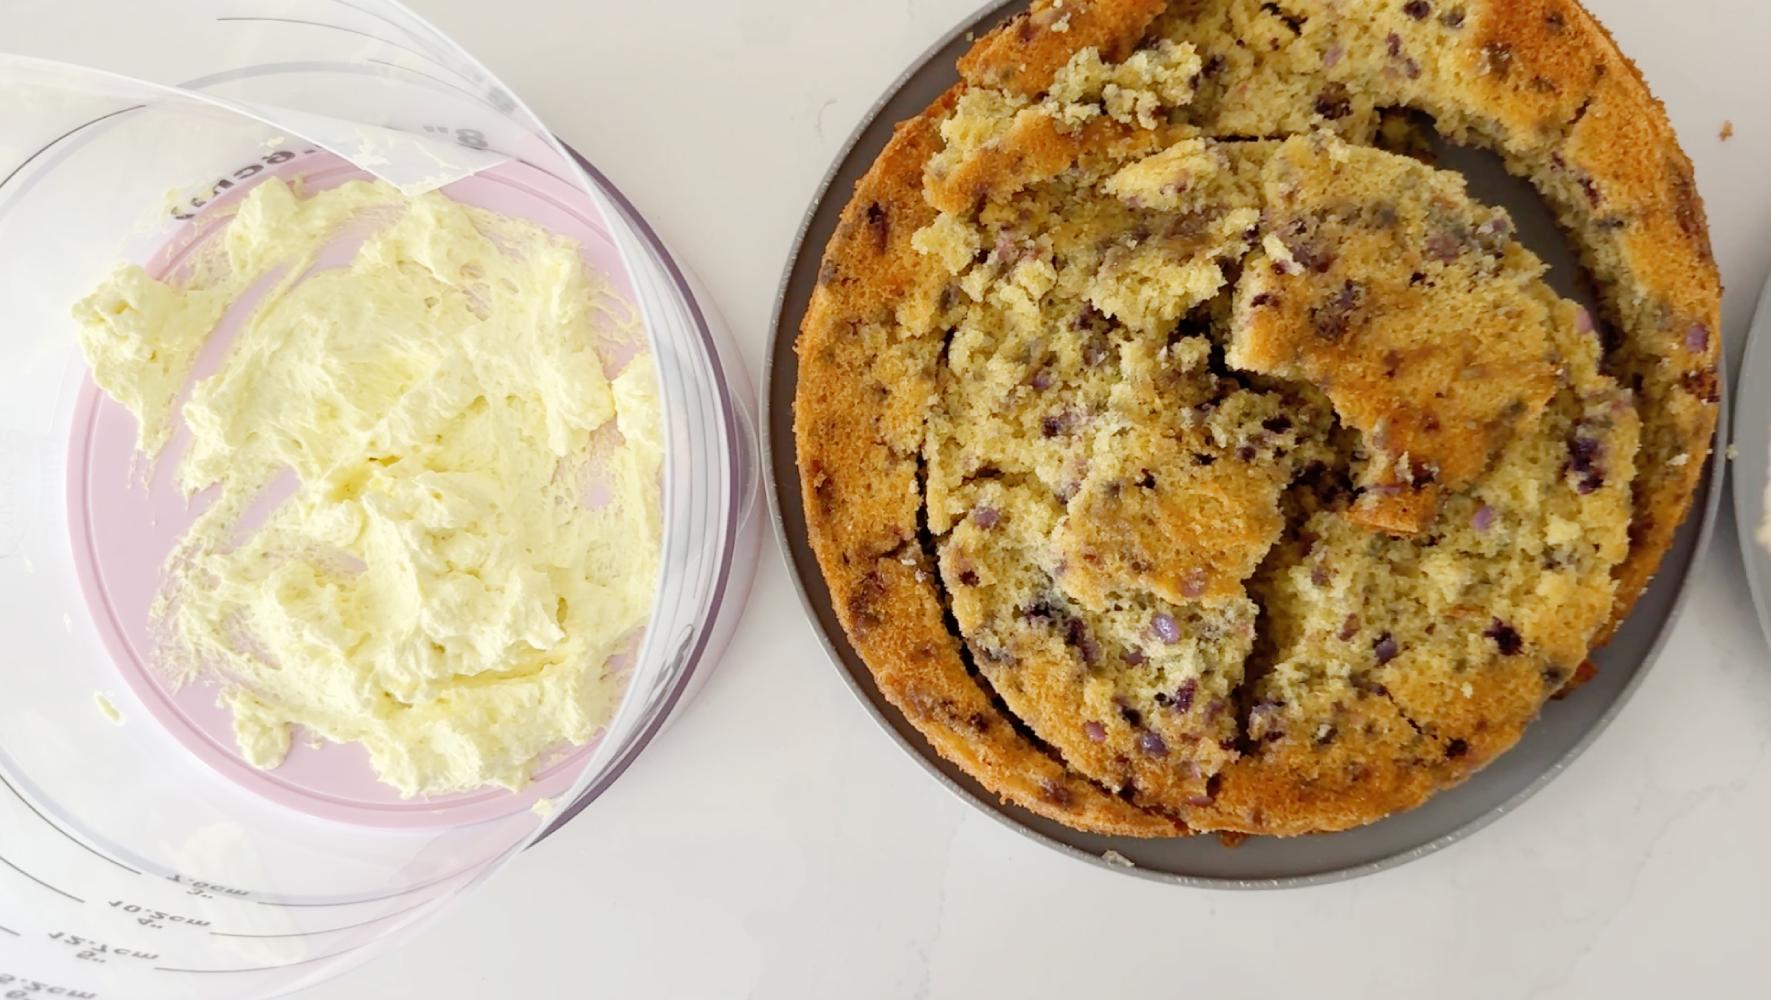
Problem #2: My first cake layer crumbled apart
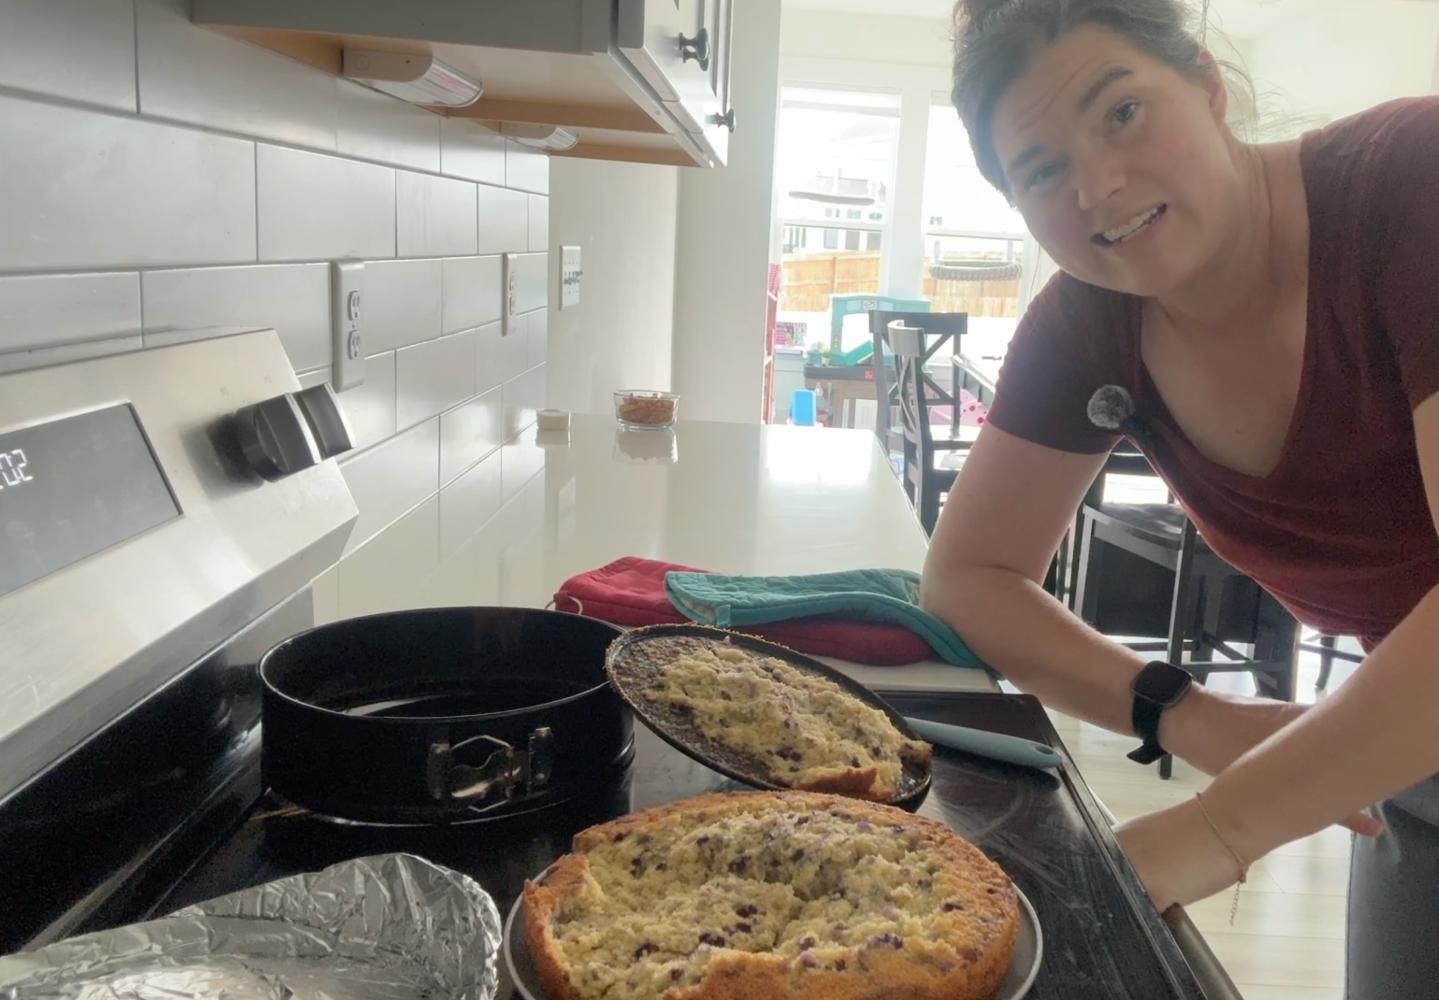
I also did not prepare my pans with a particularly effective nonstick method. Then, because the cakes took longer to bake than I expected, and I still needed the oven for the second cake and wanted to finish in time to make dinner, I tried to flip the first layer out of the pan before it had cooled properly.
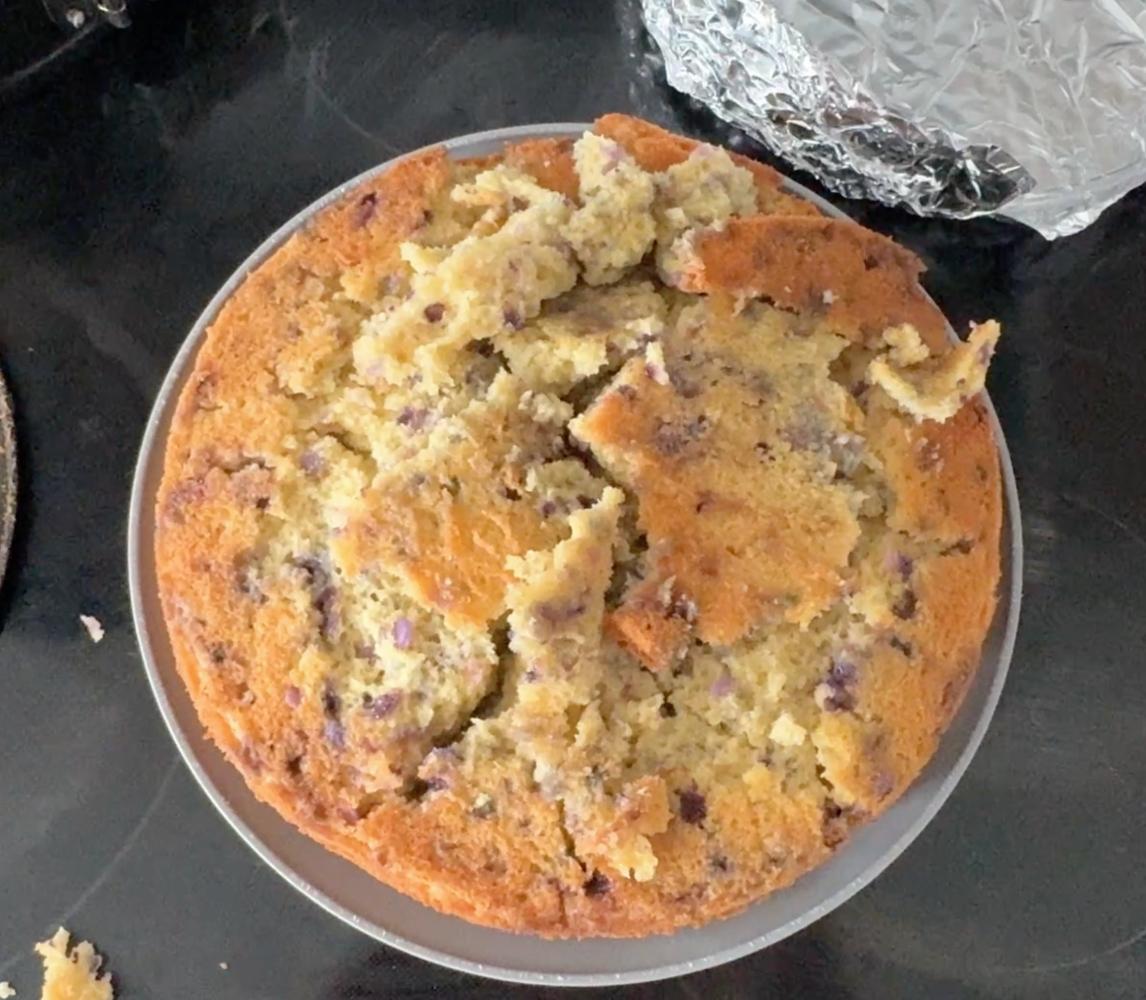
The result was a very crumbly cake.
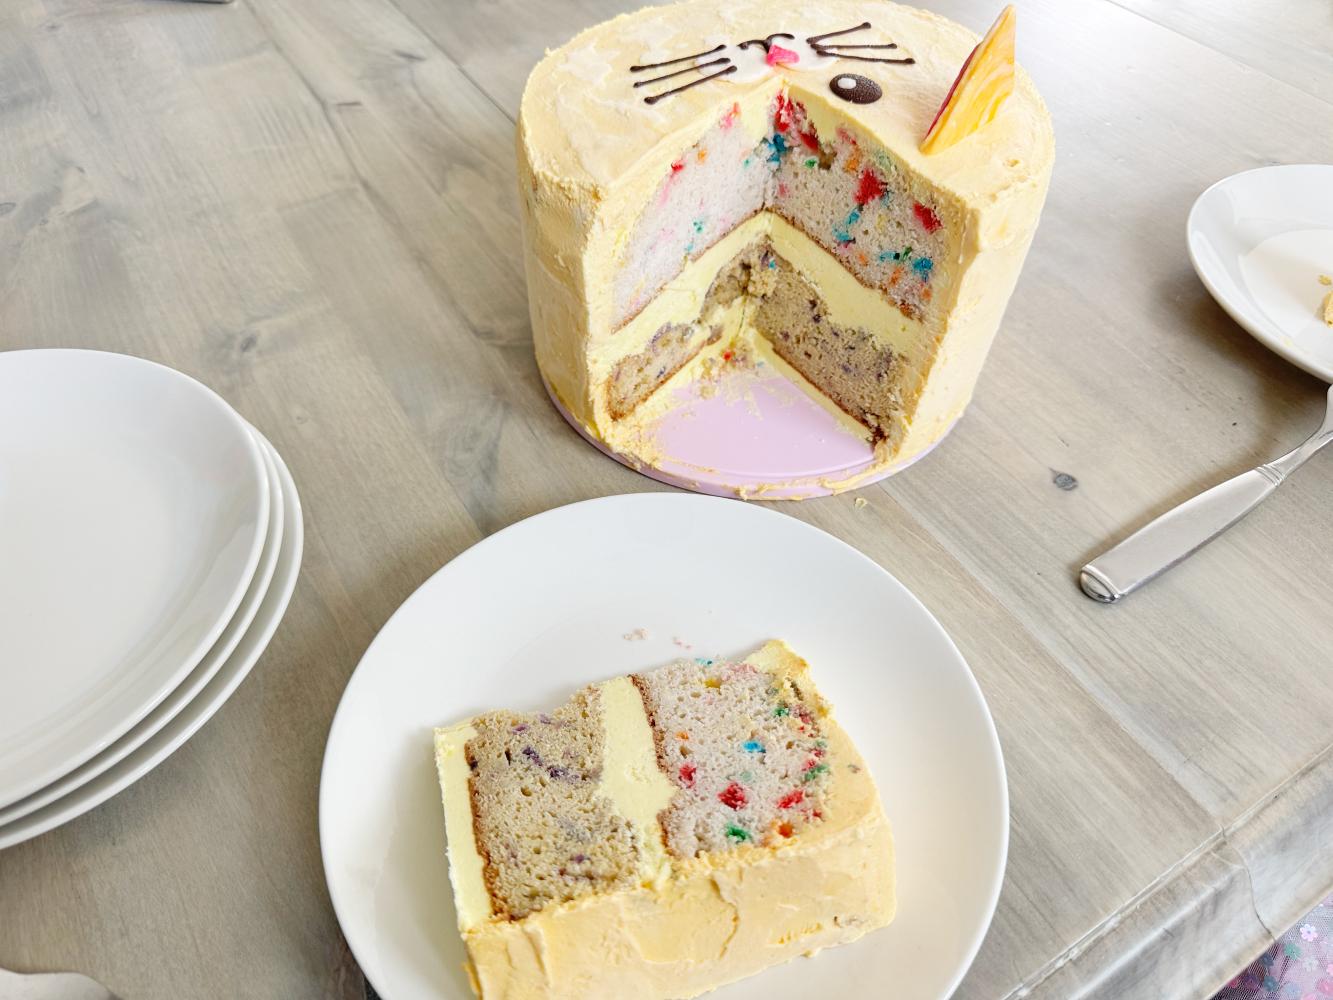
This was not Frost Form’s fault, but it created an excellent stress test. Instead of placing two neat, even layers inside the kit, I was asking it to save a disaster of cake that was falling apart from the moment I popped it out of the pan.
Next time, I would bake the layers a day ahead, line and grease the pans properly, and allow the cakes to cool completely before removing or trimming them. That would make the entire Frost Form process calmer and far more predictable.
Putting my imperfect cake into Frost Form
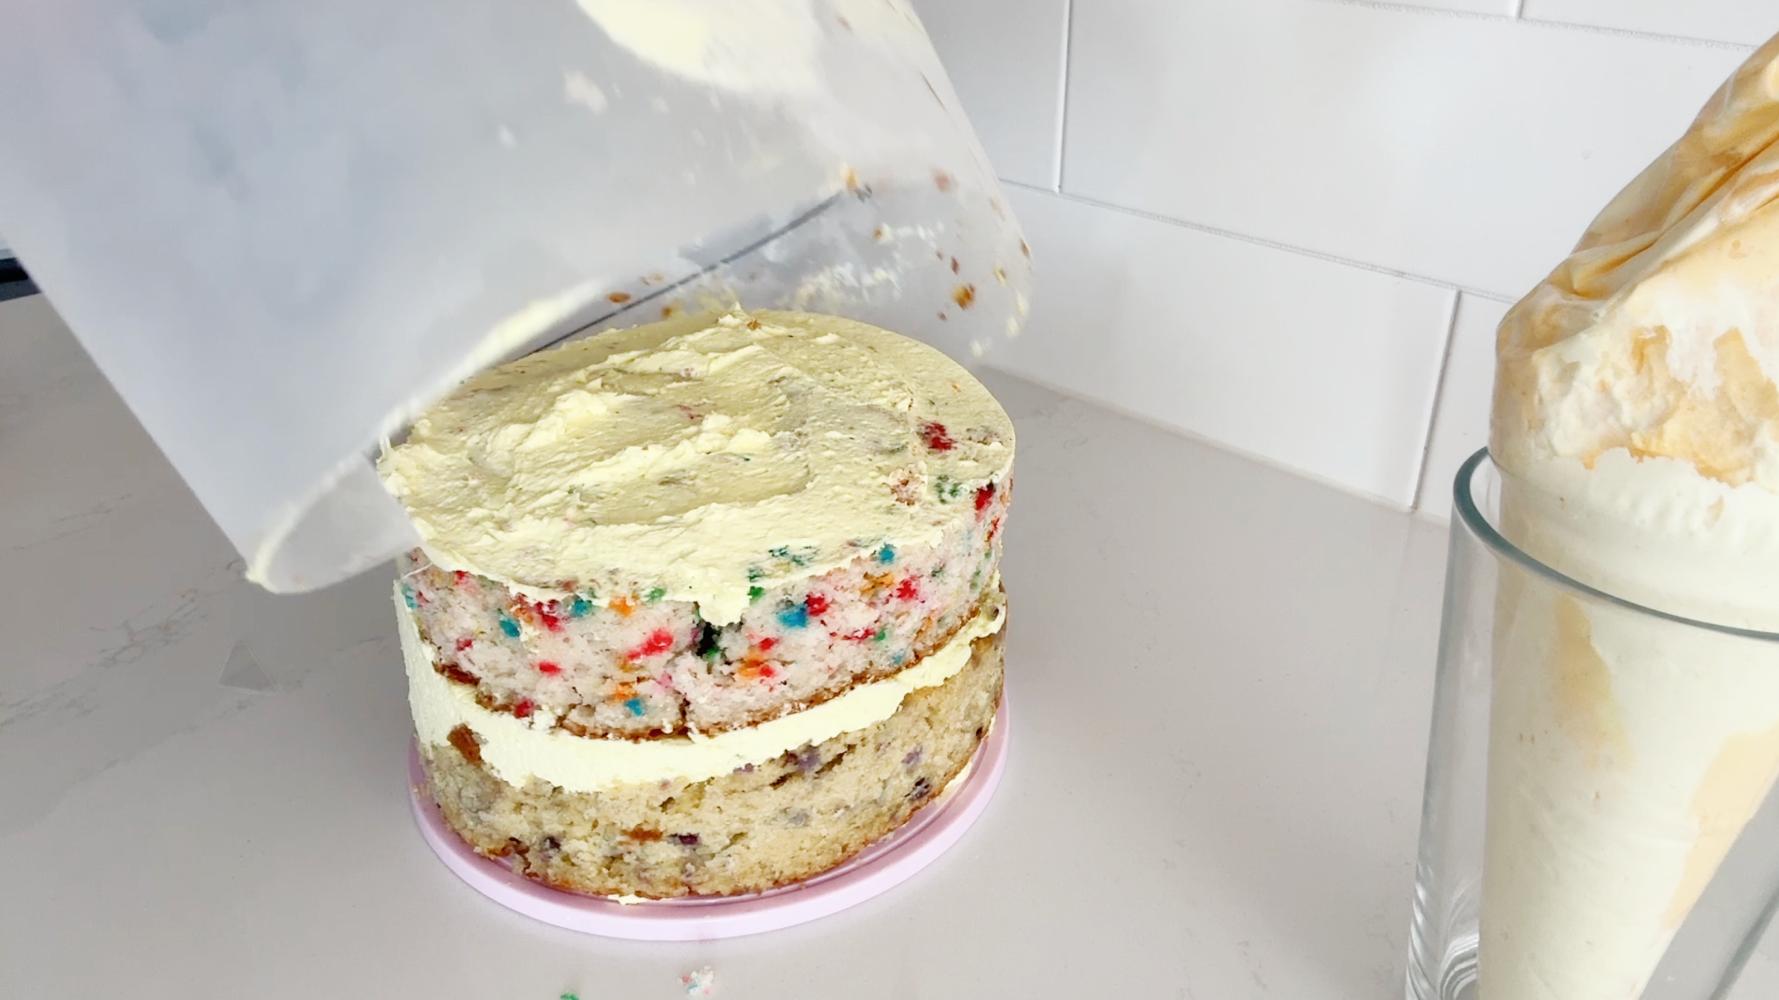
Once I made my whipped frosting, I assembled my cake inside the form. By this point, I had trimmed oversized layers, dealt with a badly crumbled cake and made the frosting twice (I used half in half rather than heavy cream the first go around… summer chaos and lots of sweet helper kids was hitting me hard with trying to make this cake). I knew I was not putting a perfect cake into the system.
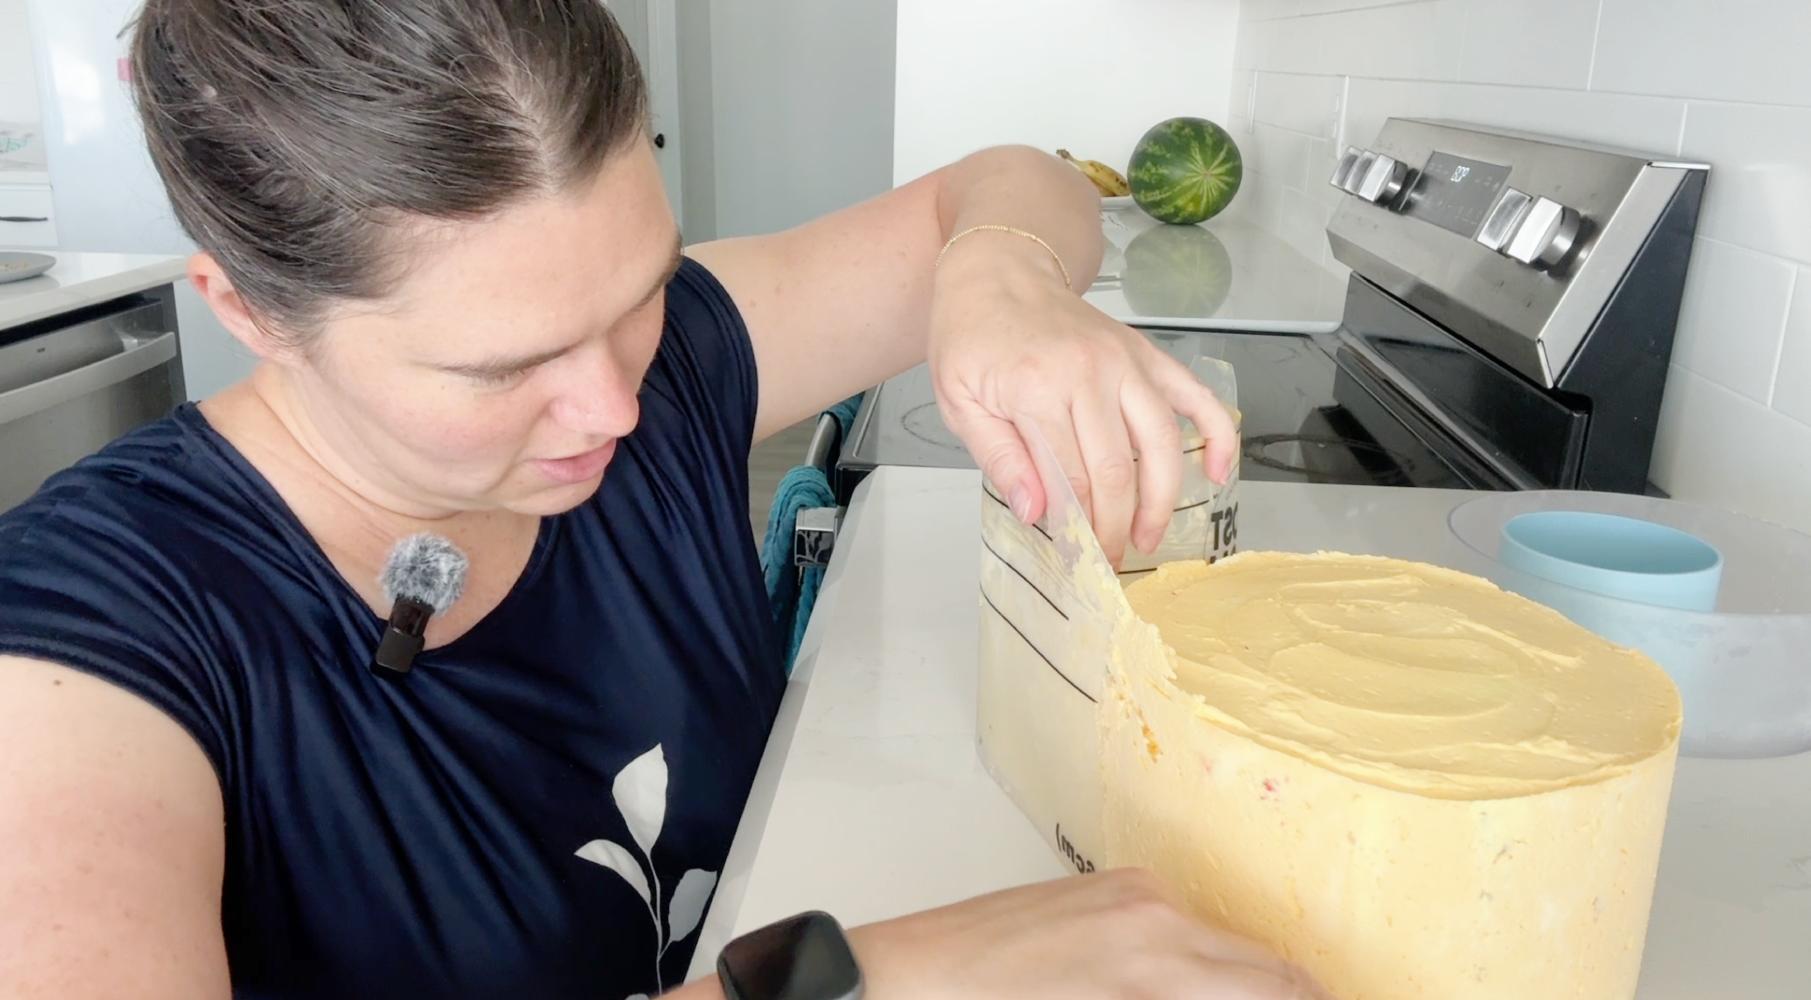
The form created a firm outer boundary around the cake while the frosting filled the uneven space around my layers. After the assembled cake had chilled and the frosting was set, I removed the form and liner. The finished cake was not absolutely flawless, but it was significantly straighter, smoother and more structurally sound than I would have achieved on my own.
Most importantly, I had a stable, stacked cake that I could decorate for my daughter’s birthday. The rough layers were no longer the focus; they had become the inside of a functional cat cake.
Decorating the finished cat cake
Once Frost Form had given me a smooth, sturdy base, the decorative part felt much more manageable. I added a simple cat face and ears rather than covering the cake with complicated piping or fondant details.
The cake still looked homemade, and I am happy for my children’s birthday cakes to look homemade, but it was much neater and more polished than many of my previous attempts. Frost Form did not magically turn me into a professional cake decorator, but it gave me a structure that allowed my decorating ideas to work better.
That was what I’d been hoping for. I still needed to do the work of baking, planning and decorating, but for once I had a smooth, straight foundation… honestly, in spite of myself it seemed. 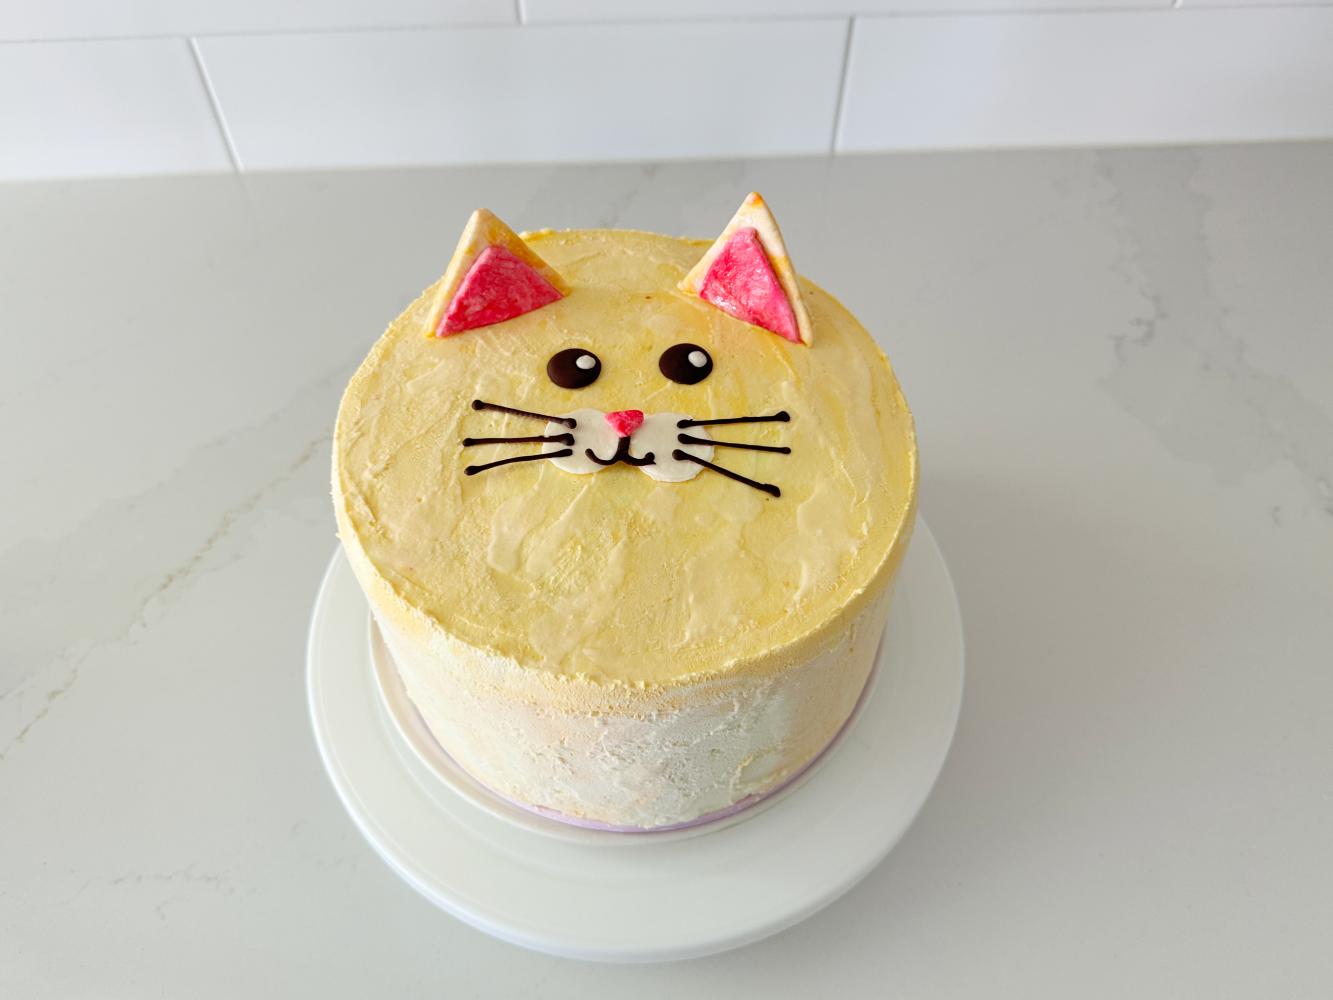
My Frost Form Sly Scorecard
| Category | Rating | My takeaway |
|---|---|---|
| Cost + Finished Result | 4/5 | The improvement was worthwhile for someone who regularly makes celebration cakes. |
| Time to Complete | 4/5 | My first attempt took longer because I was learning and correcting mistakes, but I can see the system saving time with practice. |
| Difficulty | 3/5 | A true beginner can manage it, but careful preparation, correct ingredients and attention to the instructions matter. |
| Mess + Storage | Low/Easy | The reusable pieces are easy to store, and the process was not excessively messy for cake decorating. |
| Beginner Friendliness | 3.5/5 | The concept is approachable, but there is still a learning curve and several places where beginner mistakes can complicate the process. |
| Gift/Party Value | 4/5 | The finished cake felt special, festive and much more polished for a birthday celebration. |
Final verdict: 8/10—Worth the Learning Curve!
Frost Form saved my messy cake and gave it structure. I think it is a great transition tool for beginner bakers who are ready to create smoother, more polished layer cakes.
Does Frost Form actually save time?
On my first attempt, Frost Form did not make the entire cake fast. I was learning a new system while also correcting mistakes involving my pan, cake layer and frosting ingredients.
However, I do think it could save time on future cakes. Once I know which supplies to prepare and how the parts fit together, I expect the system to reduce the amount of time I would otherwise spend repeatedly smoothing, scraping and repairing the outer frosting.
In other words, Frost Form does not remove the work but it does reorganizes it. You spend more time preparing, measuring and chilling, but less time trying to freehand a straight cake at the end.
What I would do differently next time
My second Frost Form cake would probably be considerably easier because I would:
- Use the recommended cake-pan size.
- Line and grease the pans carefully.
- Bake the cake layers at least one day in advance.
- Let every layer cool completely before removing or trimming it.
- Build in enough chilling time so I am not rushing around dinner or other family responsibilities.
- Tape down the flexible frost form layer so frosting didn’t slide between the sides of it where it wasn’t supposed to.
None of these changes require more cake-decorating talent, they’ll just make the second cake easier to make.
 Who is Frost Form best for?
I would recommend Frost Form most strongly for:
- Beginner bakers who already enjoy making birthday or celebration cakes
- Home bakers who struggle to achieve smooth sides and a straight shape
- Someone ready to move from simple single-layer cakes to taller stacked cakes
- People who value a reusable structure and repeatable process
- Bakers willing to plan ahead and allow time for chilling
It may not be the best purchase for:
- Someone who rarely makes cakes
- A baker who prefers rustic frosting and does not care about straight sides
- Someone expecting the tool to eliminate all measuring, preparation or practice
- An experienced decorator who can already achieve the same finish quickly by hand
Frequently asked questions
Is Frost Form suitable for a complete beginner?
Yes, but I would describe it as beginner-manageable rather than completely foolproof. The system provides helpful structure, but a beginner still needs to follow the measurements, prepare the cake properly and use a frosting that will set firmly enough.
Does Frost Form fix a broken or crumbly cake?
It cannot repair the texture of a damaged cake layer, but in my case it supported and concealed layers that were far messier than I intended. The form and outer frosting gave the finished cake a stable shape and smooth exterior.
Do you have to freeze a Frost Form cake?
The frosting needs to chill until it is firm before removing the form. Frost Form’s official guidance gives refrigeration and freezer options depending on the recipe and project. I used the freezer for my cake.
Do you need the exact cake-pan size?
I managed to use a larger pan and cut the cake down, but I do not recommend creating that extra work for your first attempt. Using the intended pan size will make trimming, centering and assembling the cake much easier.
Is Frost Form worth buying?
I think it is worth considering if you already make several birthday or celebration cakes and want a more polished result. If you bake a cake only occasionally and are happy with a rustic finish, it may spend more time in storage than in use.
Would I use Frost Form again?
Yes. Now that I understand the process, and know which mistakes to avoid, I would use it again when I want a tall, smooth layer cake for a special occasion.
 Final thoughts on Frost Form for beginners

This first attempt was not graceful. I used the wrong pan, crumbled a cake layer, bought the wrong cream and tried to fit the entire project around children, dinner and a birthday deadline.
Yet the finished cake still worked.
That is ultimately why Frost Form earned an 8/10 from me. It did not make every step effortless, but it gave my imperfect cake the structure it needed and helped me create a birthday cake that looked much more polished than the layers that went into it.
For a beginner who wants to make one casual cake and never think about cake decorating again, Frost Form may be more system than necessary. For a beginner baker who enjoys making celebration cakes and wants a practical bridge toward intermediate-level results, I think it is a very useful too, and one I expect will become easier and faster each time I use it.
Have you tried Frost Form? I would love to hear whether your first attempt went smoothly, or whether you learned through a few mistakes like I did.
Want More Honest Beginner Reviews?
I test creative kits, tools and projects to find out how hard they
really are, so you can decide what is worth your time, money and effort.
Subscribe to my YouTube channel for more real first attempts, beginner
tips and completed Sly Scorecards.