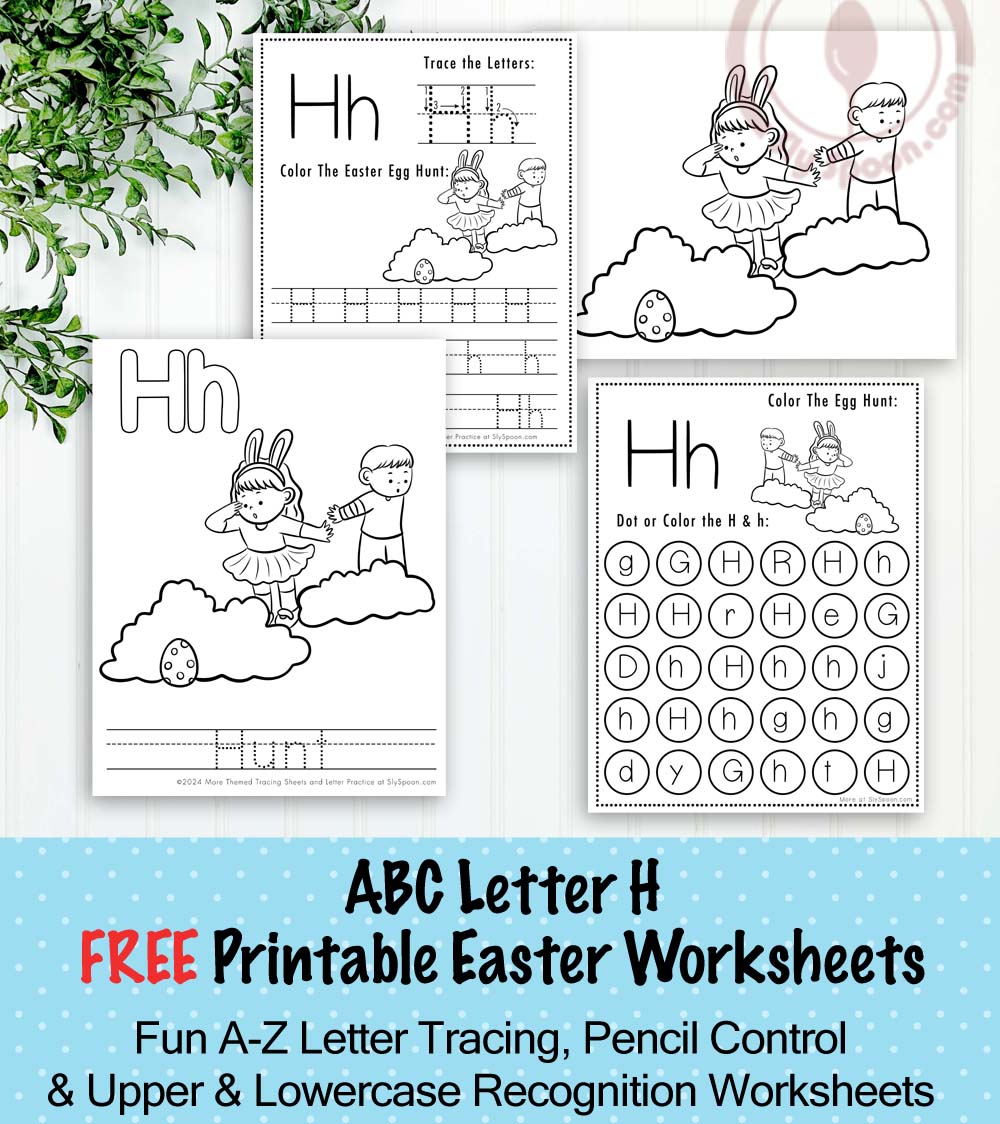
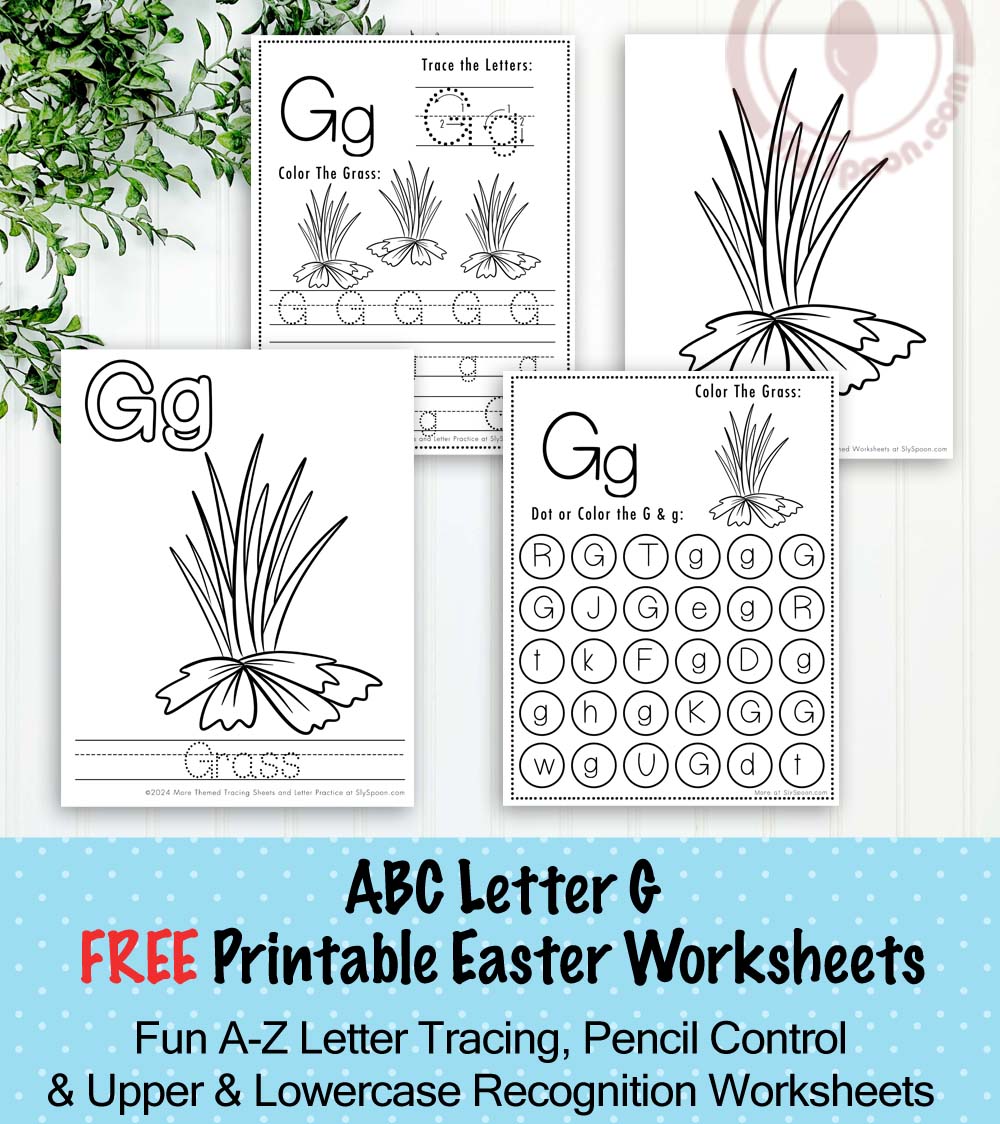
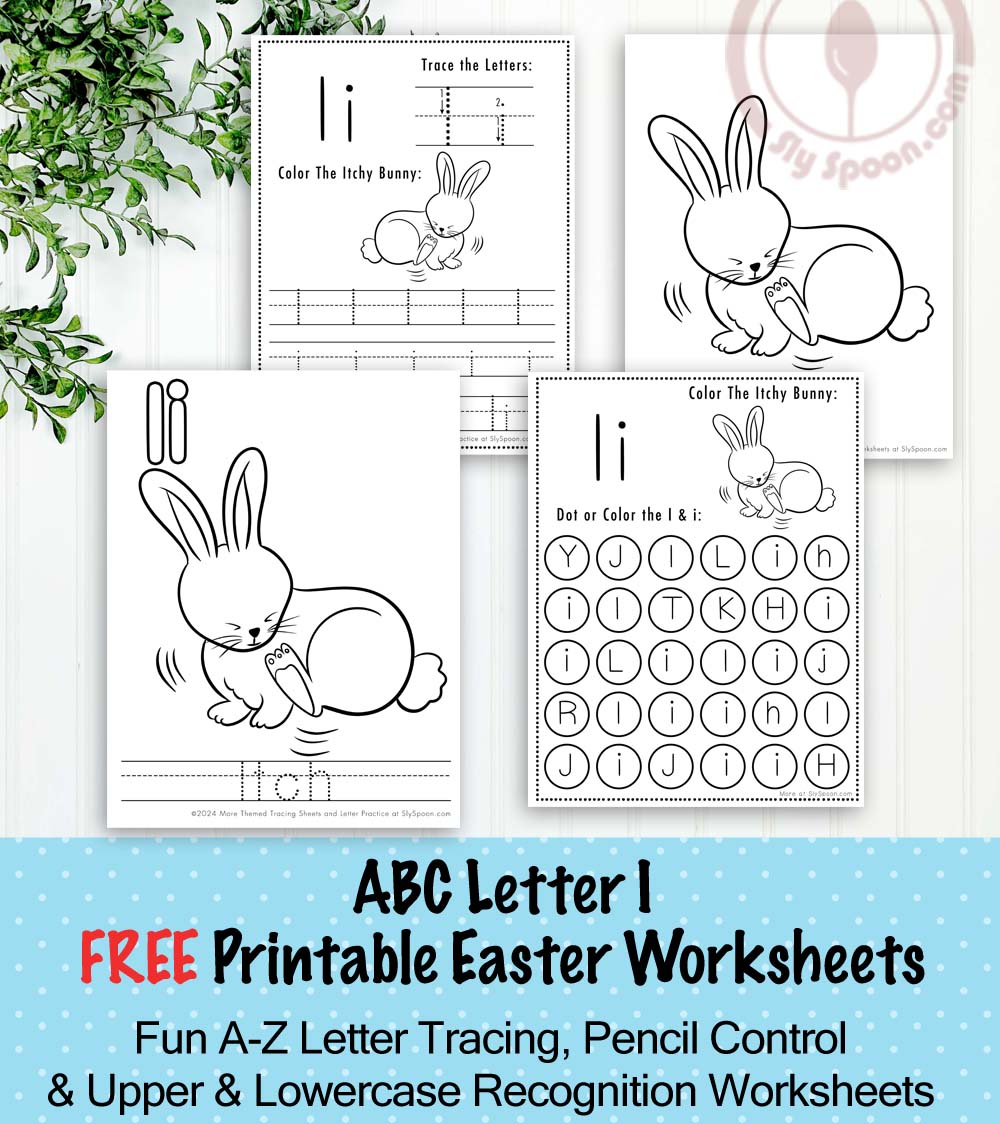
My Car Book – Busy Book Sewing Instructions (Quiet Book)

Click here to purchase this fabric through Spoonflower  (I recommend the cotton canvas fabric for best durability)
My Car Busy Book, Quiet Book, Fabric Book, No Screen Activity For On The Go to Teach Fine Motor Skills, Cars, Truck, Monster Truck, Road, Fat Quarter Cut and Sew Fabric Craft

Anticipated craft time: 4-5 hours
This busy book is recommended for children ages 3-5.

• Warning- This book contains small parts that may present a choking hazard for children under the age of 3.

The “My Car Book” includes instructions to make the following pages:
• A front cover for the book
• A “Button The Wheels On The Truck” page, with two button on wheels and movable clouds on a string.
• A “Snap On The Traffic Lights” page, with 3 snap on colored circles for traffic lights.
• A “Drive The Cars On The Road” page, with a three moveable car pieces and a storage pocket “Parking Lot”.
• A “Match Up The Road Signs” page, with 4 Velcro road signs.
• A “Build The Car Puzzle” page, with 5 Velcro on car puzzle pieces.

Supplies Needed:
• Printed fabric for the pages and pieces (Available for purchase through Spoonflower, I would recommend the cotton canvas fabric for best durability)
• Iron on fixative lining (big enough for the movable pieces)
• Felt (big enough for the movable pieces)
• Elastic
• 2 Large matching buttons (for truck wheels)
• Thin blue Ribbon (for truck page)
• 3 Sewable Snaps
• 2 Small Rings
• Velcro

• A Sewing Machine (Can also be hand sewn)
• A Needle
• Thread
• Sewing Pins
• Scissors
• An Iron
• An Ironing Board or Ironing Surface

• Note – A few minor design updates may have been made to the fabric & movable pieces for better usability.

Step One:

Iron the printed fabric. Then take the fabric and cut out the 4 large rectangular pages of the book, each section should have two pages still attached in the middle, and when they are cut out they should look like the image to the right.

Put pages aside.

Step Two:

Take the leftover fabric with the various smaller pieces for the quiet book and make sure you DO NOT CUT OUT the individual pieces.

Take your iron on fixative lining and your felt and follow the fixative instructions for attaching the smaller movable pieces to the felt.

Start by taking the fabric with the smaller quiet book pieces and cut the iron on fixative lining and the felt to match the size and shape of the fabric.

Next layer the fabric with the felt on the bottom, the iron on fixative in the middle and the printed fabric on top with the printed side facing out.

(You may want a disposable cloth, or bit a excess fabric for this part as any over hang of the iron on fixative will be sticky and will gunk up your iron or ironing board if they touch.)

Set your iron to a medium setting and press it to the printed fabric holding for three seconds before removing and pressing the next section. Continue until the whole cloth has been ironed. Then flip your cloth over so the felt side is up and repeat the process (again you may want to use a cloth on this part to save your fabric and your iron if you have any overhang).

Step Three:

Take the fabric with the various quiet book pieces to your sewing machine and sew around each individual piece, keeping your thread just barely inside the line of the design.

Step Four:

After sewing around each of the traffic signs take a piece of velcro and cut strips of it sized for each of the extra fabric traffic signs. Sew the rough patch of velcro to the back of each sign.


Step Five:

Find the quiet book page titled “Match Up The Road Signs” and sew the soft part of the velcro to the middle of each sign.

Step Six:

Find the pieces that make up the blue “Car Puzzle” and again cut out a strip of velcro for each piece of the puzzle. Sew the rough part of the velcro onto the back of each piece.


Step Seven:

Find the page titled “Build The Car Puzzle” and sew the soft part of the velcro to each of the corresponding puzzle piece sections in the same spot you sewed the velcro to the removable pieces.

Step Eight:

Separate your snaps, and hand sew one side of the backing onto each of the different circles representing the colored traffic lights. (Note: Make sure you sew the correct or snappable side of the snap facing out – test with the other half of the snap to see if they fit together if you are unsure which side is correct).


Step Nine:

Take the page with the title “Snap On The Traffic Lights”. Hand sew the other side of the snaps used in step eight to the inside of each of the traffic light circles. (Note: Make sure you sew the correct or snappable side of the snap facing out – test with the other half of the snap to see if they fit together if you are unsure which side is correct).

Step Ten:

Set your sewing machine to sew a buttonhole, and take the page with the extra quiet book pieces. Sew a buttonhole in the middle of each of the “Monster Truck” wheels.

On the “Button The Wheels On The Truck Page” sew the two large matching buttons onto the center of each of the trucks wheels.


Next cut out the cloud piece from your extra piece fabric (you can cut our the rest of the pieces as well at this point). Take the cloud piece and sew the two rings onto the back of it toward the left and right sides.

Take a thin piece of ribbon and cut a piece long enough to go horizontally across the truck page, with an extra inch hanging off. Fold the end of the ribbon a ¼ inch under and sew it so the ribbon won’t fray.

Then sew that end of the ribbon in the seam of the truck/car page (so that when the book is finished the ribbon will go across the top of the truck page, but not be on the car page). The ribbon should be toward the top of the page so it lays across the sun and clouds in the sky.

Next slide the rings of your cloud over the ribbon so that the rings are hidden and only the cloud is visible.

Pin the far end of the ribbon to the end of the page and leave any overhanging ribbon there. It will be sewn into the page and secured when the book’s pages are sewn together.

Step Eleven:

Find the page titled “Drive The Cars On The Road”. Take the extra piece that looks like a parking lot and pin it so it lines up with the parking lot on the page. Sew around the top, right and bottom of the parking lot, sewing it into place on the page and creating a pocket for storing the “driving” cars.


Step Twelve: (Optional)

Take the front cover of the book and sew a button onto the right side of the page in the center (for buttoning the book closed)

On the opposite side of the page pin a small loop of elastic, with the loop facing the print on the page, and the edges of the elastic pinned at the edge of the page.

Step Thirteen:

Take the front cover of the book, and lay it face up, then take the page with the button on truck wheels, and the car puzzle and lay it face down over the top page, so the printed side of each page is touching.

Pin in place.

Make sure your elastic loop is facing in against the printed pages and only the edges of it are at the seam.

:::Quite Book Instructions:bible24.jpgStarting at the bottom middle sew around the outside of the two pages, about a ⅜ inch from the edge, leave about a four inch gap in the bottom of the book from where you began your sewing to where you end it.

Step Fourteen:

:::Quite Book Instructions:bible25.jpgClip off the extra fabric in the corners of your book (This will allow it to lay more flat when you flip the book).

Step Fifteen:

Use the four inch gap you left and flip the page, so that the print side is out, taking special care to press out the corners of the page as much as possible.

Iron your page flat. Be careful not to iron over the velcro parts as they may melt.

Step Sixteen:

:::Quite Book Instructions:bible23.jpgFold up the edges of your four inch gap, and pin them in place. Then sew around the outside of your book page (about ¼ inch from the edge) Start and end your sewing in the same place so that your four inch gap is sealed shut.

Step Seventeen:

Repeat steps Thirteen through Sixteen for the other two pages of your quiet book.

Step Eighteen:

Line up the two sewn rectangular pages (that create the whole of your quiet book) and pin them in place so they completely overlap one another. Create the binding by sewing a vertical line down the middle of your overlapped pages, securing the pages of the book together.

Step Nineteen:

Add all of your quiet book pieces to the book and congratulations, you are done! 🙂

Thank you so much for your purchase of this quiet book kit, if you found any of these instructions to be unclear or difficult please email me at [email protected] I’d love to get them updated and clarified to the best of my ability.

Spot cleaning with a light detergent and a damp rag is the best way to clean your quiet book, but it should also hold up if you remove all the excess pieces from it and wash it in the washing machine on a gentle cycle. Air dry only.

Please let me know if you have any comments or additional questions.

My Life Skills Book – Busy Book Sewing Instructions (Quiet Book)

Click here to purchase this fabric through Spoonflower  (I suggest printing it on the cotton canvas fabric for best durability)
My Life Skills Busy Book, Quiet Book, Fabric Book, No Screen Activity For On The Go to Teach Fine Motor Skills, Tell Time, Tie a shoe, Button a Shirt, Fasten a belt, Fat Quarter Cut and Sew Fabric Craft

Anticipated crafting time for this project: 4-5 Hours
This quiet book is recommended for children ages 4-8.

Warning – This book contains small parts that may present a choking hazard for children under the age of 3.

The “My Life Skills Book” includes instructions to make the following pages:
• A front cover for the book
• A “Help Tell The Time On The Clock” page, with 2 snap on, movable clock hands.
• A zippered jacket page, with a zip up pocket.
• A “Help Fasten The Belt” page with a “D” ring belt that can be fastened and unfastened or a small cat collar belt.
• A “Help Button The Sweater” page, with two buttons to button the flap closed.
• A “Help Tie The Shoe” page, with single laced shoe that the lace can be tied in a bow.
• An “Add Money To The Piggy Bank” page, with a piggy bank pocket, made for plastic coins that can be strung on a string, and a “pocket” envelope.

Supplies Needed:
• Printed fabric for the pages and pieces (Available for purchase through Spoonflower – I would suggest printing it on the cotton canvas fabric for best durability)
• Iron on fixative lining (to work as adhesives to attach the smaller pieces to the felt)
• Felt Lining (to reinforce the smaller pieces)
• Elastic
• 3 Buttons
• 2 Sewable Snaps
• Four Plastic Coins (I suggest drilling a small hole in these)
• Elastic Threading
• 2 Metal “D” Rings and woven cording, or a small belt or cat collar
• A small Zipper. Big enough to fit the page.
• A Shoe Lace

• A Sewing Machine (Can also be hand sewn)
• A Needle
• Thread
• Sewing Pins
• Scissors
•Candle & Matches
• An Iron
• An Ironing Board or Ironing Surface

*Note* A few minor design updates may have been made to the fabric & movable pieces for better usability.

Step One:

Iron the printed fabric. Then take it and and cut out the 4 large rectangular pages of the book, each section should have two pages still attached in the middle, and when they are cut out they should look like the image to the right.

Put pages aside.

Step Two:

Take the leftover fabric with the various smaller pieces for the quiet book and cut out only the large pieces for the yellow jacket (make sure to leave the white space between the two yellow pieces as you’ll need it to sew in the zipper later). Put the yellow jacket pieces aside before continuing with the next instructions.

DO NOT CUT OUT the smaller individual pieces.

Follow the instructions on the fixative lining to attach the smaller pieces to the felt.

Start by taking the fabric with the smaller quiet book pieces and cut the iron on fixative lining and the felt to match the size and shape of the fabric.

Next layer the fabric. Your felt piece should be on the bottom, the fixative lining should be in the middle and the printed canvas fabric with the smaller pieces should be on top (sandwich style).

(You may want a disposable cloth, or bit a excess fabric for this part as any overhang of the iron on fixative will be sticky and will gunk up your iron or ironing board if they touch.)

Set your iron to a medium setting and press it to the canvas fabric holding it for three seconds before removing and pressing the next section. Continue until the canvas, fixative, and felt have been fused together. When finished ironing with the canvas side up, flip the piece over and iron it again with the felt side up. (again you may want to use a cloth on this part to save your fabric and your iron if you have any overhang).

Step Three:

Take the fabric with the various quiet book pieces to your sewing machine and sew around each individual piece (you will only need to sew around the top curved part of the pig. You’ll sew around the rest of the pig when you are attaching it to your page.) Keep your thread just barely inside the lines of each design.

When finished cut out all the pieces.

Step Four:

Take the two pink tear dropped shaped clock hands and your sew-able snaps.  Hand sew one side of the backing onto the back of each of the tear dropped shaped pieces.

(Note: Make sure you sew the correct or snappable side of the snap facing out – test with the other half of the snap to see if they fit together if you are unsure which side is correct).


Step Five:

Take the other side of the snap from step four and hand sew one of the backings onto the dot in the middle of the clock on the page titled “Help Tell The Time On The Clock”.

(Note: Make sure you sew the correct or snappable side of the snap facing out – test with the other half of the snap to see if they fit together if you are unsure which side is correct).

Step Six:

You should have one left over snap piece. Hand sew it to the front (or pink part) of the larger sized teardrop shaped clock hand.

(Again make sure you are sewing the correct side face out) This should allow the hands to snap together in a stack on the clock, and turn as desired.

Step Seven: (OPTIONAL)

Thread the coins with the drilled holes onto the small piece of elastic. Knot the two ends of the elastic together and pin or clip them over the gray envelope outline with the string hanging over the left side of the envelope. The string will be sewn into place when the envelope is sewn onto the page.
   

Step Eight:

Take the pig cutout and align it with the printed pig on the page. Pin in place and sew around the body of the pig leaving the hole at the top of the pig unsewn so that the coins can be slipped inside.

Take the gray envelope piece and line it up with the printed gray envelope on the same page. Pin in place and sew around the left, bottom, and right side of the envelope, leaving the top unsewn to create a pocket for the piggy bank coins, and sewing the coin string into place.

Put the page aside when finished.

Step Nine:

Take the yellow “jacket” pieces and cut a line straight down the center of the piece (on the white line) leaving the excess white attached to the fabric.

Next line up your zipper so the top part of the zipper sits just barely above the top part of the fabric.

Take the left side of the yellow jacket and fold it over, so the white (back) part of the fabric is facing up and the rest of the fabric is covering the top of your zipper. Align the edge of the jacket piece you just folded over with the far edge of the zipper and pin into place.


Sew a straight line from the top of the jacket piece to the bottom, sewing the zipper into place.

Now fold back the piece of jacket you just sewed so the yellow side is facing up again and the zipper is visible. Fold the fabric so that the yellow of the jacket is close up against the side of the zipper with teeth and bend the fabric flat. (It might be helpful to iron it down).

Now with the colored side of the fabric facing up and your zipper facing up sew another strait line from the top of the jacket to the bottom sewing the zipper into place and making the jacket flap lay flat.

Repeat these steps for the other side of the jacket.

When finished zip the zipper closed and leave any excess zipper fabric hanging off the top and bottom of the square.

Step Ten:

Take your quiet book page with the yellow square on one side and the lace up shoe on the other side. Lay your zippered jacket over the lace up shoe page so the white side of the jacket is facing up and the printed side of the jacket is against the printed side of the shoe page.

Sew a line down the right side of your jacket flap, where it lays in the middle of the shoe/jacket page attaching the side of the yellow jacket piece to the center of the shoe/jacket page. When finished fold the jacket piece over so that the yellow of the jacket piece lays of over the top of the yellow page and the seam you just sewed is hidden. Pin the top, right and bottom of the yellow jacket into place over the yellow square making up the page so those edges can be sewn to the book when you sew the quiet book pages together.

Step Eleven:

Take the two light blue “extra pieces” of fabric and your scissors and cut or poke three small holes in the middle of each of these blue “strip” pieces, at even intervals. (These will make up the shoelace holes).

When finished align the blue strips with the tennis shoe. The fatter blue piece should be on the left side of the shoe, with the dotted edge facing the middle of the shoe and the smooth edge against the left edge of the shoe, and vice versa for the right strip and right side of the shoe.

Pin the pieces into place and sew a line along the smooth, un-dotted portion of both of the blue strips.

Step Twelve:

Take your lace and, starting at the bottom of your shoe, lace up the shoe. If your holes are tight or small you might need to use a pair of scissors or a pencil tip to help poke the lace through the holes. When finished tie your shoe lace and set the page aside.

Step Thirteen:

Take the page with the jeans and the title “Help Fasten The Belt” and lay the two belt loop “extra pieces” over the belt loops on the page. Pin in place and sew the top and bottom of each belt loop piece to the page.

Step Fourteen:

Take you belt fabric and light your candle. Slowly move the edge of the belt fabric toward the lit candle, move it just enough to melt the edge of the cording so it won’t fray, but don’t touch it to the flame. If you are using a cat collar or other threading you might be able to skip this step.

When finished take the two “D” rings and thread the edge of your belt fabric through them. Keep the “D” rings side by side near the edge of the belt fabric, then bend the belt fabric edge over and sew it to the same piece of belt fabric, sewing the “D” rings in a small loop of the belt fabric.

Thread the belt fabric through one of the jean loops so that the “D” rings are about over the button on the jeans, and lay the rest of the belt fabric off the page. Cut the belt fabric so there is at least an inch of belted fabric overhanging the edge of the page. (You may want to use your candle again to melt the now frayable edges.)

Take the piece of belt you just cut off (without the “D” rings and again melt both edges with the candle) Then align one edge with the side of the jean page that is against the sweater page. Sew the belt to the right edge of the page where the jeans start.

When finished thread the belt through the jean loop and through both of the “D” rings, before bending it back and threading it through only the top “D” ring to secure in place.

Your belt piece is finished.

Step Fifteen:

Set your sewing machine to sew a buttonhole, and find the “extra piece” with the sweater pattern as well as the two matching buttons provided with the kit.

Sew two buttonholes over the light gray lines on that “extra piece” of sweater fabric (Note: you buttonholes will likely be longer than the lines, they are just meant to be a guide).

Step Sixteen:

Take the “extra piece” of fabric you just sewed your buttonholes to and line it up with the sweater page of your book so that the rounded edge is in the middle of the page and the straight edge is lined up with right edge of the page.

Pin into place so that the text “Help Button The Sweater” is still visible over to top of the piece, and you have about a one inch margin from the bottom of the page so the sweater flap doesn’t get sewn into the book when you sew the book pages together.

Hand sew the two provided buttons onto the “Help Button The Sweater” page over the gray lines, so that the buttons align with your buttonholes, and set the page aside.

Step Seventeen: (OPTIONAL)

Take the front cover of the book and sew a button onto the right side of the page against the side in the middle.

On the opposite side of the page, find the dot and pin the small loop of elastic there with the loop facing the print on the page and the edges of the elastic hanging off at the edge of the page.

Step Eighteen:

Take the front cover of the book, and lay it face up, then take the page with the clock and the piggy bank and lay it face down over the top page, so the printed side of each page is touching. If your clock hands are still attached to your clock remove them before you do this.

Make sure the money for the piggy bank is tucked inside the page and won’t be sewn when you sew around the page.

:::Quite Book Instructions:bible24.jpgAlso make sure your elastic loop is facing in against the printed pages and only the edges of it are at the seam.

Starting at the bottom middle sew around the outside of the two pages, about a ⅜ inch from the edge, leave about a four inch gap in the bottom of the book from where you began your sewing to where you end it.

Step Nineteen:

:::Quite Book Instructions:bible25.jpgClip off the extra fabric in the corners of your book (This will allow it to lay more flat when you flip the book).

Step Twenty:

Use the four inch gap you left in step eighteen and flip the page, so that the print side is out, taking special care to press out the corners of the page as much as possible. Iron your page flat.

Step Twenty-One:

:::Quite Book Instructions:bible23.jpg

Fold up the edges of your four inch gap, and pin them in place. Then sew around the outside of your book page (about ¼ inch from the edge) Start and end your sewing in the same place so that your four inch gap is sealed shut.

Step Twenty-Two:

Repeat steps eighteen through twenty-one for the other two pages of your quiet book. Make sure that the bottom edge of the gray sweater is up far enough that it won’t get sewn into the seam, and that the shoelace is tucked into the page so it doesn’t get sewn into the page as well. Also make sure that the excess pieces of both the zipper, and the belt are outside, so that they can get sewn into the book (clipped off the overhang for the zipper and (possibly) belt when finished sewing around your book).

Step Twenty-Three:

Line up the two sewn rectangular pages (that create the whole of your quiet book) and pin them in place so they completely overlap one another. Sew a straight line down the middle of your overlapped pages, securing the pages of the book together like binding.

Step Twenty-Four:

Re-add your clock hands to the clock, do up the fasteners in your book and congratulations, you are done! 🙂

Thank you so much for your purchase of this quiet book fabric, if you found any of these instructions to be unclear or difficult please email me at [email protected] I’d love to get them updated and clarified to the best of my ability.

Spot cleaning with a light detergent and a damp rag is the best way to clean your quiet book, but it should also hold up if you remove all the excess pieces from it and wash it in the washing machine on a gentle cycle. Air dry only.

Please let me know if you have any comments or additional questions.

My Princess Book – Busy Book Sewing Instructions (quiet book)

Click here to purchase this fabric through Spoonflower.com  (I recommend the Cotton Canvas Fabric for the best durability)
My Princess Book Busy Book, Quiet Book, Fabric Book, No Screen Activity For On The Go to Teach Fine Motor Skills, Style Hair, Lace a Dress, Dress up Princess Doll, Do a Puzzle, Castle, treasure chest, Fat Quarter Cut and Sew Fabric Craft

Anticipated Crafting Time for this project: 4-5 Hours
This busy book is recommended for children ages 3-5.

(Warning – This book may contain small parts that may present a choking hazard for children under the age of 3.)

The “My Princess Book” includes instructions to make the following busy book pages:
• A front cover for the book
• A “Help Lace And Tie The Dress” page with six buttons, and a ribbon meant to wrap around the buttons and tie in a bow
• A “Build A Castle” page, with 4 Velcro on castle puzzle pieces
• A “Help The Princess Get Dressed” page with a removable doll, three Velcro on dresses, and a storage pocket/dressing shield for when the doll is not in use
• A “Help Style Her Hair” page, with corded hair, and hair clips to arrange, braid or style the hair on the page
• A “Dress Yourself Like A Princess” page, with a Velcro pocket treasure chest, and plastic play jewelry

Supplies Needed:

• busy Book Printed Fabric Page (Available at Spoonflower.com – I’d suggest the Cotton Canvas fabric for the best durability)
• Iron on fixative lining (adhesive to connect the smaller fabric pieces to the felt)
• Felt (for lining the smaller book play pieces)
• Elastic
• 7 Buttons
• Velcro
• Plastic play jewelry
• Cording or Yarn (for play hair)
• Ribbon
• Hair clips (1/2 inch or so works best)

• A sewing machine (Can also be hand sewn)
• A needle
• Thread
• Sewing pins
• Scissors
• An iron
• An ironing board or ironing surface
• A candle
• Matches to light the candle

*Note* A few minor design updates may have been made to the fabric & movable pieces for better usability.

Step One:

Iron the printed fabric. Then take it and cut out the 4 large rectangular pages of the book, each section should have two pages still attached in the middle, and when they are cut out they should look like the image to the right.

Put pages aside.

Step Two:

Take the leftover fabric with the various smaller pieces for the busy book and make sure you DO NOT CUT OUT the individual pieces.

Follow the instructions on the iron on fixative lining to connect the smaller play pieces to the felt fabric for stronger durability.

Start by taking the fabric with the smaller busy book pieces and cut the iron on fixative lining and the felt to match the size and shape of the fabric.

Next layer the three pieces of fabric. Felt should be on the bottom, iron on fixative should be in the middle, printed fabric should be on the top with printed side out (not facing the iron on fixative) You may want a disposable cloth, or bit a excess fabric for the next part as any over hang of the iron on fixative will be sticky and will gunk up your iron or ironing board if they touch.

Set your iron to a medium setting and press it to the printed fabric holding for three seconds before removing and pressing the next section. Continue until the whole cloth has been ironed. Then flip your cloth over so the printed side is down, and the felt side is up and repeat the process (again you may want to use a cloth on this part to save your fabric and your iron if you have any overhang).

Step Three:

Take the fabric with the various busy book pieces to your sewing machine and sew around each individual piece, keeping your thread just barely inside the line of the design.

Special Note: Sew around the green rectangle of the crown on the left, top and right sides, and follow the line of the crown on the bottom side, as you’ll need the full piece rather than just the crown shape for the page. See image for example of where to sew:

Step Four:

Take the book page with the purple lace dress back and sew six buttons along the “V” of the dress at even intervals (Starting two inches from the bottom of the page).


Step Five:

Take a thin ribbon, and measure out how much of it you’ll need to start at the bottom “V” of the purple dress and lace it around each of the buttons before tying in a bow. Cut off any excess.

Light a candle then take each end of the ribbon and move it towards the flame (without actually touching the strands to the flame) just get close enough to melt the fiber at the end to prevent fraying.

Step Six:

Sew the middle of the ribbon to the bottom of the purple page shown in Step 4 & 5.

Step Seven:

Line up the two treasure box cut outs pieces so that the flap of the top of the treasure box lid overlaps with the bottom of the box. Take your velcro and cut a small strip for the gold treasure box lid. Sew the soft part of the velcro to the top “gold” tab, and sew the rough part of the velcro to the bottom of treasure box piece where the gold top will overlap.


Step Eight:
Take the busy book page with the treasure box on it and line up the bottom part of the treasure box with the treasure box on the page. Sew around the left, bottom, and right part of the treasure box securing the cutout piece over the printed section.

Step Nine:
Take the cutout for the lid of the treasure box and align it with the top of the treasure box on the printed page. Sew the cutout piece to the printed page by sewing across just the top of the treasure box lid. This should allow it to act like a flap and open and close to allow access to the treasures inside the treasure box.

Step Ten:
Take your cording or yarn and cut it into strips, making each strip about 7 inches long.
 
Step Eleven:
Light your candle, then take each of the cut strips from step ten and move the ends of them towards the flame (without actually touching the strands to the flame) just get close enough to melt the fiber at the end to prevent fraying. Repeat on both sides of the strand with each of the strands. 

:::Quite Book Instructions:bible4.jpg 

Step Twelve:
Take your finished strands from step ten and lay them out horizontally over the crown on the page with the text “Help Style Her Hair.” (They should be touching the left and right sides of the page, not the top and bottom).

Then sew a vertical line across the strands anchoring them in place. (Make sure they are not covering her face).

Then take the extra piece of fabric with the crown, and cut out the bottom curve under the crown.

Press down the hair strands so they are at the side of the princess’s face then lay the cutout crown over the strands and align it with the crown on the page, then carefully sew around the crown and over the strands sewing them into place. 

 
:::Quite Book Instructions:bible12.jpg
Step Thirteen:
Take your strand of ribbon (thicker works better) and align it to the right of the princess “hairstyle” page. Do a loose stitch (baste or pin it in place) at the top and bottom of the page. When the pages are sewn together it will be sewn into the page and secured.

Step Fourteen:
Take the “Build a Castle” page and cut out strips of velcro for each of the different castle puzzle pieces. Sew strips of the soft part of the velcro onto the castle page, and sew pieces of the rough part of the velcro onto the back of the corresponding castle puzzle pieces. (Note: Make sure you sew the velcro onto the same place on both the page and the castle pieces so they will match up when building the puzzle.)


Step Fifteen:

Cut out the princess, her three dresses, and the dressing curtain from your “pieces” of fabric.
Take the busy book page with the title “Help The Princess Get Dressed” and line up the dressing curtain with the dressing curtain on the page. Sew around the left, bottom, and right of the dressing curtain creating a pocket for the “Princess” to be in when not in use.


 Step Sixteen:
Take your velcro and sew a small strip (of the soft side) onto the top part of the “princess doll” and each of the dresses printed on the page. (Note: Make sure you sew the velcro onto the same place on both the page and the dresses so they will line up when you put them on the page.)

   
Step Seventeen:
Take the rough part of the velcro from step sixteen and sew it onto the top back part of each of the dress cutouts.

Step Eighteen: (Optional)
Take the front cover of the book and sew a button onto the right side of the page in the middle.

On the opposite side of the page (the back cover of the book) pin the small loop of elastic with the loop facing the print on the page and the edges of the elastic pinned at the edge of the page. 


Step Nineteen:
Take the front cover of the book, and lay it face up, then take the page with the purple lace up dress, and the treasure chest and lay it face down over the top page, so the printed side of each page is touching.

Pin in place. Make sure the treasure box is empty and the long laces from the dress lace up are tucked between the two pages so they don’t get sewn into the seam.

Also make sure your elastic loop is facing in against the printed pages and only the edges of it are at the seam.

Starting at the bottom middle sew around the outside of the two pages, about a ⅜ inch from the edge, leave a four inch gap in the bottom of the book from where you began your sewing to where you end it.

:::Quite Book Instructions:bible24.jpg

Step Twenty:
Clip off the extra fabric in the corners of your book (This will allow it to lay more flat when you flip the book).

:::Quite Book Instructions:bible25.jpg

Step Twenty-One:
Use the four inch gap you left in step nineteen and flip the page, so that the print side is out, taking special care to press out the corners of the page as much as possible.

Iron your page flat. Be careful not to iron over the velcro parts as they may melt.

Step Twenty-Two:
Fold up the edges of your four inch gap, and pin them in place. Then sew around the outside of your book page (about ¼ inch from the edge) Start and end your sewing in the same place so that your four inch gap is sealed shut. 

:::Quite Book Instructions:bible23.jpg 

Step Twenty-Three:
Repeat steps nineteen through twenty-two for the other two pages of your busy book.

Step Twenty-Four:
Line up the two sewn rectangular pages (that create the whole of your busy book) and pin them in place so they completely overlap one another. Sew a straight line down the middle of your overlapped pages, securing the pages of the book together.

Step Twenty-Five:

Add all of your busy book pieces to the book and congratulations, you are done! 🙂

Thank you so much for your purchase of this busy book fabric, if you found any of these instructions to be unclear or difficult please email me at [email protected] – I’d love to get them updated and clarified to the best of my ability.

Spot cleaning with a light detergent and a damp rag is the best way to clean your busy book, but it should also hold up if you remove all the excess pieces from it and wash it in the washing machine on a gentle cycle. Air dry only.

Please let me know if you have any comments or additional questions.

Kicking Off The New Year With a Refresher

A
A is for Ant Craft
List of 100 Objects that Start with A

B
B is for Book Craft
List of 100 Objects that Start with B

C
C is for Cookie Craft
List of 100 Objects that Start with C

D
D is for Donut Craft
List of 100 Objects that Start with D
E

E is for Easter Egg Craft
List of 50 Objects that Start with E

F
F is for Fire Craft
List of 100 Objects that Start with F

G
G is for Grass Craft
List of 100 Objects that Start with G
H
H is for House Craft
List of 100 Objects that Start with H

I
I is for Ice Craft
List of Objects that Start with I

J
J is for Jellyfish Craft
List of Objects that Start with J

K
K is for Kiwi Craft
List of Objects that Start with K

L
L is for Leaf Craft
List of 100 Objects that Start with L

M
M is for Monster Craft
List of 100 Objects that Start with M

N
N is for Noodle Craft
List of Objects that Start with N

O
O is for Open Craft
List of Objects that Start with O

P
P is for Pom Pom Craft
List of 100 Objects that Start with P

Q
Q is for Quail Craft
List of Objects that Start with Q

R
R is for Rainbow Craft
List of 100 Objects that Start with R

S
S is for Sky Craft
List of 100 Objects that Start with S

T
T is for Thunder
List of 100 Objects that Start with T

U
U is for Underwater
List of Objects that Start with U

V
V is for Vine
List of Objects that Start with V

W
W is for Wind
List of 100 Objects that Start with W

X
X is for X-Ray

Y
Y is for Yarn
List of Objects that Start with Y

Z
Z is for Zebra

List of Objects that Start with Z