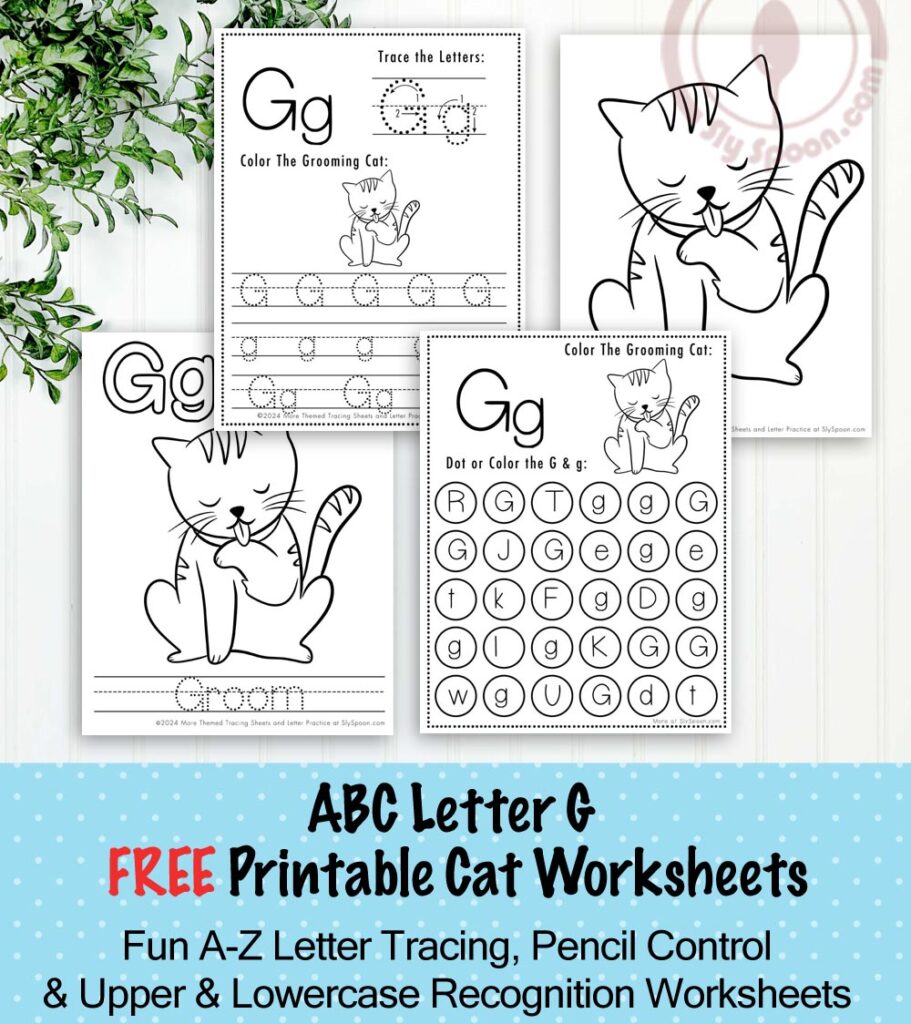
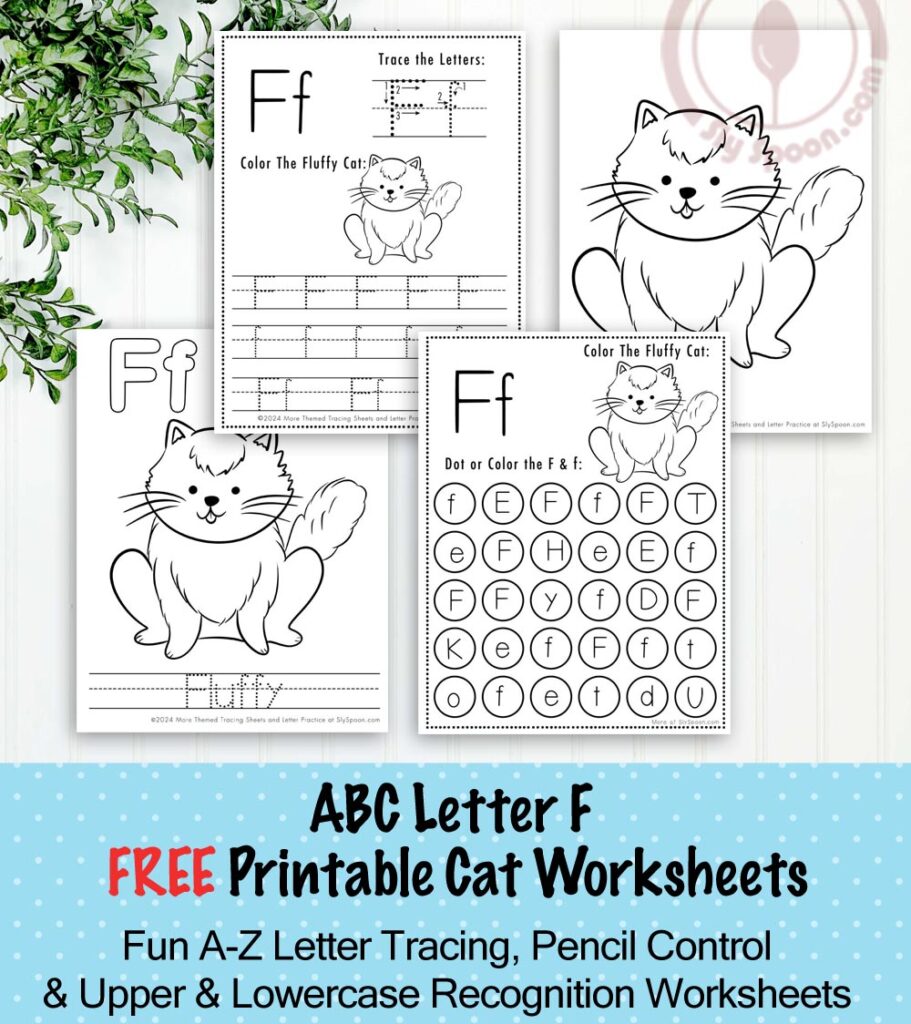
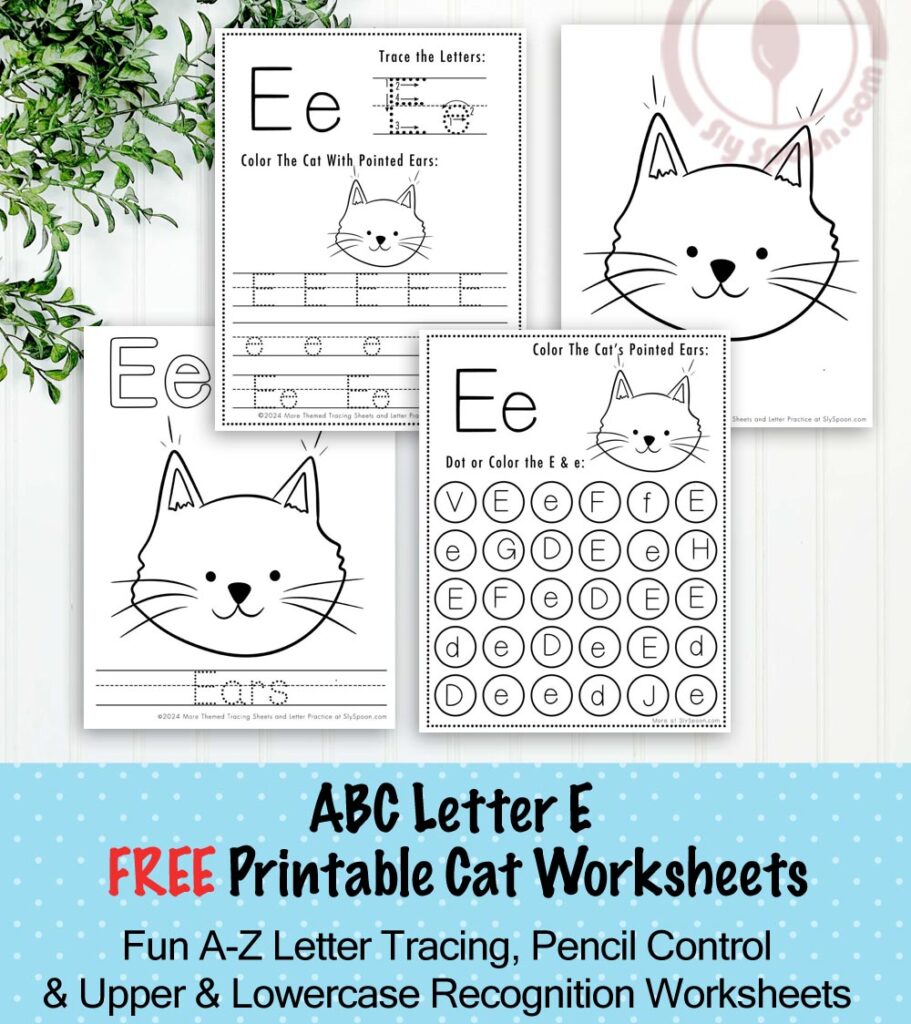
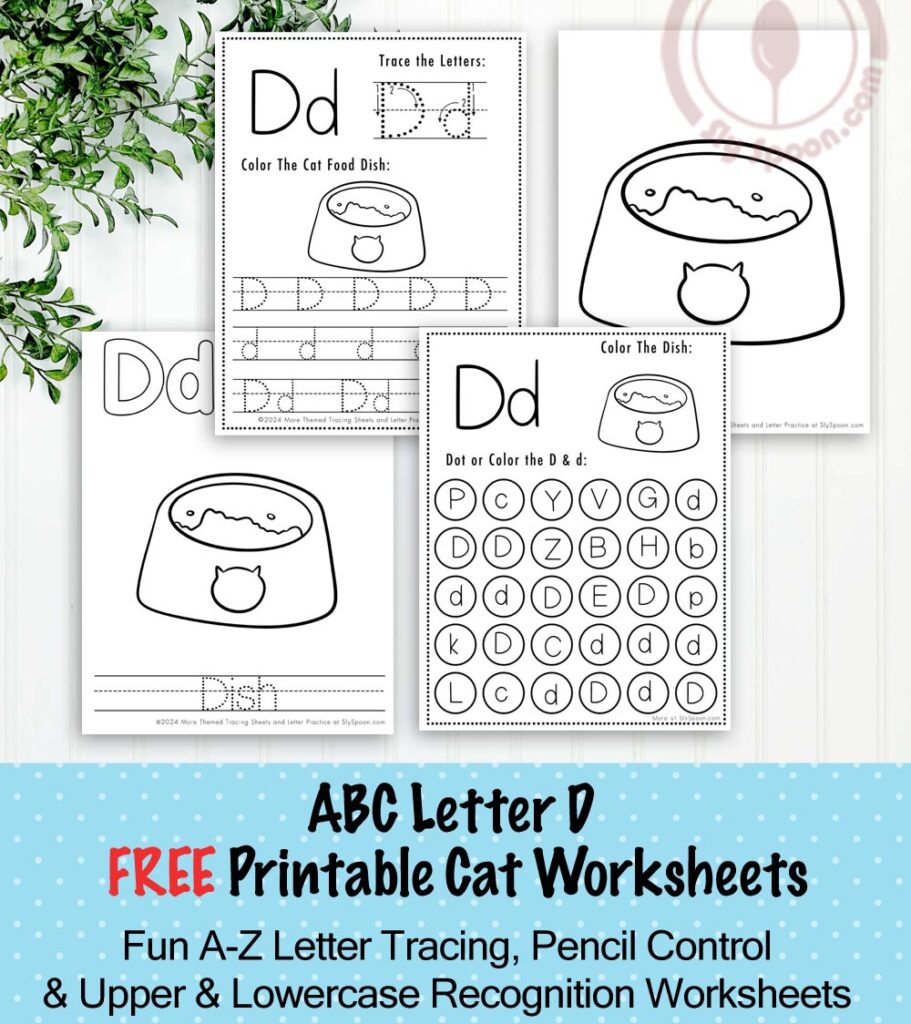
Hey there cat and kitten lovers! I am so excited to introduce you to my new blog series, featuring ABC tracing pages for kids themed around all things cat. These free printable cat themed Letter H tracing worksheets, do a dot worksheets, and coloring pages are sure to make learning the alphabet fun and engaging for cat lovings kids.
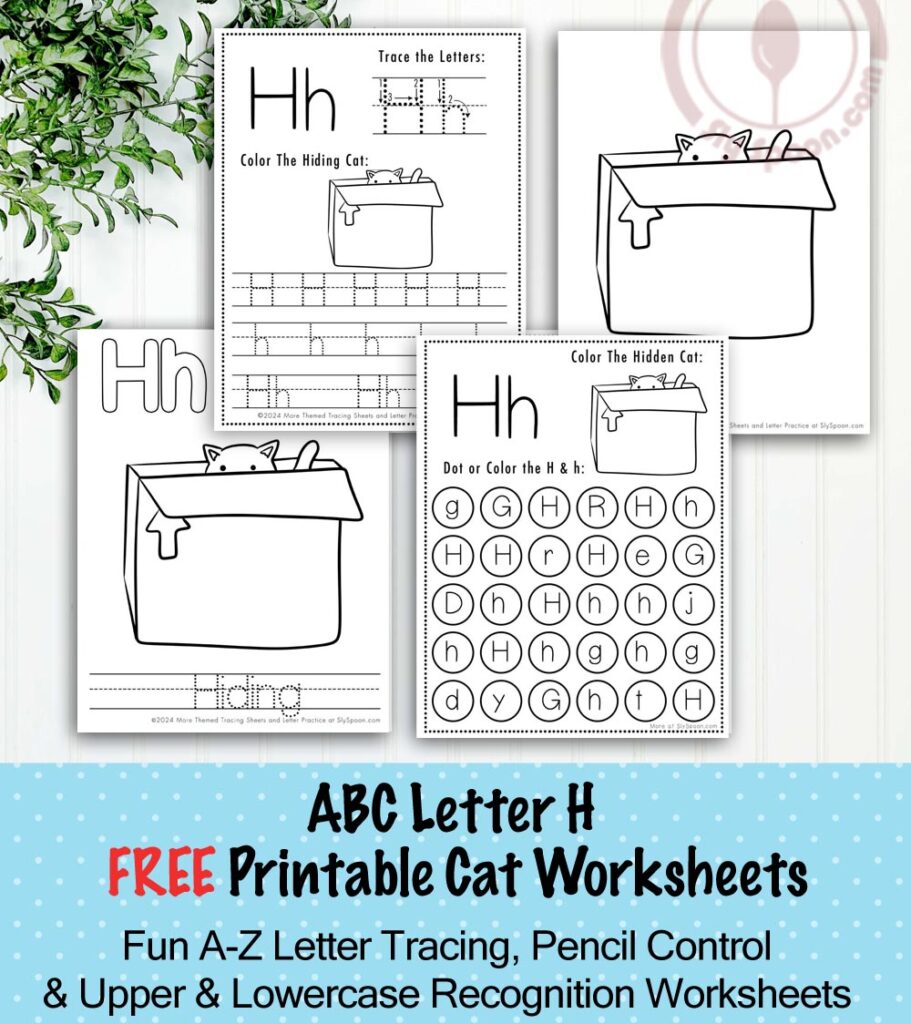
These are great for working on their letter recognition and tracing skills, and also fun to color.
And as a mother of 4 young children, trying to raise my kids in this economy where everything is wildly expensive… well I wanted to make something fun, useful, and free. So I made:
- A-Z Cat Themed Upper and Lower Case Letter Tracing Worksheets
- Cat themed drawing/tracing pages to help with pencil grip
- A-Z Cat Themed Dot Marker Pages
- A-Z Cat Themed Coloring Pages
- as well as mermaid, dinosaur, unicorn, holiday themes and more in my A-Z resource page
All of them are free downloadable worksheets where you don’t have to sign up for anything to access them, just print, click, and help your child learn while keeping things a little more whimsical.
Join My Newsletter to download more free, themed, tracing worksheets and letter play activities from my freebie vault.
So here are fun, free, and easy to use worksheets that (I hope) your child will love.
They’re intended to:
- Reinforce letter recognition
- Practice handwriting skills
- Be fun
Click the image below to download and print designs you’re interested in, or join my newsletter to download a bundled and themed letter worksheets file in any of the themes accessible through my freebie vault.
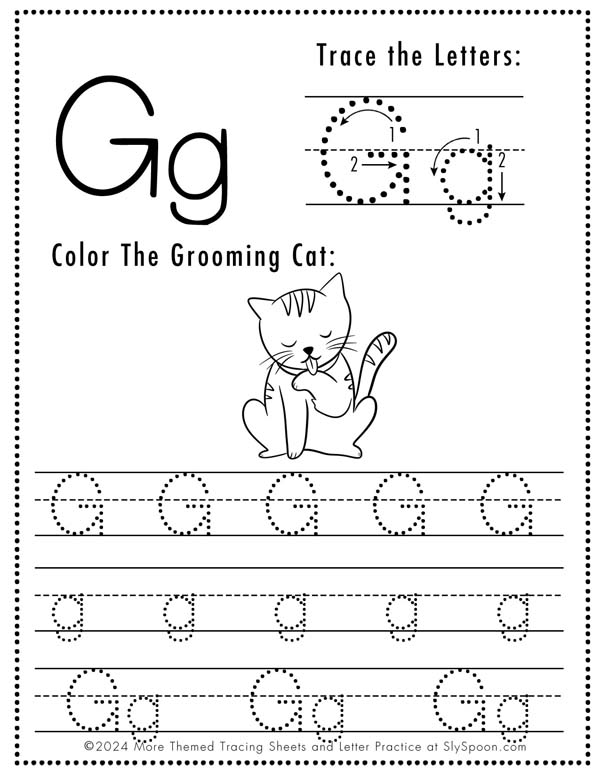
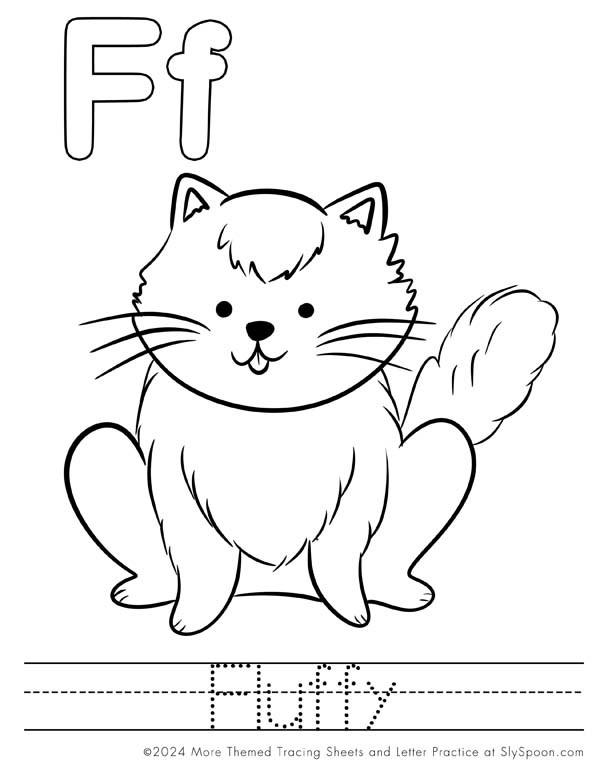
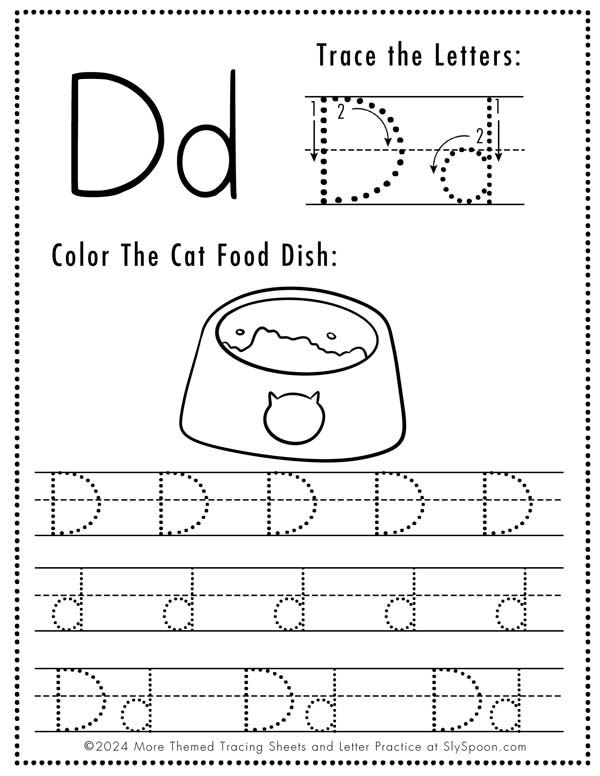
Letter H is for “Hiding,” just like the cute hiding cat your child will be coloring. Your preschooler will have a blast tracing the uppercase and lowercase Letter H, as well as practicing their fine motor skills as they color in the cat.
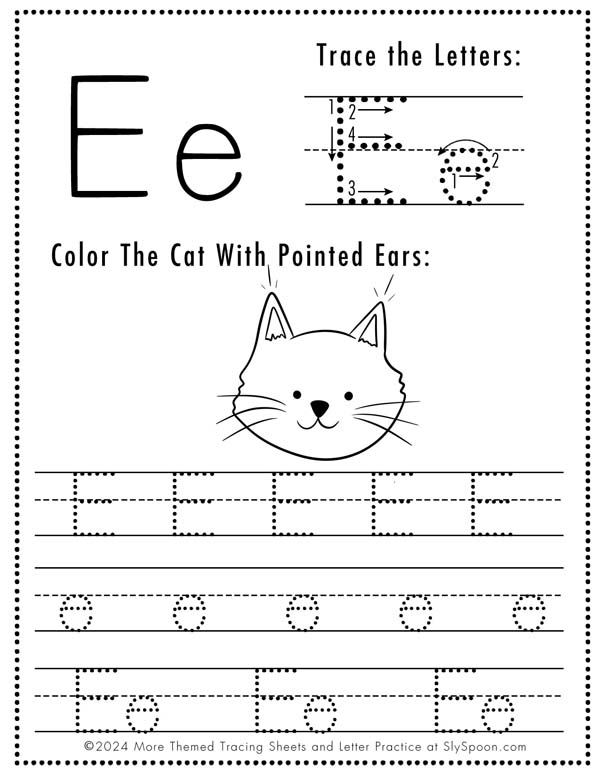
Cat Themed Lower and Upper Case Letter H Tracing Worksheet
Click image to download and print

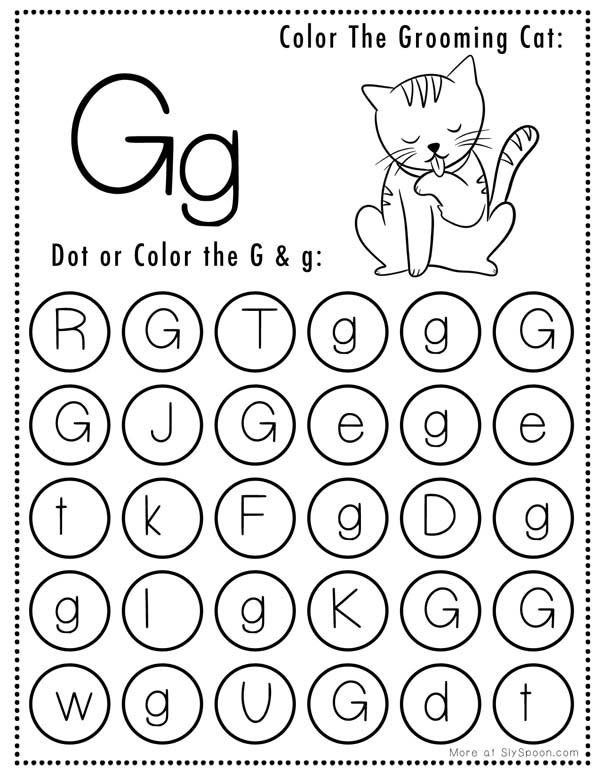
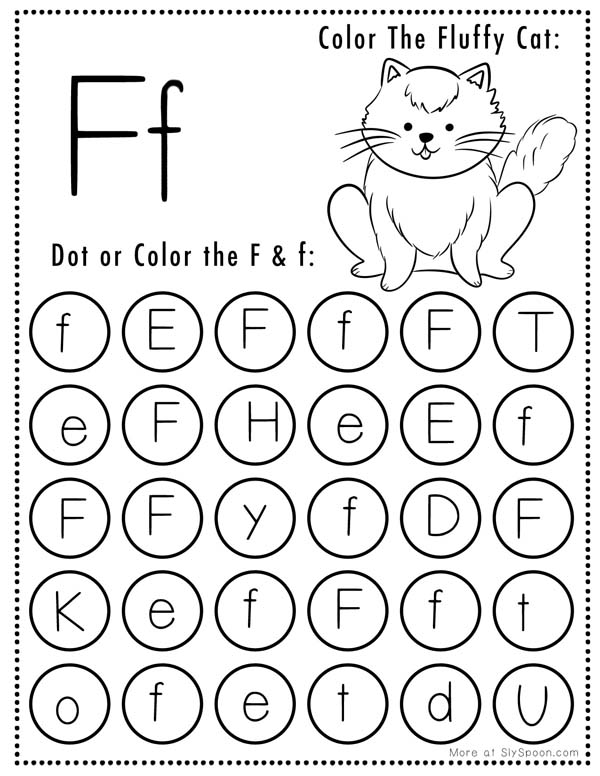
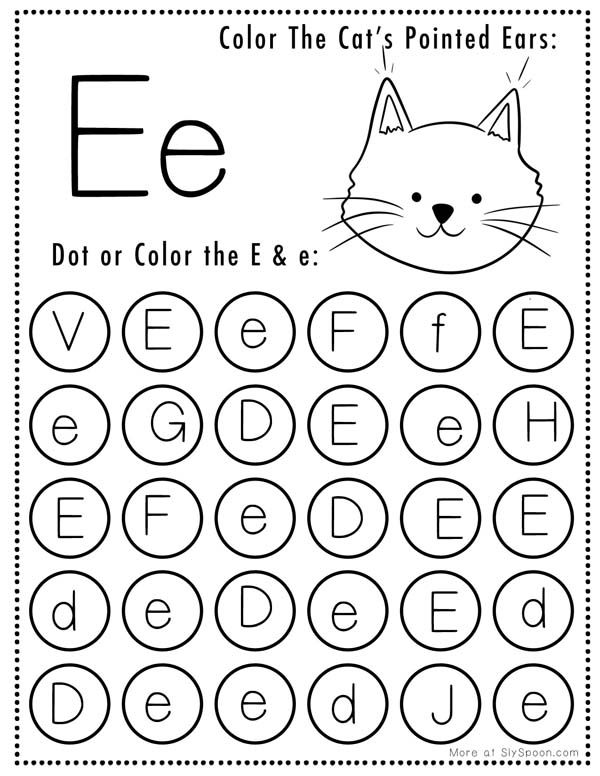
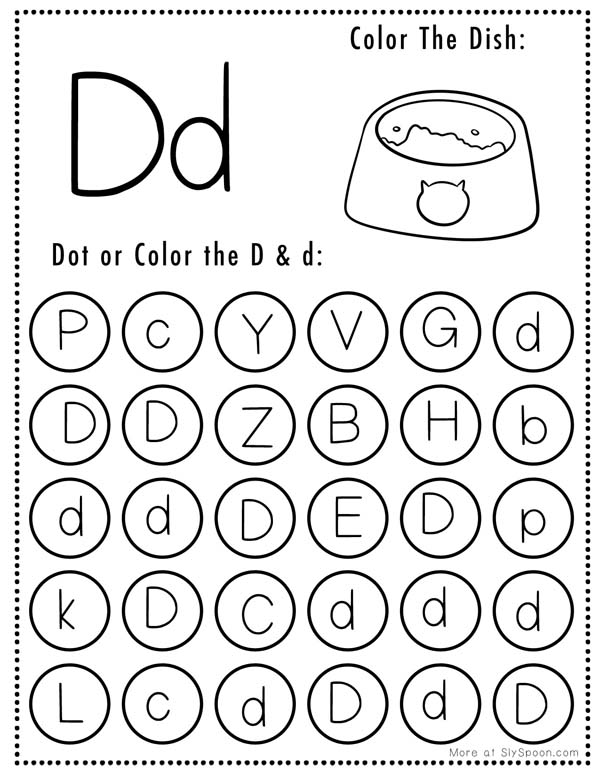
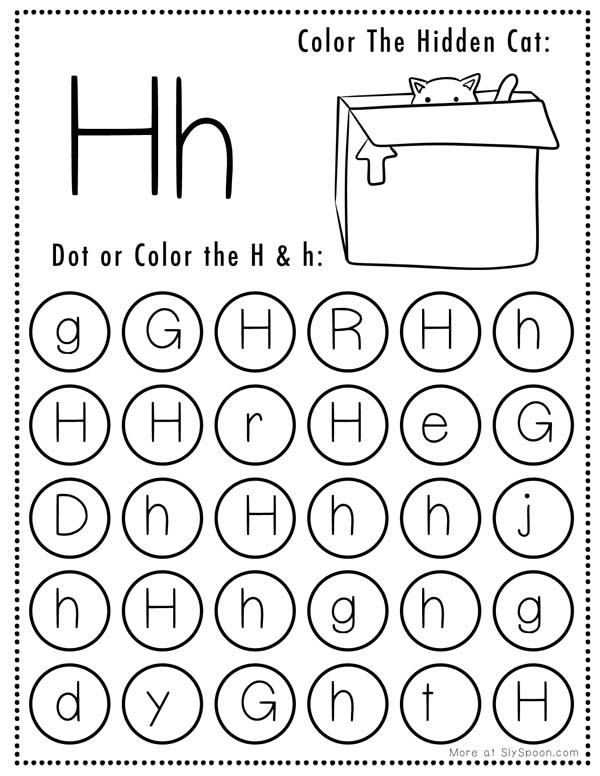
Cat Themed Lower and Upper Case Letter H Do a Dot Letter H Capital and Lowercase Recognition Page
Click image to download and print
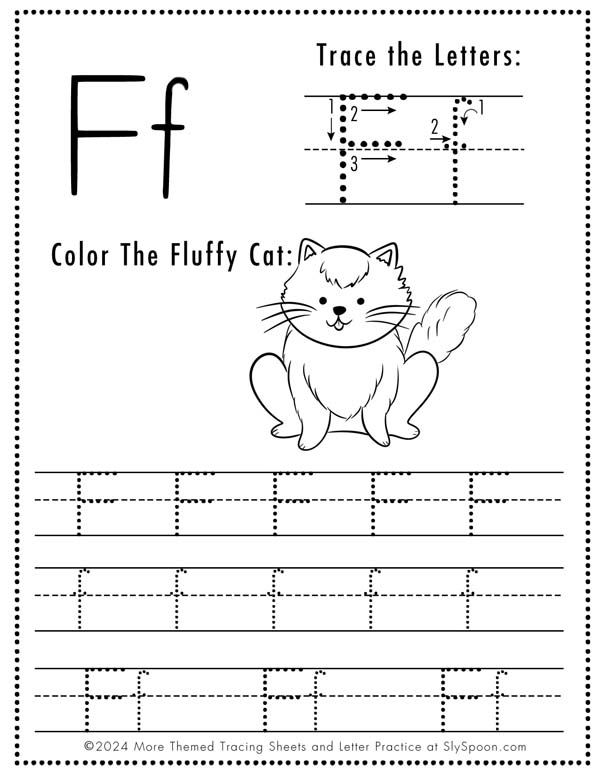
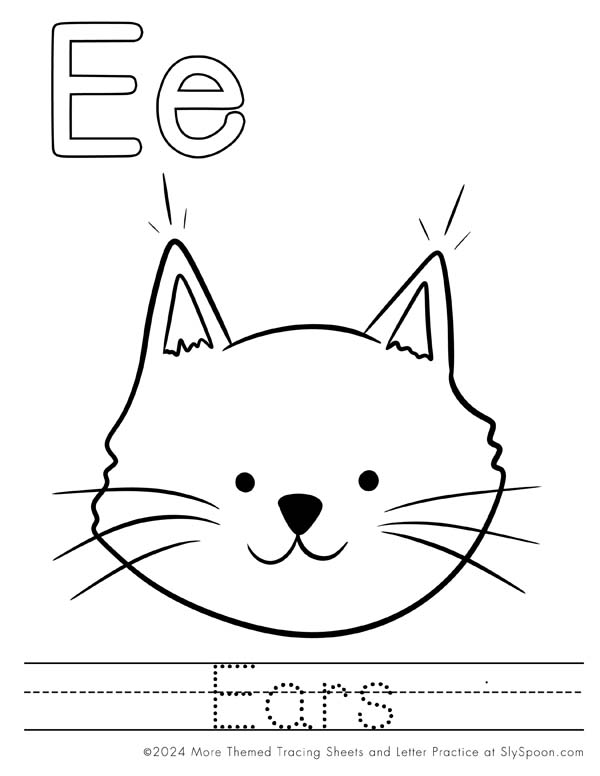
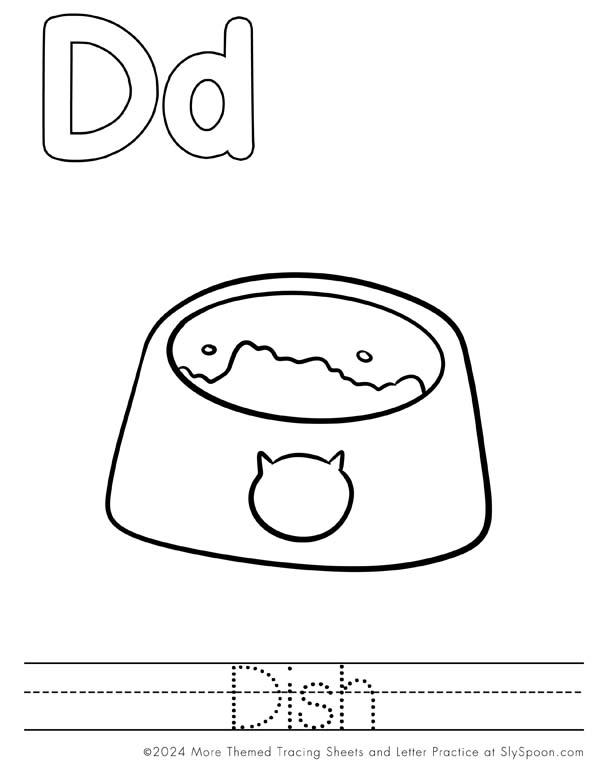
Cat Themed Letter H Coloring and Tracing Page
Click image to download and print

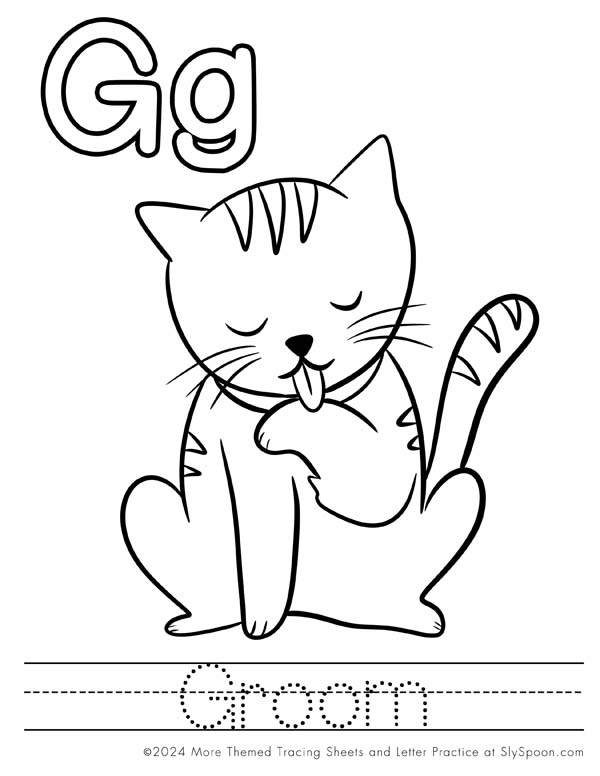
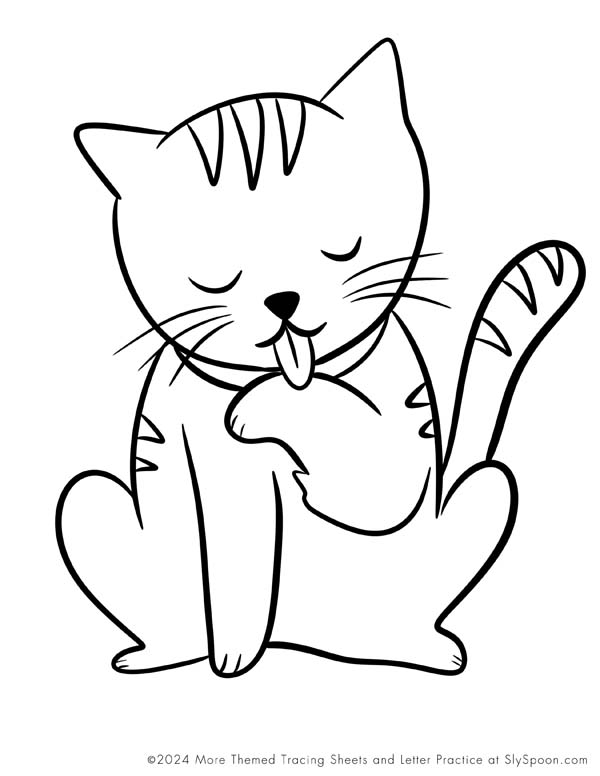
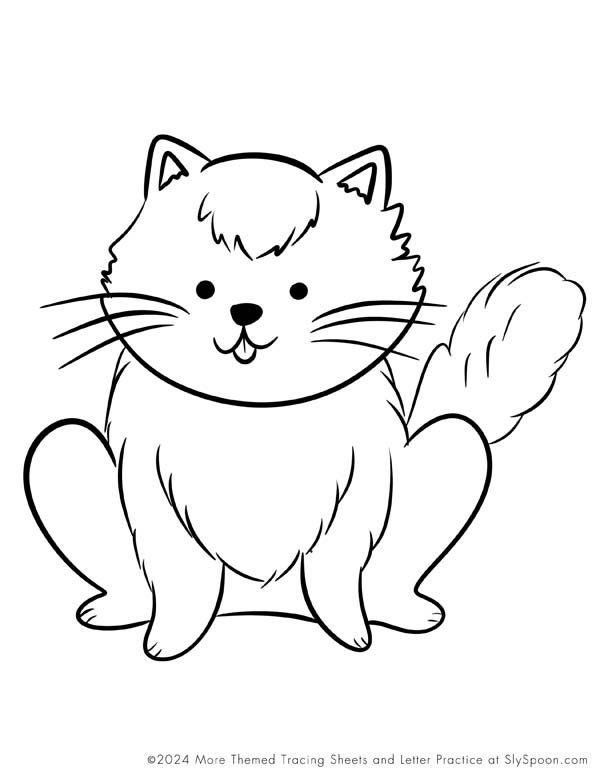
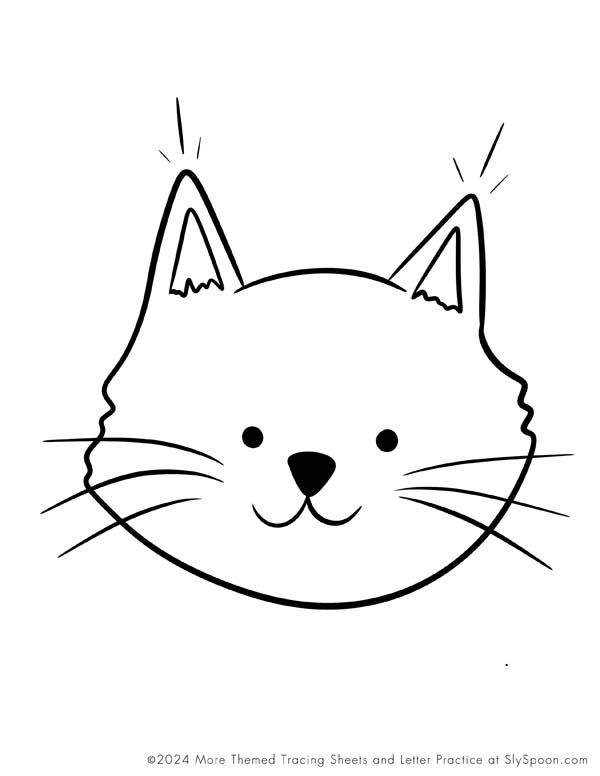
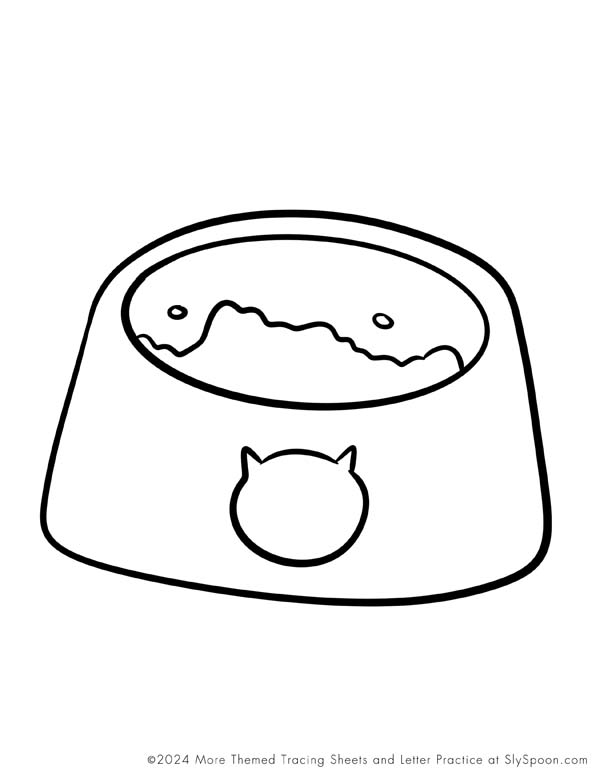
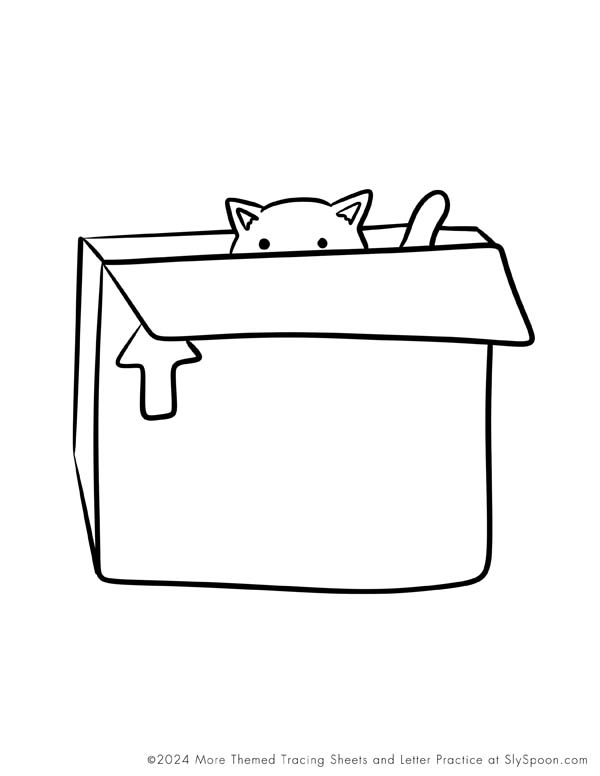
Cat Themed Letter H Coloring Page
Click image to download and print
So, what are you waiting for? Download your free printable cat themed Letter H tracing worksheets today and get ready for some purrrfectly adorable learning fun with your little ones. Remember to sign up for my newsletter for access to even more freebies that will keep your preschooler entertained and engaged for hours on end.
I hope these printable cat Themed Worksheets bring a spark of joy and creativity to your child's learning and coloring time.
Looking for more fun? Find Cats and beyond:
- A-Z Cat Worksheets by Letter
- Trace the Cat Drawing Pages (To Improve Pencil Grip)
- Letter Tracing Worksheets (Free Printable) Mermaid Themed
- Letter "Do A Dot" Worksheets (Free Printable) Mermaid Themed
- Letter Tracing Worksheets (Free Printable) Dinosaur Themed
- ABC Everyting Worksheets and Beyond
Grab of Copy of "Unicorn For A Day" on Amazon.
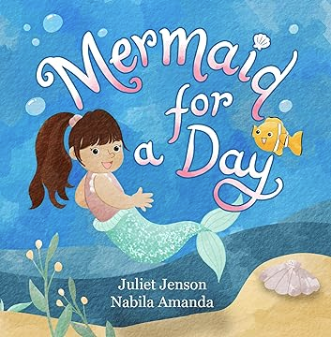
"For A Day" Picture Book Series Preview
 |
 |
 |
 |
 |
|---|---|---|---|---|
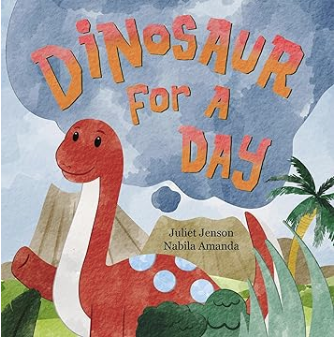
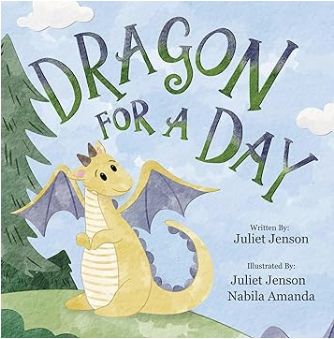
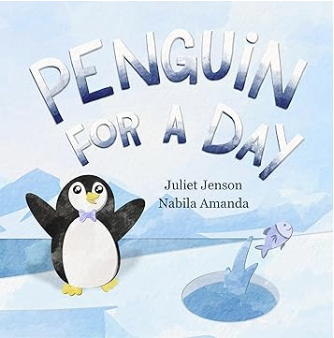
| Unicorn For A Day | Mermaid For A Day | Dinosaur For A Day | Dragon For A Day | Penguin For A Day |
| A kind girl becomes and unicorn for a day and plays games with other unicorns including sky hopscotch, making magical flower meadows, and racing with forest animals. | A kind girl becomes and mermaid for a day and plays underwater games with other mermaids including seaweed hide and seek, swimming with dolphins, and exploring sunken pirate ships. | A kind boy gets his with to become a dinosaur for a day. He plays games with other friendly dinosaurs including coconut soccer, building a fort, and throwing stones into a volcano to make lava splash. | A kind boy gets his wish to become a dragon for a day. He spends the day playing with other friendly dragons. They fly together, squish clouds until it rains, make s'mores with their fire breath, and more. | An honest boy gets his wish to become a penguin for a day. He spends the day playing games with other friendly penguins including hockey, having a snow ball fight, fishing, and so much more. |