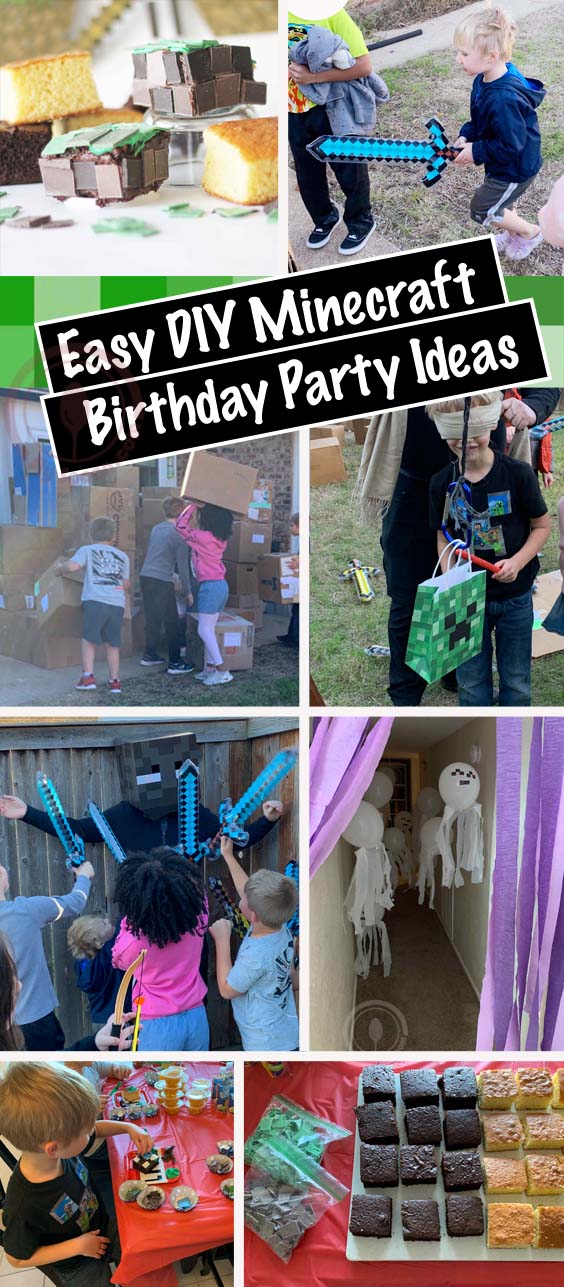

My son turned 7 recently, and as many seven year olds, he’s completely obsessed with Minecraft, and wanted a Minecraft themed Birthday Party. Usually we just do family parties, because renting out a big place for all my kids classmates just isn’t in the budget, but my son really really really wanted a friend party, and honestly I can’t blame him. I let him choose a handful of his closest friends to invite and then got my brain in gear trying to plan a fun, easy Minecraft party that wasn’t going to break the bank (one I hoped to pull off while also caring for my toddler and 3 month old baby). It felt like a tall order, but we made it happen and had a great time and I’m here to share what worked and what didn’t, and I hope to inspire a few of you with some ways to pull of your own fun Minecraft birthday parties.
*Word of Warning* Two hours was too long for a DIY birthday. The kids were done and no longer interested activities before it was over, and a pack of seven year olds can turn rabid fast. I’d suggest an 1-1.5 hour party instead.
Disclosure: I want to give you a heads up that this blog does use affiliate links (which means I make a percentage of the sale if you buy something) and this post might be sponsored or contain affiliate links. In either case please know all opinions are my own.
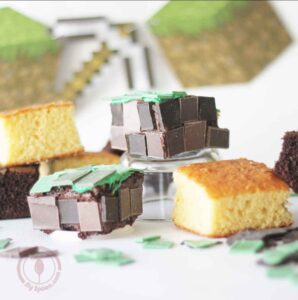
Minecraft Cake and Minecraft Cupcakes
First for me was figuring out a cake.
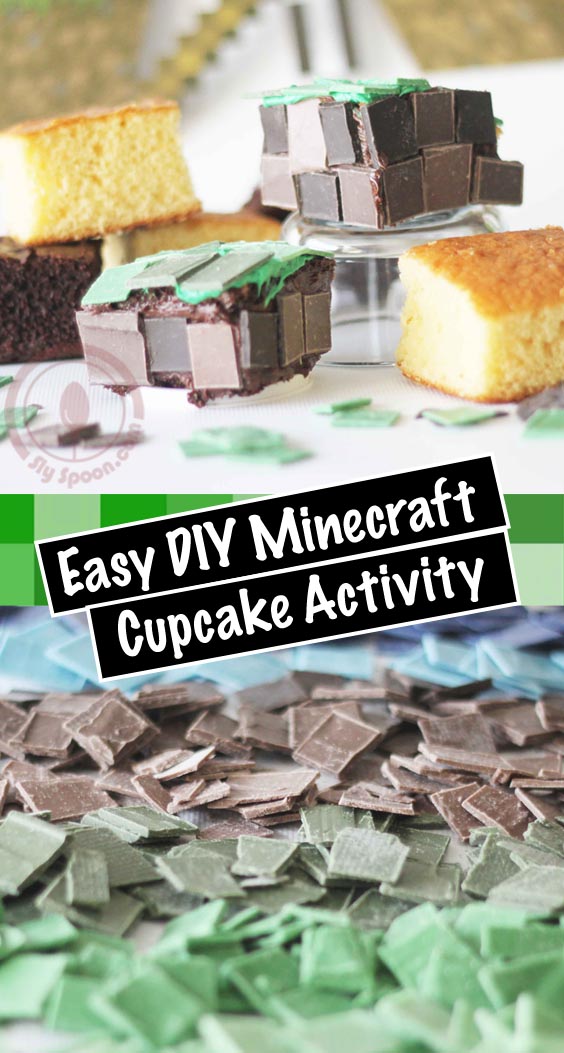
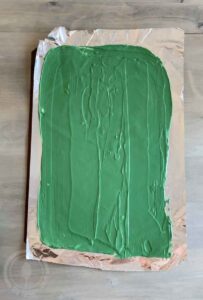
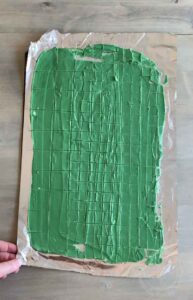
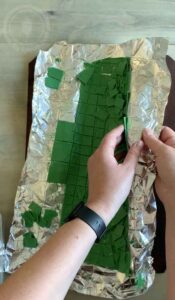
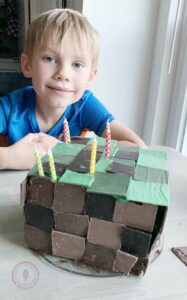
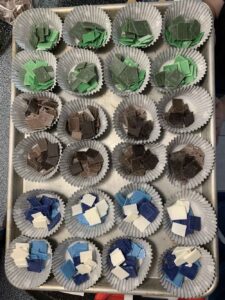
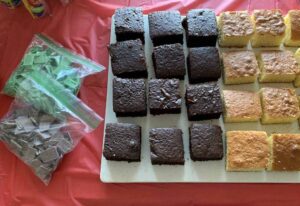
I love making my own cakes for my kids birthdays. I’m not fantastic at it, but I enjoy it, it’s part of my love language, and I wanted to make a fun Minecraft cake for my son. It didn’t work out quite as well as I’d envisioned, but my son still loved it, and I also wanted the kids at the party to be able to build their own Minecraft cupcakes for an activity, so I went all out. The cupcakes were a huge hit, and if you have the time to melt and cut some chocolate I would 100% recommend this as a treat and activity. You can view a longer post about my process and the do’s and don’t I discovered along the way in my post Easy DIY Minecraft Cupcakes and Party Activity.


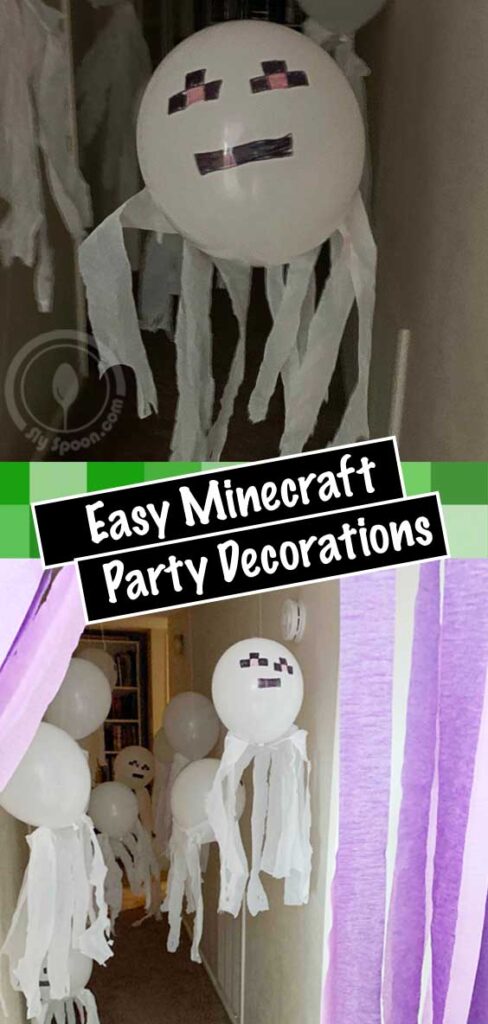
Easy Minecraft Party Decorations
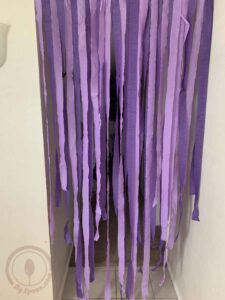
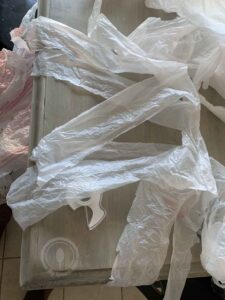
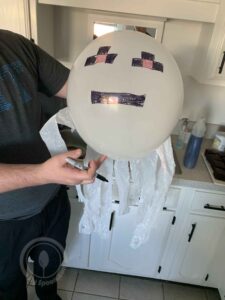
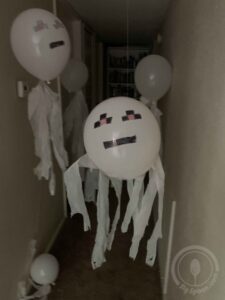
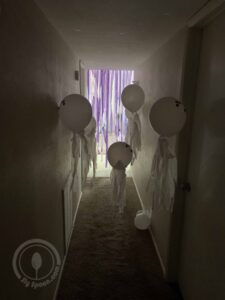
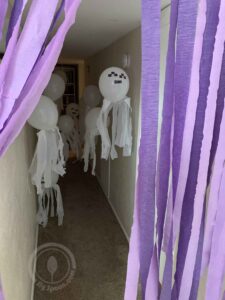
Next was Decorations. I bought a small pack of Minecraft themed decorations and then used some streamers, balloons, bags and markers to make my own Nether Portal. It only took a few minutes to put together and we didn’t tell the kids about it, just let them discover it on their own when they needed to wash their hands or go to the bathroom, but toward the end of the party we had the Ghasts come out for the kids to battle 🙂
You can read up more on the supplies and set up in my post Easy DIY Minecraft Party Decorations.

Easy Minecraft Party Games
Texas usually stays warm throughout October and knowing my house is a bit tight I planned a bunch of outdoor activities… but then my son got sick the day of his party so we had to postpone and by the time I rescheduled it, it was fairly cold outside, I think the kids still had fun, but I also think I should have planned a few more inside activities.
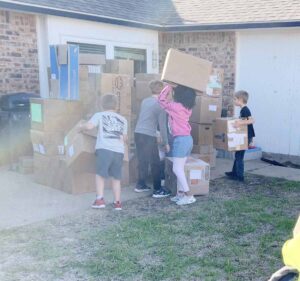
We did Minecraft training with plastic bow and arrows, and strength and balance training with moving boxes around the yard, as well as different relay races with the boxes, such as the first team to move them across the yard and stack four on top of each other. The tallest tower, the straightest line, the strongest fort etc.
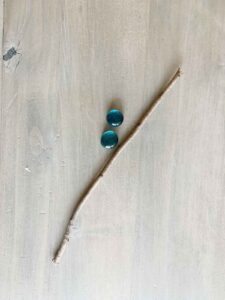
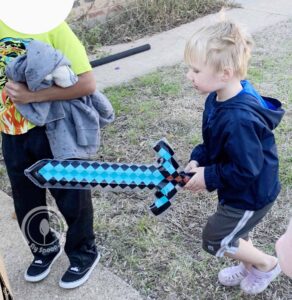
We did a treasure hunt, were the kids had to find two diamonds and a stick to “Craft a sword”. For this we hid little glass beads around the yard for them to hunt for and a few small sticks. Once they found theirs they brought them to my husband and his “Crafting Table” and exchanged them for a Minecraft Blow Up Sword. (the swords were my semi splurge/party gift, and I got them off Amazon here).

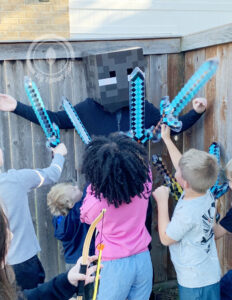
Once they all had their swords it was time to put their skills to the test. They had a few minutes to gather all the boxes and build a strong fort before the “Enderman” came to attack. We had this cardboard head from Halloween, (I couldn’t find the exact one on Amazon, but I found a “Creeper” head that I think would work just as well, and I think you could cut holes in just about any box and make one pretty easily.)
Anyway, my dressed up husband terrorized the fort and we let the kids attack him with their blow up swords. They had a lot of fun, but turns out 7 year old can be pretty blood thristy when given the opportunity. … so be ready to fun and for a bit of mayhem should you choose to pursue this activity.


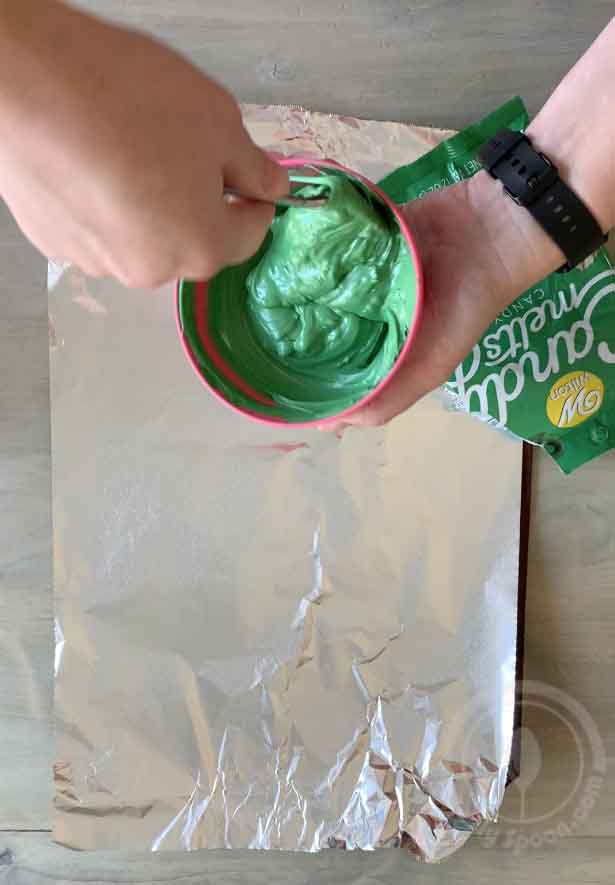
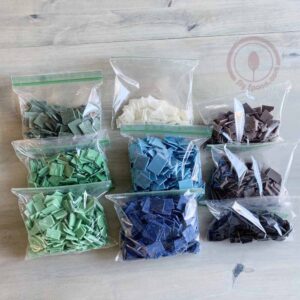
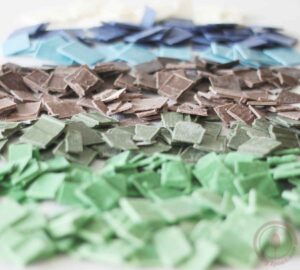
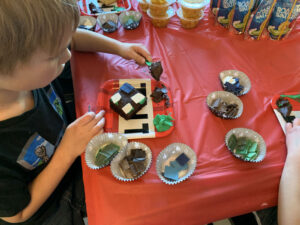
… after letting the kids chase and beat my husband we needed to take the energy down so we came inside and had pizza and they decorated and ate their cupcakes. It was a perfect transition activity and the kids loved getting to choose their cake base “Mudbrick” (Chocolate) or “Sandstone” (Vanilla) then they each got a smear of brown and green frosting and three little cups of chocolates in different hues of brown and green to make their own creations with. We’d planned to show off what we made, but they proved to be too delicious, and were eaten before they had a chance to be displayed. (I made one after the fact for pictures so you can get an idea of what they could be) – Details on how I made the pieces here.


When they were finished would have been a good time to open gifts, but we decided to wait until after the party to open the gifts for personal reason.
So we went back outside and did a few more relay and yard games… unfortunately the kids were kind of done at this point. We had a pin the eyes on the Minecraft Enderman games, but they weren’t interested in playing, so my husband and I ended up tag teaming to keep everyone out of trouble while waiting for the clock to run down. Thankfully I had one last show stopper of an activity planned.
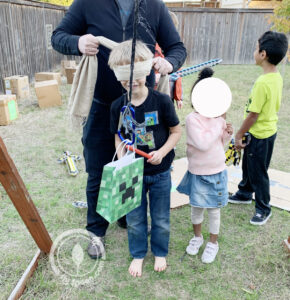
Personal Minecraft Pinatas
This had the kids full attention, and it was fun, easy and a great way to get through that final stretch of time without too much chaos. I also used it as a way to hand out some party bags.
I was going to buy green bags and just draw the “Creeper” face on them, but ran out of time and ended up buying the bags on Amazon, you can find a link to the ones I got here.
I filled them with a few pieces of candy, a glow stick, and some Minecraft shaped glasses that I got from the Walmart party section.
Then we moved the swings to the side of our playset (since we didn’t have a big tree available) threw a rope over the the top with a carabiner clip, clipped a party bag to it, and let the kids (one at a time) have at the paper bag with their blow up swords until it ripped and fell down. I think toward the end we found a stick to use to speed up the process a little, but we were also all entertained by the amount of time, effort and creativity that went into the kids trying to get the bag down with their lack luster weapons. #noregrets (we were trying to run down the clock until pick up and this was an awesome way to do it)

All in all we had an amazing time, and my sons loved it, and I hope their friends did too 🙂
Party Price Run Down:
Cake and Cupcakes total: $45
5 cake box mixes x $1.50
3 things of frosting (two chocolate, one green vanilla) x $2
4 bags of chocolate candy melts x $4
Decorations Total: $13.50
20 White Balloons – $1.50
Two colors of Purple Streamers – $1.50 each, $3 total
Minecraft Banner and Hanging Decorations – $9
Food: $59
6 Pizzas (Way too many, I think with three adults and 10 kids we ate two) – $7 x 6 = $42
I package Water Bottles – $3
2 packages Capri Suns – $5
3 packages Fruit Cups – $9
Games: $33
Boxes, scoured from Facebook Marketplace – $10
Minecraft Swords (16 pack) – $20
Colored Stones – $1.50
Bows and Arrows (free for me) but – $1.50/set (from Dollar Tree)
Minecraft Box Head (free for me) but $10 on Amazon
Goodie Bags: $31
Minecraft Paper bags (16 pack) – $10
Candy mix – $10
Minecraft Glasses (12 pairs) – $9
Glowsticks (12) – $2
Total Cost: $181.50 (Mostly from Food)