This post may contain affiliate links. Read our disclosure policy.

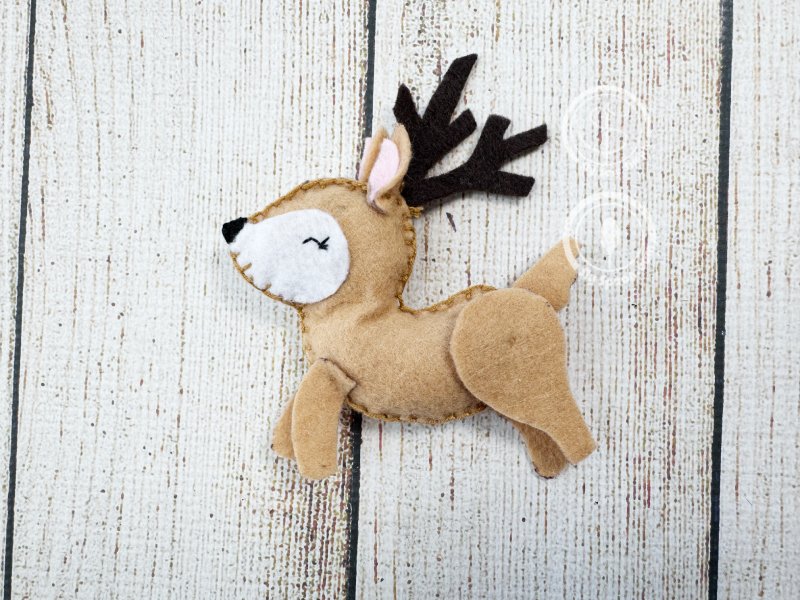
Looking for a cozy and creative Christmas craft? This felt reindeer sewing pattern is a perfect choice! Whether you’re crafting with kids, looking for a mindful holiday project, or making DIY ornaments to decorate your tree, this beginner-friendly tutorial will guide you step-by-step. Handmade felt ornaments add a charming, rustic touch to Christmas décor, and this little reindeer plushie can be used as a tree ornament, stocking stuffer, or even strung together with others to make a festive garland.
Sew an Adorable Felt Reindeer
Today, I’m excited to show you how to sew a cute felt reindeer plushie! This project works well for kids ages 8 and up (with some adult supervision), but it’s just as fun for grown-ups looking for a relaxing Christmas craft. Even if you’ve never sewn before, this pattern is simple, quick, and a wonderful introduction to hand stitching.
Want More Felt Sewing Fun?
Find more beginner-friendly felt sewing projects and step-by-step videos on my YouTube channel, Sly Sew Simple. I post new patterns, easy tips, and fun crafts for kids and grown-ups alike!
» Subscribe & Explore More
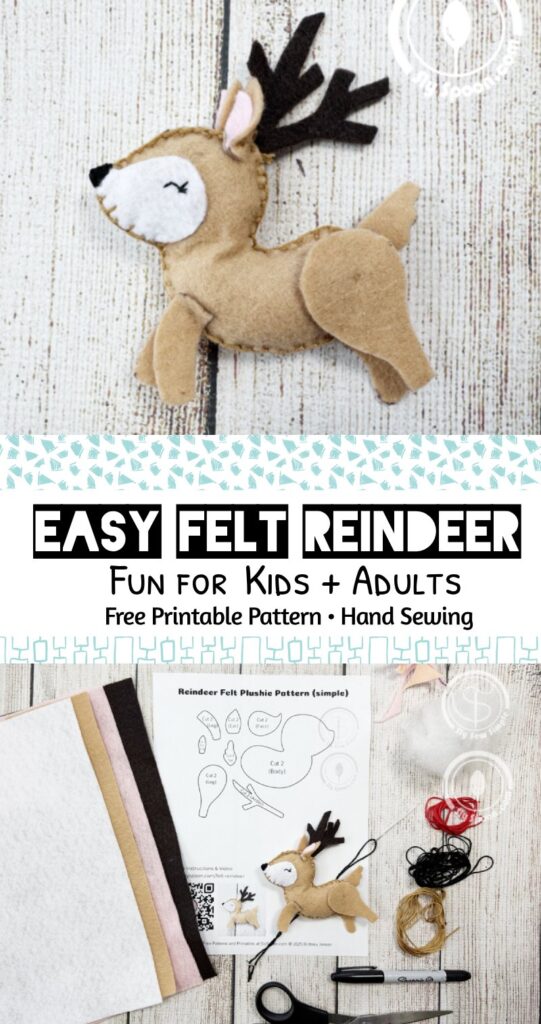
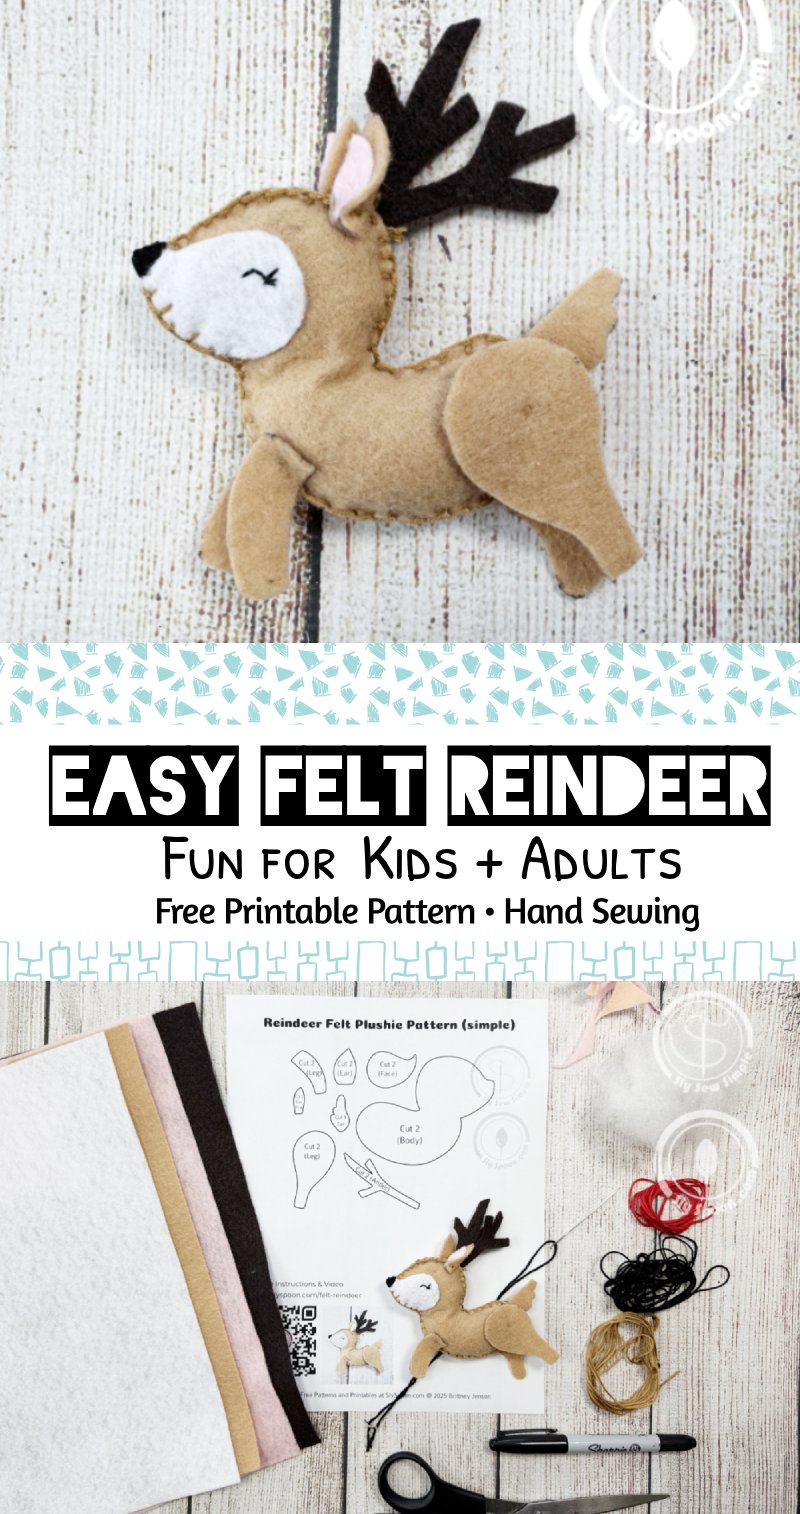
What You’ll Need
-
-
- Felt
- Free Reindeer pattern (link below)
- Markers (or similar) for tracing
- Embroidery floss (try to match the colors to your felt)
- Needle with the big eye / Embroidery Needle
- Scissors
- Stuffing (polyester filler, scrap felt, or even ripped-up plastic grocery bags)
-
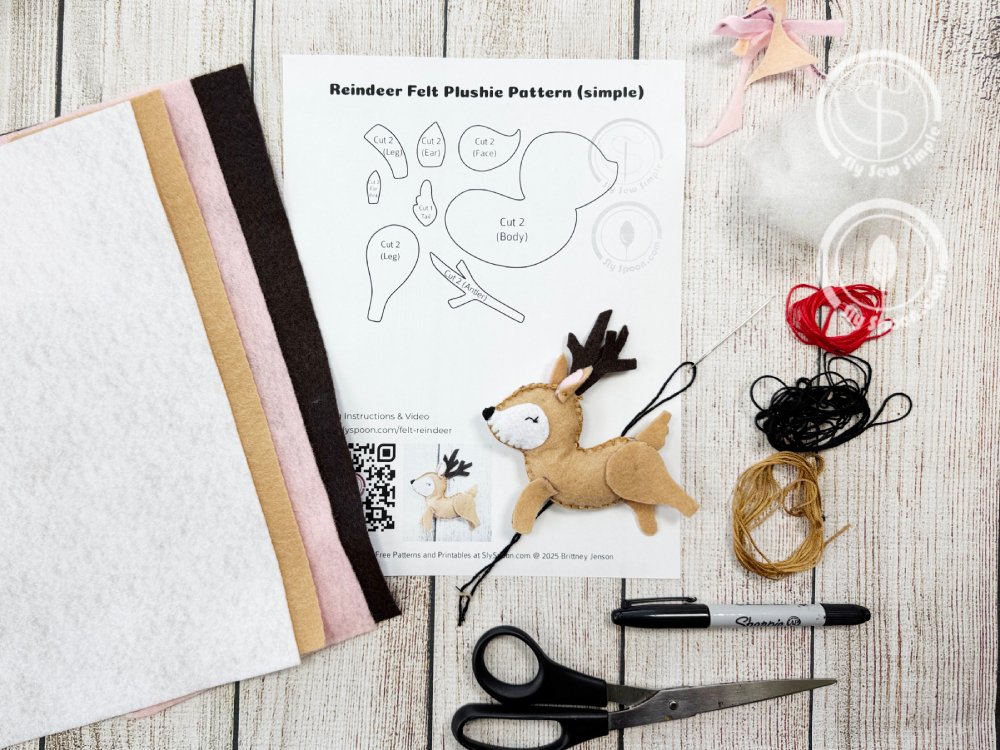
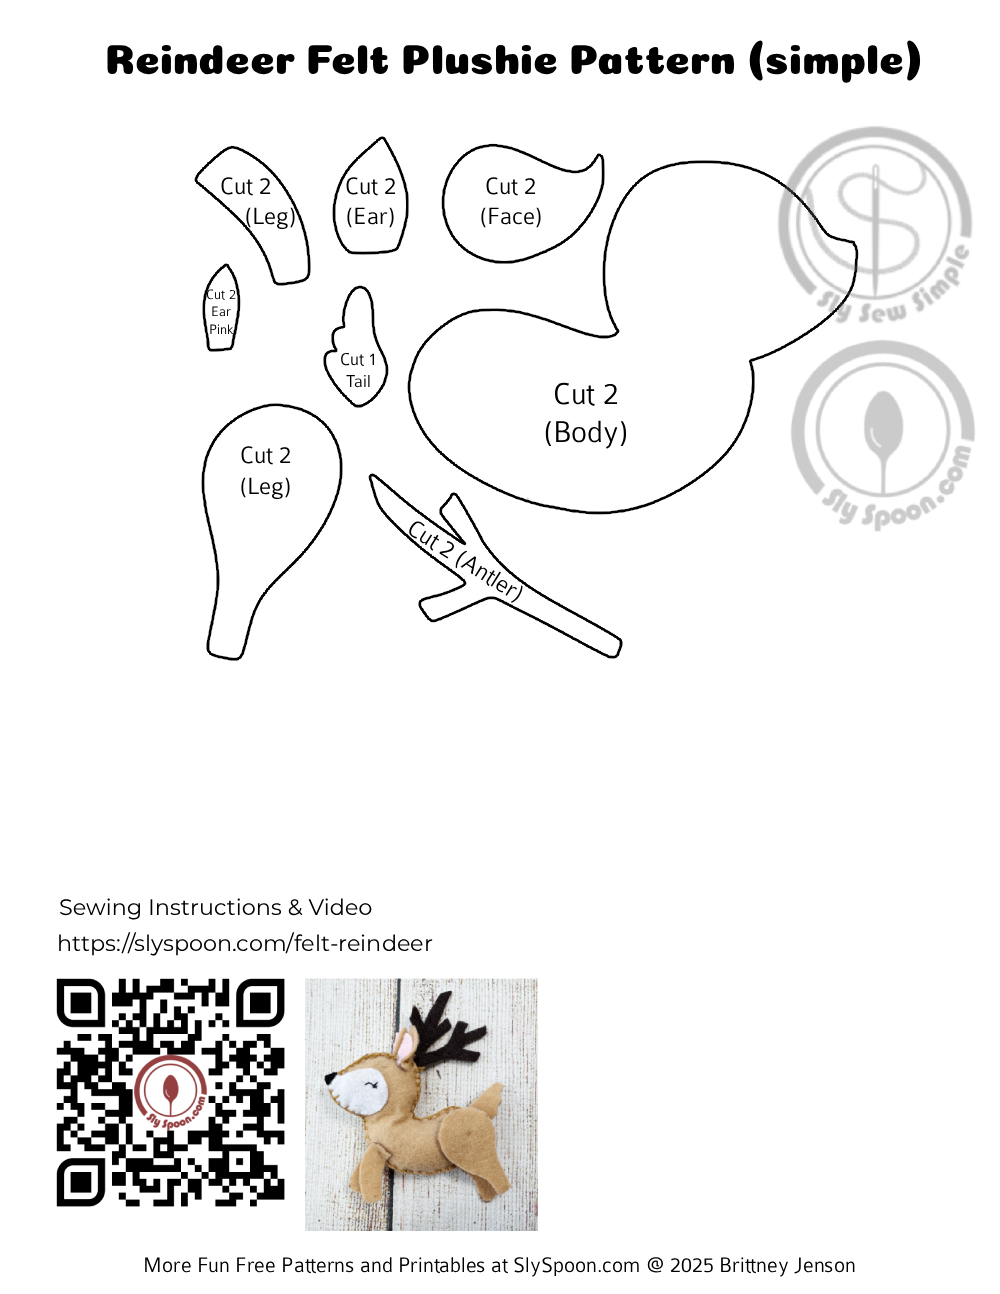
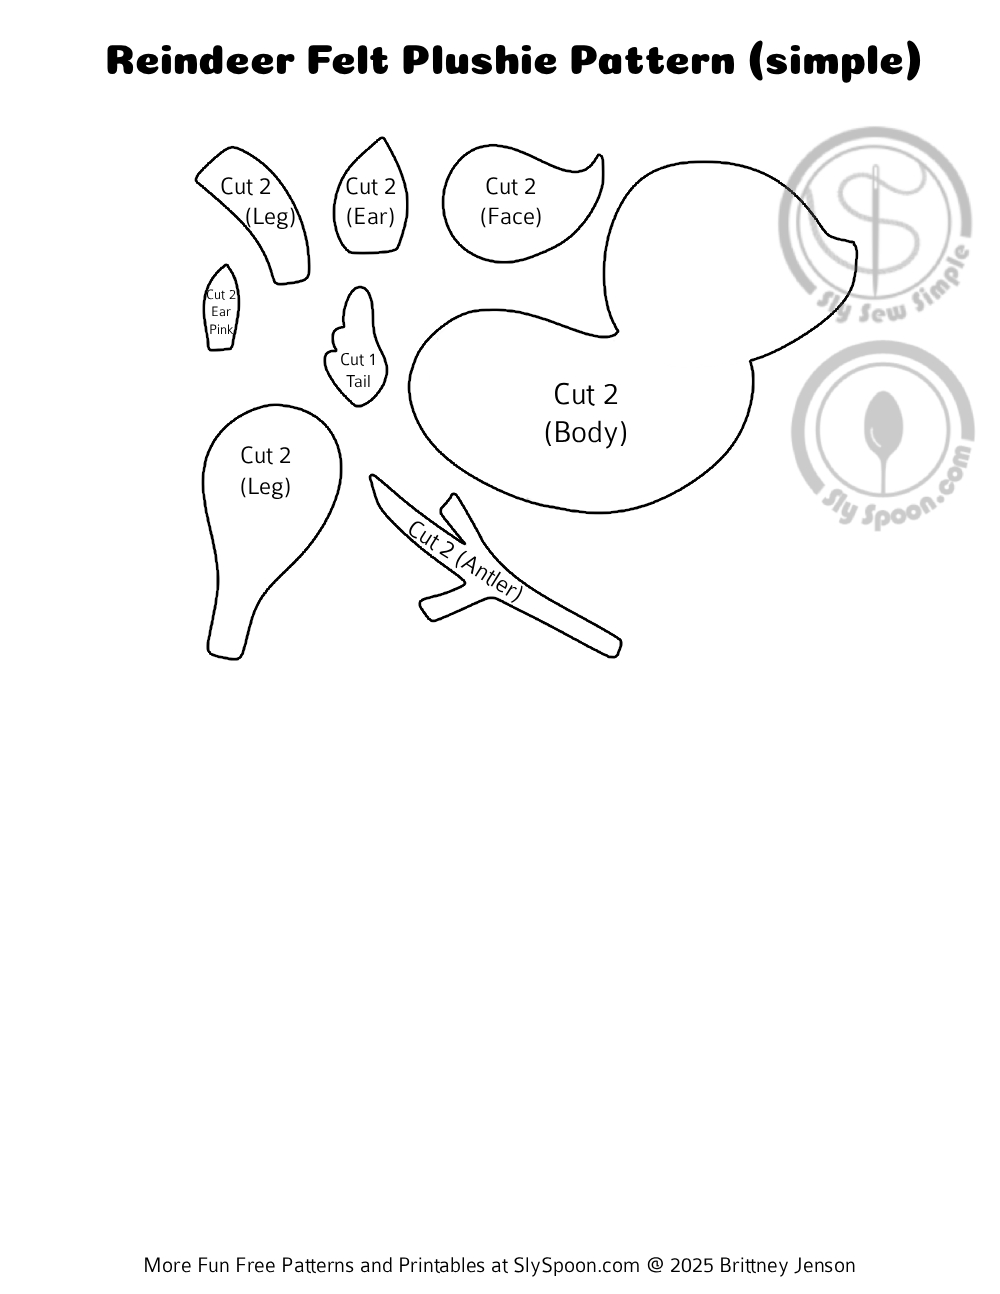
Step 1: Trace and Cut
Print the reindeer pattern and cut out the pieces. Place them on your felt, trace around them with a marker, and cut carefully. Flip the template for pieces you need twice, like the body. Trim away visible marker lines for a neat look.
(Tip: Save your scraps—they’re perfect for stuffing.)
Step 2: Attach the Ears and Legs
Reindeer have lots of little details, so this step is extra fun! Position the ears (both tan and pink layered together) on each side of the head. Use a knot stitch to secure them in place. Then add the legs, sewing them to the body piece in the same way.

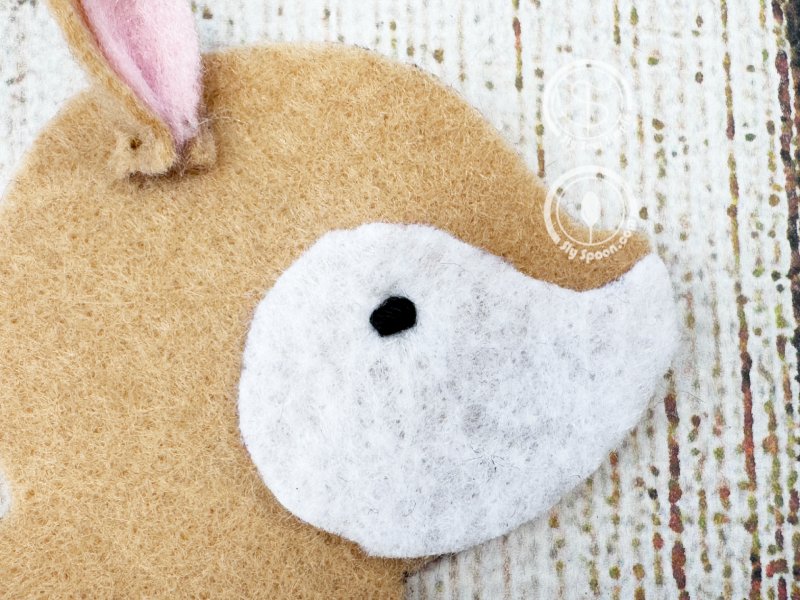
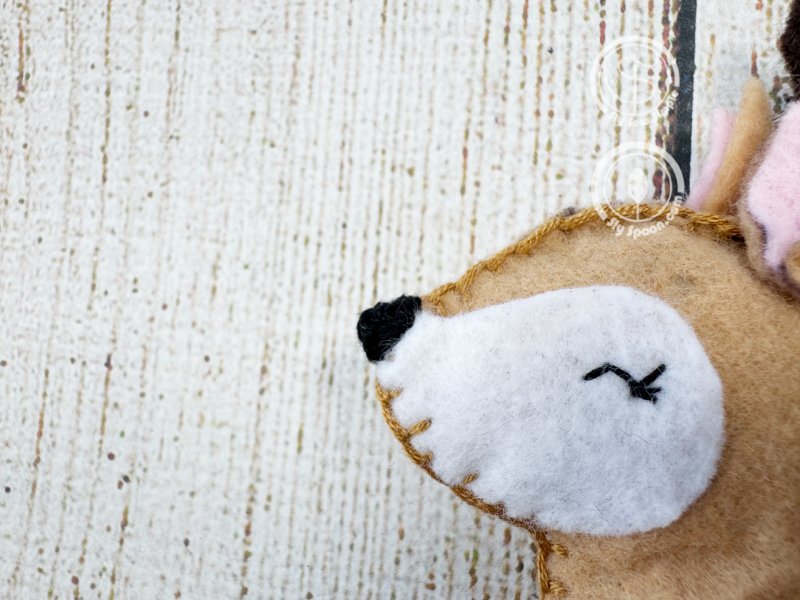
Step 3: Add the Eyes
For the eyes, layer the cream/white felt on the reindeers head, then make small knot stitches with black embroidery floss, sewing the white felt layer to the face felt in the process. Stitch a few extra passes if you want larger eyes.
Option 1 – Dot Eye)
- Make a simple knot at the end of the floss, then poke the needle from the back of the deer body piece to the front where you want the eye to be placed.
- Secure it by making a “knot stitch” — just pull the thread tight and tie a little knot by looping the floss and pulling it through.
- Before you repeat for the other eye.
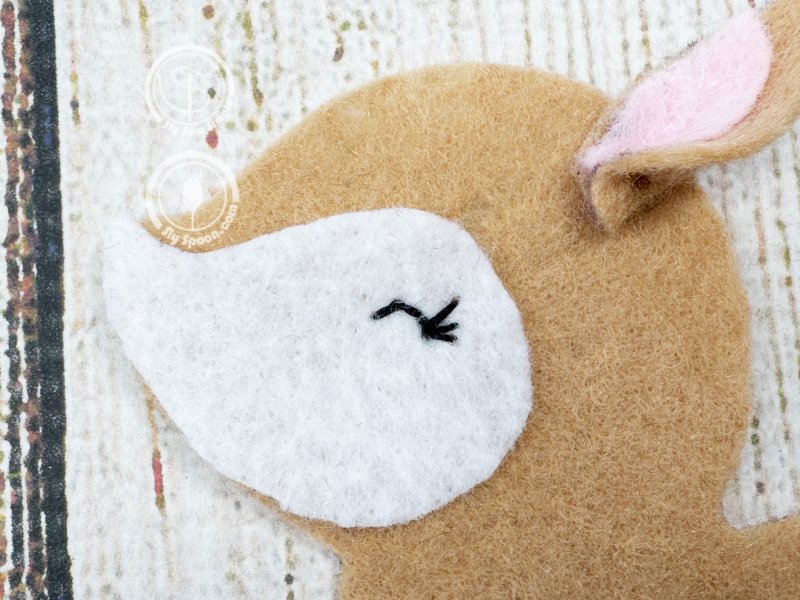
Option 2 – Lash Eye)
- Take a single strand from the middle of the bundle of your embroidery floss, thread your needle and tie a loop knot.
- Start a stitch on the back of the deers face and poked it forward and made a very small stitch before poking back into the deers head. Poke the needle forward again, just a little bit down from where you made your first stitch, and made sure that when you poke your thread back through, you go though the through hole of your previous stitch. and repeated those steps a 3rd time.
- For the eyelashes I poked my needle up a little away from the end of the eye, and then poked my need back through the end of the eye hole, and repeated that 3 times.
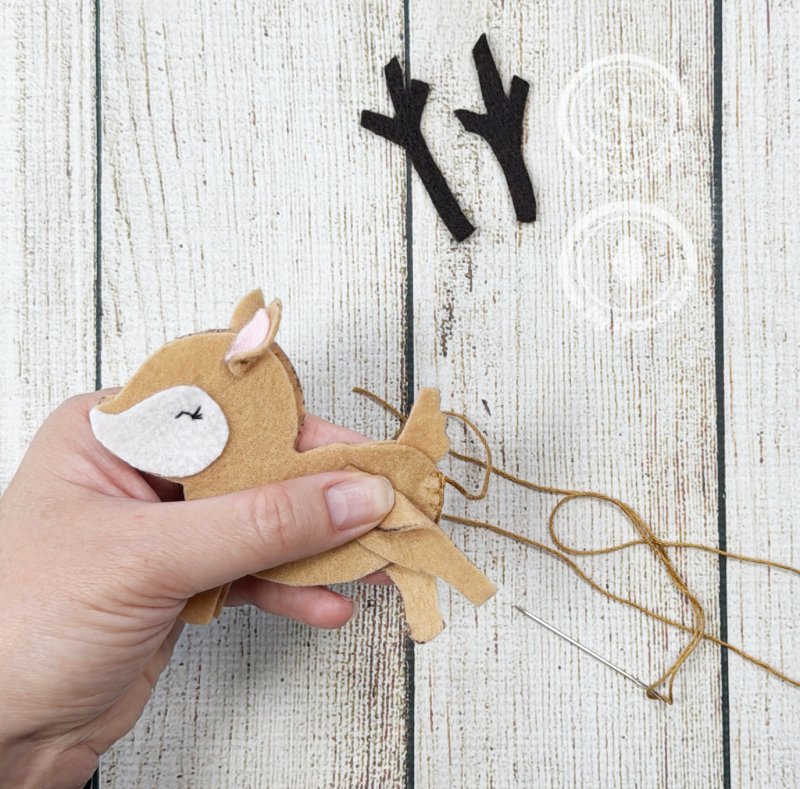
Step 4: Start Sewing the Body
Using a blanket stitch, begin sewing the two body pieces together around the edges. Start at a back leg and work your way up, leaving a small gap for stuffing later.
How to Blanket Stitch: To create a blanket stitch, insert your needle through both pieces of fabric and pause before pulling it all the way through. Pull the thread end (from your last stitch) around the top of your needle, then pull the needle fully through the fabric. Move down your felt slightly, poke the needle back through on the same side as your previous stitch, and again loop the tail end of the thread over the top of the needle before pulling it all the way out. Keep repeating this process, ensuring your stitches are evenly spaced and snug, until you reach the end of your stitching line.
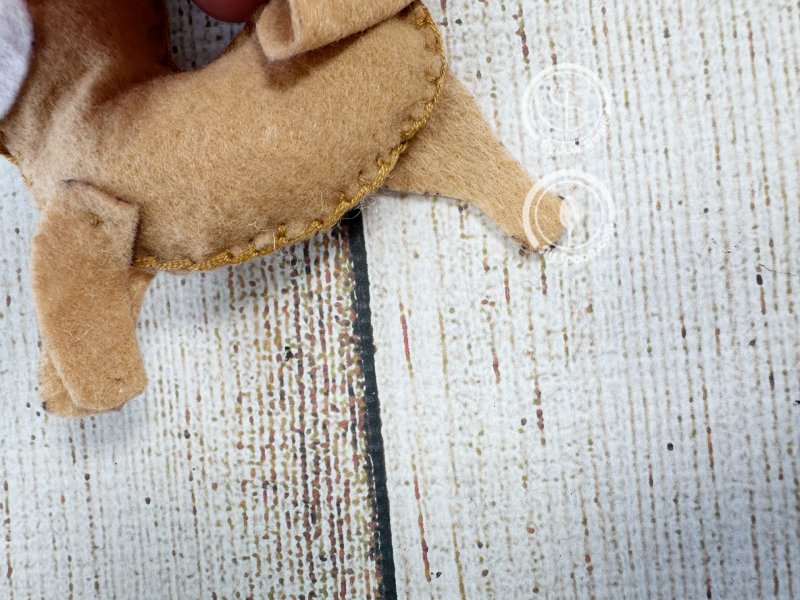
Step 5: Attach the Tail
Slip the tail piece between the two body layers as you stitch around the back. Secure it with a running stitch before continuing with the blanket stitch around the edges.
How to Do a Running Stitch: Start by bringing your needle up through the fabric from the back to the front and pull it all the way through. Move the needle a little forward and push it back down through the fabric, leaving a small gap. Pull the thread tight. Then, bring the needle back up through the same spot where it just came down, creating a small stitch. Continue this back-and-forth motion, moving slightly forward each time until you reach the desired end point of your stitching.
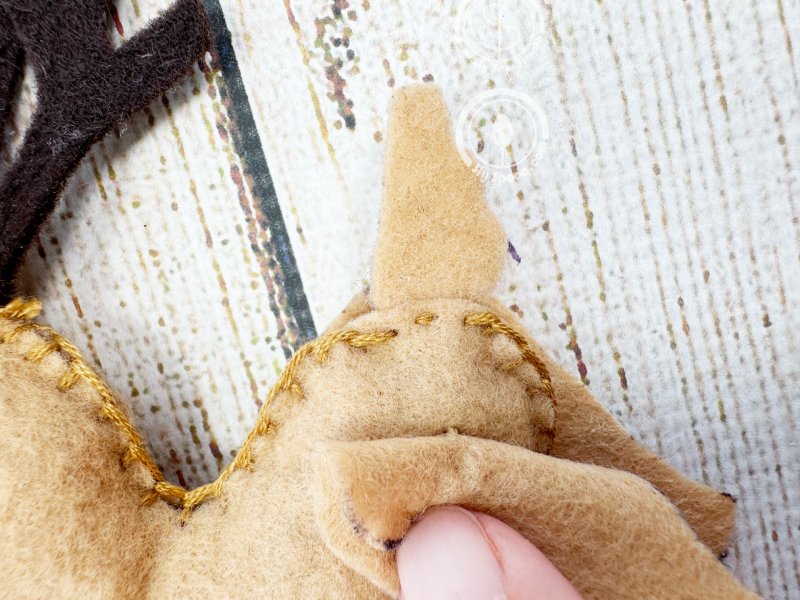
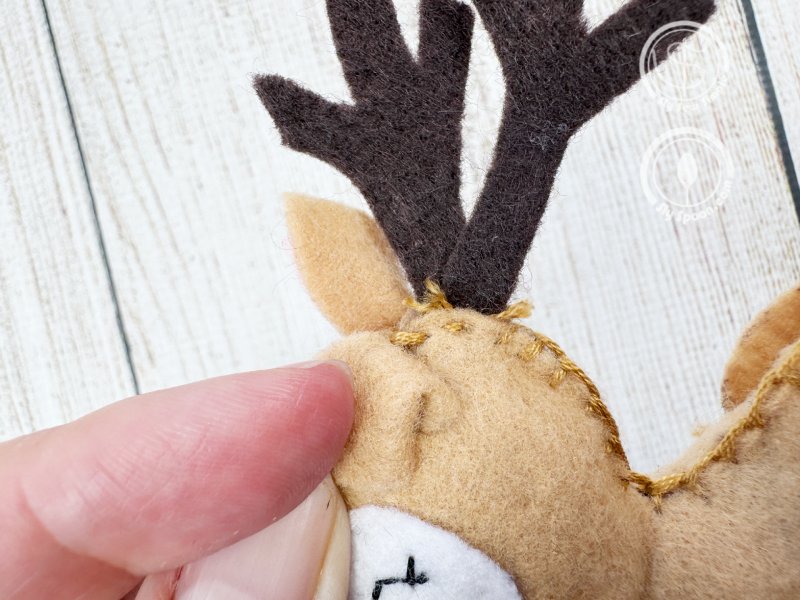
Step 6: Add the Antlers
Slip the antler pieces between the two body layers as you stitch around the head. Secure it with a running stitch before continuing with the blanket stitch around the face.
Step 7: Stuff the Reindeer
When you reach the opening near the front legs, add stuffing. Use small pieces so you can get into the face more easily. A pencil or chopstick helps push stuffing into tricky spots.
Step 8: Finish Sewing and Tie Off
Once your reindeer feels nicely plump, close the opening with blanket stitches. Tie a knot to secure your thread and trim away the excess.
Step 9: Add A Nose
If you’d like your reindeer to be Rudolph, stitch with red thread, if not, stitch with black thread.
-
Thread the Needle: Cut a piece of thread about 1 foot long. Hold one end and push it through the needle’s eye. Tie a knot at the end of the thread.
-
Start Sewing: Push the needle up through the felt where you want the nose. Pull it all the way through.
-
The Stitch: For a simple stitch, bring the needle back down next to where it came up. Pull the thread tight, then go up again a little bit away. Repeat this until the nose is as big as you want it to be.
-
Finish: When done, make a knot on the back of the felt to secure it. Cut off any extra thread.
Step 10: Add Final Details
You can leave your reindeer simple and sweet, or add extras—like a stitched smile, a little felt scarf, or a loop of ribbon at the top to turn it into a Christmas tree ornament.
🎄 And there you have it! Your own handmade felt reindeer plushie—perfect for kids, adults, or anyone who loves holiday crafts. Whether you make just one or stitch a whole herd, these little reindeer bring handmade charm to the season.