The sight word “has” is an important early reading word that helps children talk about ownership, descriptions, and what someone or something has. These free printable “has” sight word worksheets give kids meaningful practice recognizing, reading, tracing, and using the word has through simple, hands-on learning activities.
Children see has often in everyday language and early readers, such as: “She has a toy,” “The dog has a bone,” “He has a hat,” and many beginner books. Because has appears so frequently in early sentences, learning it early supports reading fluency and sentence understanding.
As a mom of four (with one child currently learning sight words), I know how helpful it is when kids feel confident reading words they see over and over again. I design these worksheets to be encouraging, approachable, and easy to use at home or in the classroom.
All of these “Has” worksheets are completely free, easy to print, and flexible enough for classroom use, homeschooling, or quick literacy practice at home.
Each download is shared as a single click-and-print, with no sign-up required.
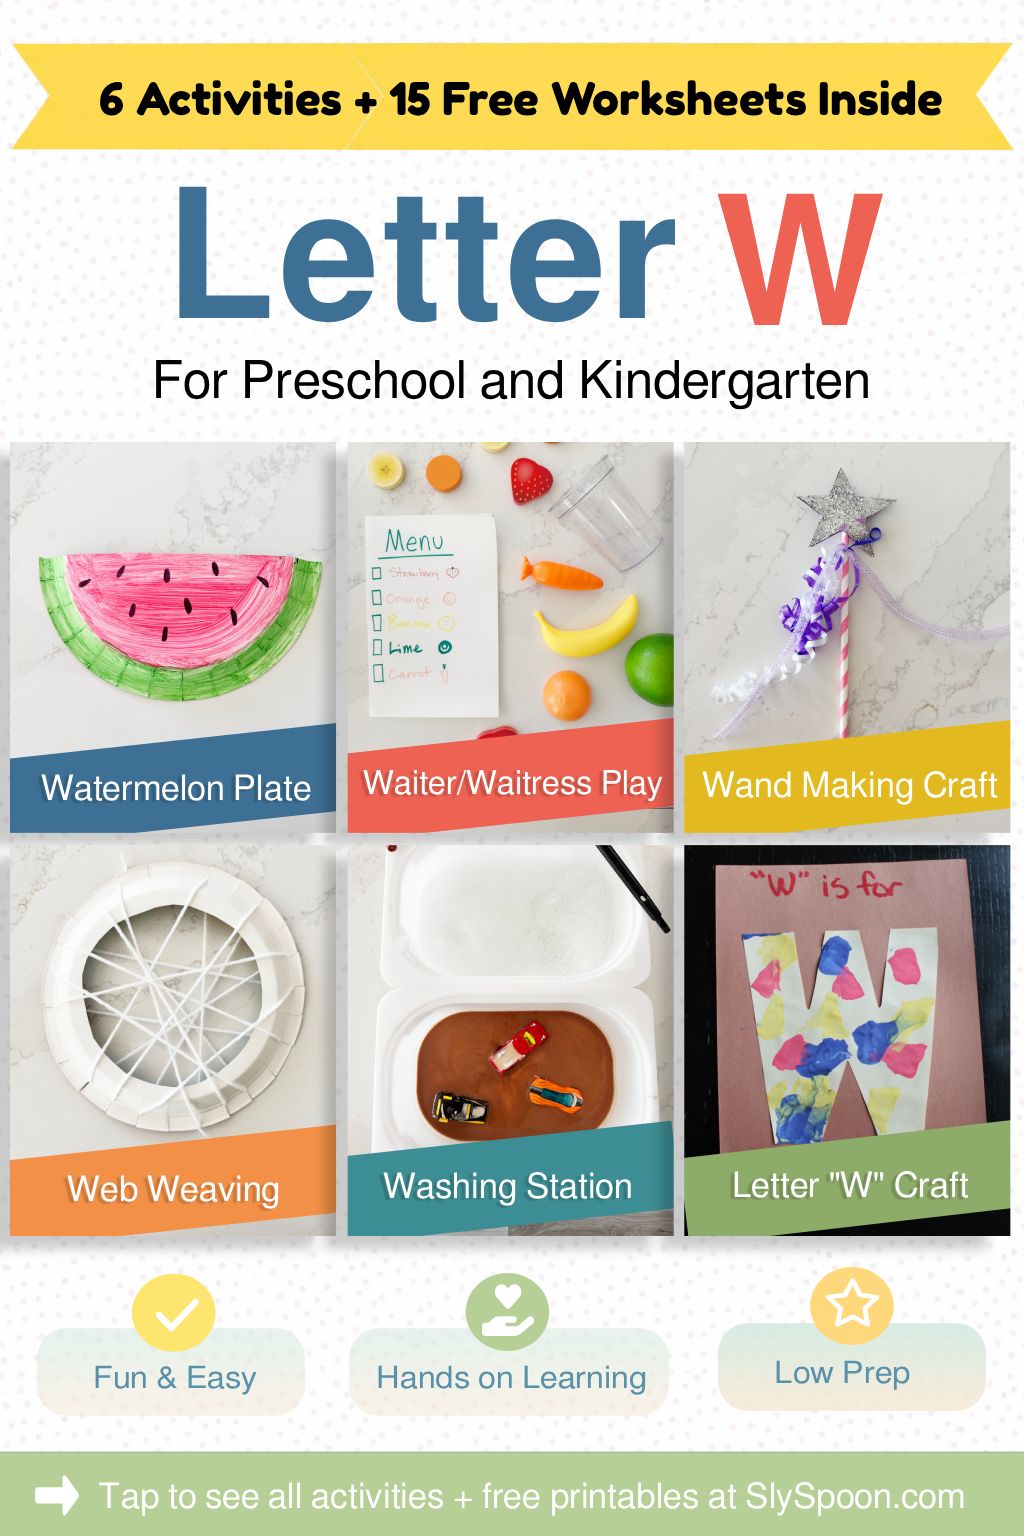
Looking for simple, hands-on ways to make your Letter W week more fun? These Letter W extension activities are easy to prep, flexible, and perfect for preschool and kindergarten learners. Whether you are teaching at home or in the classroom, these ideas help children explore the letter W through creativity, sensory play, pretend play, and hands-on learning.
This roundup includes six low-prep Letter W activities that can be adapted for different ages and settings. Use the jump links below to find the activity that works best for your day.
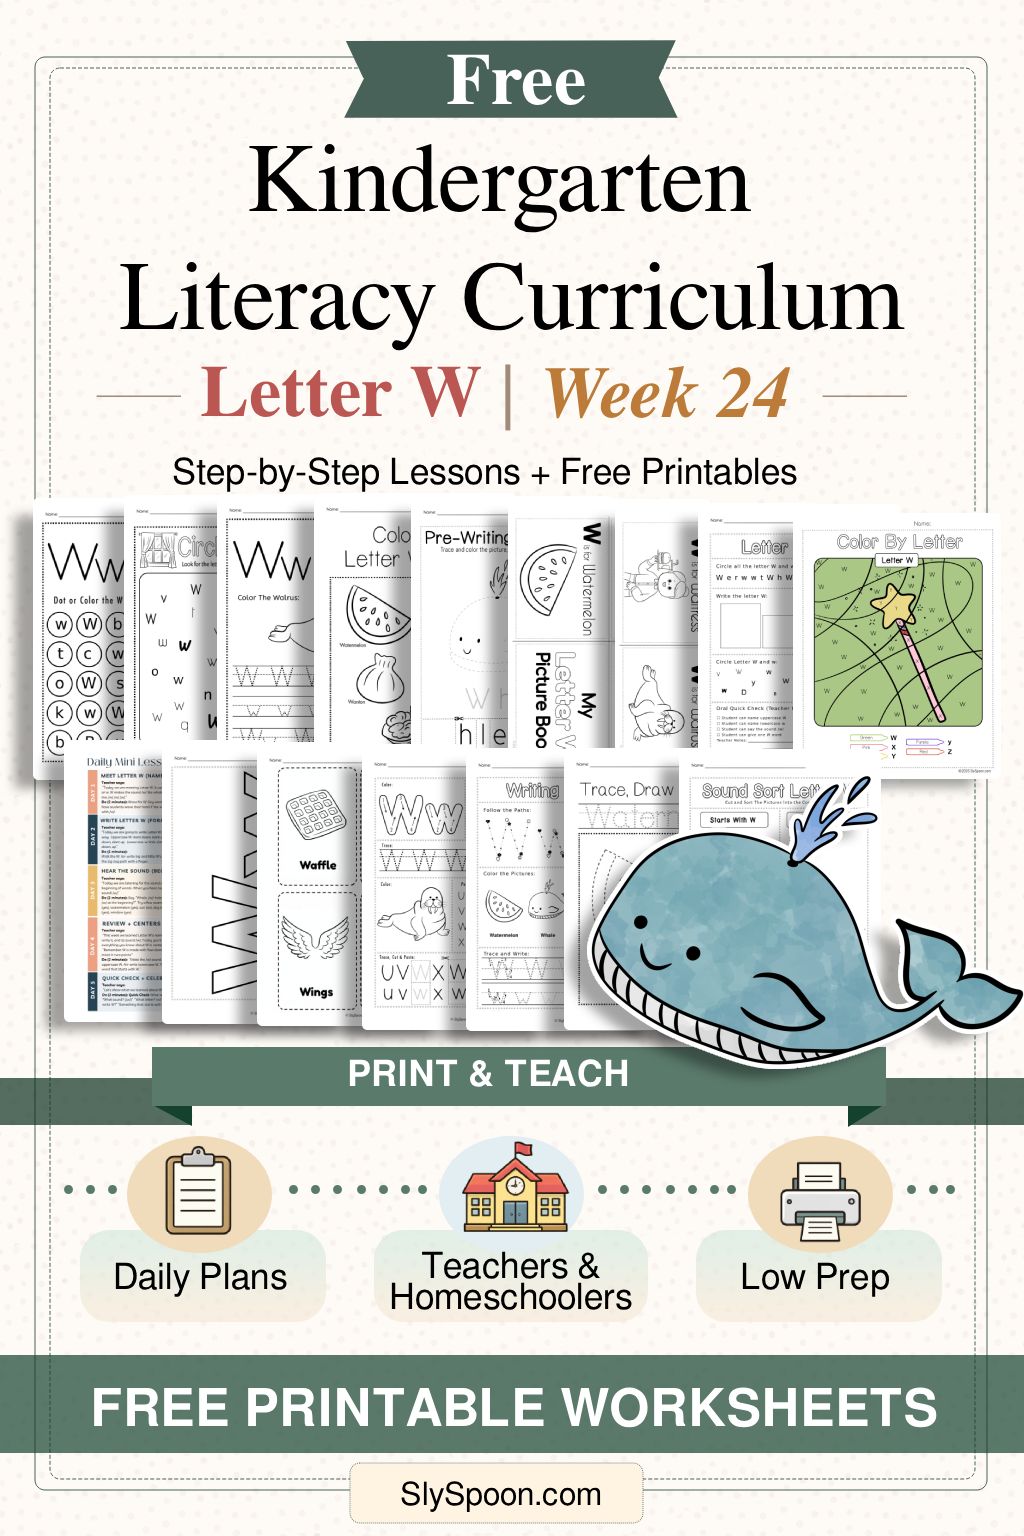
Welcome to Week 24. This is your low-prep, print-and-go Letter W plan. Each day includes a quick 5-minute mini lesson, one simple activity, and free printables that support it.
Best for: kindergarten centers, homeschool, preschool review, and busy parents who want a simple plan without a lot of prep.
How to Use This Page (Choose Your Path)
Teachers: Use the Week at a Glance, print the weekly packet, then run the daily mini lessons.
Homeschoolers: Do 1 day per day, or combine Days 1–2 and Days 3–4 for a 3-day week.
Parents: Scroll to Parent Plan for the simplest version.
Want the full Kindergarten Literacy Curriculum (A–Z)?
This post is part of my Free Kindergarten Literacy Curriculum series. If you’d rather skip scrolling and grab everything in one organized download, you can shop the printable packets below.
Weekly unit PDFs include teacher scripts, printables, and extension activities or the Full curriculum bundle includes the full units (A–Z)
Tip: If you’re a teacher, the weekly PDF is perfect for sub plans, literacy centers, or sending home as practice.
Print This Weekly Packet (Low Prep)
If you only print a few pages, these are the best ones for Week 24:
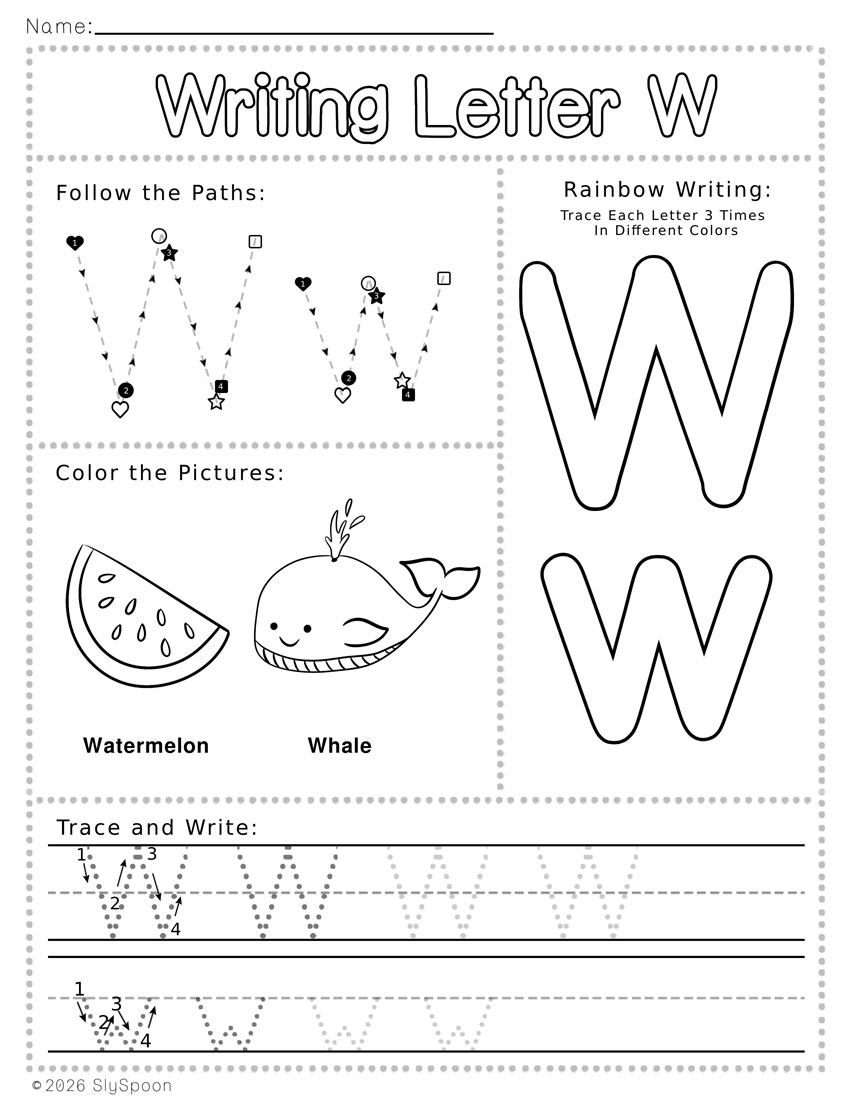
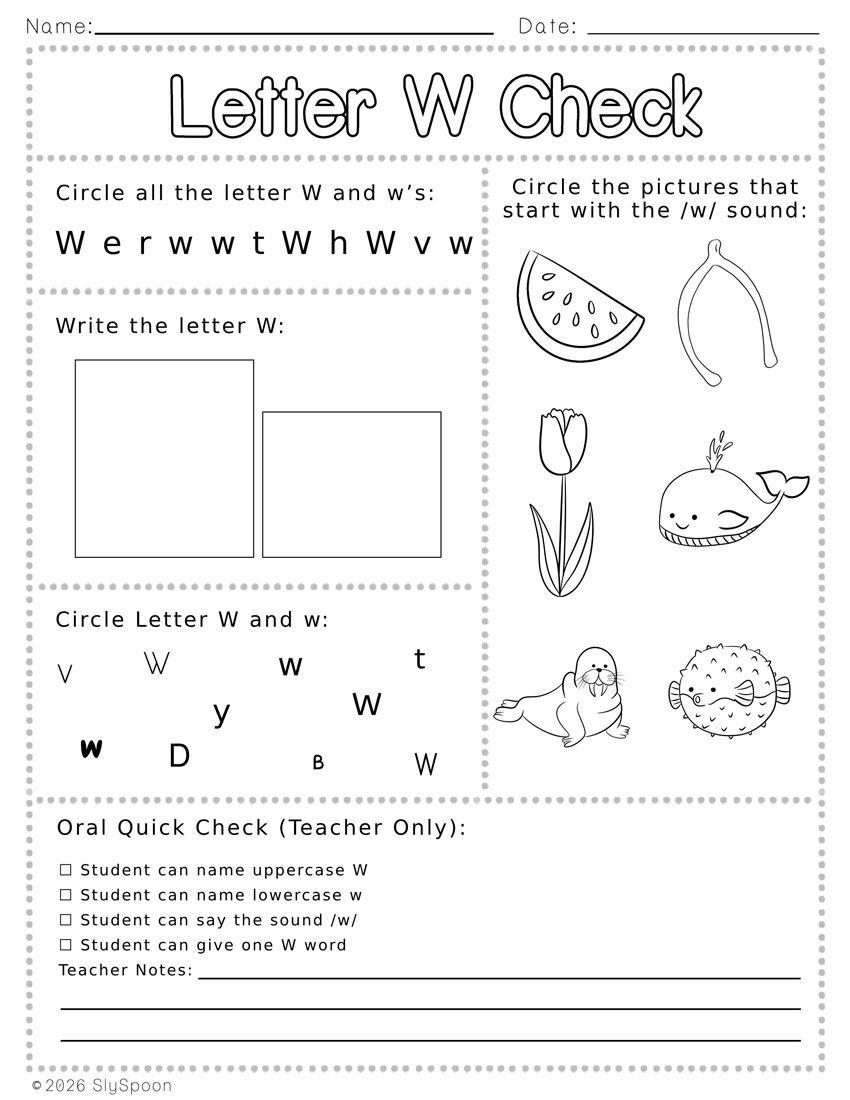
Letter W Combo Worksheet (Day 1)
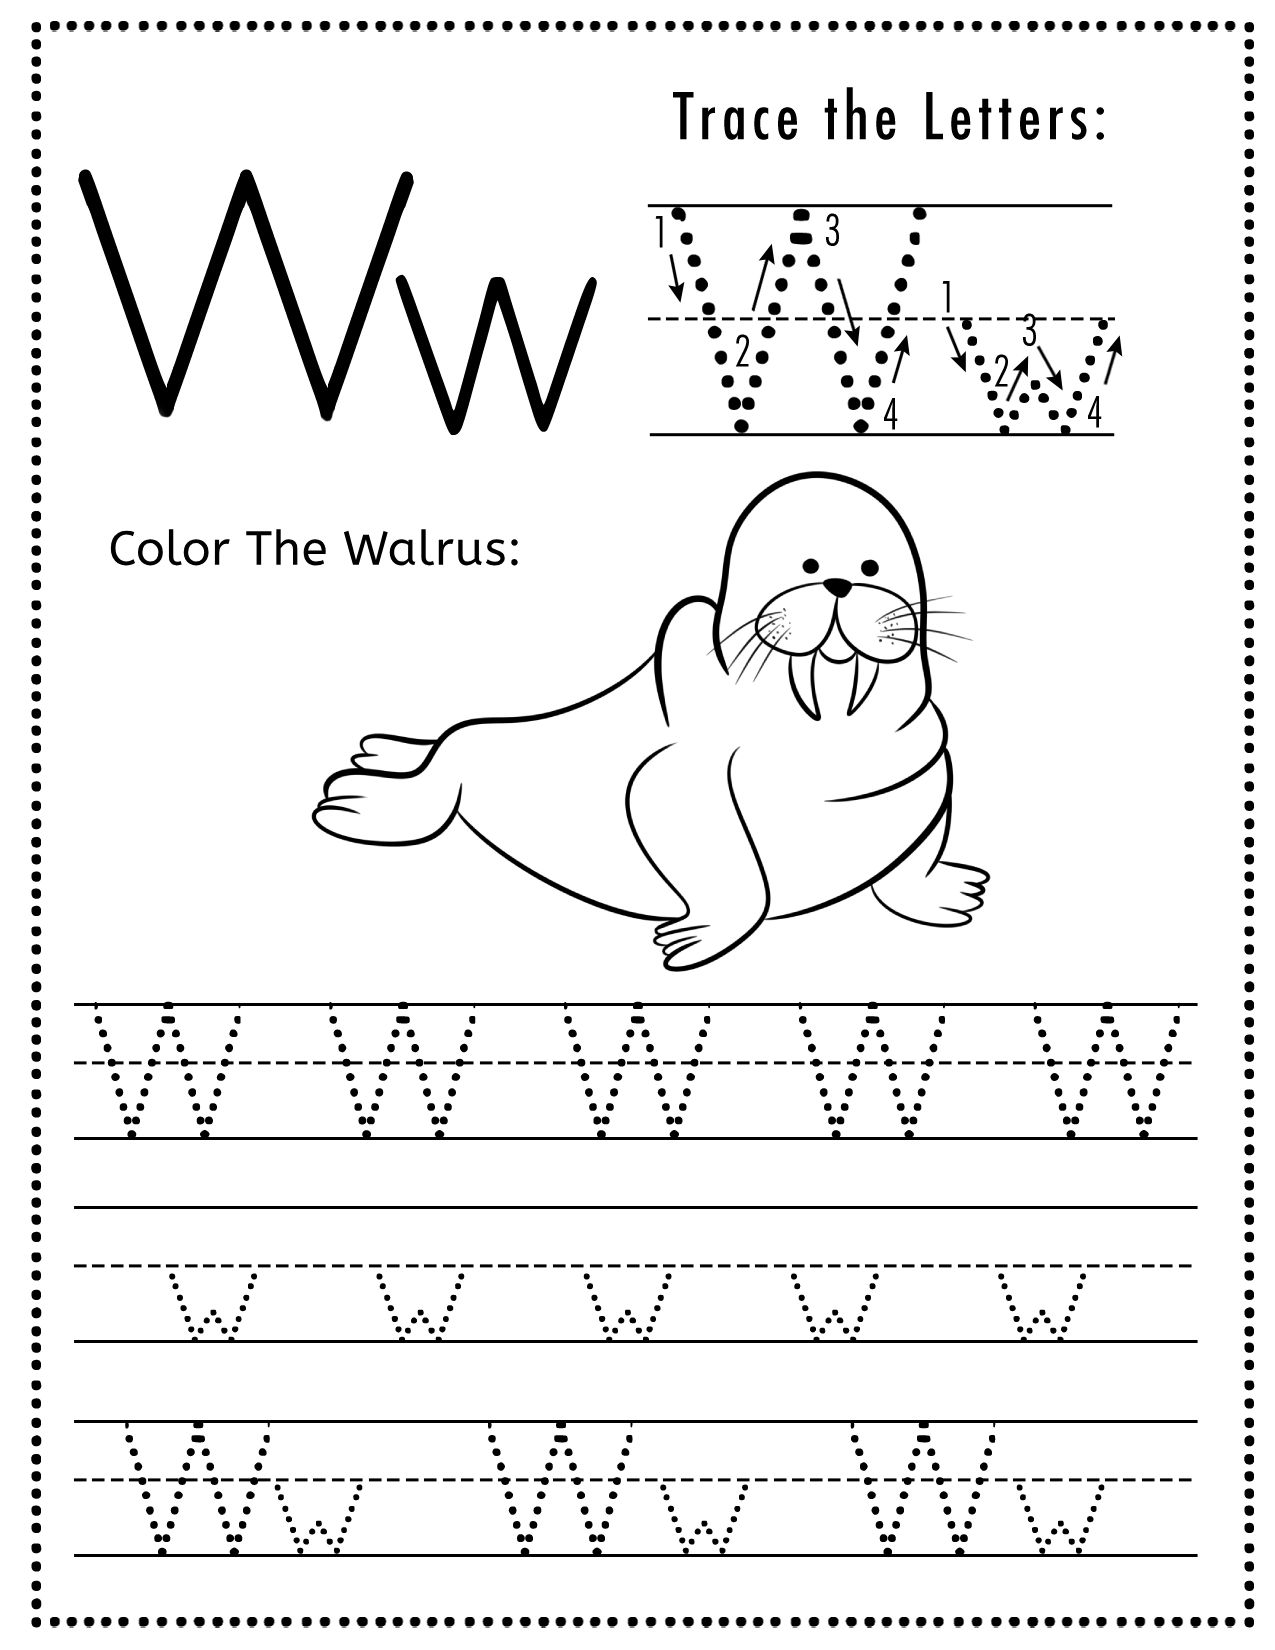
Letter W Formation Writing Page (Day 2)
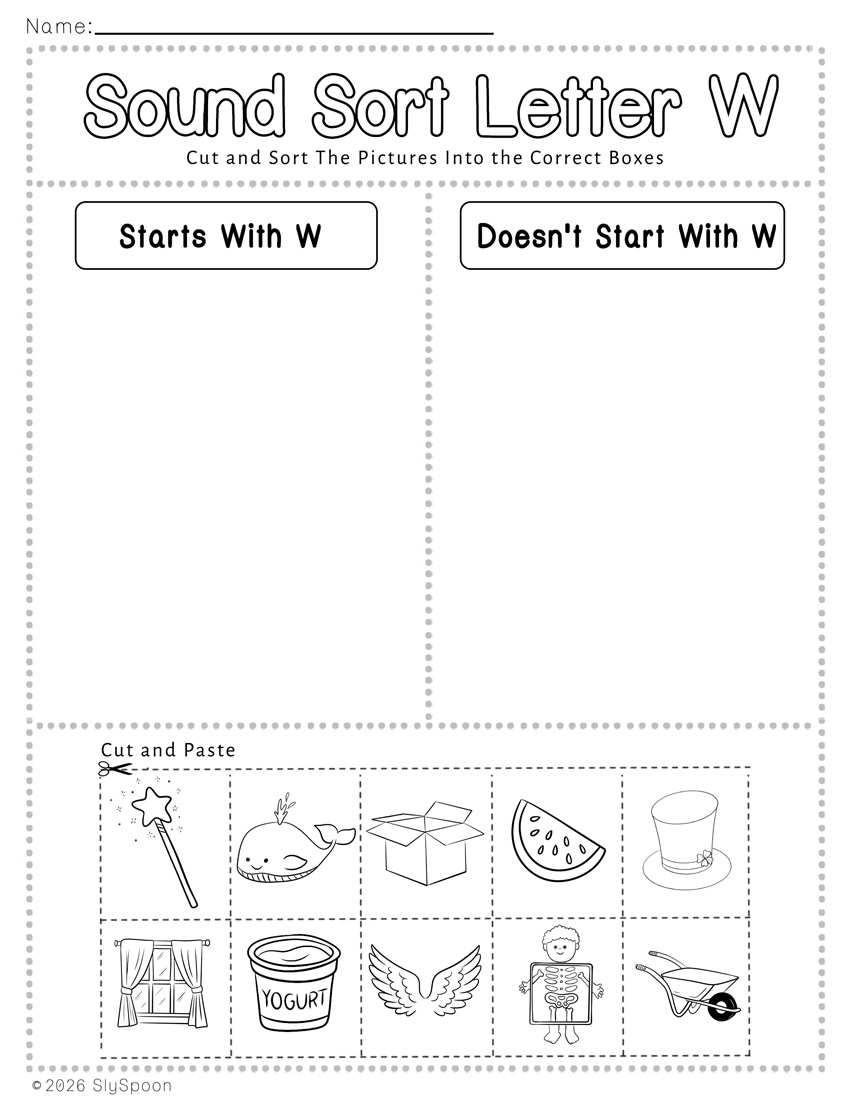
Beginning Sound Sort: W / Not W (Day 3)
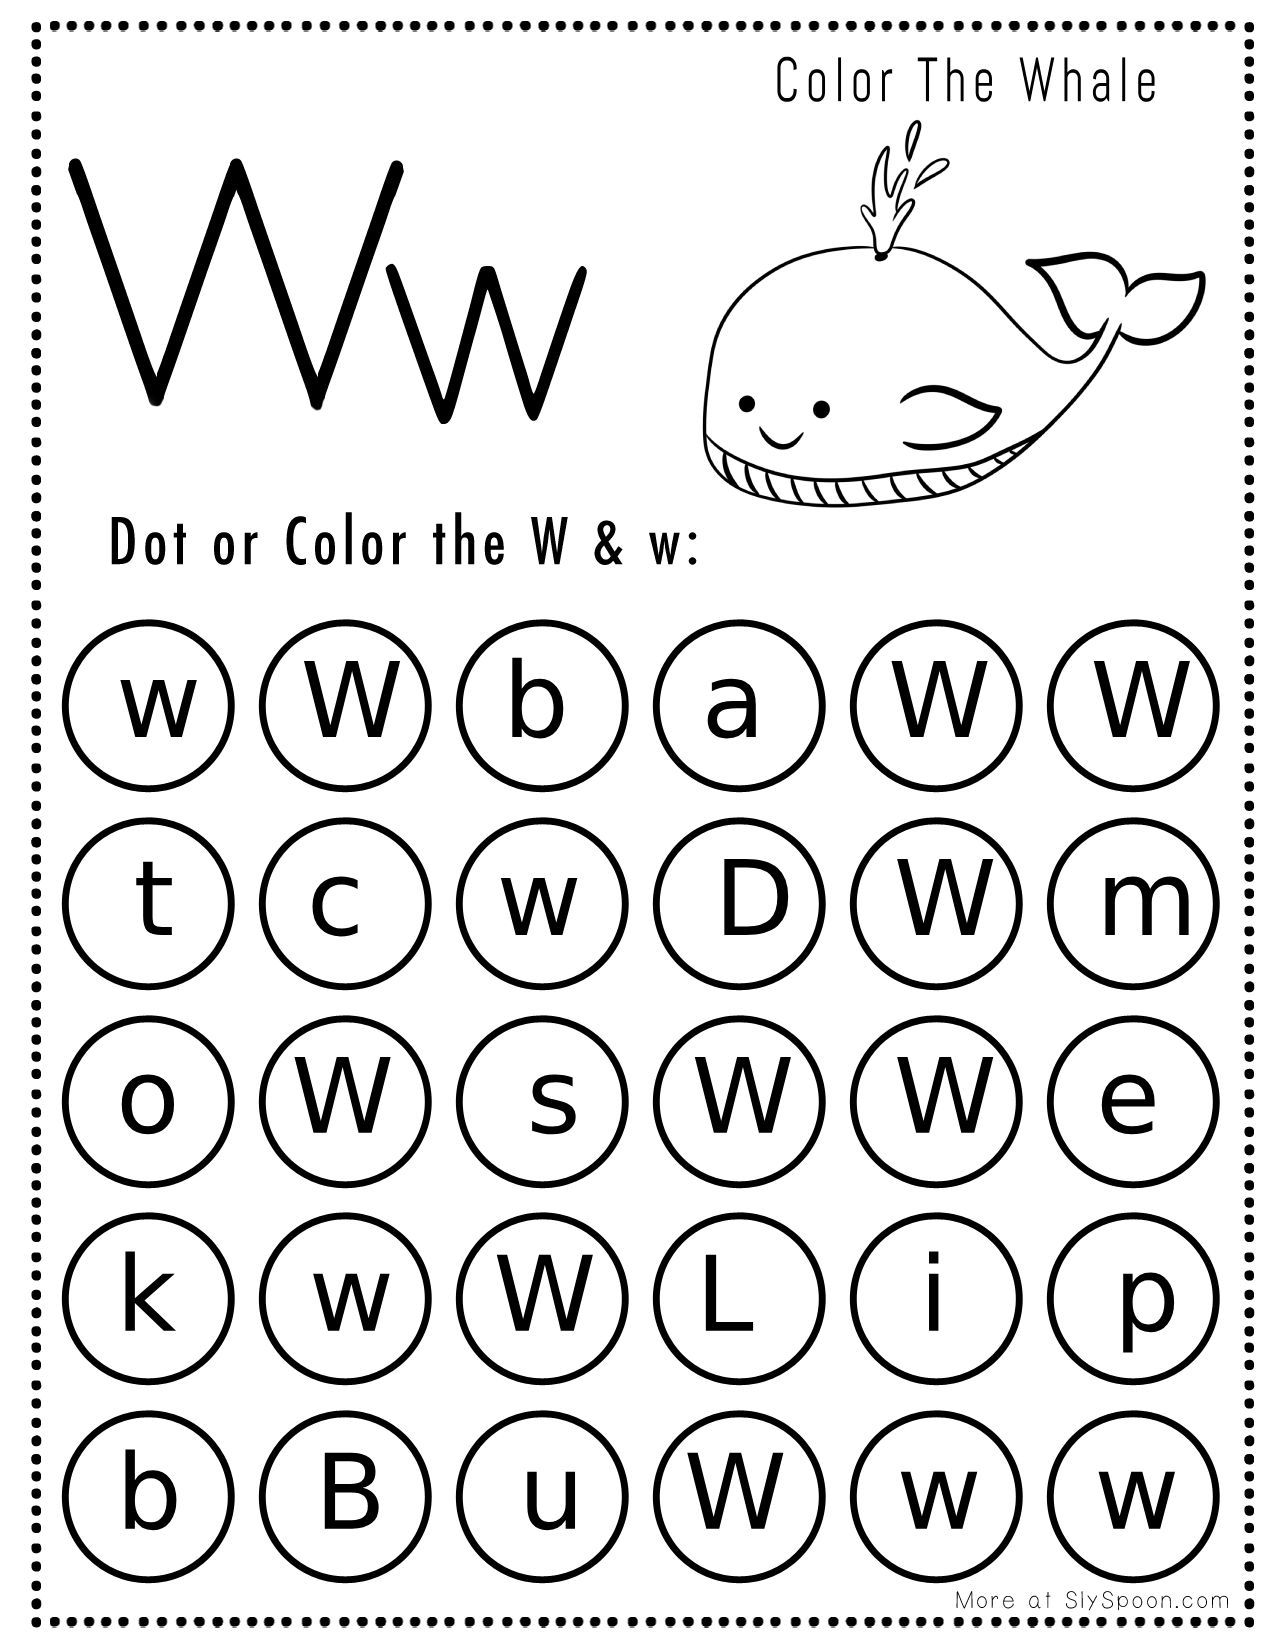
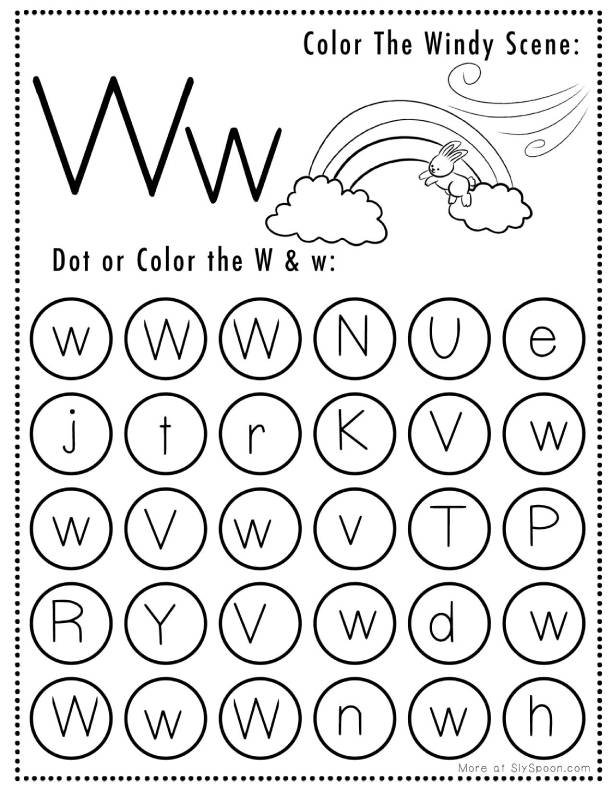
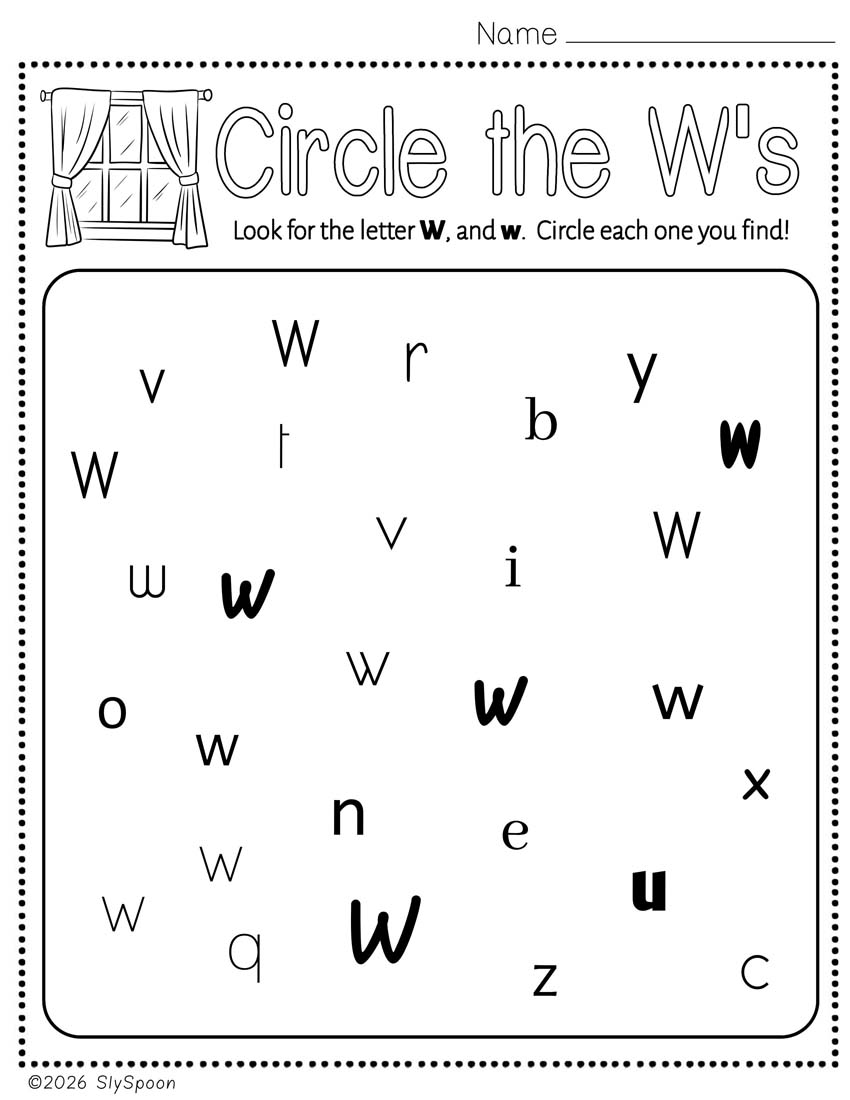
Circle All the W’s (Day 4 warm-up or center)
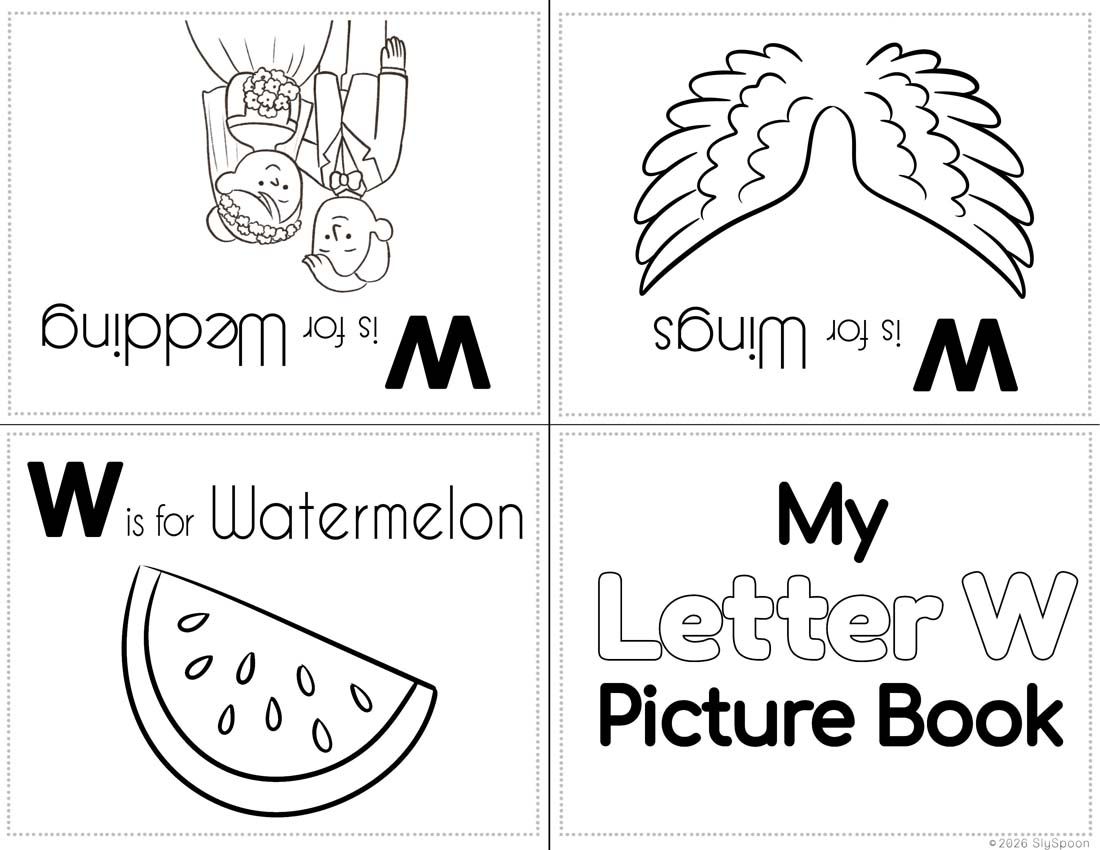
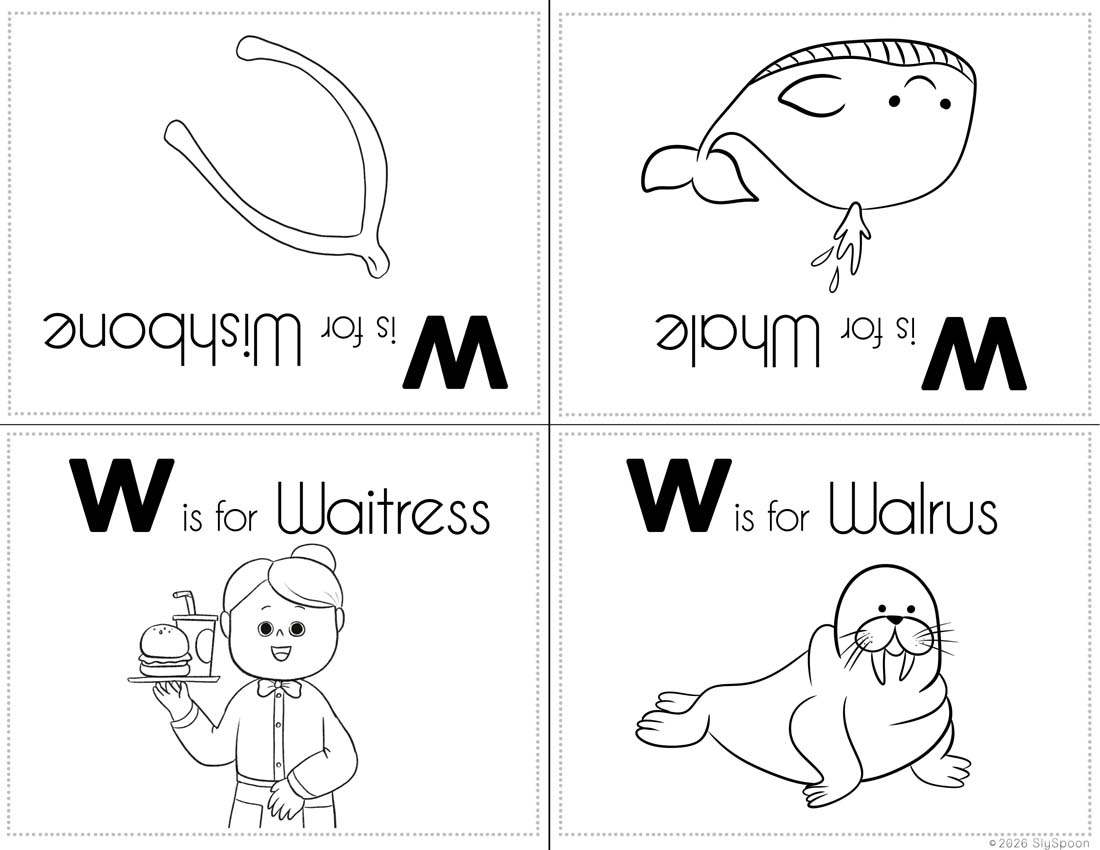
Letter W Mini Book (Day 5)
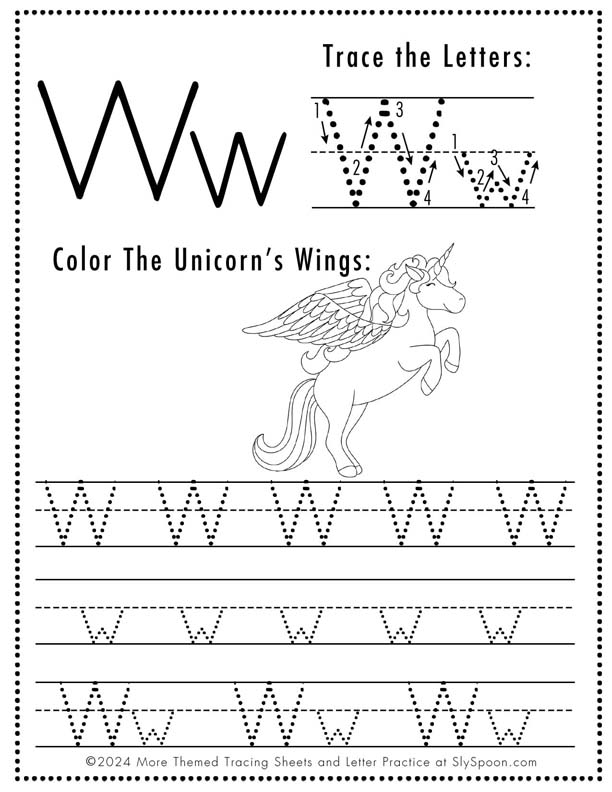
Optional: pick one themed tracing page if you want more practice.
Want even more free printables?
Join my newsletter + get access to my Freebie Vault (print-and-go worksheets, themed tracing pages, dot markers, and seasonal packs). I only send emails when I have something genuinely helpful to share.
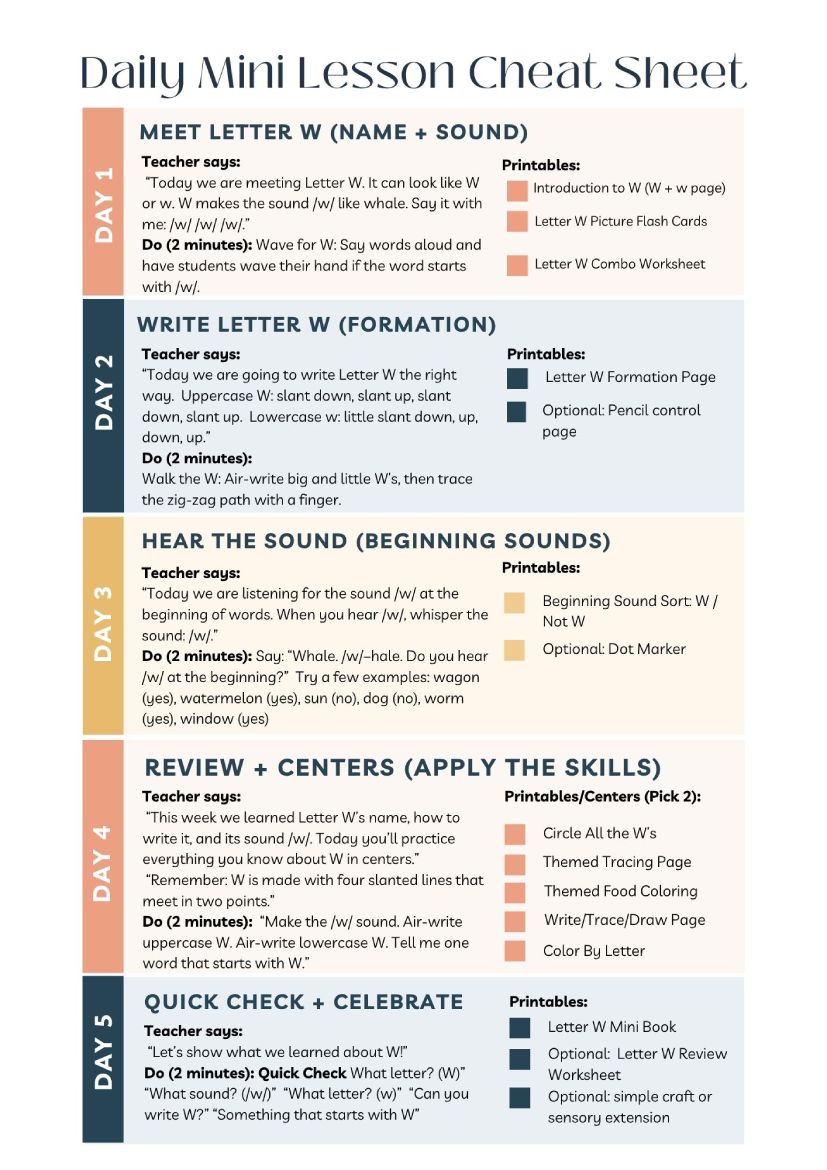
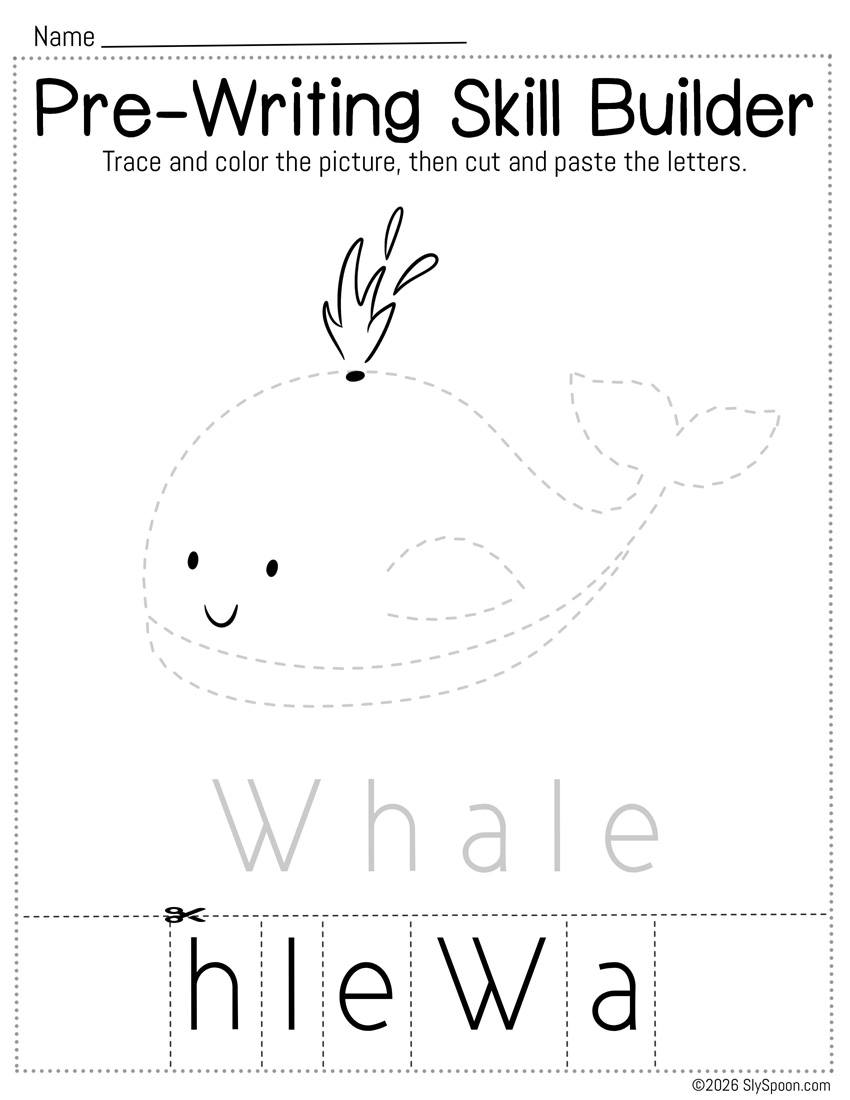
Show 3 picture examples: whale, wagon, watermelon, worm. Ask: “Do you hear /w/ at the start?”
Do This (2 minutes): Wave for W. Show picture cards or say simple words aloud and invite students to wave their hand if the word starts with /w/. Try: whale (wave), wagon (wave), sun (quiet), watermelon (wave), dog (quiet), worm (wave).
Teacher Tip: Keep it short and playful.
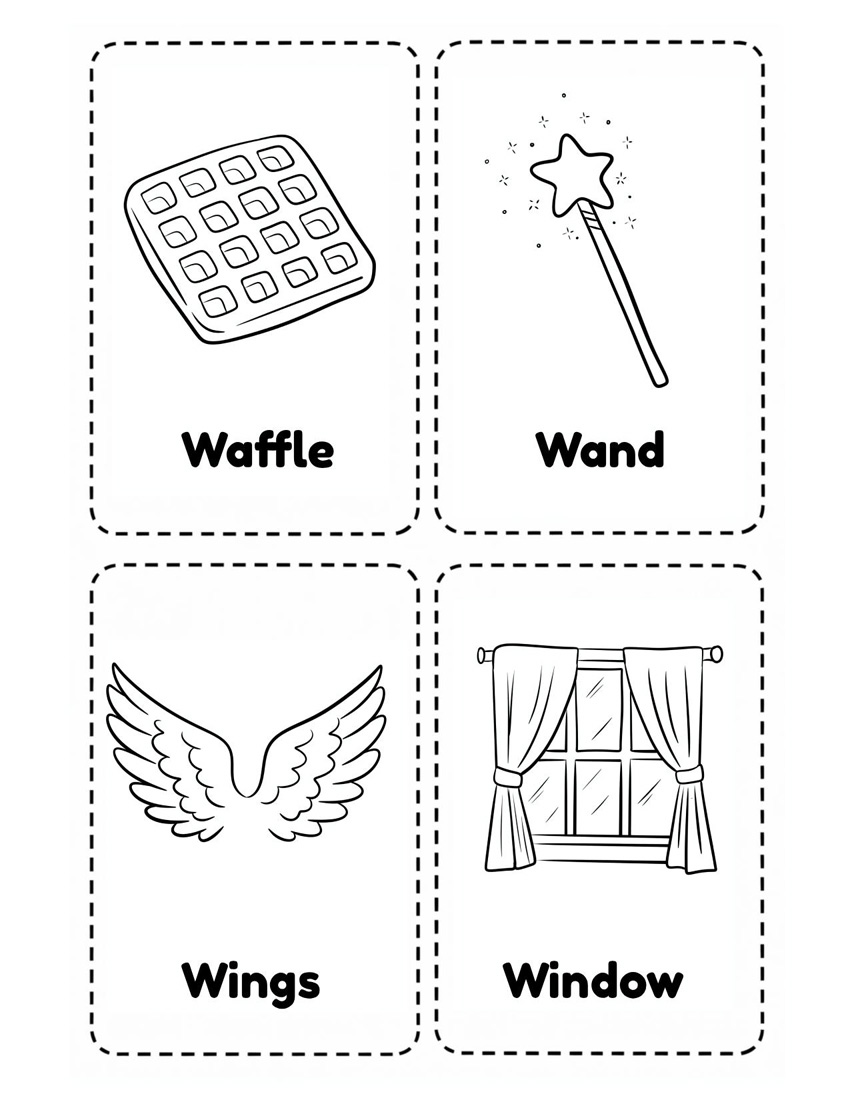
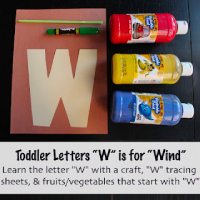
Day 1 Letter W Printables: Introduction to Letter W, Letter W Picture Flash Cards, & Letter W Combo Worksheet
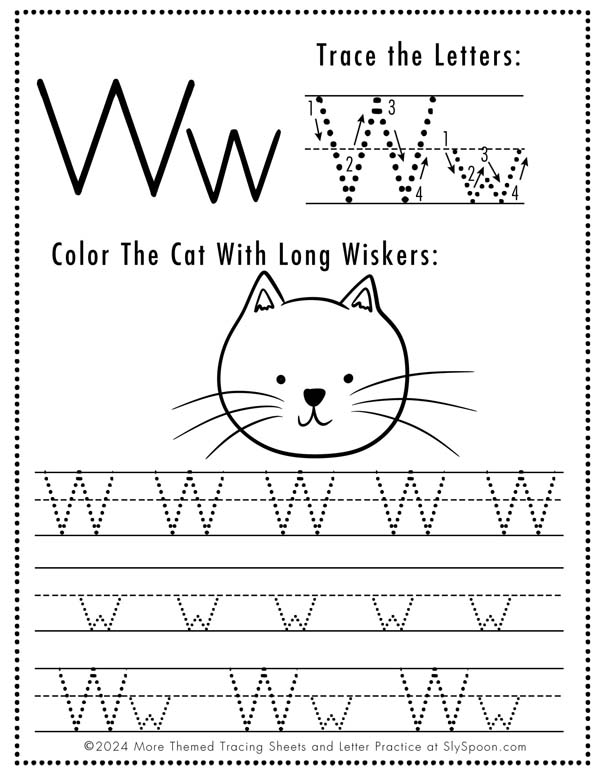
Do This (2 minutes): Walk the W. Students air-write a big uppercase W, then trace W on the table with their finger while saying: “Down, up, down, up.” Then make the same smaller shape for lowercase w.
Printable: Letter W Formation Writing Page
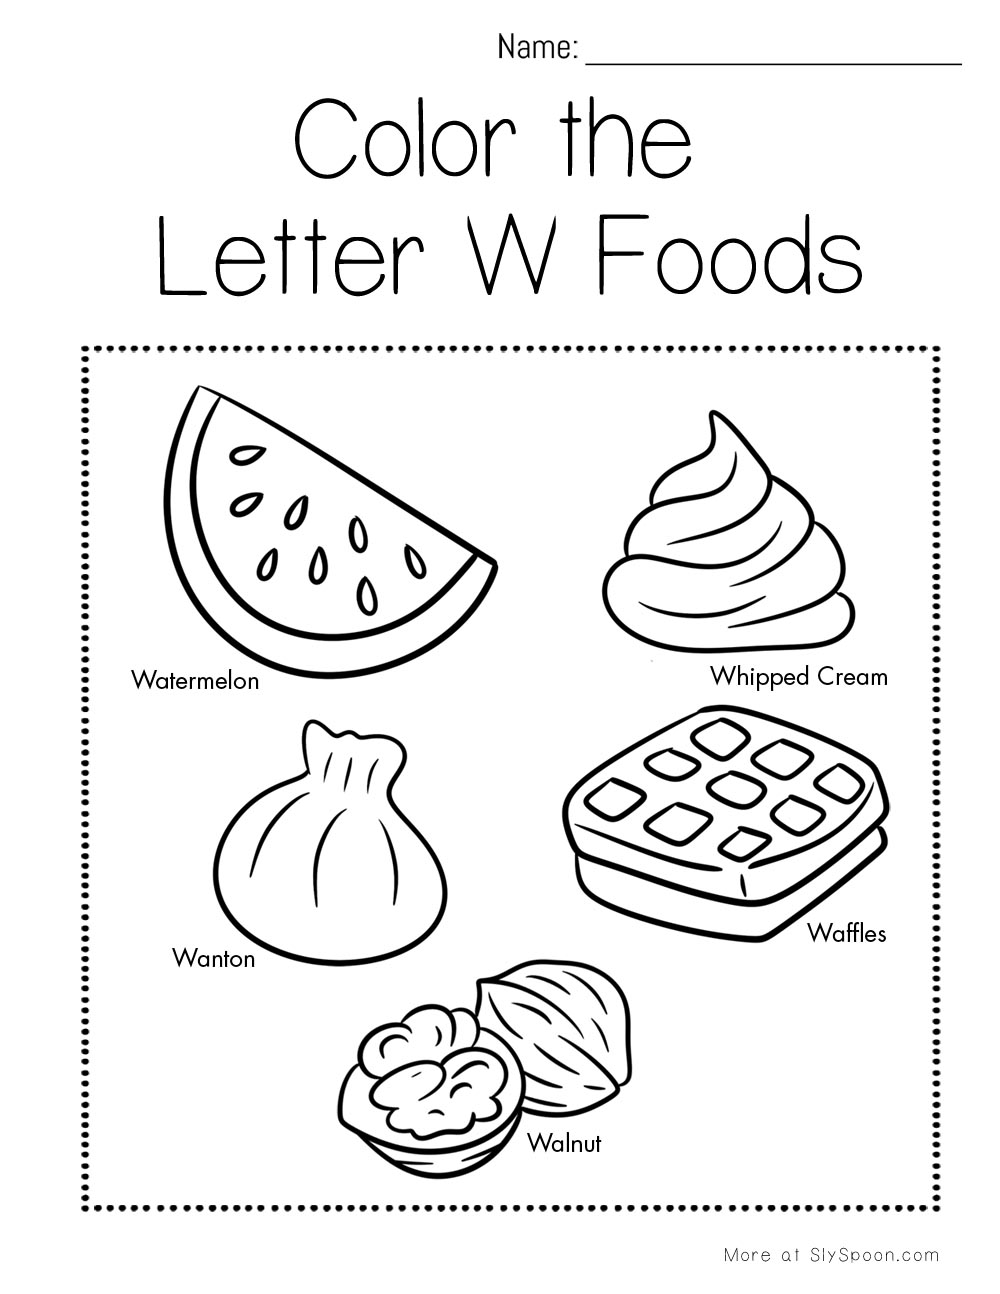
Optional: If kids need extra fine motor practice, add a simple trace-and-color W page.
Say: “Today we are listening for the sound /w/ at the beginning of words.”
Say: “When you hear /w/, whisper the sound back to me.”
Try a few examples: whale (yes), wagon (yes), watermelon (yes), sun (no), dog (no), window (yes).
Do This (2 minutes): Whisper for W. Show picture cards and ask: “What is this? Say it slowly. Do you hear /w/ at the beginning?” Students whisper /w/ if the word starts with W.
Printable: Beginning Sound Sort (W / Not W) Optional Printable: Dot marker W page for a calm center
Today is about strengthening and applying those skills independently.
Mini Lesson (2–3 minutes)
Say:
“This week we learned about the letter W.”
“Tell me the letter name. Tell me the sound.”
“Show me uppercase W in the air. Show me lowercase w in the air.”
“Can you show me the down-up pattern?”
“Can you tell me one W word?”
Pick 2 centers and rotate.
Center Menu (choose 2)
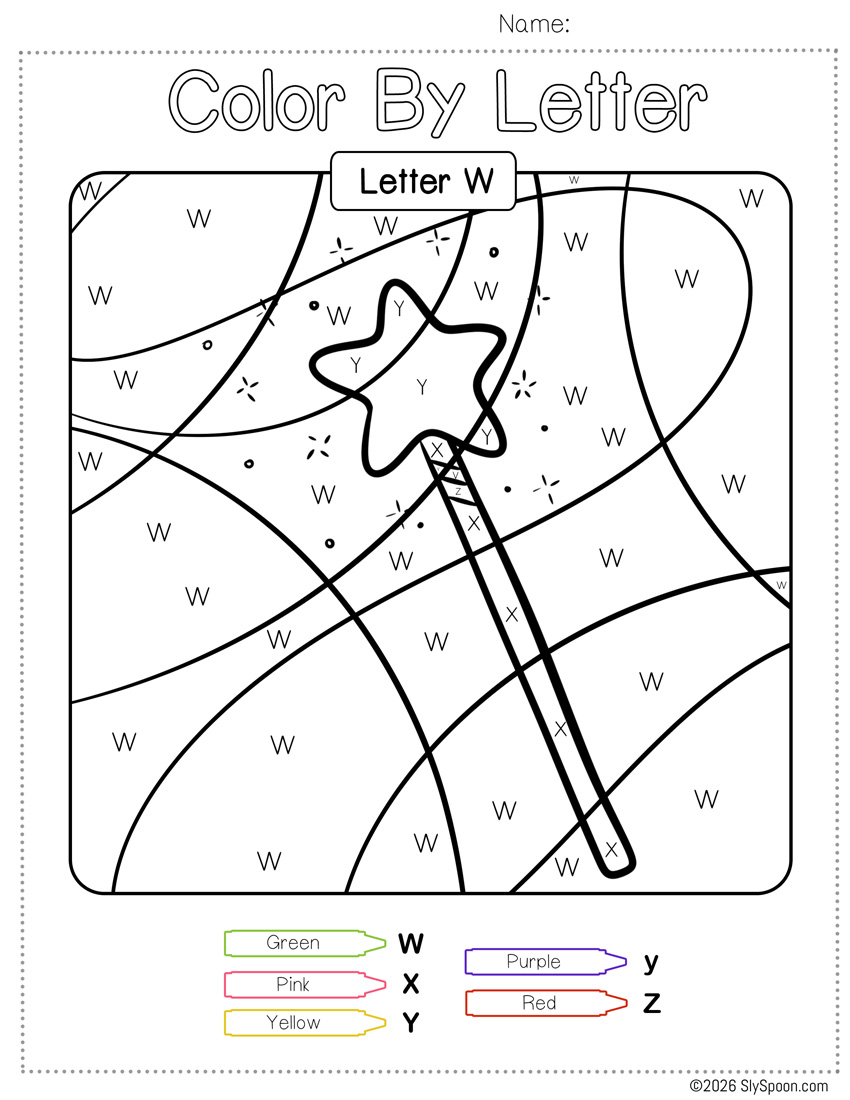
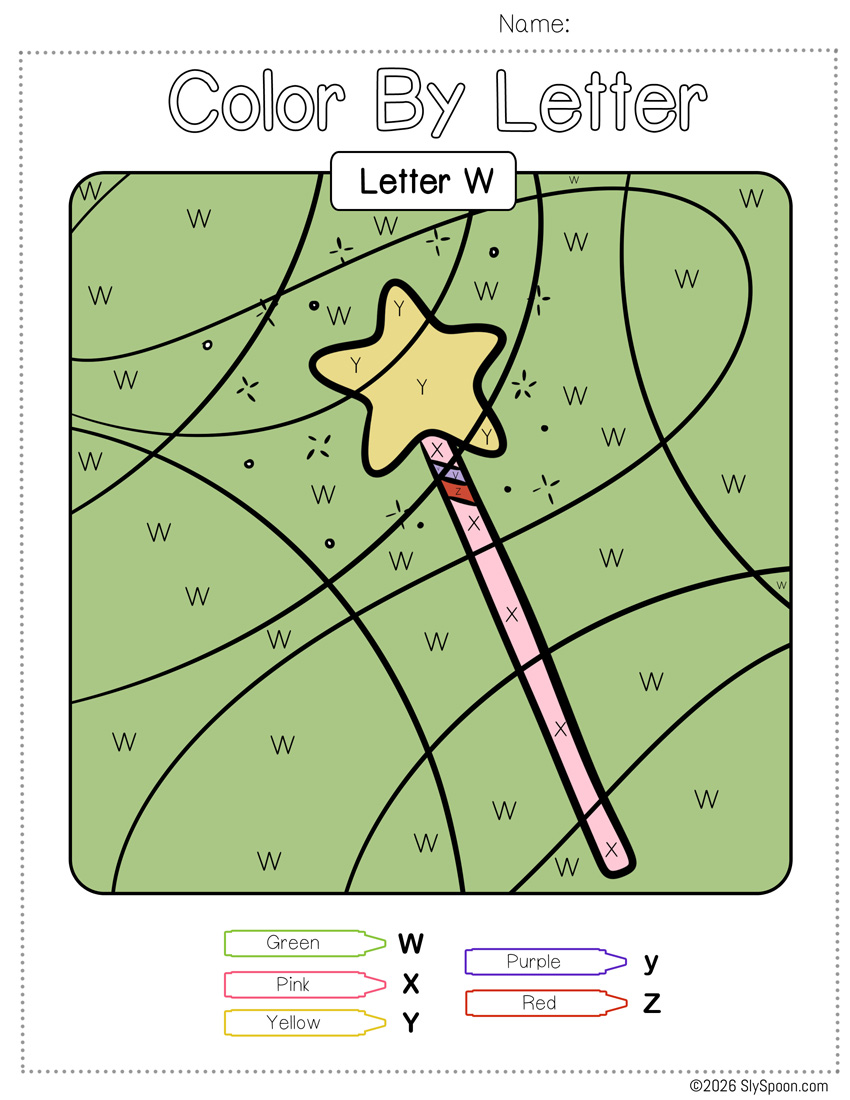
Center 1: Circle All the W’s
Center 2: Dot Marker W
Center 3: Themed Tracing Page
Center 4: Write, Trace and Color
Center 5: Sensory or craft extension
Center 1 Printable: Circle All the W’s Why this matters: Letter W can look slightly different in different books and fonts. This activity helps build flexible letter recognition for future reading.
Celebrate: print and read the mini book, then do a simple craft or draw-and-tell.
Printable: Letter W Mini Book & Letter W Review Worksheets
A simple foldable mini book with pictures for W words like whale, wagon, watermelon, and worm. Let kids color and fold it, then point out where they see the “W” on each page.
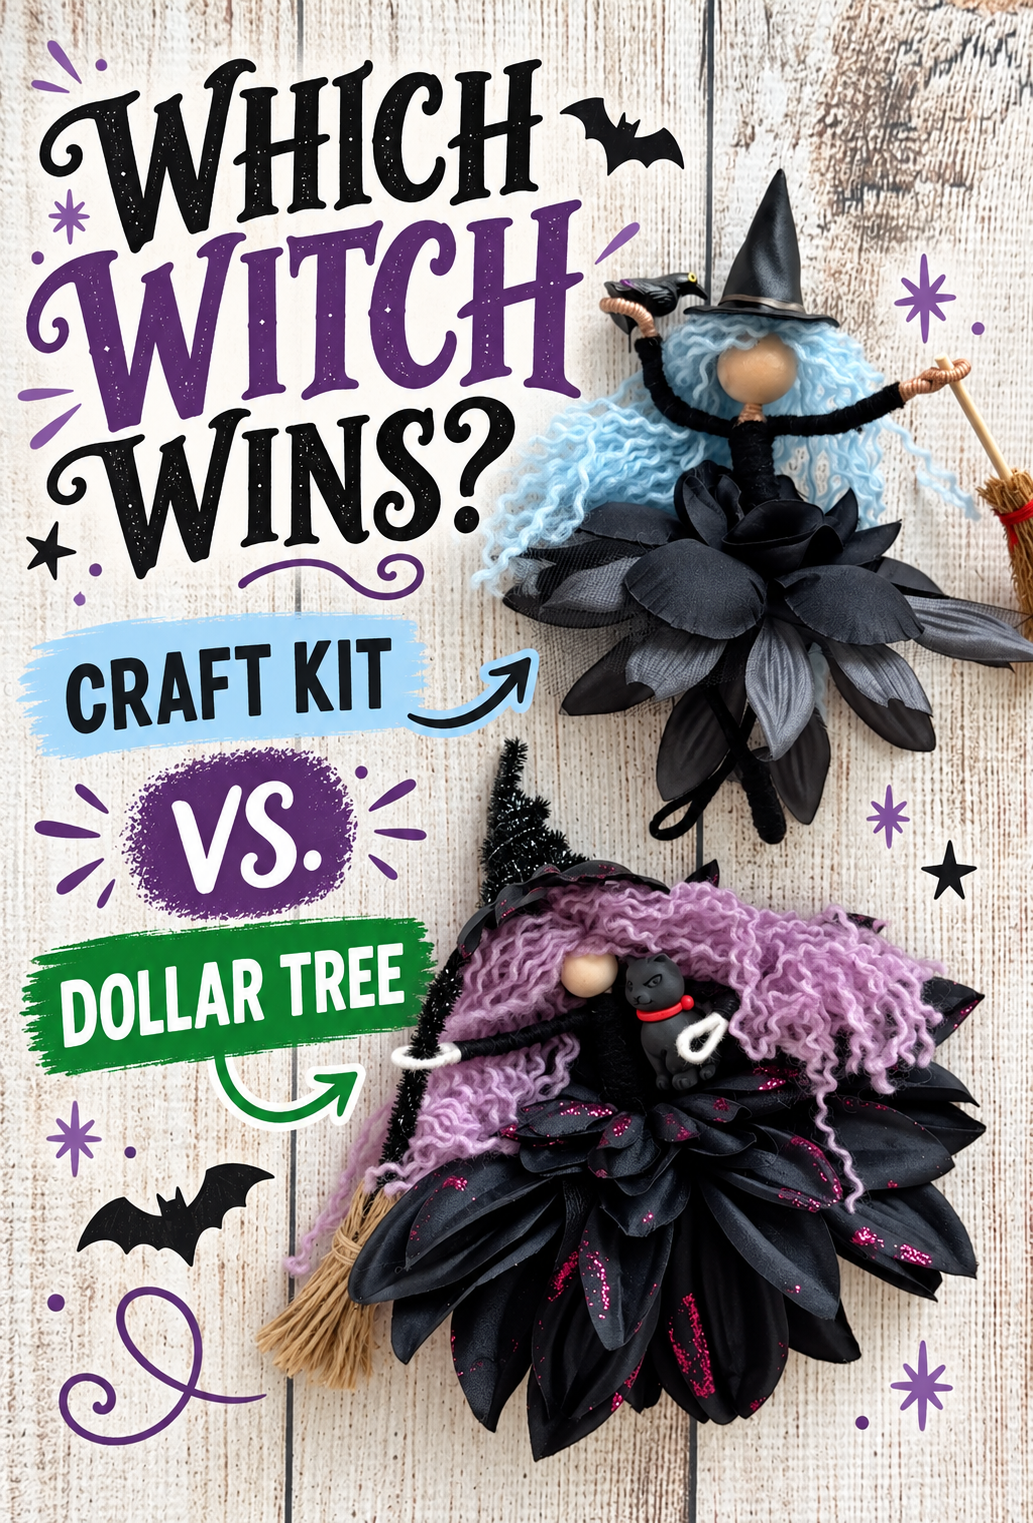
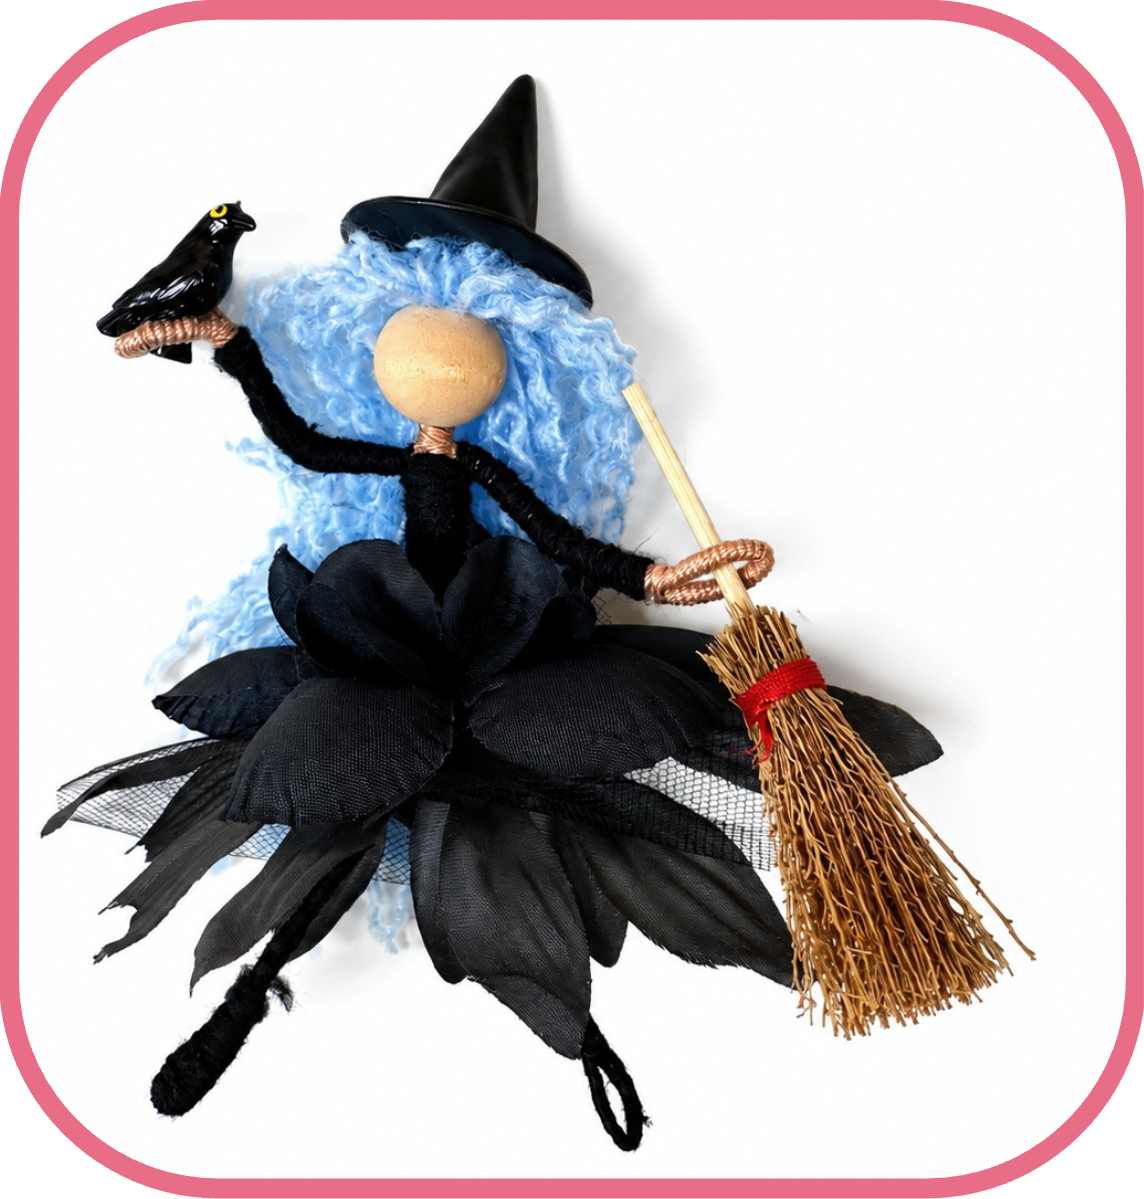
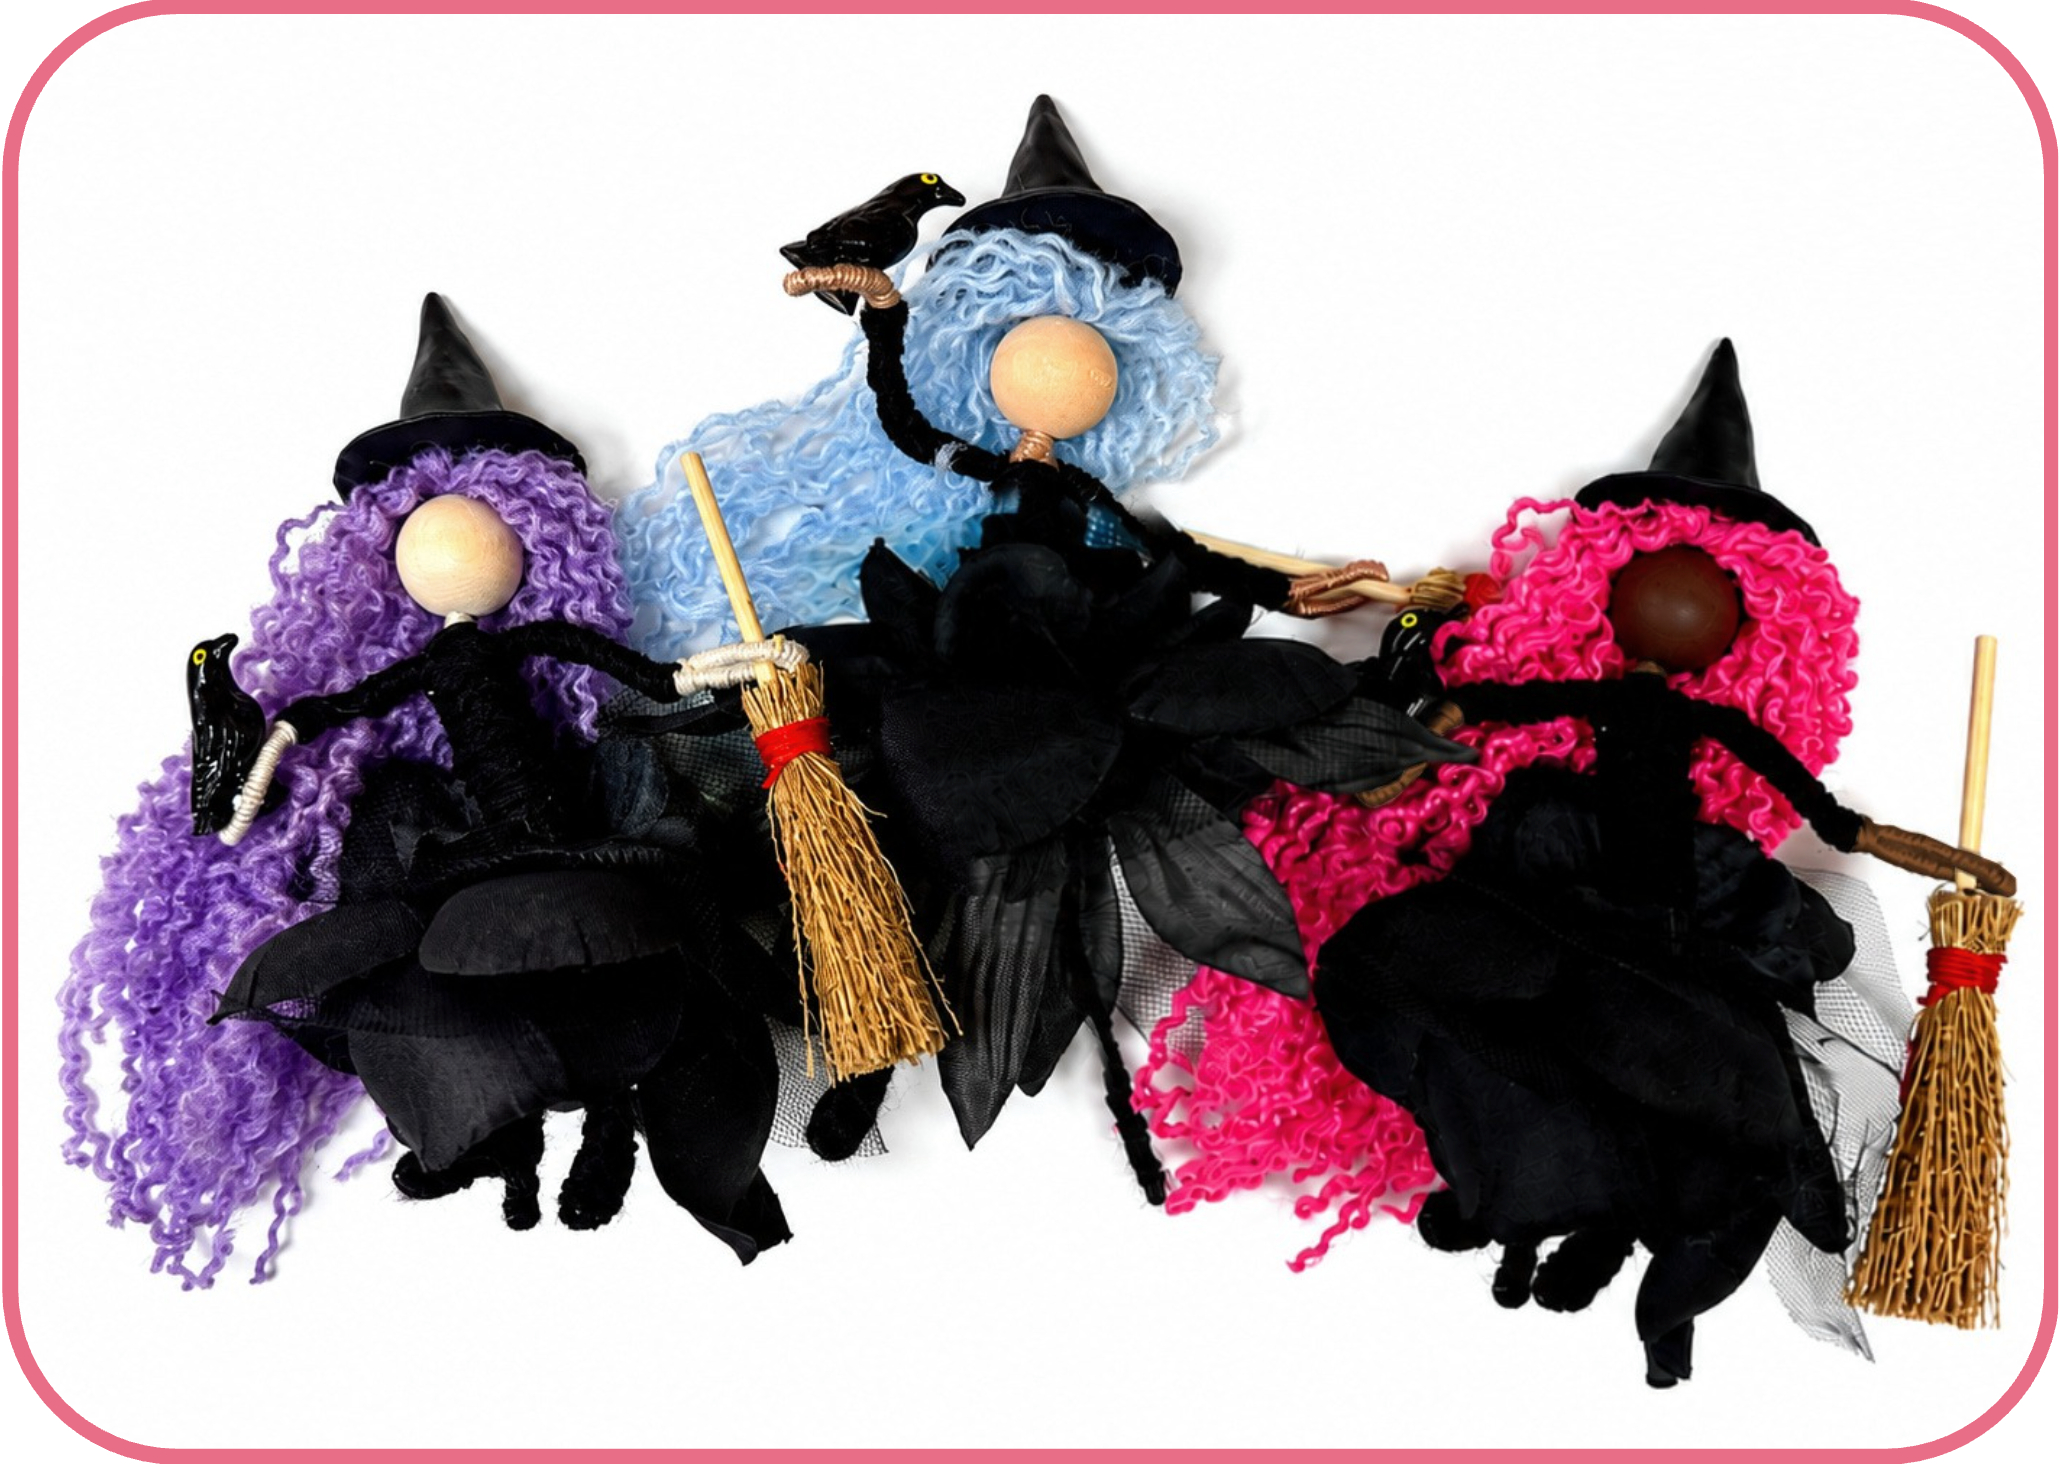
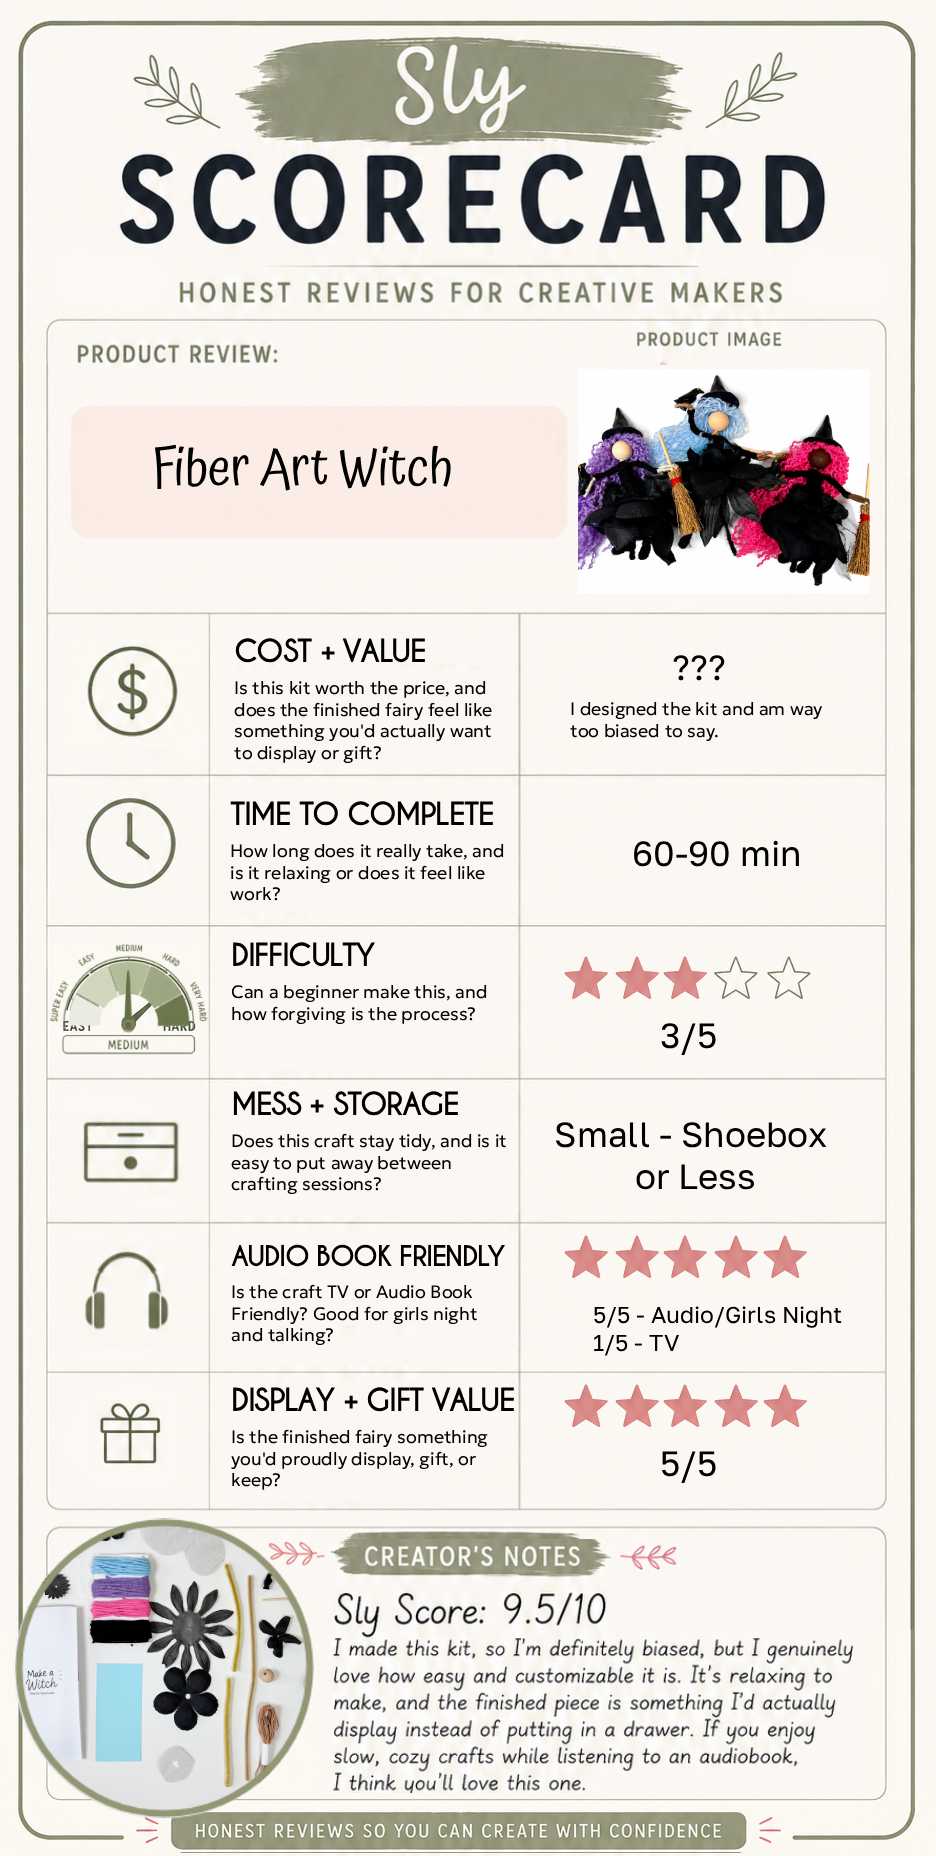
I wanted to know whether I could recreate my DIY fiber art witch doll using supplies from Dollar Tree, and, perhaps, just as importantly, whether the finished witch would actually be cute.
The short answer is yes. But… my first attempt at it was ROUGH, while my second Dollar Tree witch turned out adorable and I think every bit as cute as the witch I made from my coordinated craft kit.
If you enjoy the challenge of turning ordinary craft supplies into something awesome, this is a really fun budget Halloween project. If you would rather have all the right supplies coordinated and ready to use, you can grab one of my craft kits on Etsy. Either way I’ll show you how the Dollar Tree version compares with my DIY witch kit.
Can You Really Make This Witch With Dollar Tree Supplies?
Yes – with a little creativity.
I was able to find most of what I needed at Dollar Tree, taking some creative liberties and doubling up the duty of a few of them, but all in all I think it came together well and I can share this project knowing that others can also create something fantastic for themselves.
Dollar Tree didn’t have the miniature broom or molded witch hat included with my kit. I ended up using plastic flower pieces, pipe cleaners, and a small fabric flower petal to make one. It required more work and experimentation, but the finished hat worked well enough for me.
That resourcefulness is part of the fun of a Dollar Tree challenge: you aren’t necessarily finding exact replacements. You are looking at what is available and asking, “What could this become?”
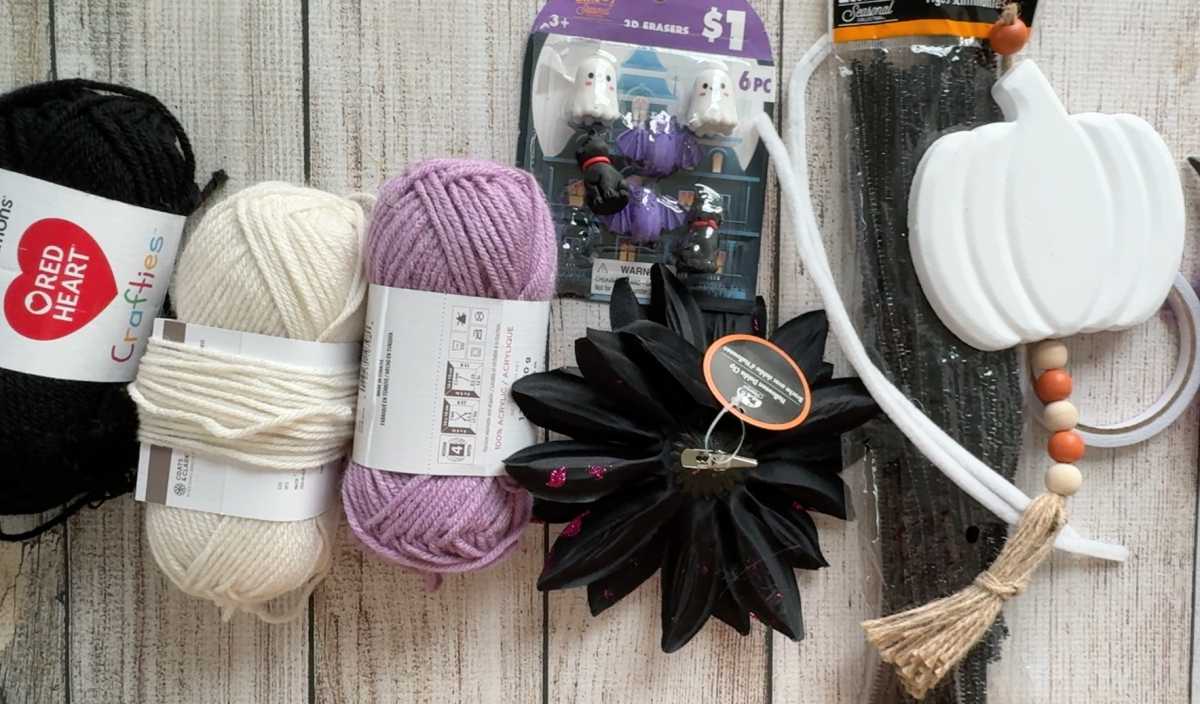
Dollar Tree Supplies I Used
Your local selection may be different, especially with seasonal merchandise, but these are the types of supplies I used:
A hanging Halloween pumpkin decoration with wooden beads, and a tassel (Wood beads for the dolls face, tassel for the broom)
Soft, standard pipe cleaners (for the body and arms)
Yarn for the hair, shirt, arms, and legs (3 colors)
Artificial fabric flowers (the bigger the better, I ended up using a flower hair clip?)
Glittery pipe cleaners for accents and for constructing the broom and hat
Glue or adhesive (I found doubled sided craft tap in the crafters area)
Scissors
Black Cat Eraser Pack (Not necessary, but I thought they were fun, there was also a mini pumpkin in one of the eraser packs)
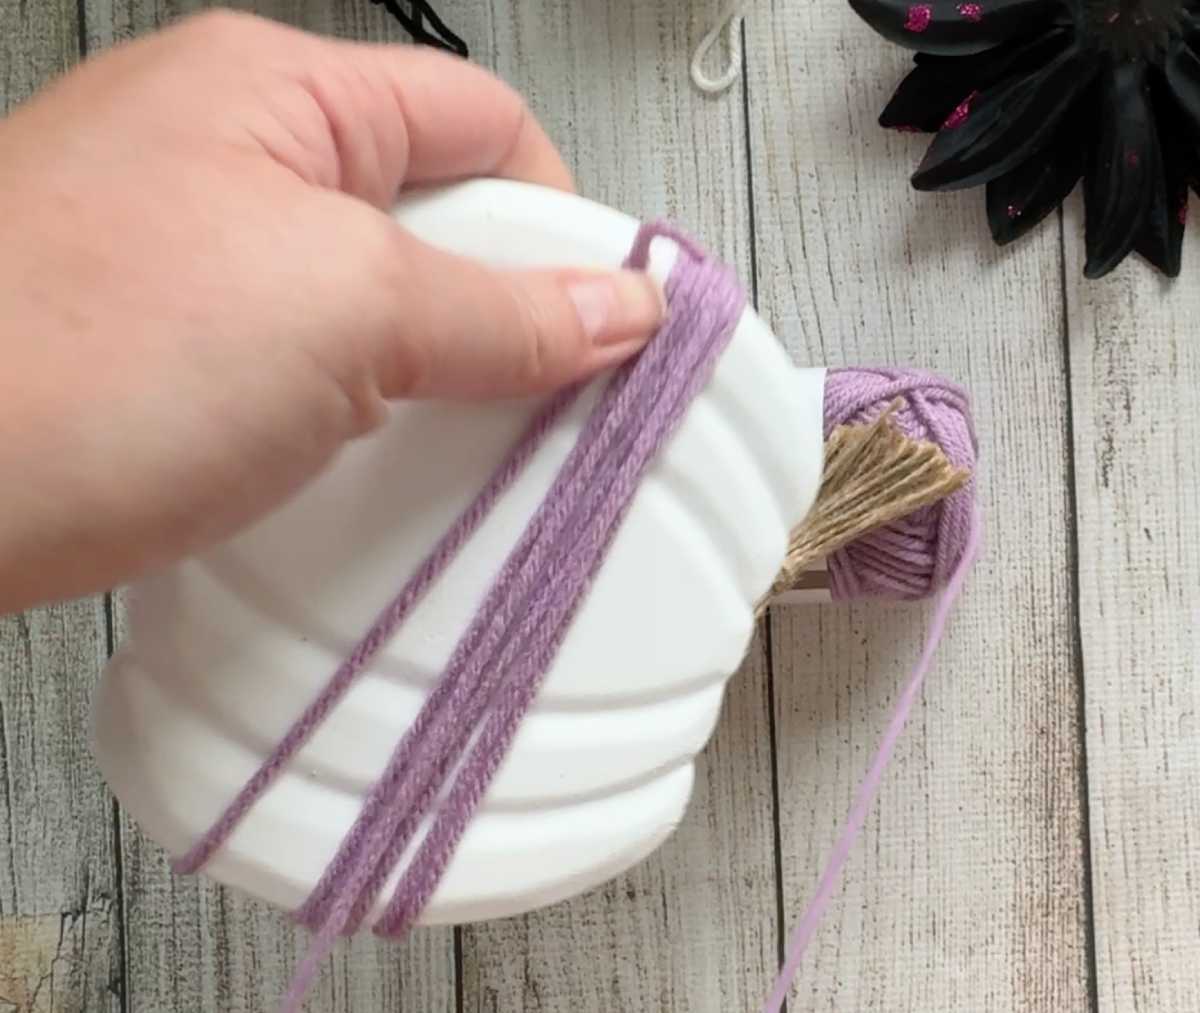
A piece of cardboard approximately 5.5 inches long for measuring the hair (I used the pumpkin from my hanging decoration)
Hanging string, if you want to turn your witch into an ornament … I just used a bit of my yarn, but it was pretty visible, thinner string would have looked better
My First Dollar Tree Witch: What Went Wrong
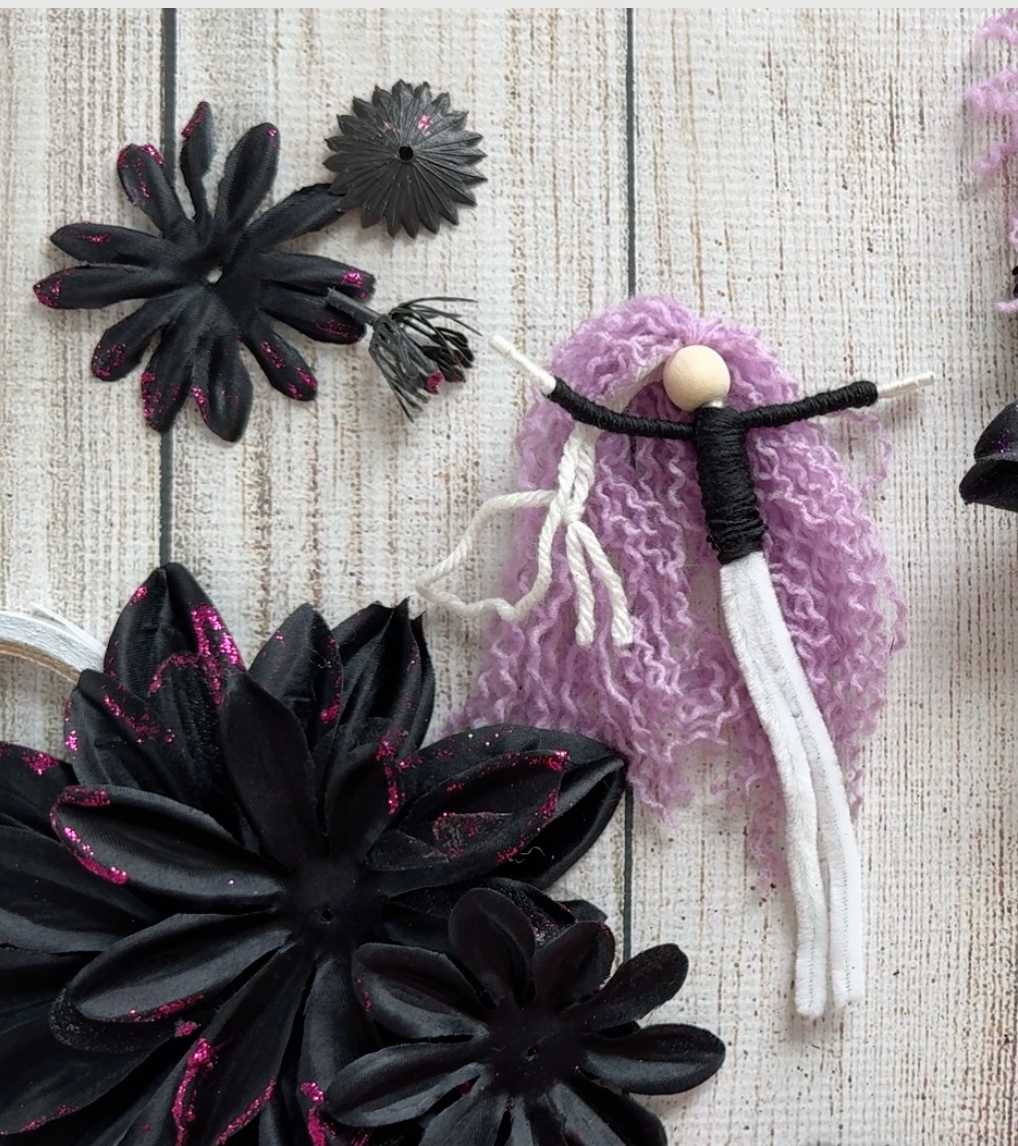
My first attempt technically worked. It was recognizable as a witch, and I proved that the basic concept could be made with Dollar Tree supplies, but she was not nearly as cute as I wanted her to be.
The biggest problem was my choice of pipe cleaners.
I tried using glittery pipe cleaners for the witch’s body, trying to cut down supplies and only have one kind of pipe cleaner, but they were difficult to cover. Even after I wrapped them with separated strands of yarn, the stiff, sparkly fibers refused to lie flat and continually poked through the wrapping.
The arms created an additional problem. I was trying very hard to use only the materials exactly as I found them, so instead of cutting one pipe cleaner in half for the arms, I folded the entire pipe cleaner in half. That created arms that were twice as thick as they needed to be.
Doubling an already stiff, glittery pipe cleaner and then attempting to wrap it smoothly was, in hindsight, a particularly unfriendly combination. The arms looked bulky, the glitter kept escaping, and everything was harder to shape.
The first witch taught me two very important lessons:
Use soft pipe cleaners for the doll’s body. Save the glittery ones for details and accessories that do not need to be wrapped smoothly.
Cut the arm pipe cleaner to the correct length. Do not double its full thickness simply to avoid cutting it.
Those small changes made a huge difference in the finished witch.
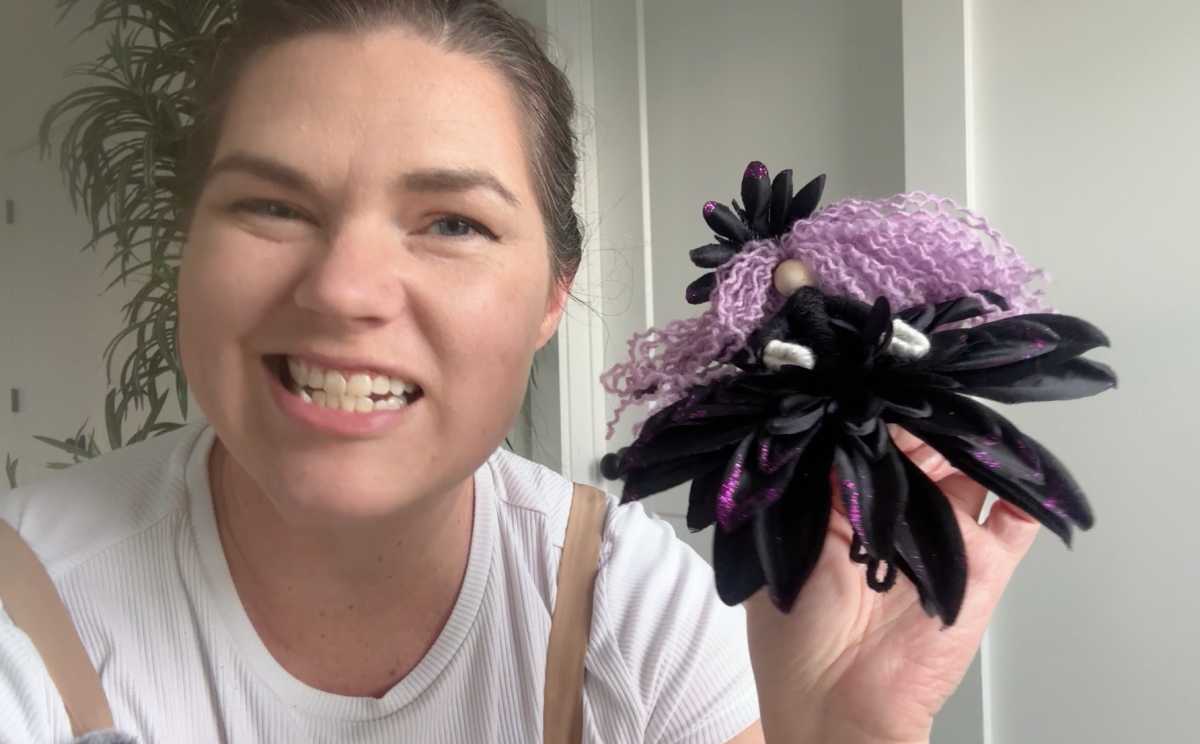
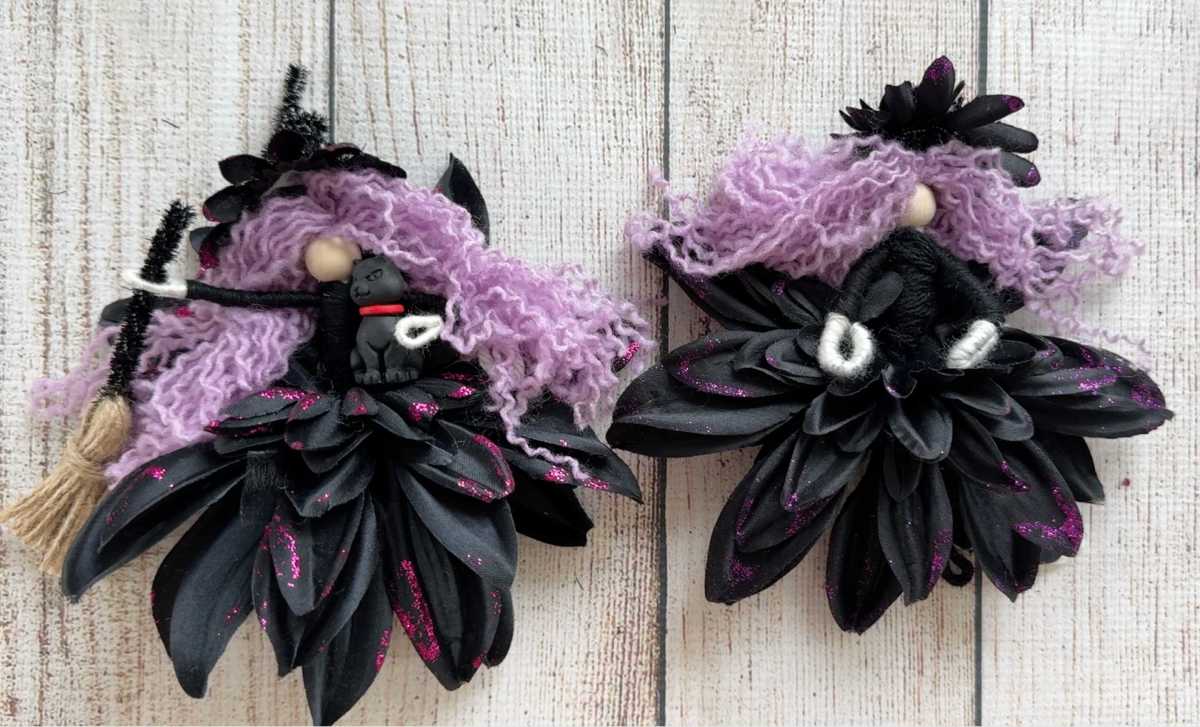
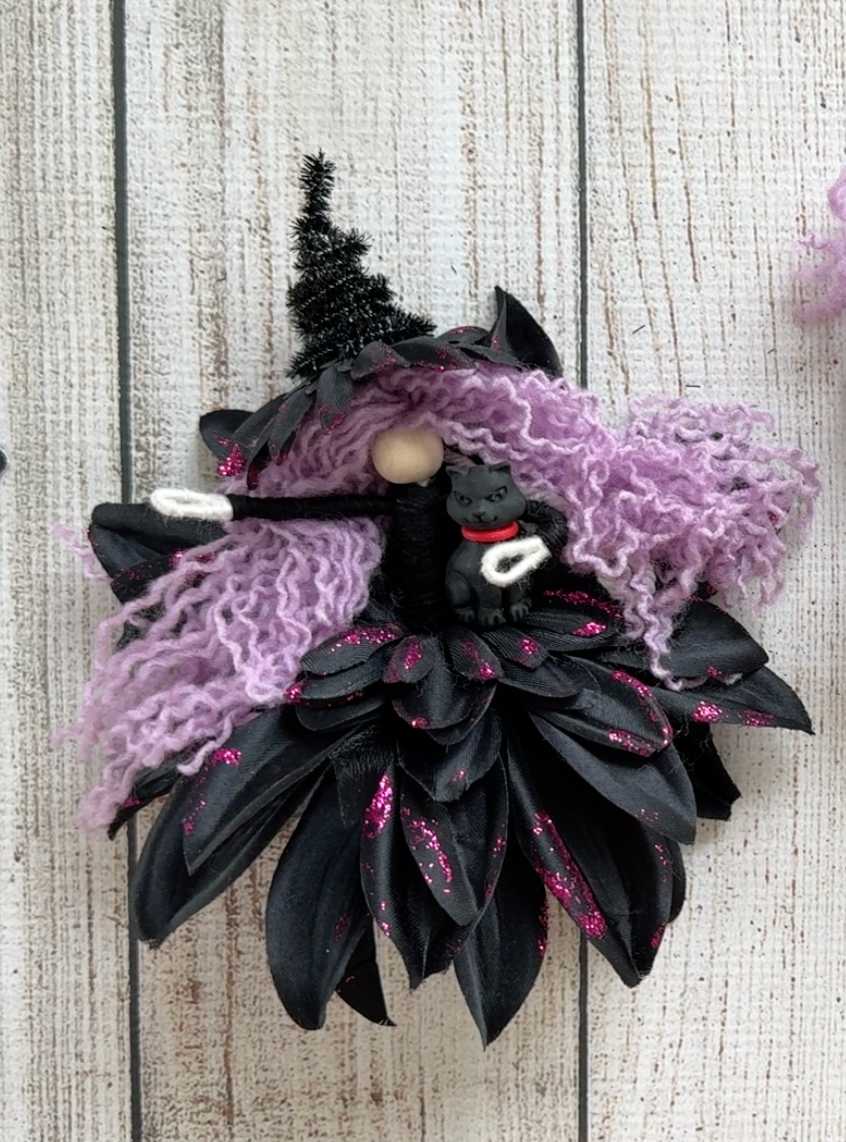
Here is my first attempt… she had some things working for her, I loved the hair and skirt, but her upper body was just blobby and too thick for her tiny bead head. If I’d been able to find a bigger wooden bead, I think it could have worked better, but the thickness of the rough pipe cleaners and the tiny head just make this a really mediocre finish for me.
My Second Attempt: The Two Changes That Fixed Everything
For my second Dollar Tree witch, I used soft pipe cleaners for the head, body, arms, and legs. I only used the stiffer glittery pipe cleaners for handmade broom and hat.
I also cut the arm pipe cleaner in half instead of folding the entire piece over on itself.
This time the arms were thinner and easier to wrap, they weren’t tearing apart my yarn stands, and the fuzzy pipe-cleaners stayed hidden, and the whole process was just easier. Those two simple changes solved nearly every major problem I encountered during the first attempt.
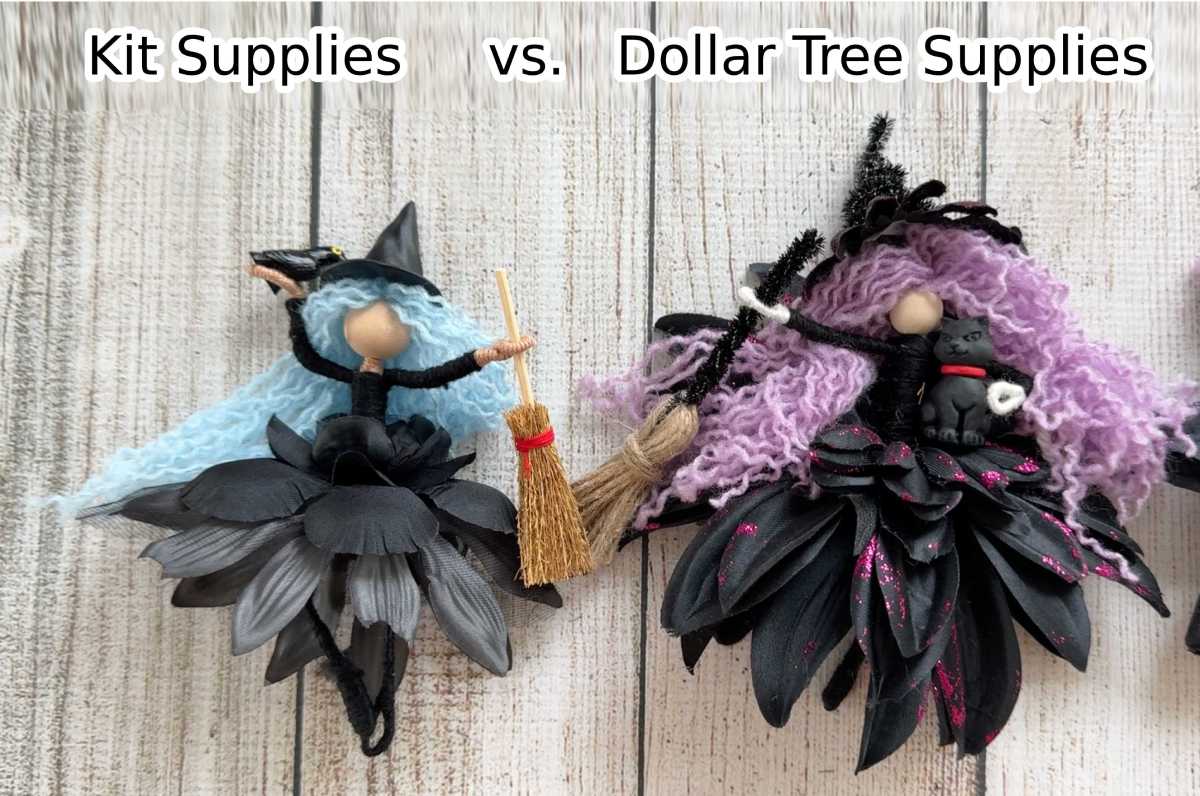
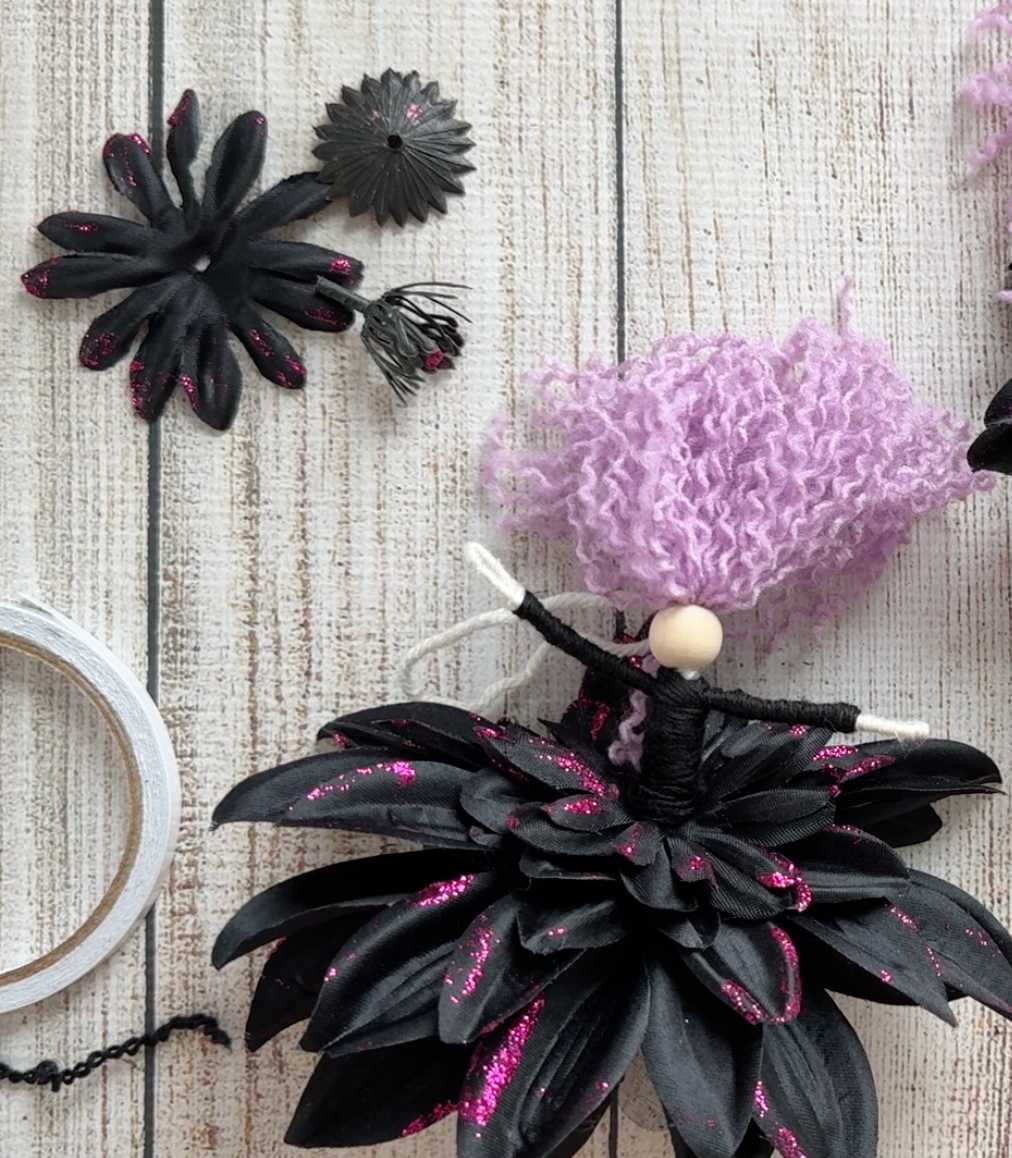
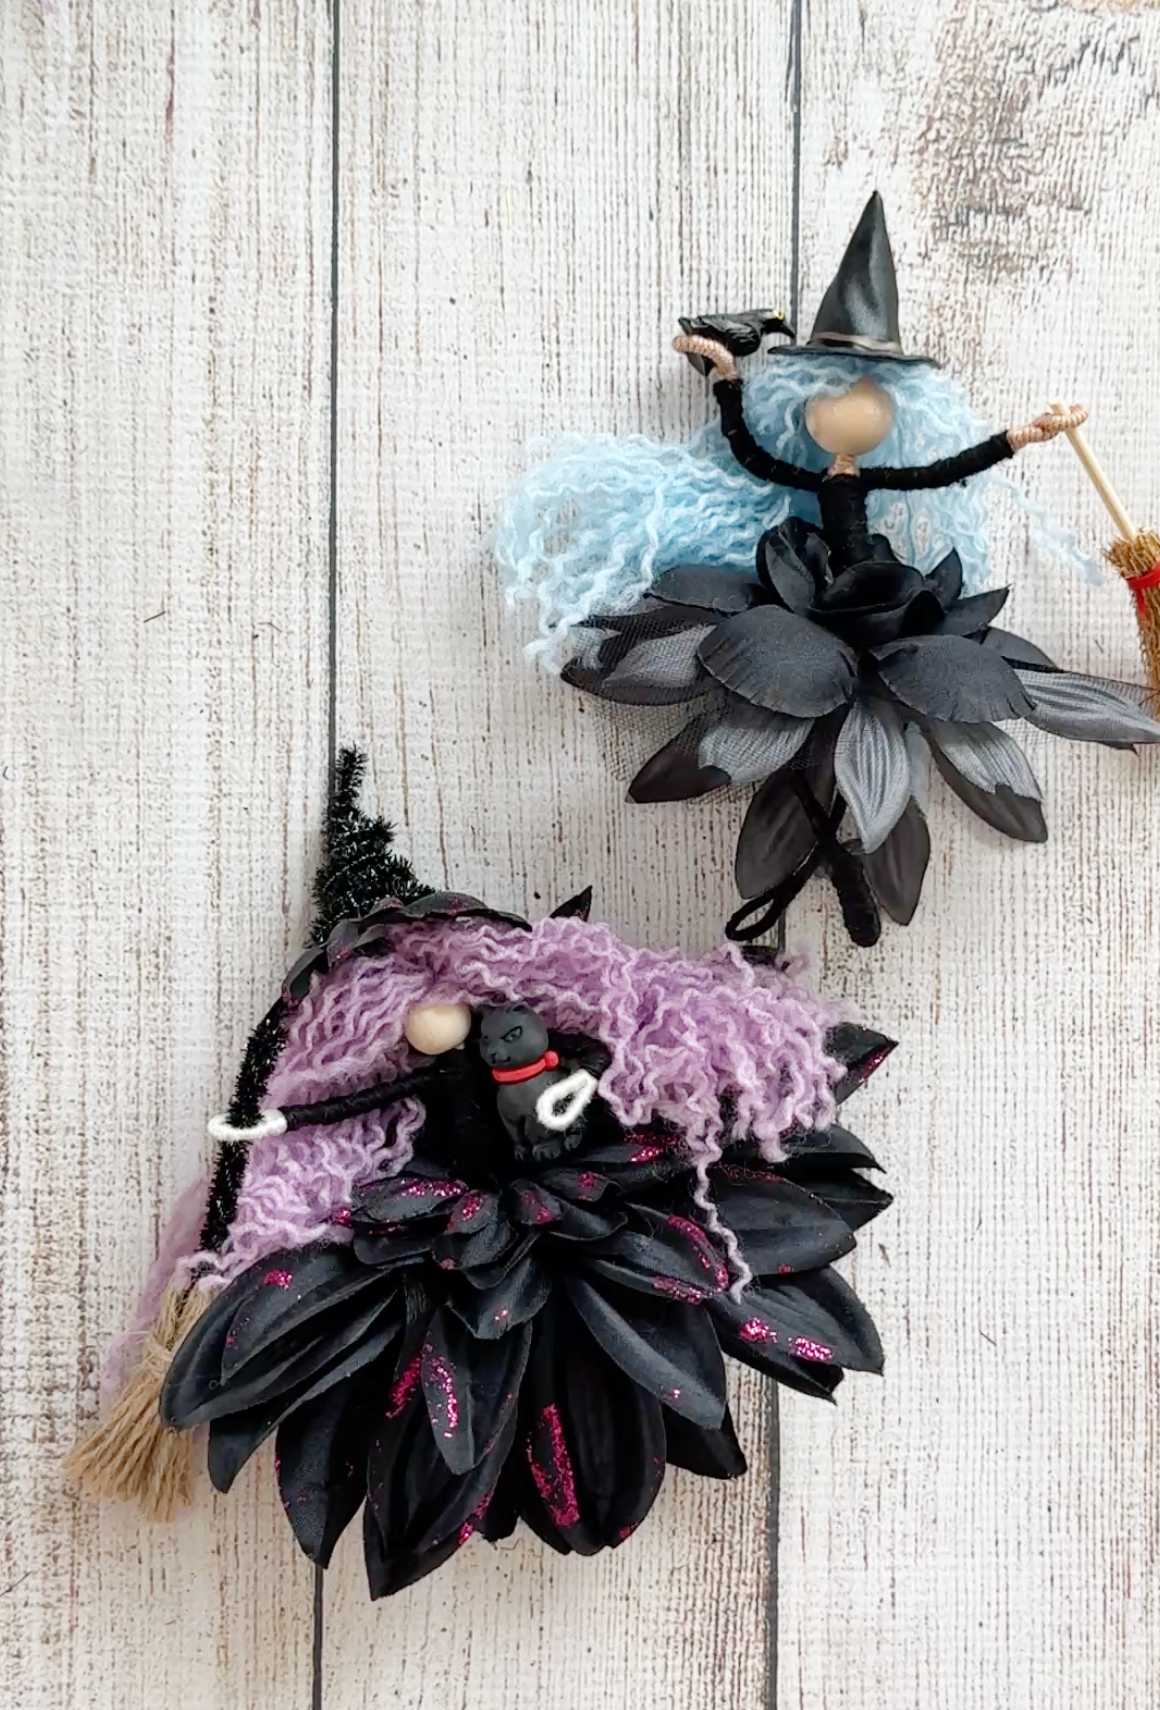
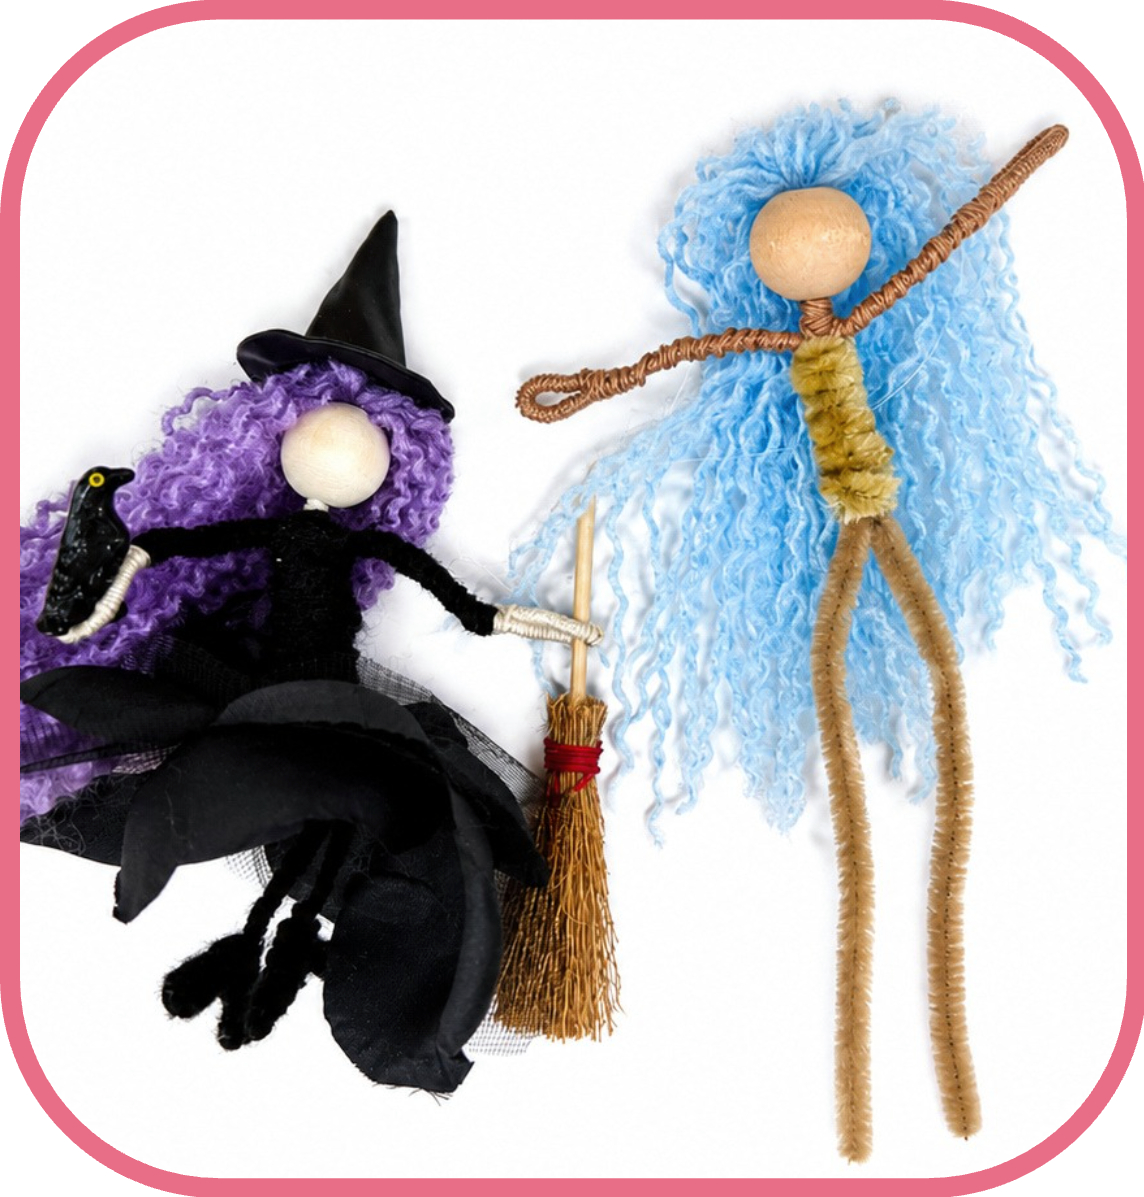
The finished second witch was adorable. In fact, I think she holds her own beautifully next to my kit witch. She has a more improvised, handmade props, while the kit witch looks a little more polished and coordinated, but both are genuinely cute.
How to Make a Dollar Tree Fiber Art Witch Doll
The basic construction is almost identical to my full DIY Witch Doll Craft Tutorial, so you can follow that tutorial for detailed photographs and step-by-step doll assembly. Here is how I adapted the project for Dollar Tree materials.
Step 1: Make the Witch’s Hair
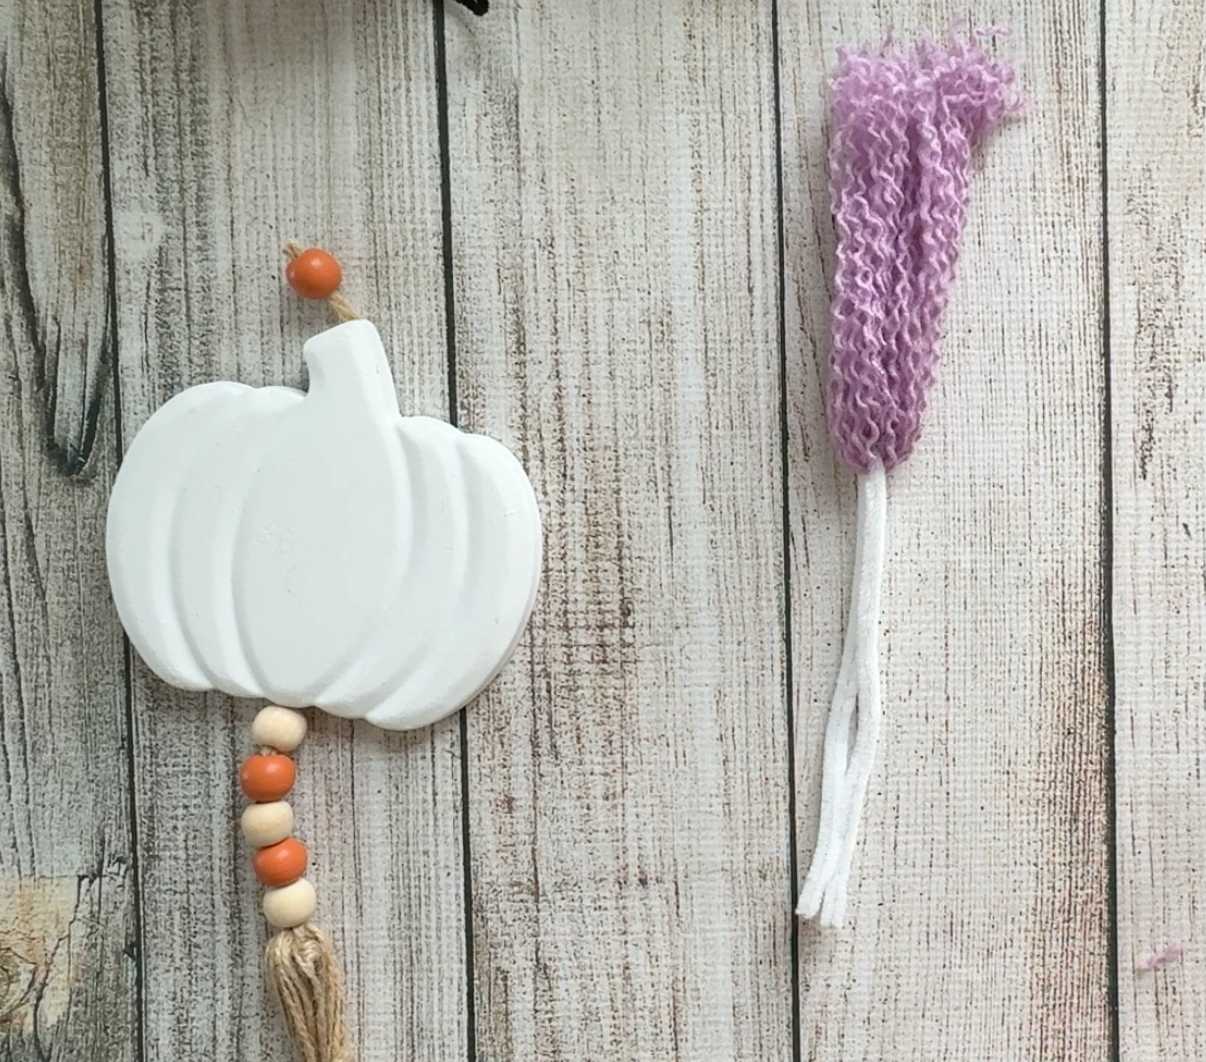
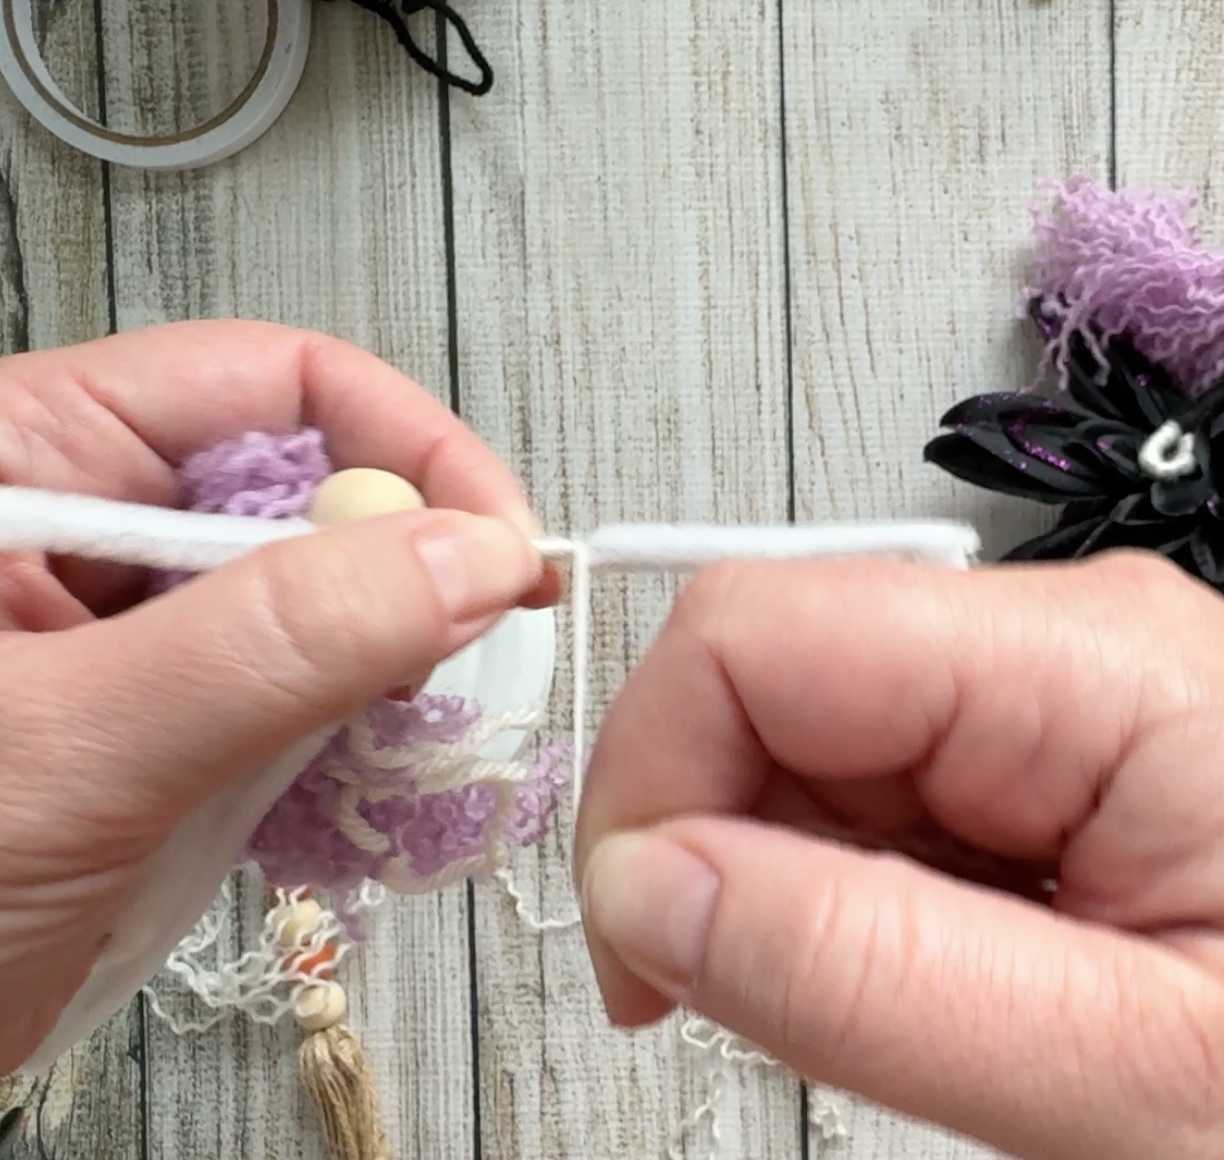
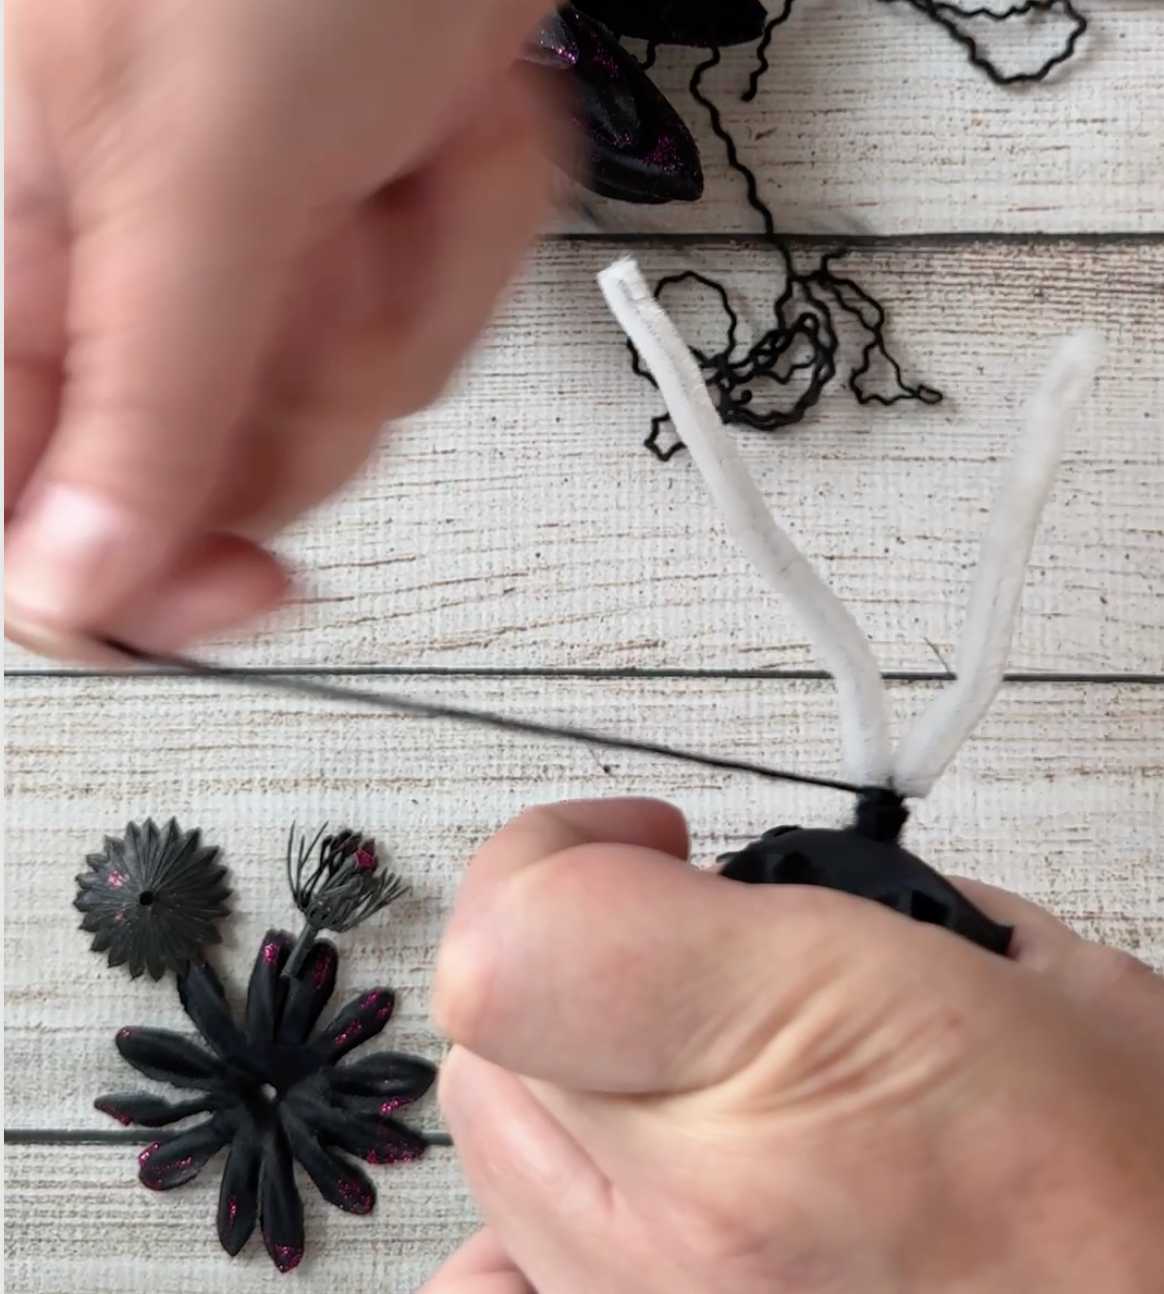
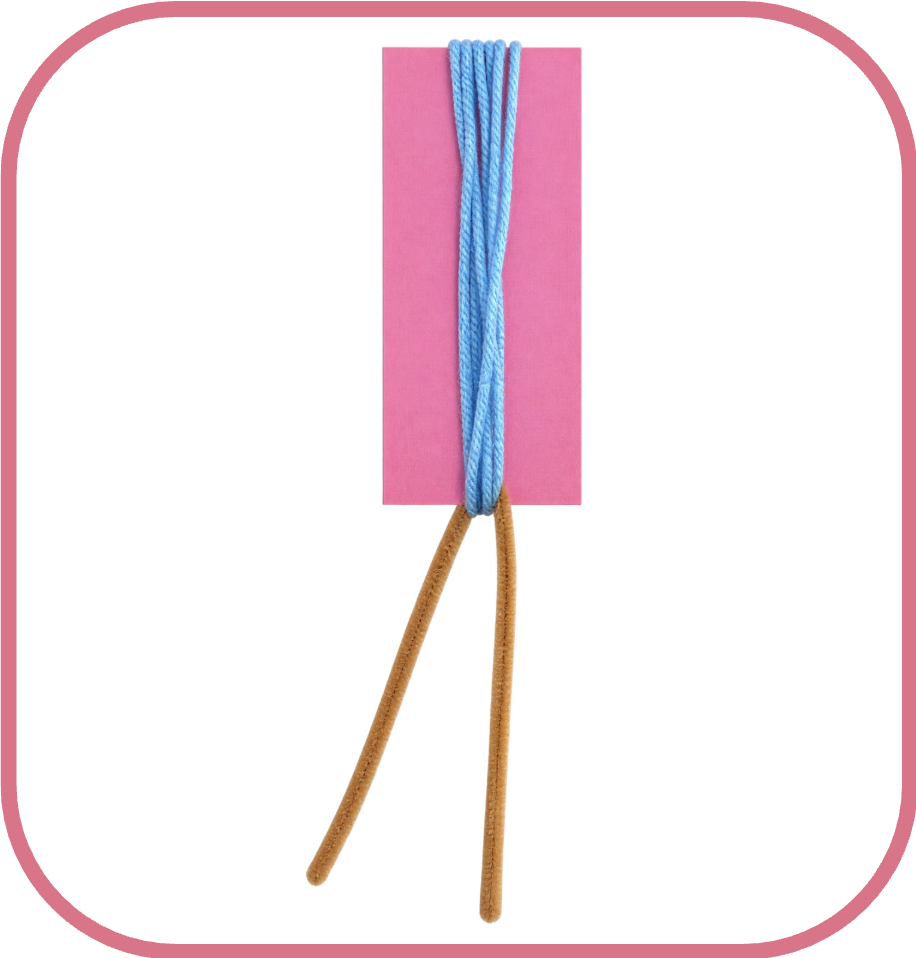
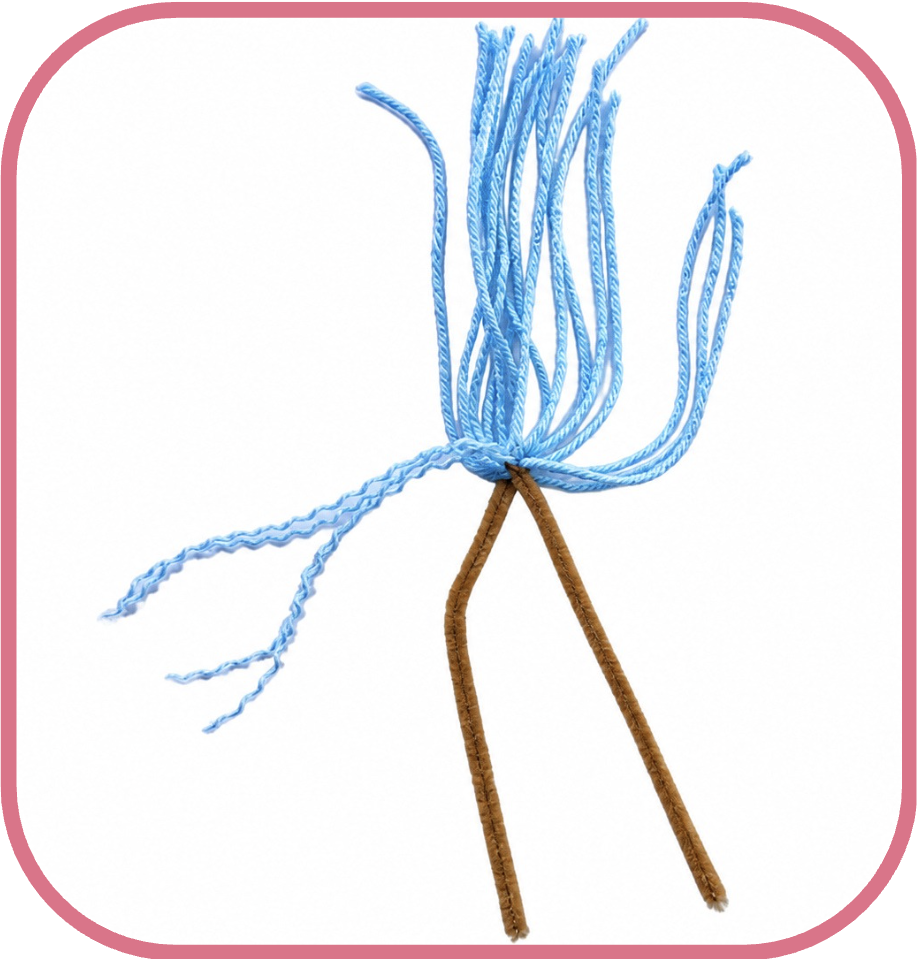
Wrap your chosen hair yarn around the long side of a 5.5-inch piece of cardboard approximately 12 times. Place the center of a soft pipe cleaner across one end of the yarn bundle, then twist it tightly to secure the hair.
Cut the yarn at the opposite end of the cardboard.
For curly, fluffy hair, untwist each piece of yarn and gently pull apart the smaller strands. You can also leave the yarn intact, braid it, or mix several textures.
If you want your finished witch to hang, add a knotted length of clear string or fishing line to the center of the hair bundle before securing it.
Step 2: Add the Wooden Bead Head
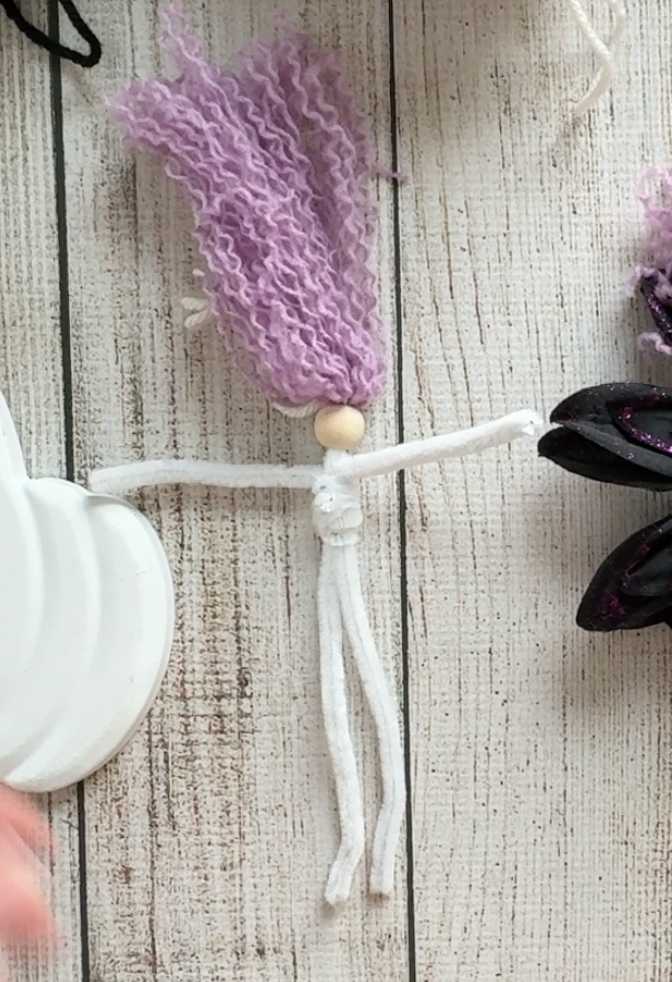
Insert both ends of the pipe cleaner through the opening in the wooden bead. Slide the bead upward until the hair sits securely inside the opening.
If the bead will not slide into place, remove a few strands of hair and try again. Too much yarn can make this step unnecessarily difficult.
Step 3: Add the Arms & Make the Torso
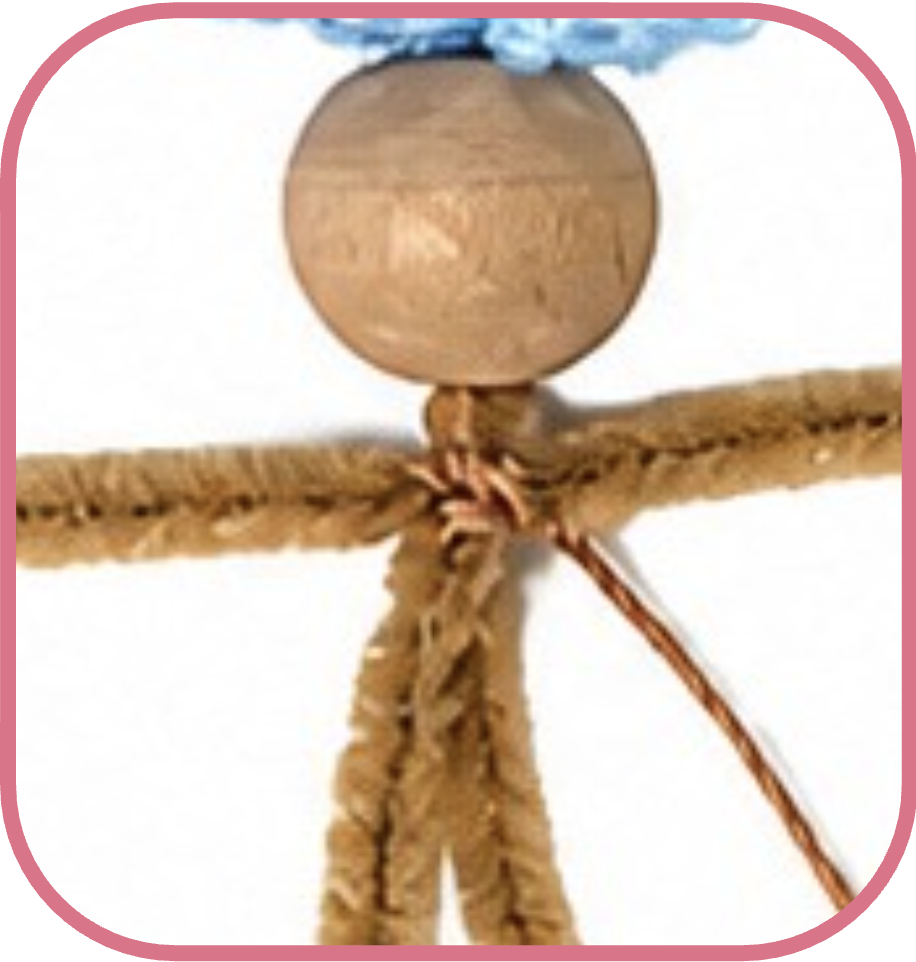
Cut a soft pipe cleaner to the correct arm length (about 6″). Bend it in half to locate the center, then position it horizontally across the doll’s upper body.
This is where my second attempt improved dramatically: use one thin layer of soft pipe cleaner for the arms rather than folding an entire glitter pipe cleaner in half. The slimmer arms are much easier to wrap and shape.
Wrap another soft pipe cleaner around the body to give the torso a little shape. You can wrap it more widely around the chest, stomach, or hips depending on the silhouette you want.
Step 4: Unravel Yarn to Replace Embroidery Floss
My original witch uses skin-toned embroidery floss to wrap the arms and legs. For the Dollar Tree version, I substituted off-white yarn.
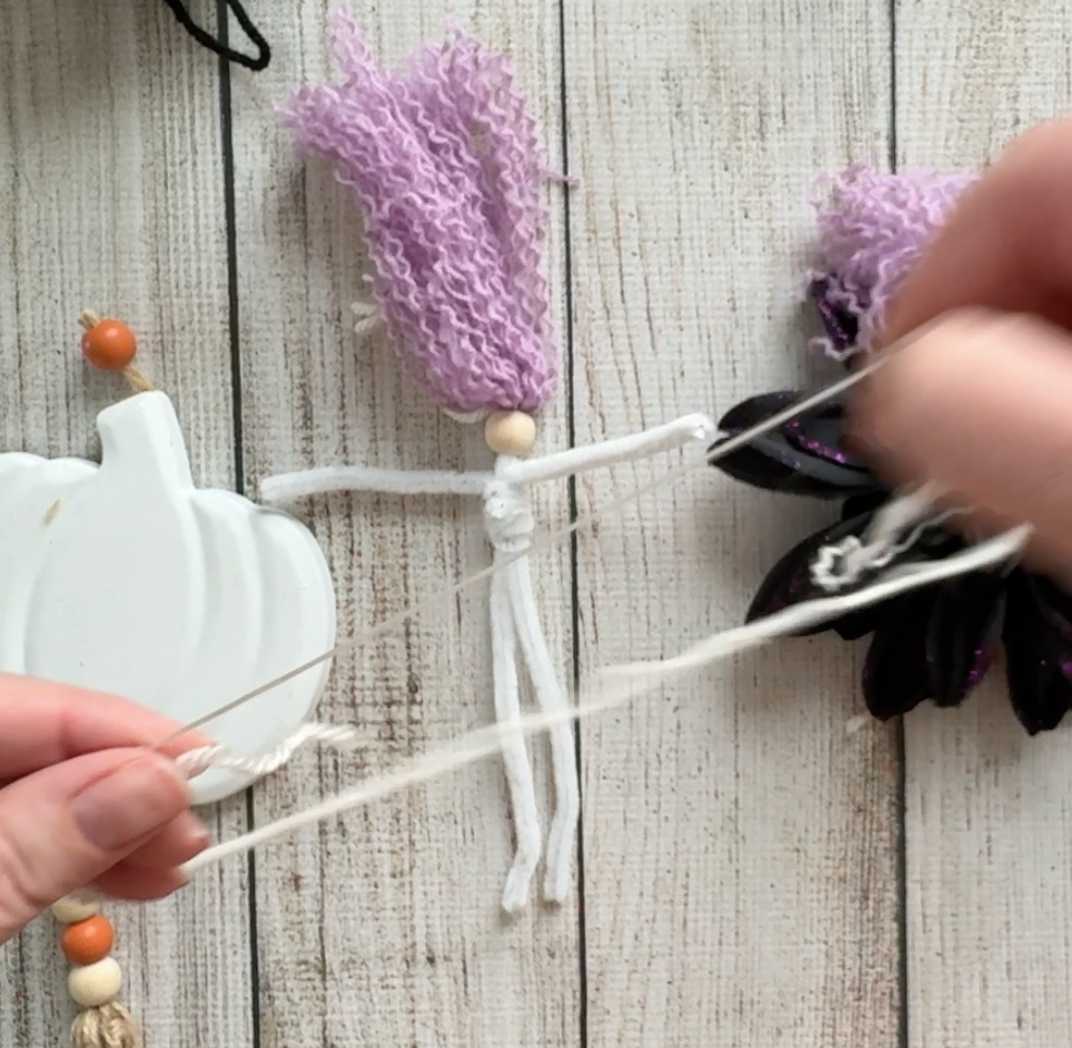
Regular yarn is too bulky, so gently untwist it until you can see the smaller strands that make up the yarn. Separate one thin strand and use it as you would use embroidery floss. I worked in about 24″ strands at a time.
This takes more time and yarn unraveling, but it works surprisingly well.
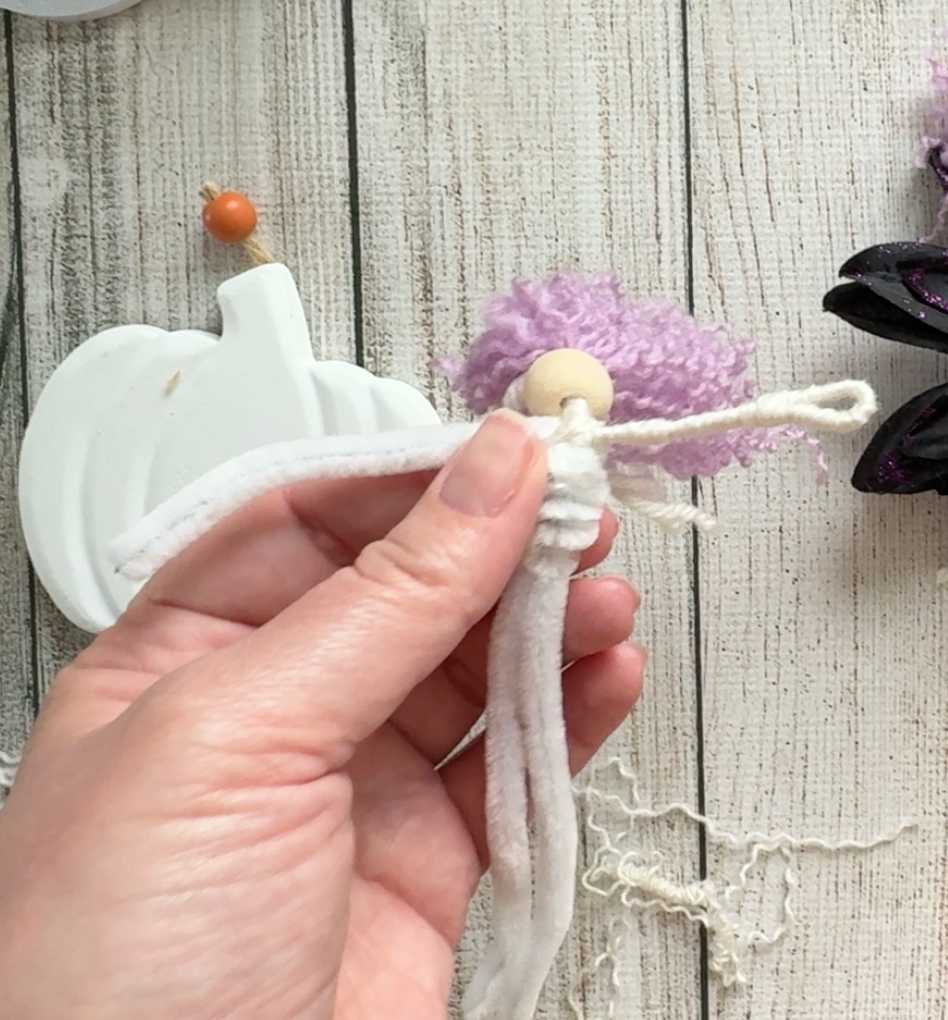
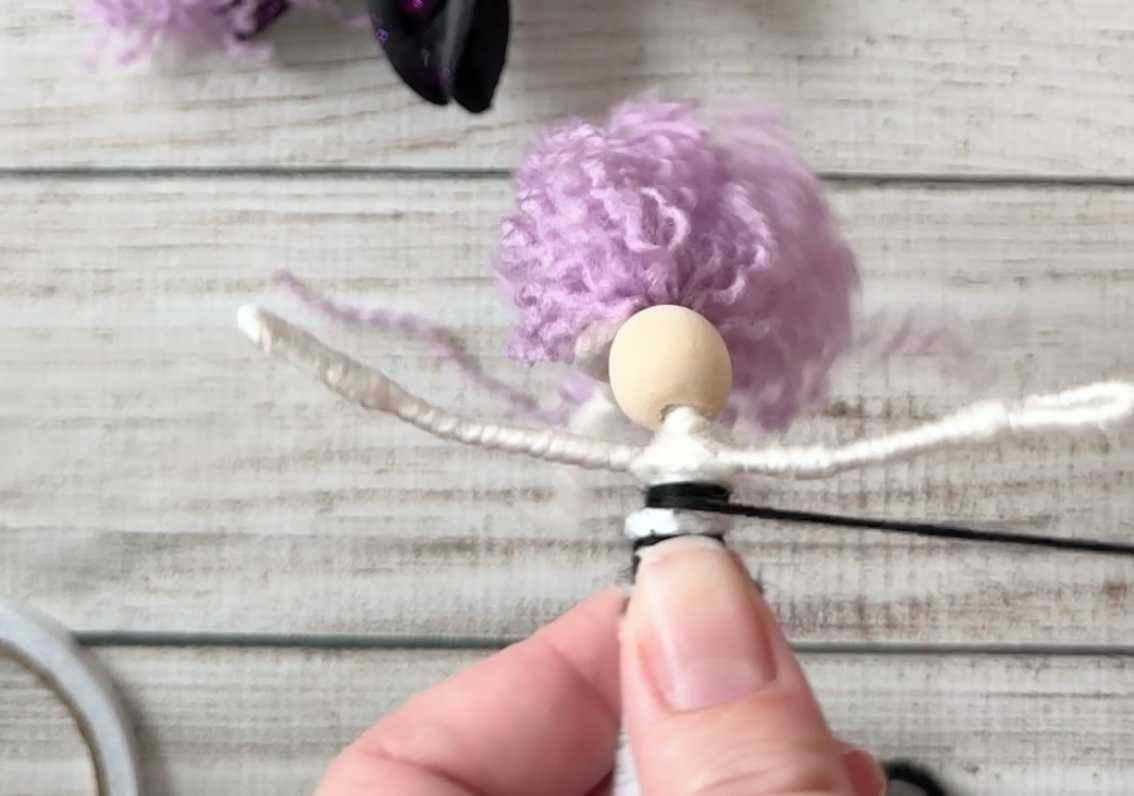
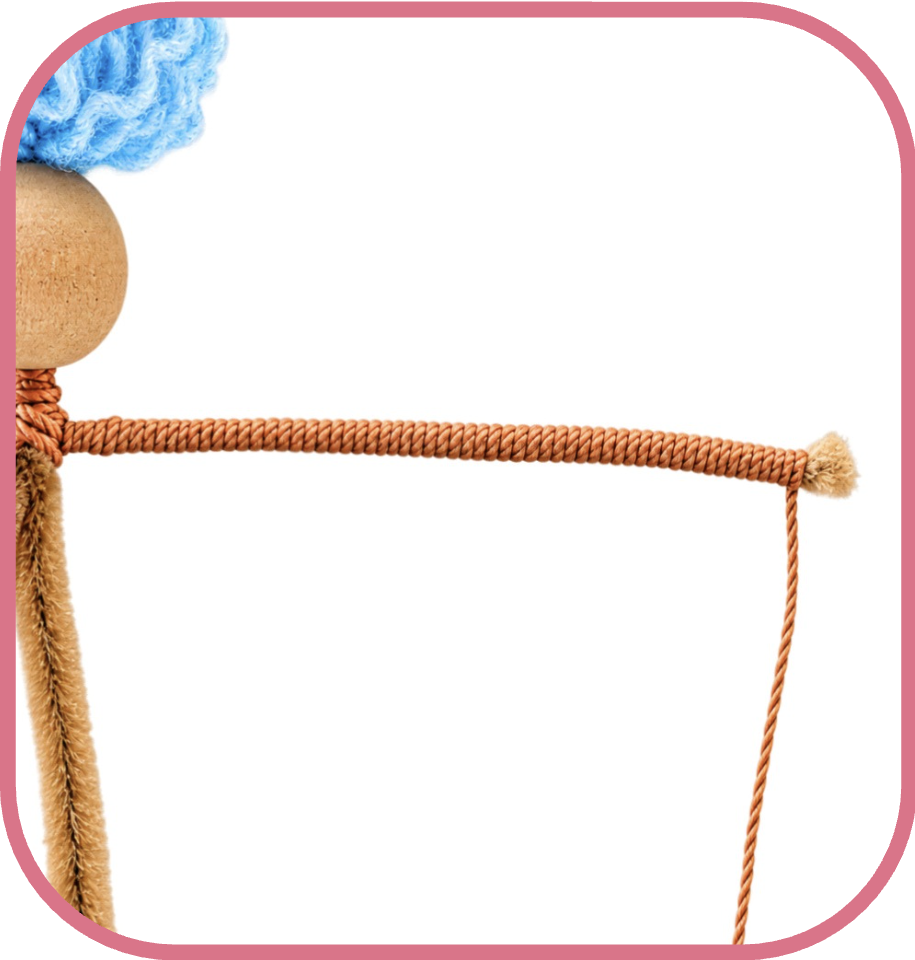
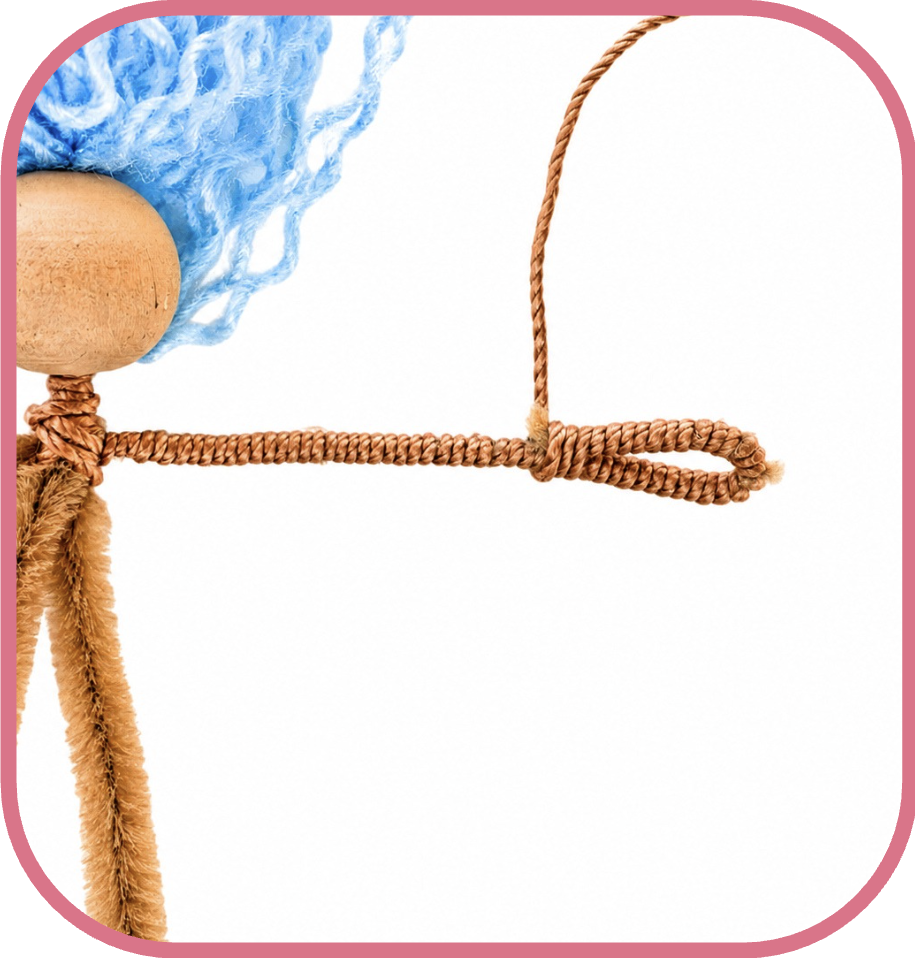
Wrap the separated off-white yarn strand tightly around the neck and arms, covering the soft pipe cleaner. Bend the very ends into small loops to form hands, then wrap over the loop ends until they are covered, but leave the loop open so you can slide in a broom.
Step 5: Shape and Cover the Torso
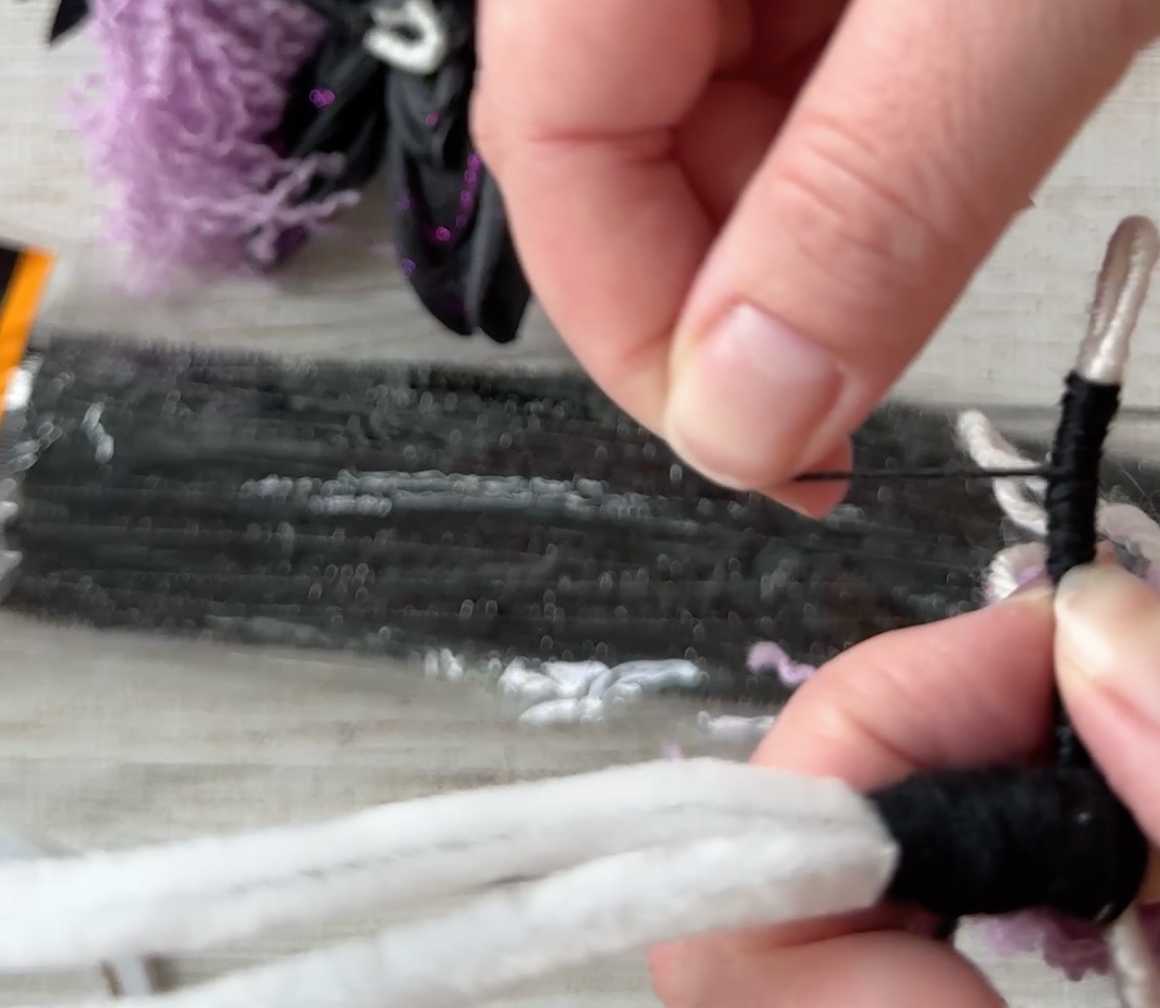
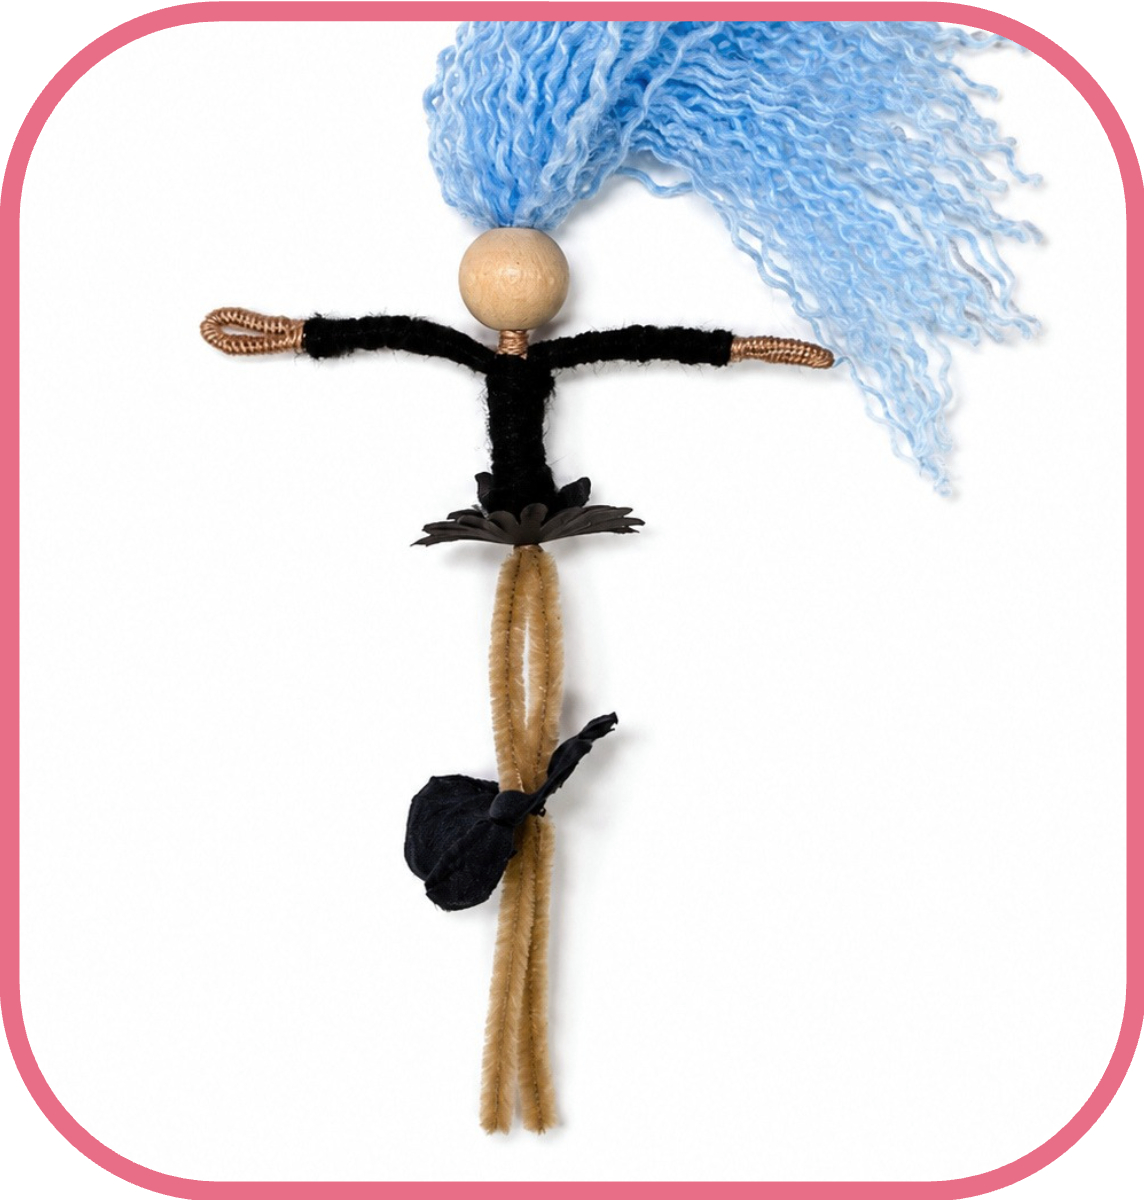
Separate a thin strand from your shirt-colored yarn. Secure it at the back of the doll with some sticky tape and wrap it around the torso until the pipe cleaner is completely covered.
Again, separating the yarn is the key. A full piece of yarn will create a bulkier, fuzzier shirt, while one unraveled strand gives you much more control.
You can cover down her shoulders or arms as well if you want to have a shirt with sleeves.
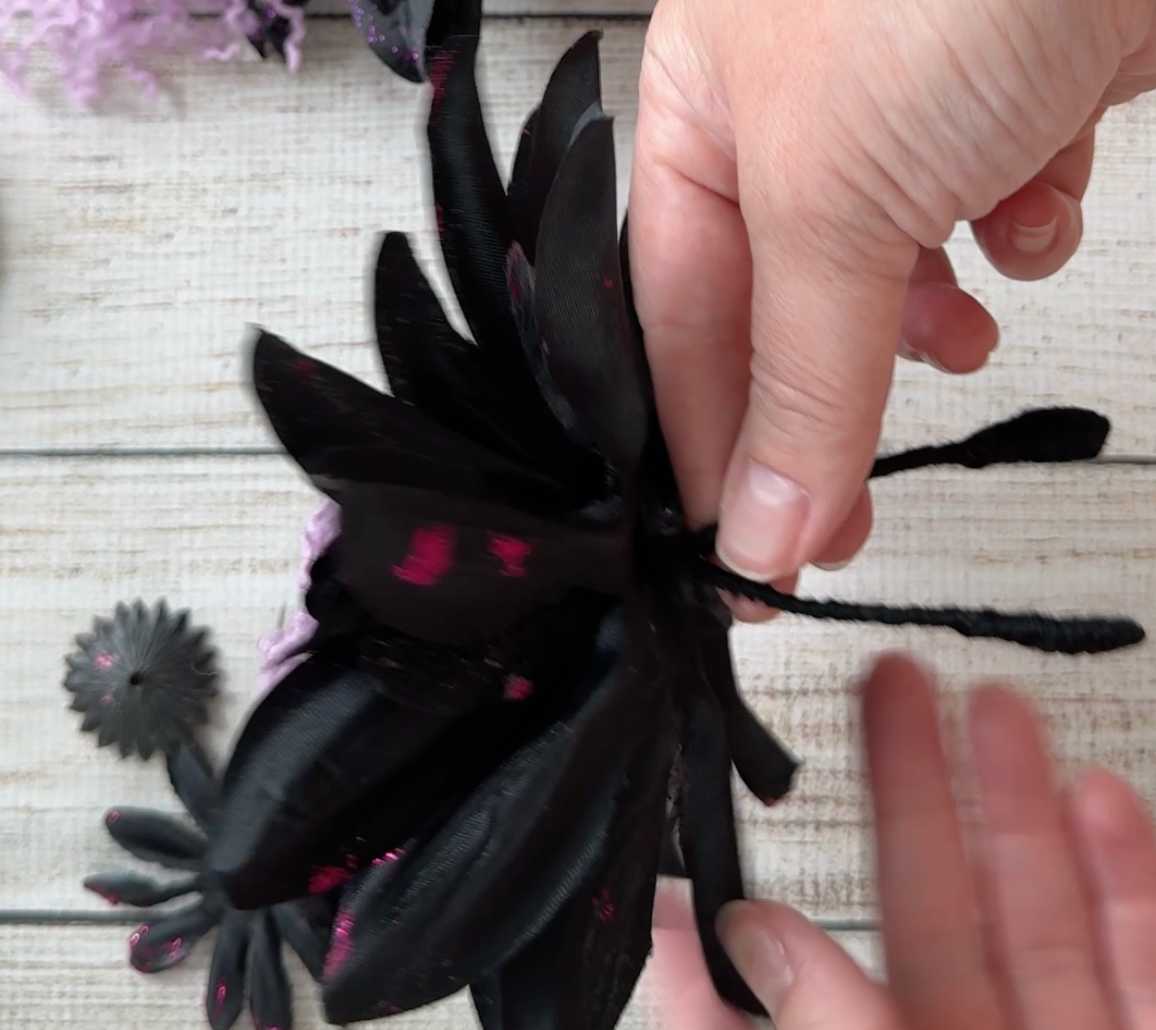
Step 6: Create the Flower-Petal Skirt
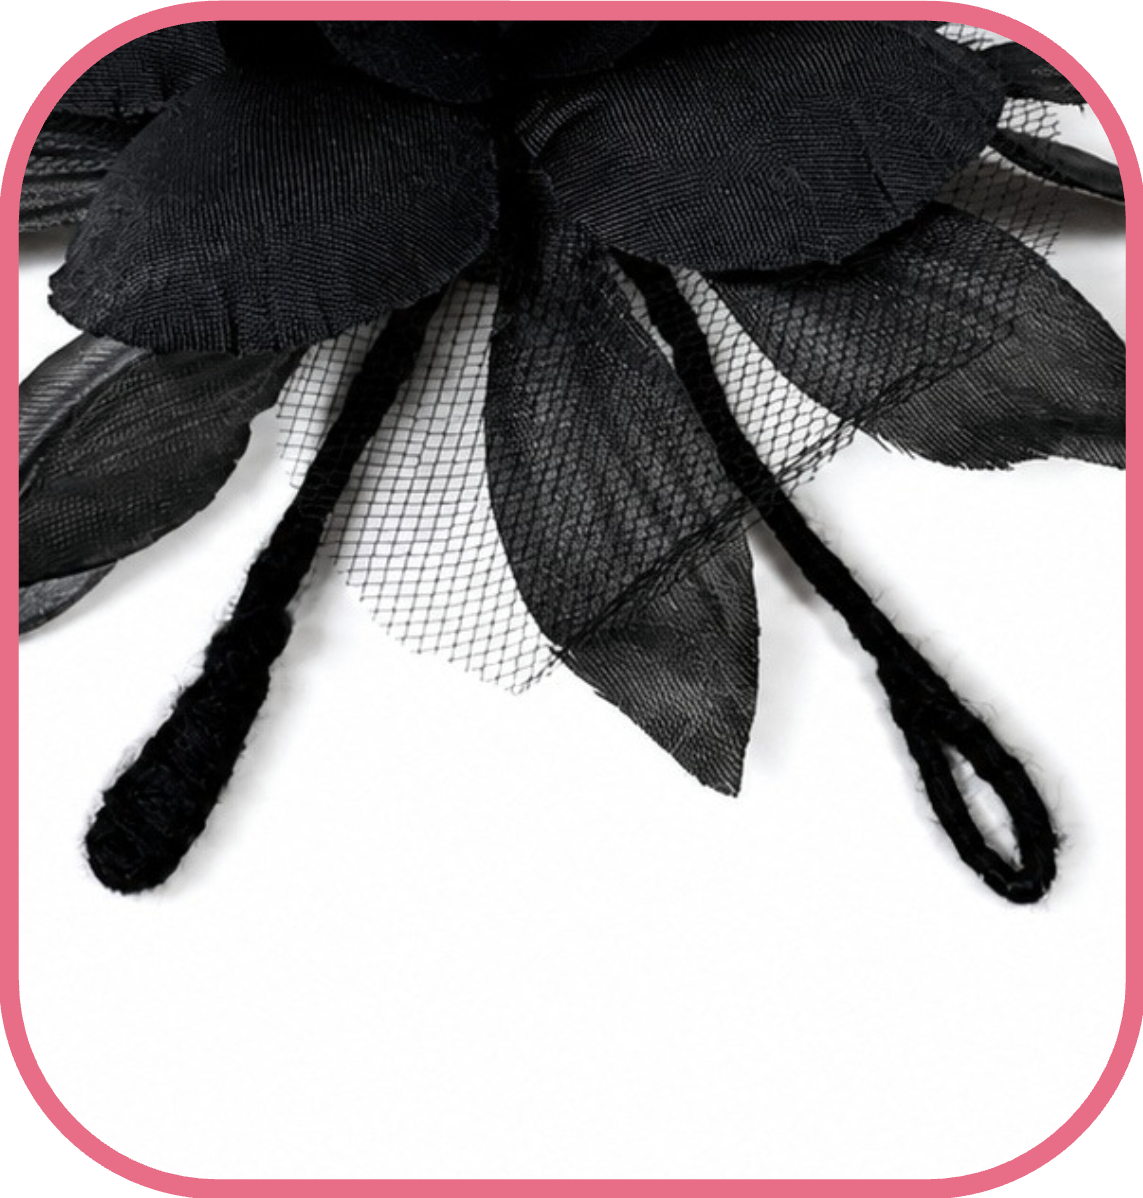
Take apart your faux flowers, and put one of the small petals aside (to make the witch hat brim) then arrange the remaining petals. I like to arrange them from smallest to largest. Thread the doll’s legs through the holes in the centers, layering the petals around the waist until you are happy with the shape of the skirt.
The available flower colors and sizes may vary from store to store, so this is a good place to embrace the one-of-a-kind nature of the project.
Step 7: Wrap the Legs
Separate more strands from the off-white or black yarn and wrap them around the legs, just as you wrapped the arms. Pull the yarn firmly and work slowly to keep the covering smooth.
You can wrap the feet in different colors, such as a darker yarn to create boots or shoes, or continue with the same color for a simpler look.
Step 8: Make a Tiny Witch Broom
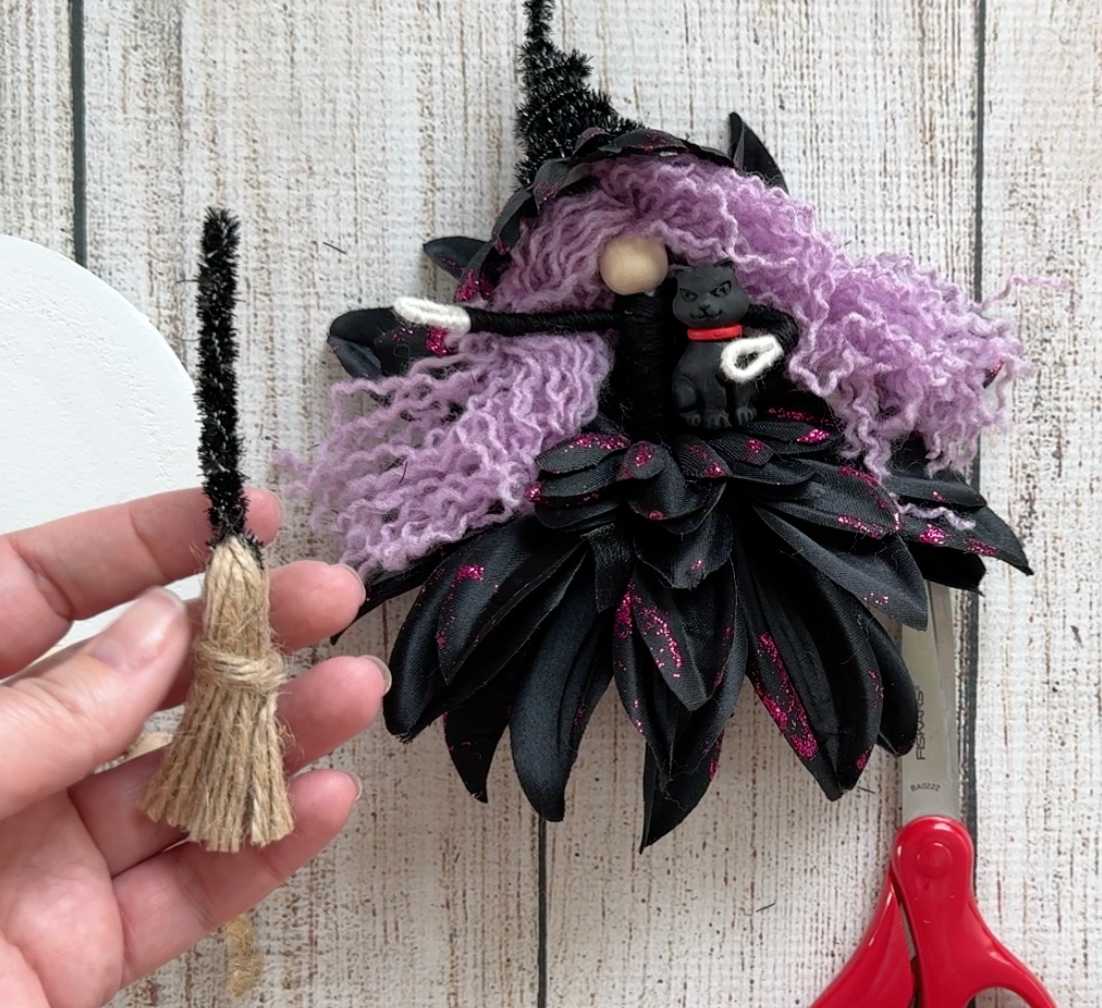
I couldn’t find a mini broom, so I reused the tassel from the hanging pumpkin decoration.
Use a short piece of sparkly pipe cleaner to form the broom handle and wrap it around the tassels on one end. Trim the bottom of the tassels if they’re too long, and shape the whole thing until it looks like a tiny broom, then slide the handle carefully through the witch’s hand.
This was one of my favorite Dollar Tree substitutions because it turned a leftover part I destined for the garbage into one of the key assessories I couldn’t find at the store.
Step 9: Improvise a Witch Hat
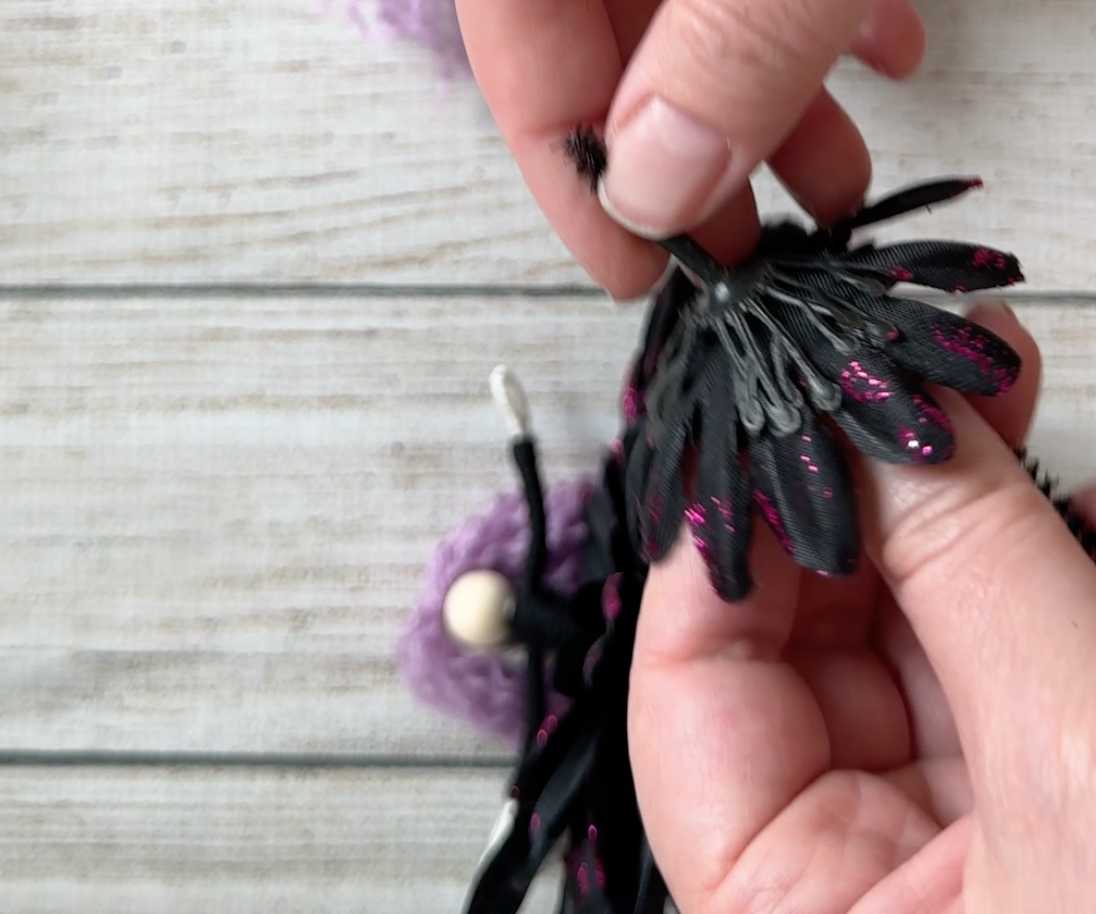
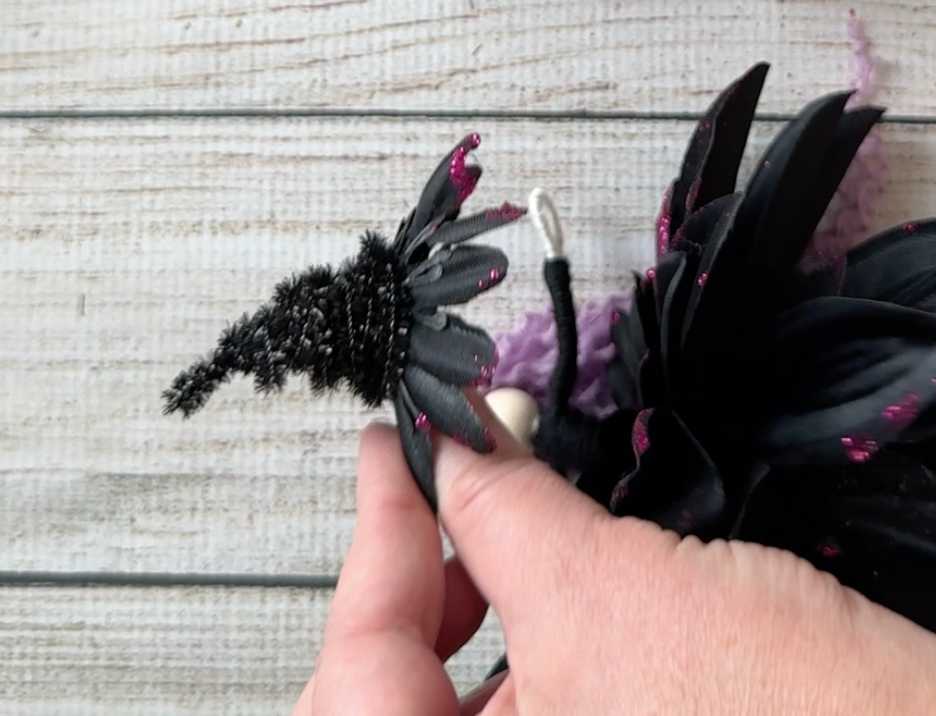
To make the hat, I took the plastic pieces from the artificial flowers and layered them together with a small flower, then shoved a glittery pipe cleaner through the mess to hold it together. With nothing but a vague idea of how I wanted the hat to look I started wrapping that pipe cleaner in circles to make a cone hat shape, adding more pipe cleaners as I needed them, and letting the flower be the hat’s brim.
This version definiently takes more creativity than adding the ready-made plastic hat from my kit. No two handmade hats will look alike, and I’m choosing to think of that as part of their charm.
Tip: Glitter pipe cleaners are useful here because the stiffness that made them frustrating for the arms helps the hat hold its shape.
Step 10: Add the Finishing Touches
Pose the witch’s arms and legs, arrange her hair, and place the broom in her hand, and use a bunch of double sided sticky tape to tape the hat in place.
You could also:
Braid a section of her hair
Add a tiny flower to her hat
Create yarn boots
Give her a hanging loop
Add a little black cat eraser or other Halloween accessory
Mix flower colors to create a pastel, traditional, or witchcore palette
Dollar Tree Craft Supplies Left – 2nd Attempt at Witch vs. Right 1st Attempt at Witch
Dollar Tree Witch vs. My DIY Witch Kit
After making both versions, I don’t think there is one universal “winner.” They are best for two different kinds of crafting experiences.
Dollar Tree Witch
DIY Witch Kit
Shopping
Requires hunting for usable components and seasonal stock
Everything is gathered in one place
Preparation
Decorations may need to be dismantled and yarn separated
Supplies are measured, selected, and coordinated
Accessories
Broom and hat require improvisation
Miniature hat, broom, and embellishments are included
Color choices
Limited to what your local store has available
Colors are intentionally coordinated
Difficulty
More problem-solving and experimentation
More straightforward and beginner-friendly
Finished look
Unique, resourceful, and handmade
Polished, cohesive, and handmade
Best for
Crafters who love a creative challenge and already enjoy Dollar Tree hunting
Craft nights, gifts, beginners, and anyone who wants to start making immediately
The Dollar Tree witch can absolutely be just as cute as the kit witch. My second attempt proved that. However, the Dollar Tree version required more trial and error, more yarn unraveling, and more creativity to construct the accessories.
The kit is less about claiming that you cannot source the materials yourself and more about removing the frustrating parts. You don’t have to visit the store hoping the right stuff is in stock, buy a bunch of extra stuff, and have a ton of left overs, or make a hat and broom from scratch.
I think some parts of the dollar tree version are better, like the skirt, but I wish they had bigger beads for the head and a few of the other supplies were good enough… but not quite good. So certainly some give and take to it, but at the end of the day, if you don’t have the two version of the witch (the one from the kit vs. the one from Dollar Tree) side by side I don’t think you would question that the Dollar Tree witch is adorable and fantastic halloween decor.
My Dollar Tree total: 9 Items x $1.50(ish) =$13.50 ($15 total – if you are able to track down clear string at your store to hang it)
My DIY witch kit price: $19.50 (+ free shipping)
Two great ways to make this kit, Dollar Tree if you like hunting down supplies and really making something your own, kit supplies if you’d like to leave the coordination to me and focus on your crafting skills 🙂
My Honest Verdict
If you love a creative challenge, definitely try the Dollar Tree version. Turning a pumpkin decoration, artificial flowers, yarn, and pipe cleaners into a cute little witch was both fun and satisfying. Just learn from my first attempt: use soft pipe cleaners for the doll’s body, cut the arms to the proper size, and save the glittery pipe cleaners for accessories.
If you want the smoothest and most relaxing experience, or you are buying the project as a gift or planning a craft night, the kit is the easier choice. Everything coordinates, the specialty pieces are already included, and you can focus on the fun parts.
Most importantly, both routes make an adorable witch.
The first Dollar Tree attempt may have been rough, but yours doesn’t have to be. Figuring out how to make everything work is one of my favorite parts, and being able to share something wonderful to teach others is too.
I love halloween so so much, and crafts in general, but these playful fiber art witch dolls are some of absolute favorites!
They combine so many of the things I love about crafting: fun, relaxing, customizable, and an amazing finished project. Best of all, they look much more complicated than they actually are.
They’re a relaxing halloween craft intended for adults and teens, but crafty older kids can absolutely make them too.
Whether you make one to hang in a plant, tuck onto a bookshelf, give as a handmade gift, or simply enjoy the process of creating something fun, these little witches are a perfect way to get into the holiday season.
Don’t feel like you need to find exactly the same flowers I used. That’s part of the fun! Look for artificial flowers in coordinating colors and experiment with different shapes and sizes. Large petals can create the bottom of the skirt, while smaller flowers and petals can be layered around the waist or used to create a top.
Want to Skip Gathering Supplies?
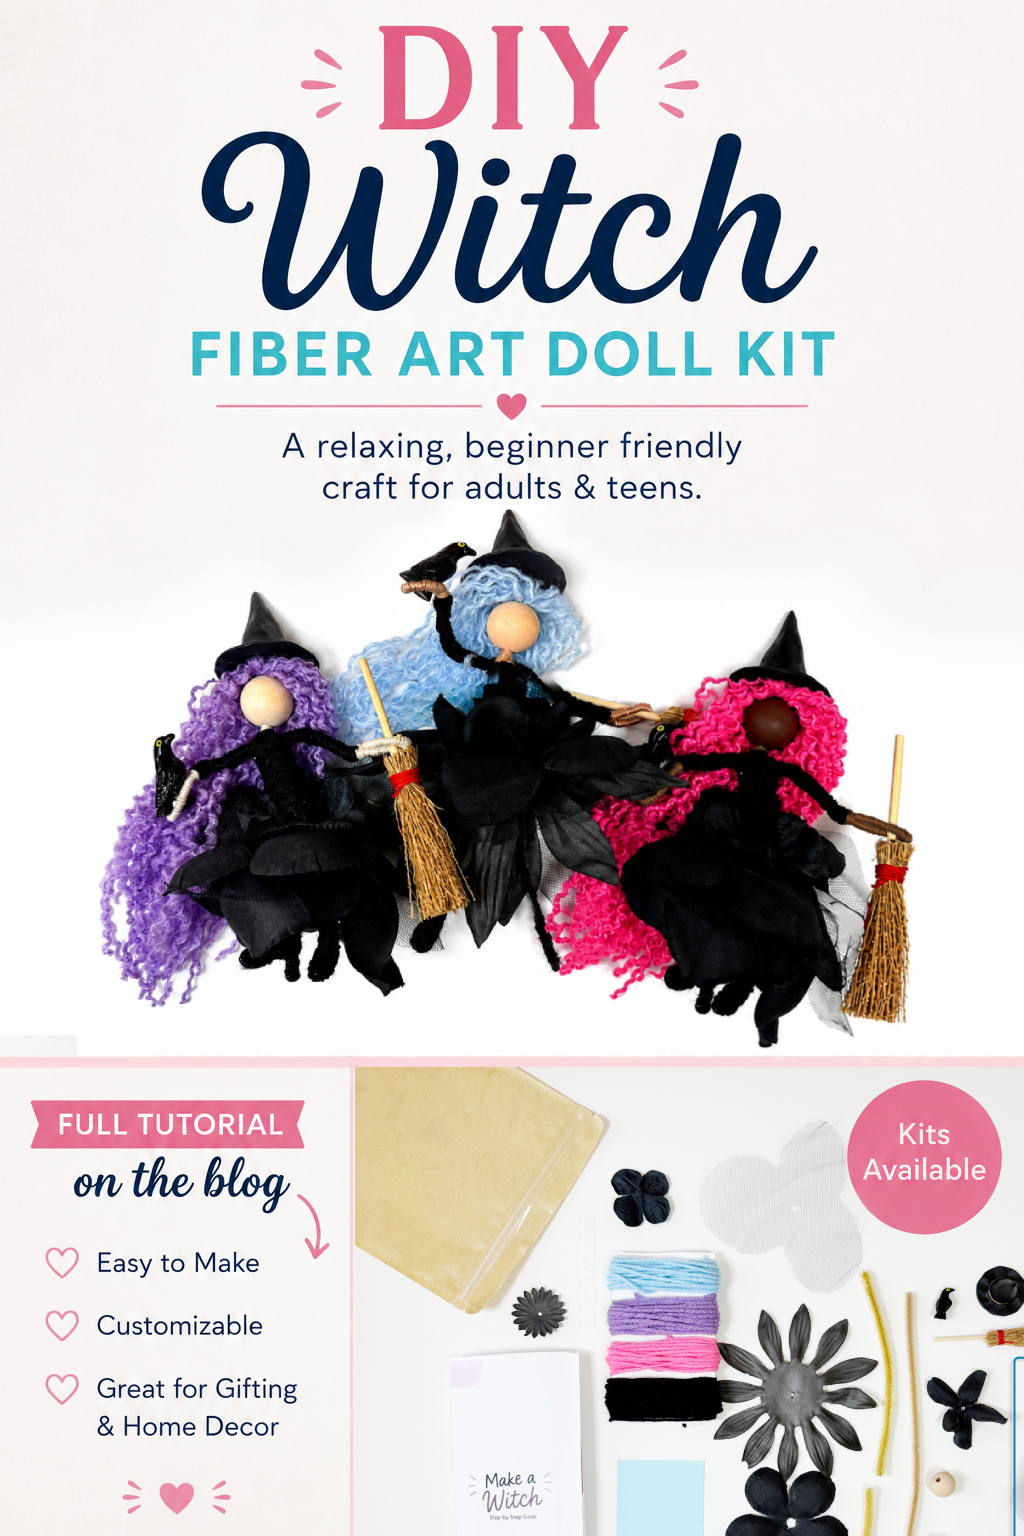
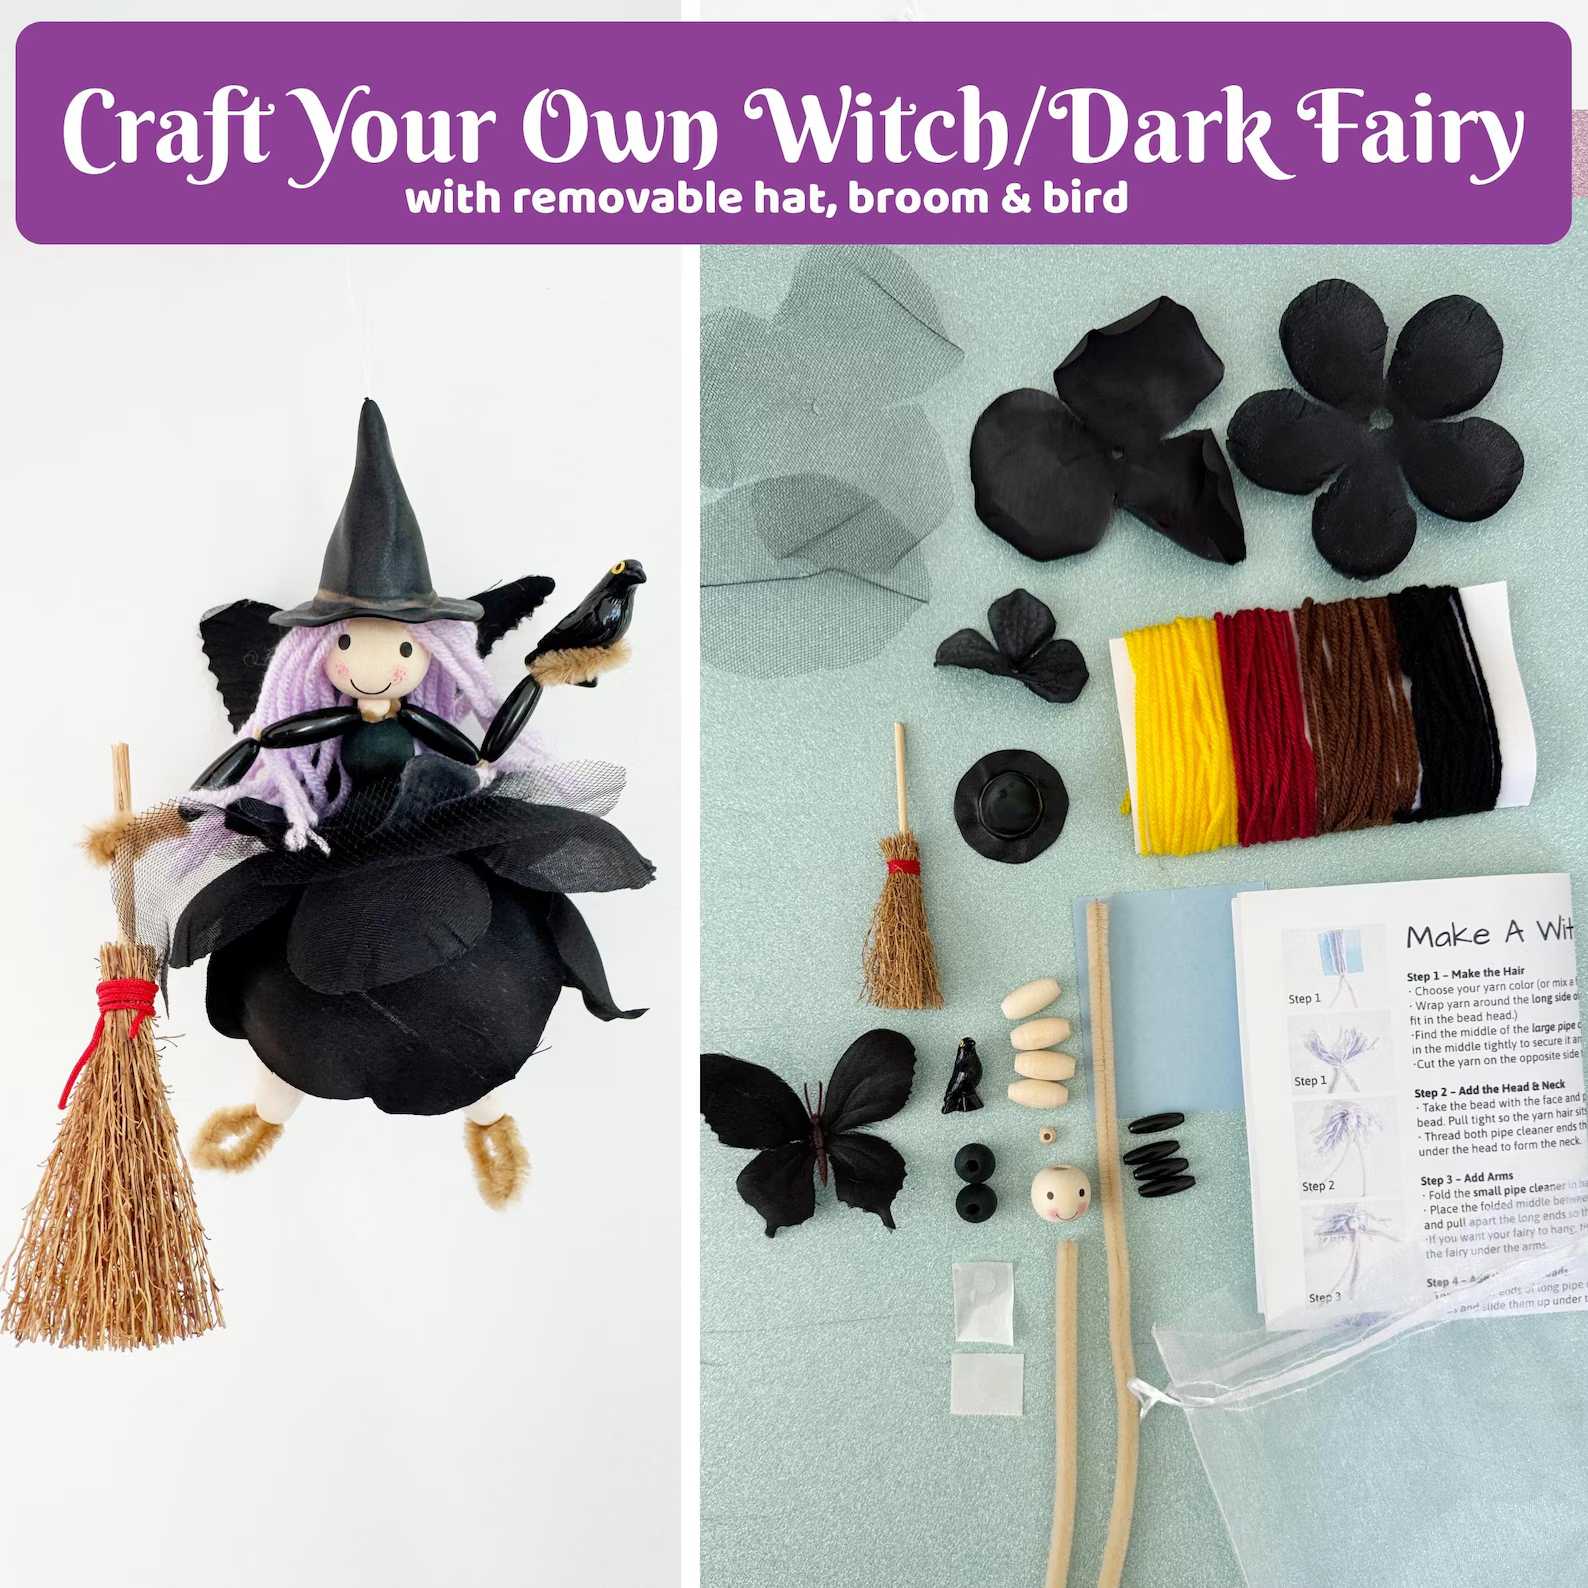
If you’d rather jump straight into crafting, I also put together DIY Adult Fiber Art Witch Kits in my Etsy shop.
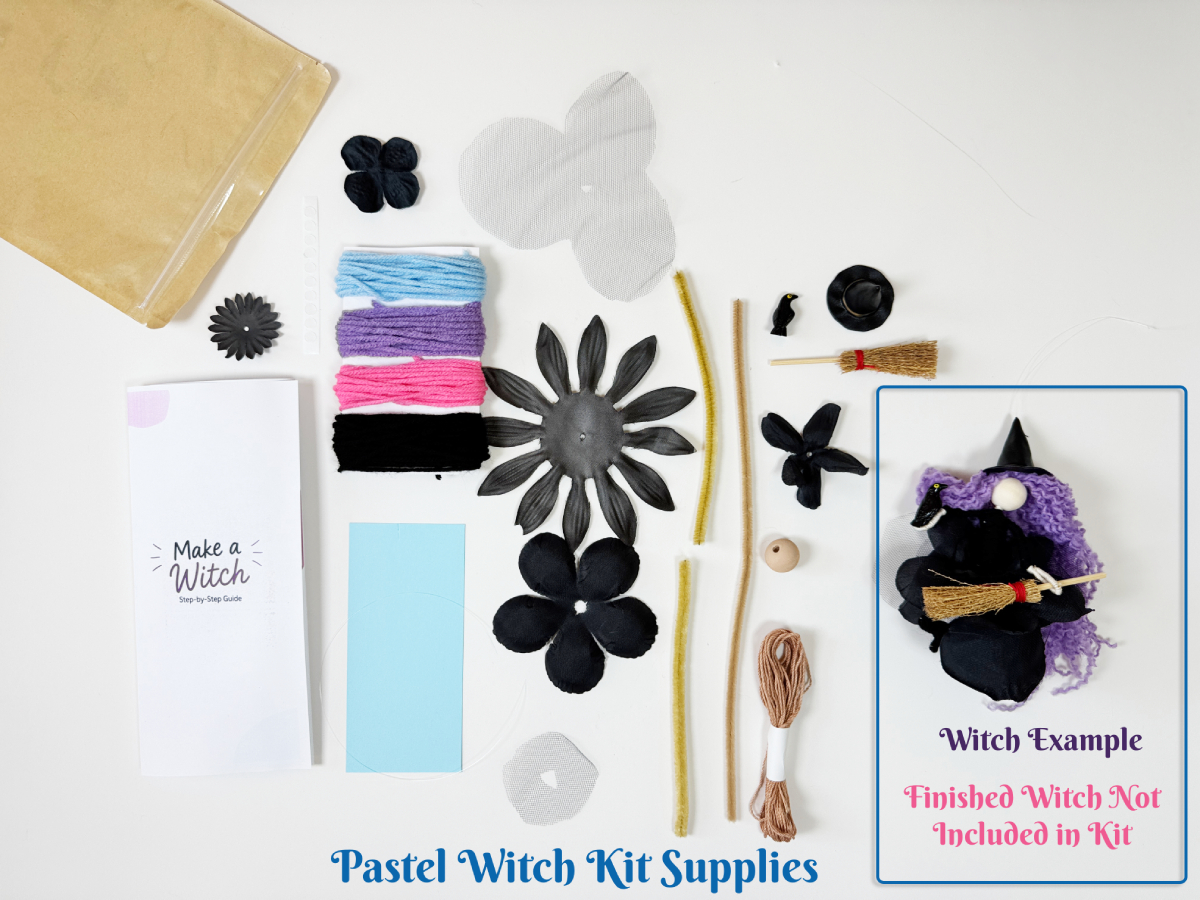
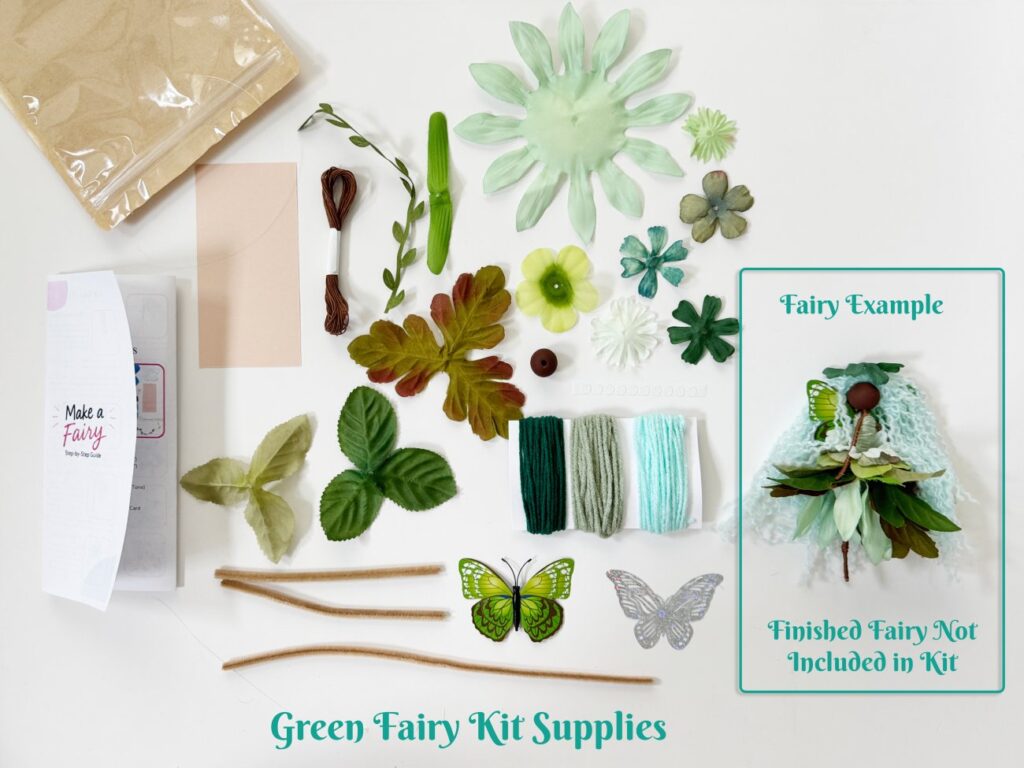
Each kit includes coordinated supplies for making your own witch, including the yarn, flowers, and embellishments, along with illustrated step-by-step instructions. Everything is already coordinated and organized so you can get to the fun part: actually making your witch.
If you’re more of a visual learner, I’ve also made a complete video showing how I put one of these DIY witch dolls together from beginning to end.
How to Make a Fiber Art Witch Doll
Step 1 – Choose Your Hair
Choose your yarn color and wrap the yarn around the long side of the 5.5″ card about 12 times. (Too much yarn will be hard to fit in the bead head.) You can use a larger card if you’d like your witch to have extra-long hair.
If you want your witch to hang, tie a knot in your hanging string (I used fishing line) and add it to the hair bundle now.
Find the middle of the 12″ pipe cleaner. Place it across one end of the yarn (and hanging string, if used), twist it in the middle tightly to secure it around the hair. Cut the yarn on the opposite side to free the strands.
Tip: Avoid using too much yarn. All of that hair needs to fit inside the opening of the wooden bead. You can always remove a few strands if your bundle is too thick.
Step 2 – Create Curly Witch Hair
This step is optional, but it’s what gives these witches their wonderfully fluffy, textured hair.
Take one strand of yarn and gently untwist it until you can see the smaller strands that make up the yarn. Pull those individual strands apart.
Repeat with the remaining yarn.
Different yarns behave differently when they’re separated. Acrylic yarn tends to create especially fluffy curls, while other yarns may produce softer waves.
You can also leave the yarn intact, braid sections, or combine textures to create your own hairstyle.
Step 3 – Add the Face Bead
Insert both ends of the pipe cleaner through the wooden bead.
Slide the bead upward until the hair sits securely inside the bead opening.
If you’ve used too much hair and the bead won’t slide into place, simply remove a few yarn strands and try again.
Step 4 – Add the Arms
Take the shorter pipe cleaner and bend it in half to find the center.
Slide it horizontally through the upper part of the body triangle.
Leave a little space underneath the wooden bead for your witch’s neck and adjust the pipe cleaner until the arms are approximately the same length.
Step 5 – Wrap the Upper Body and Arms
Place a sticky tab or some hot glue on the back of the witch near the neck. Press one end of the skin colored embroidery floss onto the sticky tab. Slowly wrap the embroidery floss around the pipe cleaners in an “x” shape to secure the arms in place, then wrap up the neck, (wrap tightly so no fuzzy pipe cleaner shows through.)
Arms and Hands: Next, pick an arm and continue wrapping almost to the end of the pipe cleaner. Leave about 1/8 inch at the end unwrapped. Bend the pipe cleaner tip into a small loop to create the hand.
Continue wrapping to cover the end of the hand completely, then return to the body center and repeat on the second arm.
Continue wrapping back toward your “x” until all visible pipe cleaner on the arms is covered. Add a second sticky tab on the back to secure the floss before trimming the excess.
Step 6 – Make A Shirt
Start by giving your witch’s torso some shape.Take the second 6″ pipe cleaner, and wrap it around your witch’s torso, if you want your witch to have a bigger chest, hips or stomach, wrap the pipe cleaner in wider circles in those areas.
When you’re finished take a strand of black yarn and measure out about 24″. Like you did with the hair, twist the yarn counter clockwise until you see 4 stands and carefully pull out one of the stands. Get a sticky tab and place it on the back of the witch and use your new single stand of yarn to wrap over the torso, covering all the fluffy bits of the pipe cleaner and creating a shirt for your witch. Add sleeves, or other embellishments if you like.
Step 7 – Make the Flower Petal Skirt
Take apart your artificial flowers and experiment with layering different petals around the witch’s waist.
You can keep the skirt simple with just a few petals or create a wonderfully full dress by mixing different shapes, sizes and colors.
Arrange all the flowers petals how you like to create the skirt.I arrange mine from smallest to largest.Then put the unwrapped legs through the center of each of the flowers until you create your desired skirt.
Step 8 – Wrap The Legs
Place a sticky tab on the back bottom of the witch. Use either a single strand of black yarn or embroidery floss. Press one end of the stand onto the sticky tab to secure it. Slowly wrap it around the pipe cleaner legs the same way that you did for the arms. Continue wrapping down the legs until all visible pipe cleaner is covered. Add a second sticky tab near the witch’s bottom to secure the floss before trimming the excess.
Step 9 – Add Props
Finally, add your hat, broom and bird. Use a few sticky tabs to get the hat to say well and carefully put the end of the broom through the witch’s hand, and the bird through the witch’s hand as well, being careful not to pull your pipe cleaner hand too hard that it slides out of your wrapping.
Enjoy Your Witch
Have fun with the details.
You could:
Add tiny flowers or leaves to her hair
Braid part of her hair
Pose her arms and legs
Wrap her legs in yarn to create ballet style slipper shoes, or boots
At this point, there are really no rules.
Make your witch yours.
Easy to Customize
One of the reasons I enjoy these handmade dolls so much is that the same basic pattern can become almost anything.
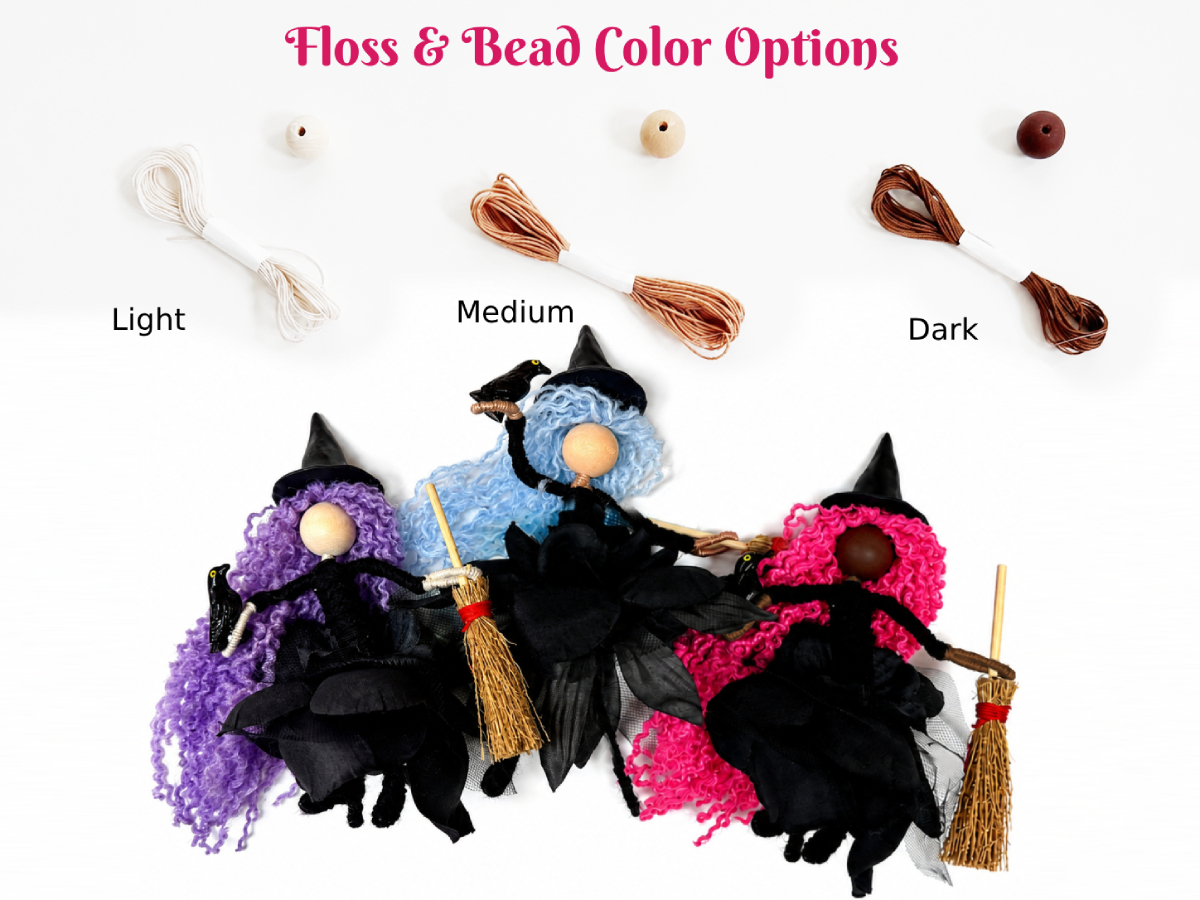
You can also experiment with different skin tones, hairstyles, flower shapes etc.
That makes this a particularly fun project to make with friends because everyone can start with the same instructions and still go home with something completely different.
A Fairy Craft for Teens & Adults (and Crafty Kids!)
I designed this version primarily as a Witch craft for adults and teens, because there are enough little details to make it satisfying without requiring advanced crafting skills.
But it’s certainly not adults-only. Crafty older kids can make these too, especially if they’re comfortable wrapping embroidery floss and working with small pieces.
For younger children, I have a simpler bead-based version of my witch craft that uses larger components and focuses more on threading, wrapping and decorating.
That means this can also be a really fun parent-and-child, grandparent-and-grandchild, or sibling craft activity where everyone makes a version suited to their ability level.
Looking for the Kids Version?
If you’re crafting with younger children, you might also enjoy my Kids DIY witch Kit.
It’s designed with younger hands in mind but still creates an adorable finished fairy, making it a great companion project if siblings, parents, or grandparents all want to craft together. (Great for age 4+)
You don’t need sewing, doll-making, or advanced fiber-art experience.
The basic techniques are wrapping yarn and embroidery floss, bending pipe cleaners, separating yarn strands, layering flowers, and gluing embellishments.
Do I have to use the same flowers?
Definitely not.
Artificial flowers are one of the easiest ways to make this project your own. Try different colors, petal shapes and sizes.
Can I make these without buying the kit?
Absolutely.
The kit is there for people who would rather have everything coordinated and ready to use, but I’ve included the supply list so you can source everything yourself too.
What age is this best for?
I’d recommend this version primarily for teens and adults, although crafty older children can certainly make one with some help.
For younger children, I’d recommend the simpler kids fairy kit.
What can I do with my finished witch?
Try displaying your witch:
In a houseplant
On a bookshelf
Hanging from a hook or branch
As part of seasonal decor
They also make lovely little handmade gifts all on their own.
More DIY Craft Kits to Try
If you enjoyed making this witch, I have several other DIY kits and tutorials that use the same idea: simple crafts that look great.
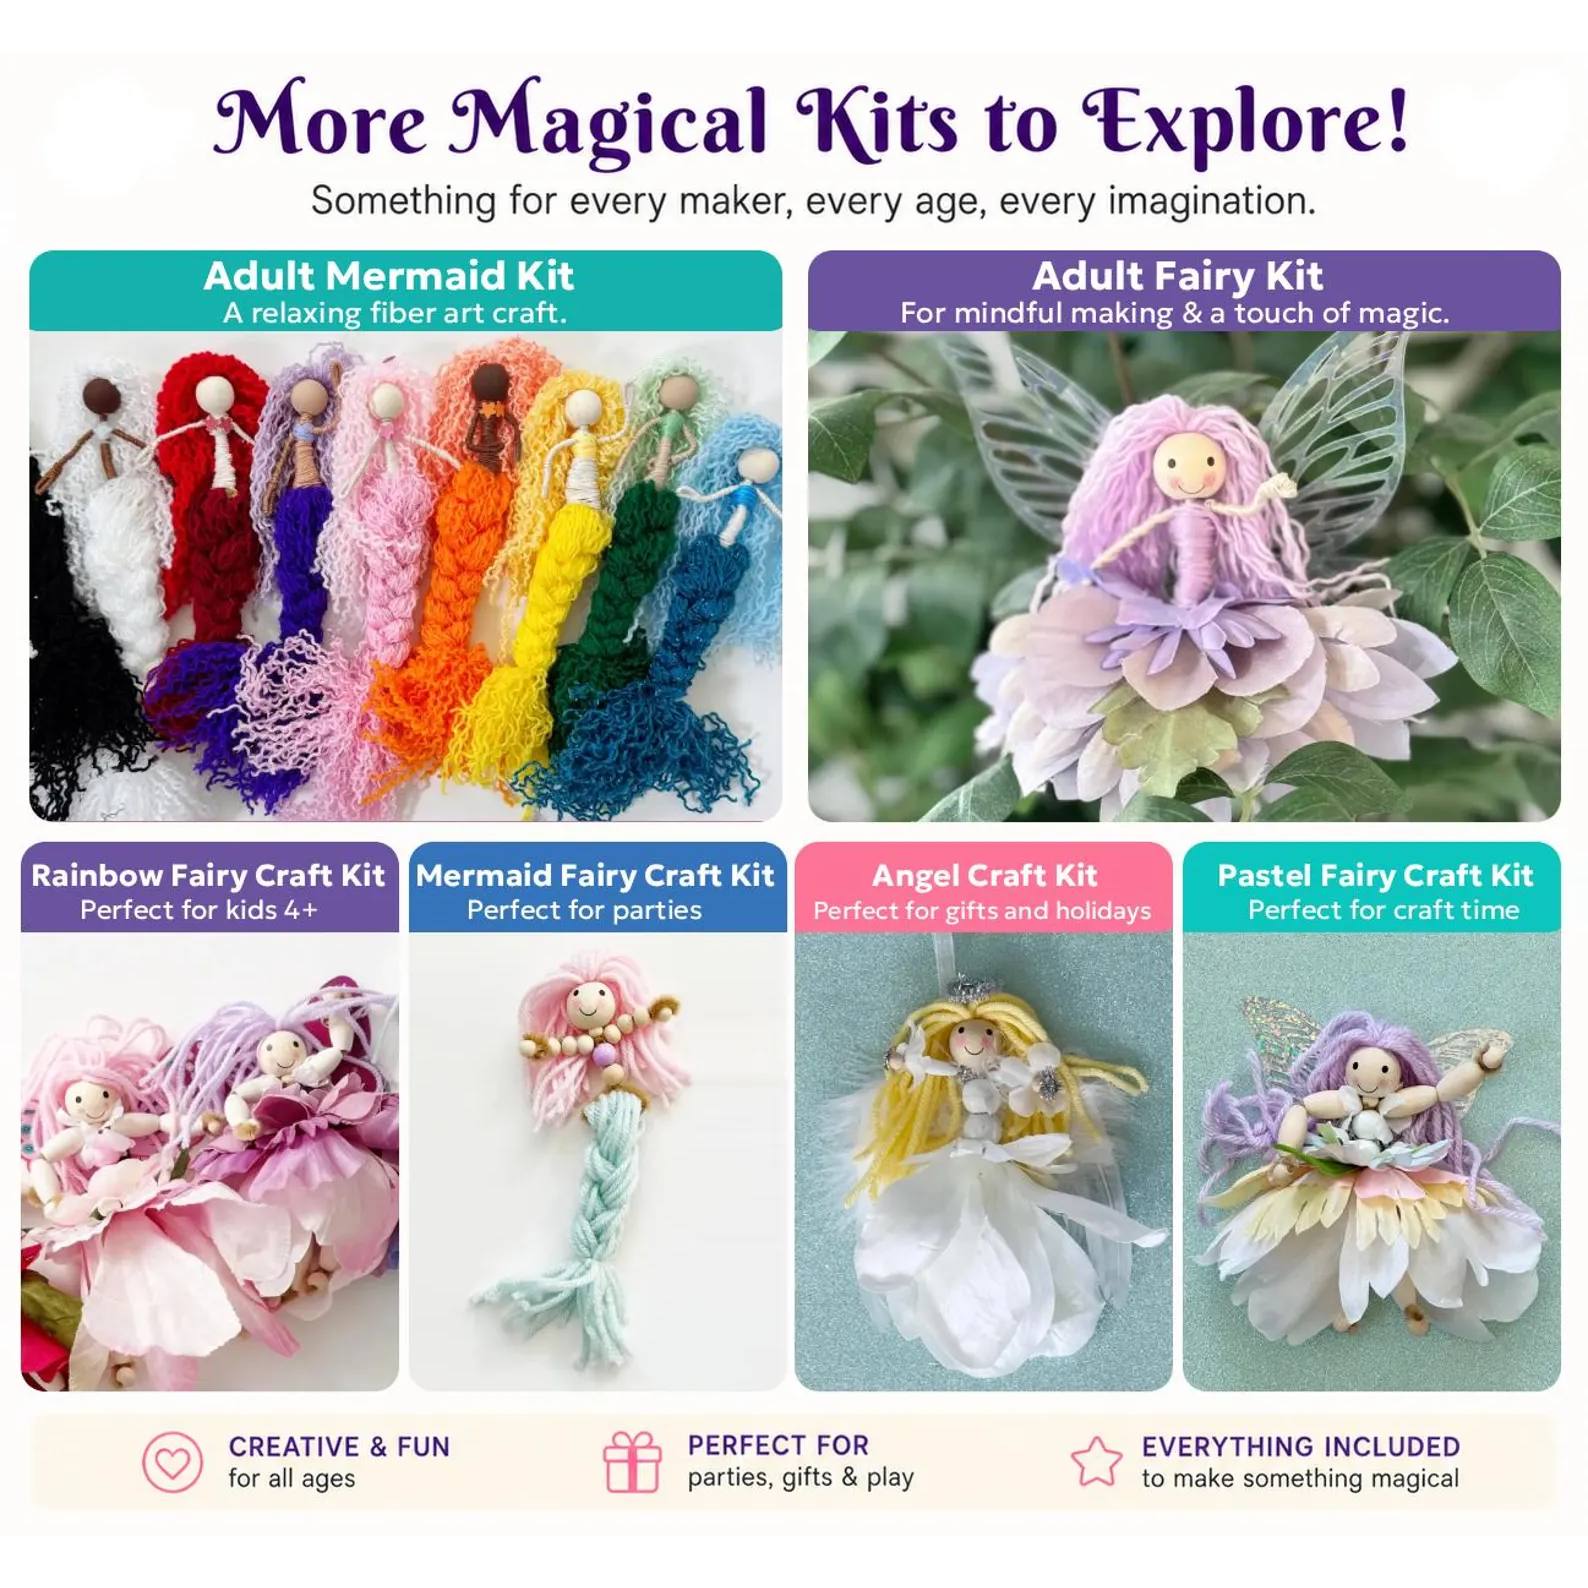
DIY Adult Fiber Art Mermaid
If you like the construction of this witch, you’ll probably love my Adult Fiber Art Mermaids and Fairies.
I think what I love most about these witches is that they sit right in that sweet spot between easy and creative.
The basic construction isn’t complicated, but once you reach the flowers, hair, and embellishments, you can spend as much or as little time customizing them as you want.
If you make your own fiber art witch, I’d love to see how she turns out!